DIY Reclaimed Wood Mirror
I got a new baby. His name is DeWalt and he is a 10″ compound sliding double bevel miter saw. I have been wanting one of these things forever, but last year at SNAP! I met Ana White and she said that a miter saw is something you should save up to get the best one you can. So I planned on buying one once we moved into our new house, but I was running out of ideas for projects. I finally told my husband, “I’m going to just buy it. I could do so many things if I just had one.”

I researched a lot and looked at the ones in the store. I decided the 12″ ones were just a little too big for me, and since I want this to be somewhat portable, I needed to be able to move it. I bought it on Amazon.
DEWALT DW717 10-Inch Double-Bevel Sliding Compound Miter-Saw
And I’ve been in love ever since. This little baby has already helped me make several things with wood and now the possibilities are endless.

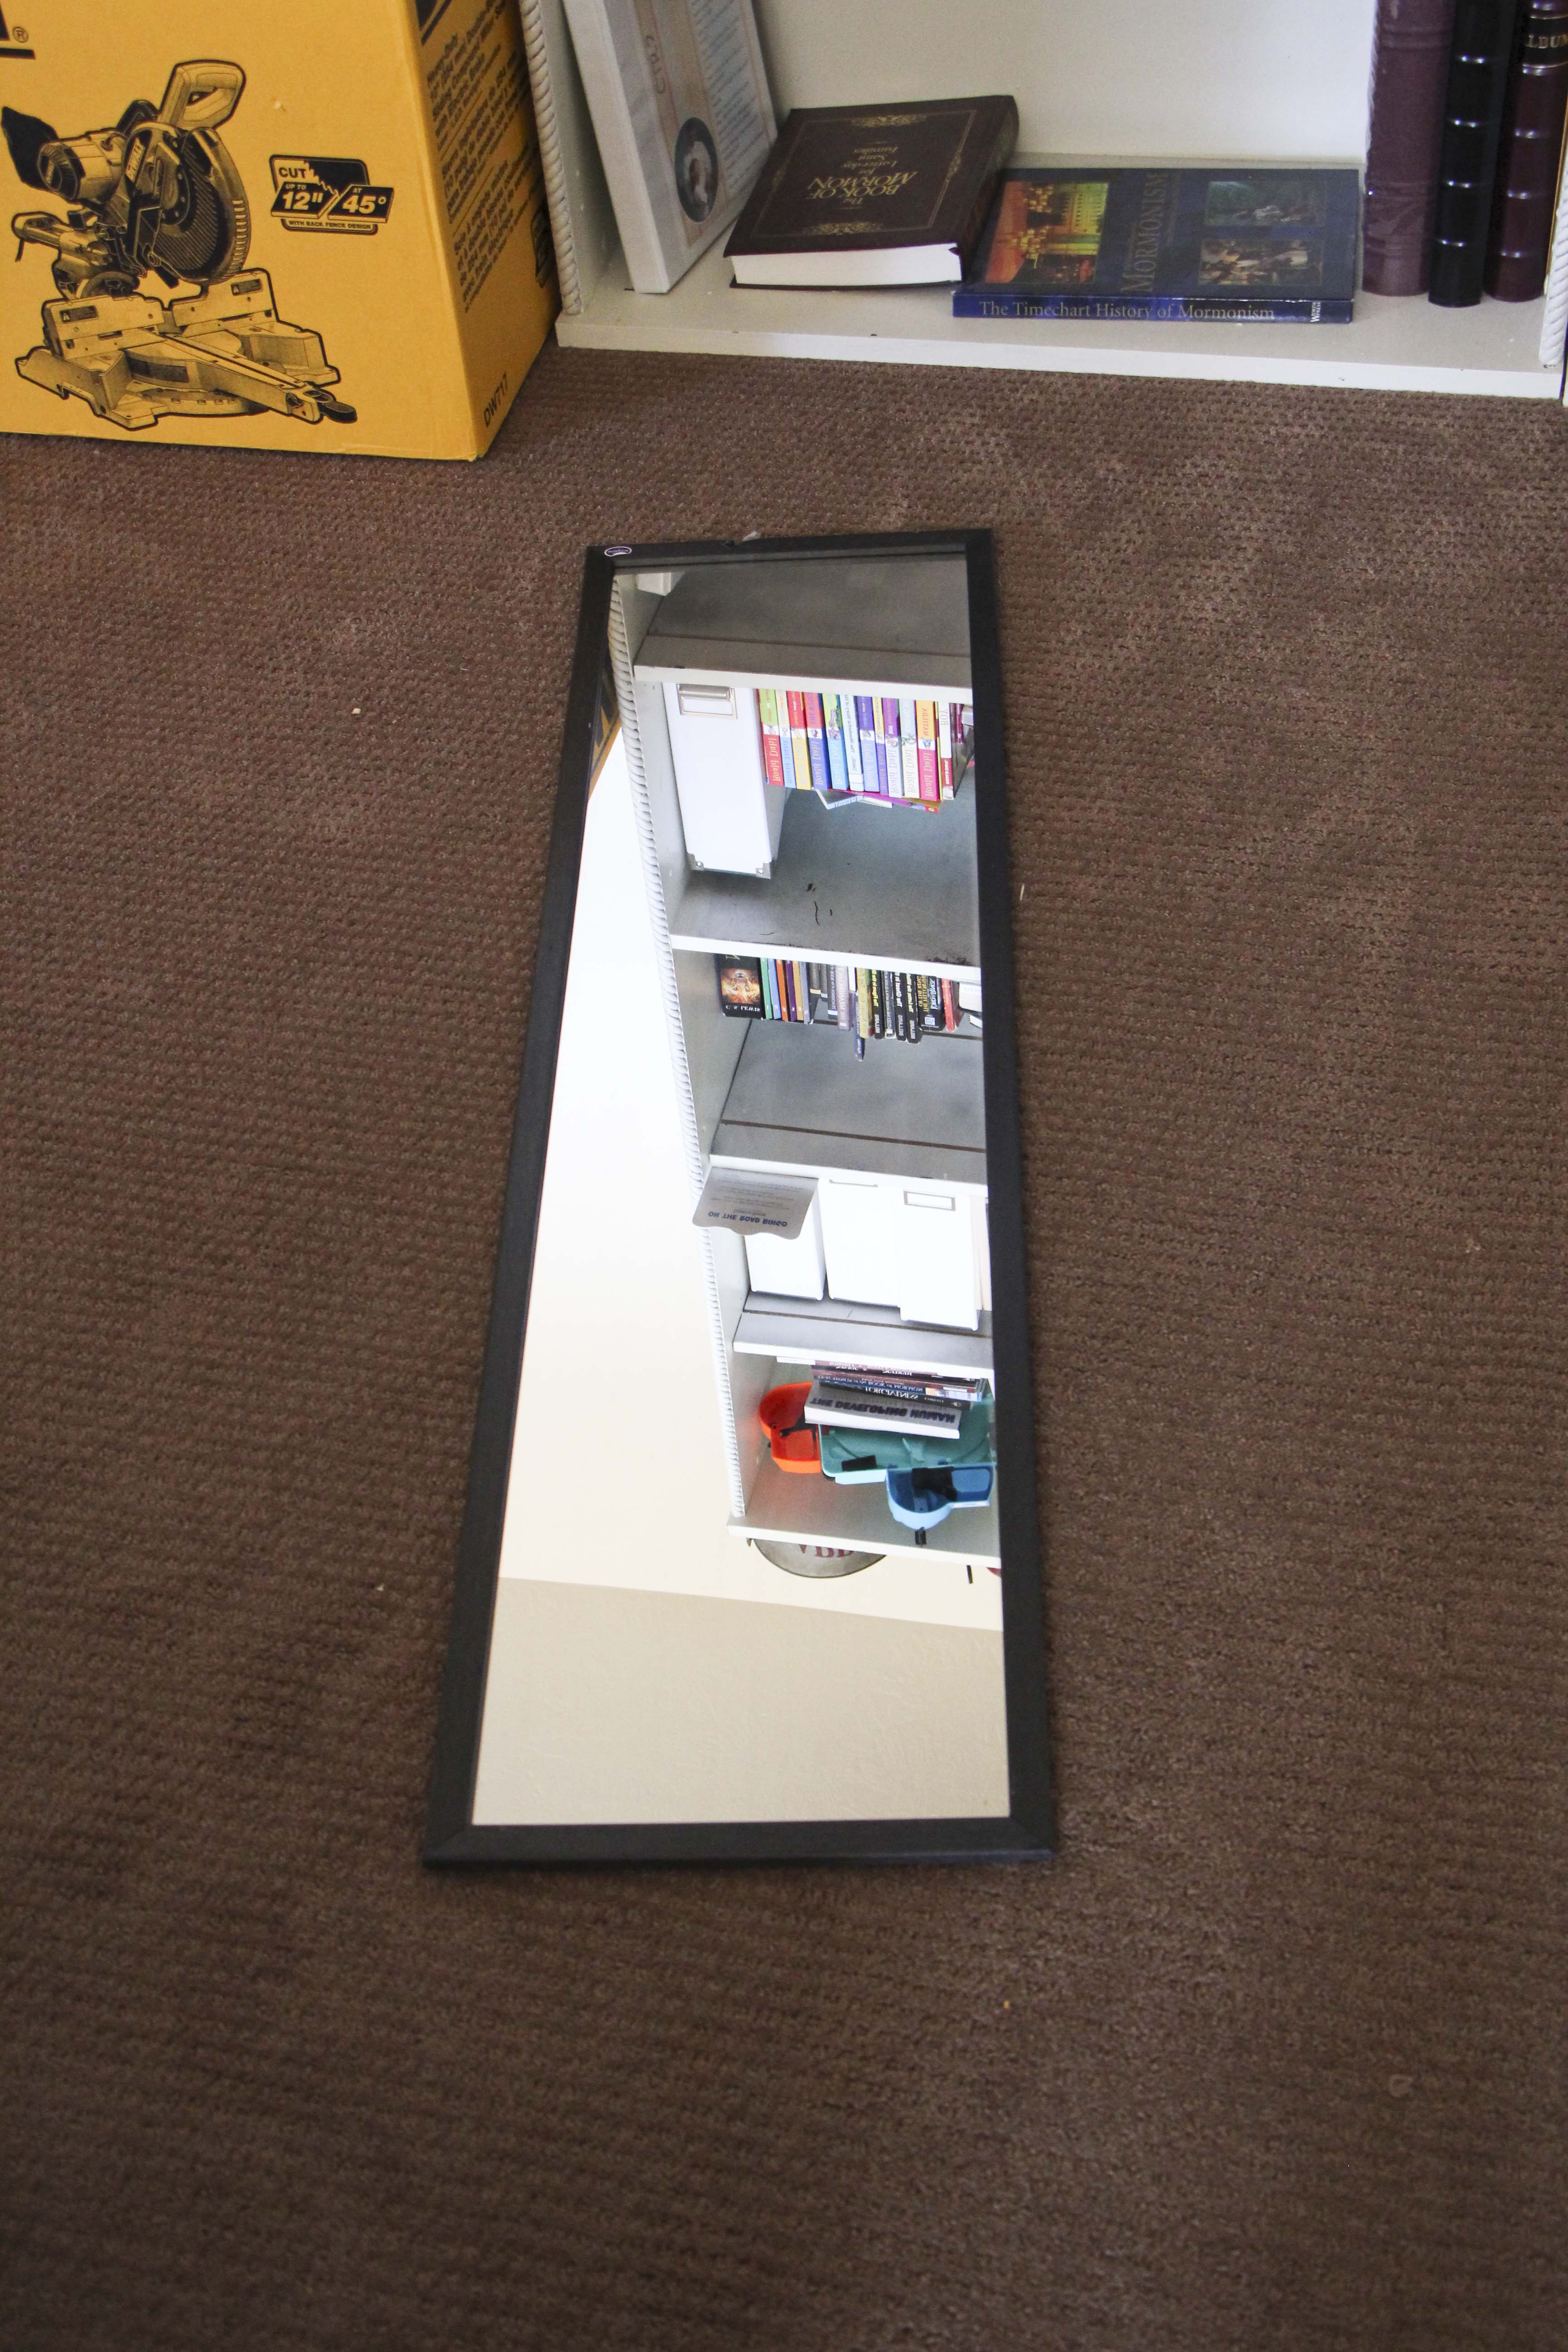
The first project I made was a thick reclaimed wood mirror. I have this tall, skinny section of wall next to the window in the living room and I was never really sure what to do with it. One day it dawned on me that a vertical mirror would be the perfect thing for that space. And I knew that it would be pretty easy to make a frame with DeWalt, so I got to work.
Supplies:
-Cheap mirror (they are like $10 at Walmart)
-3 1×6 pine wood planks (check that they are as straight and flat as possible.)
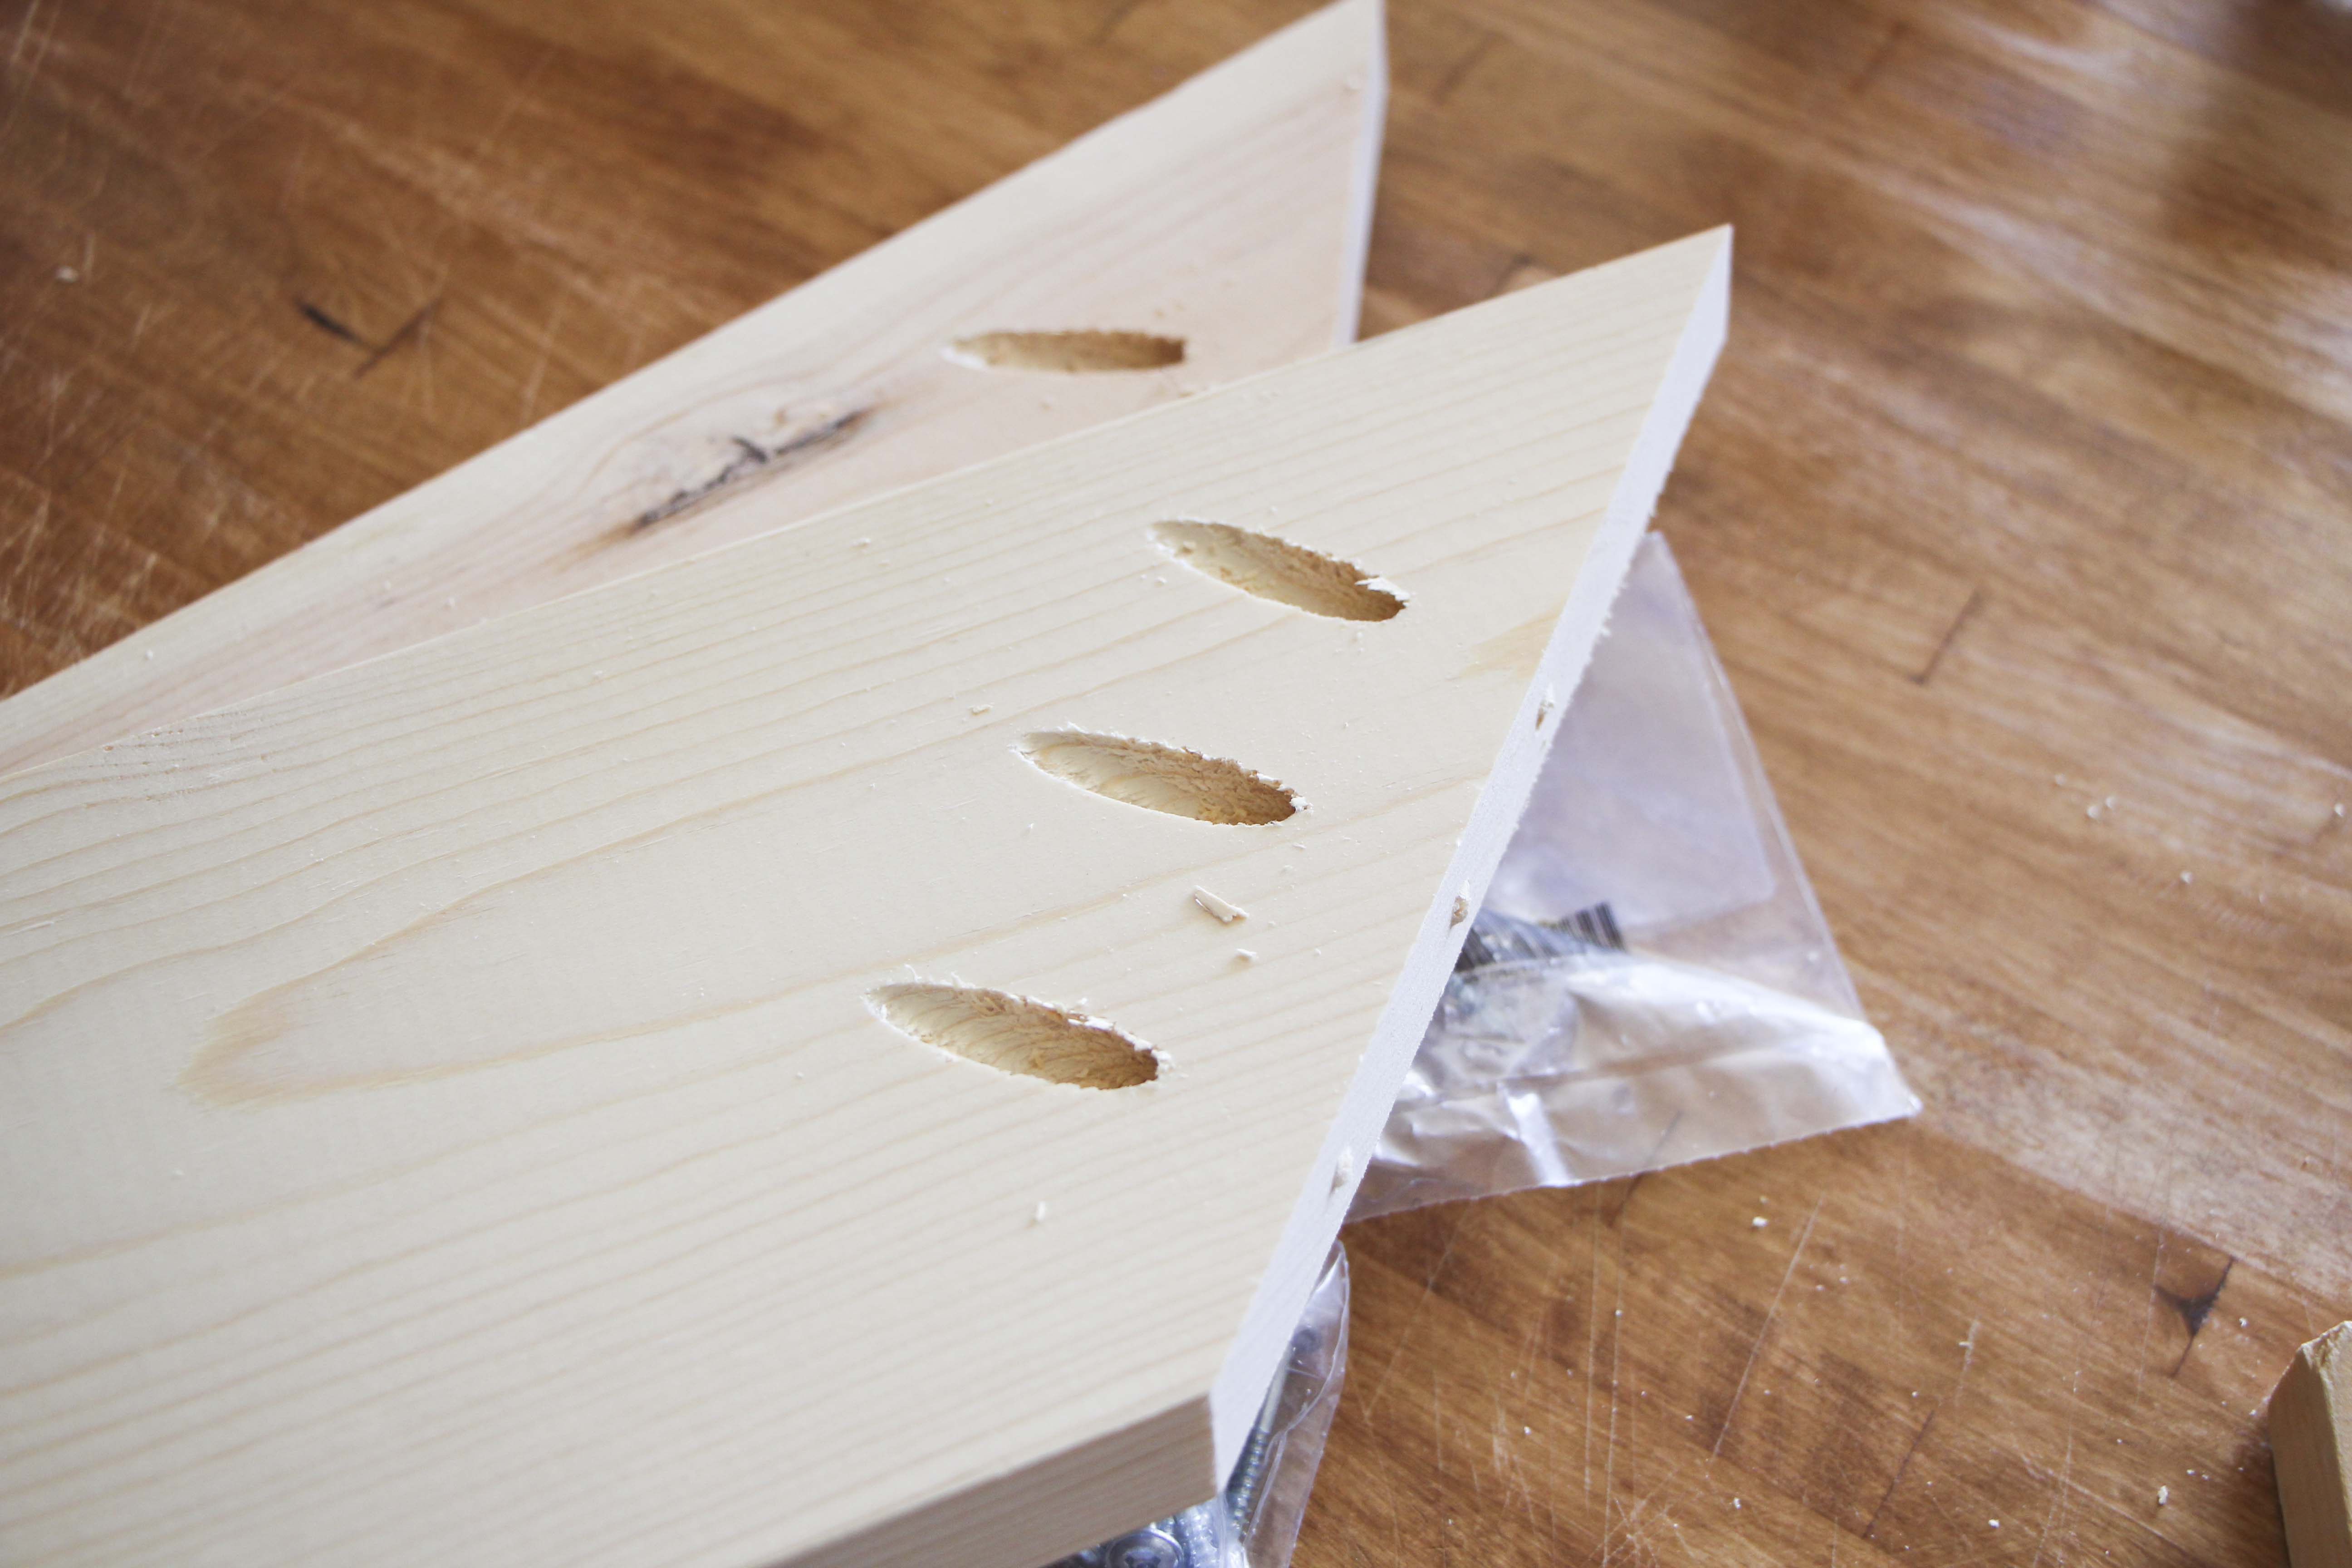
-Kreg Jig and 1 1/4″ pocket hole screws
–OR four L Brackets and 1/2″ screws
-Staple gun OR mirror clips
First you will need to remove the mirror from the cheap frame. This is pretty easy, just pry it off by hand or cut plastic or cardboard with a rasor blade. Mine was glued to a big piece of cardboard so I pried up the existing staples and kept the cardboard backing on.
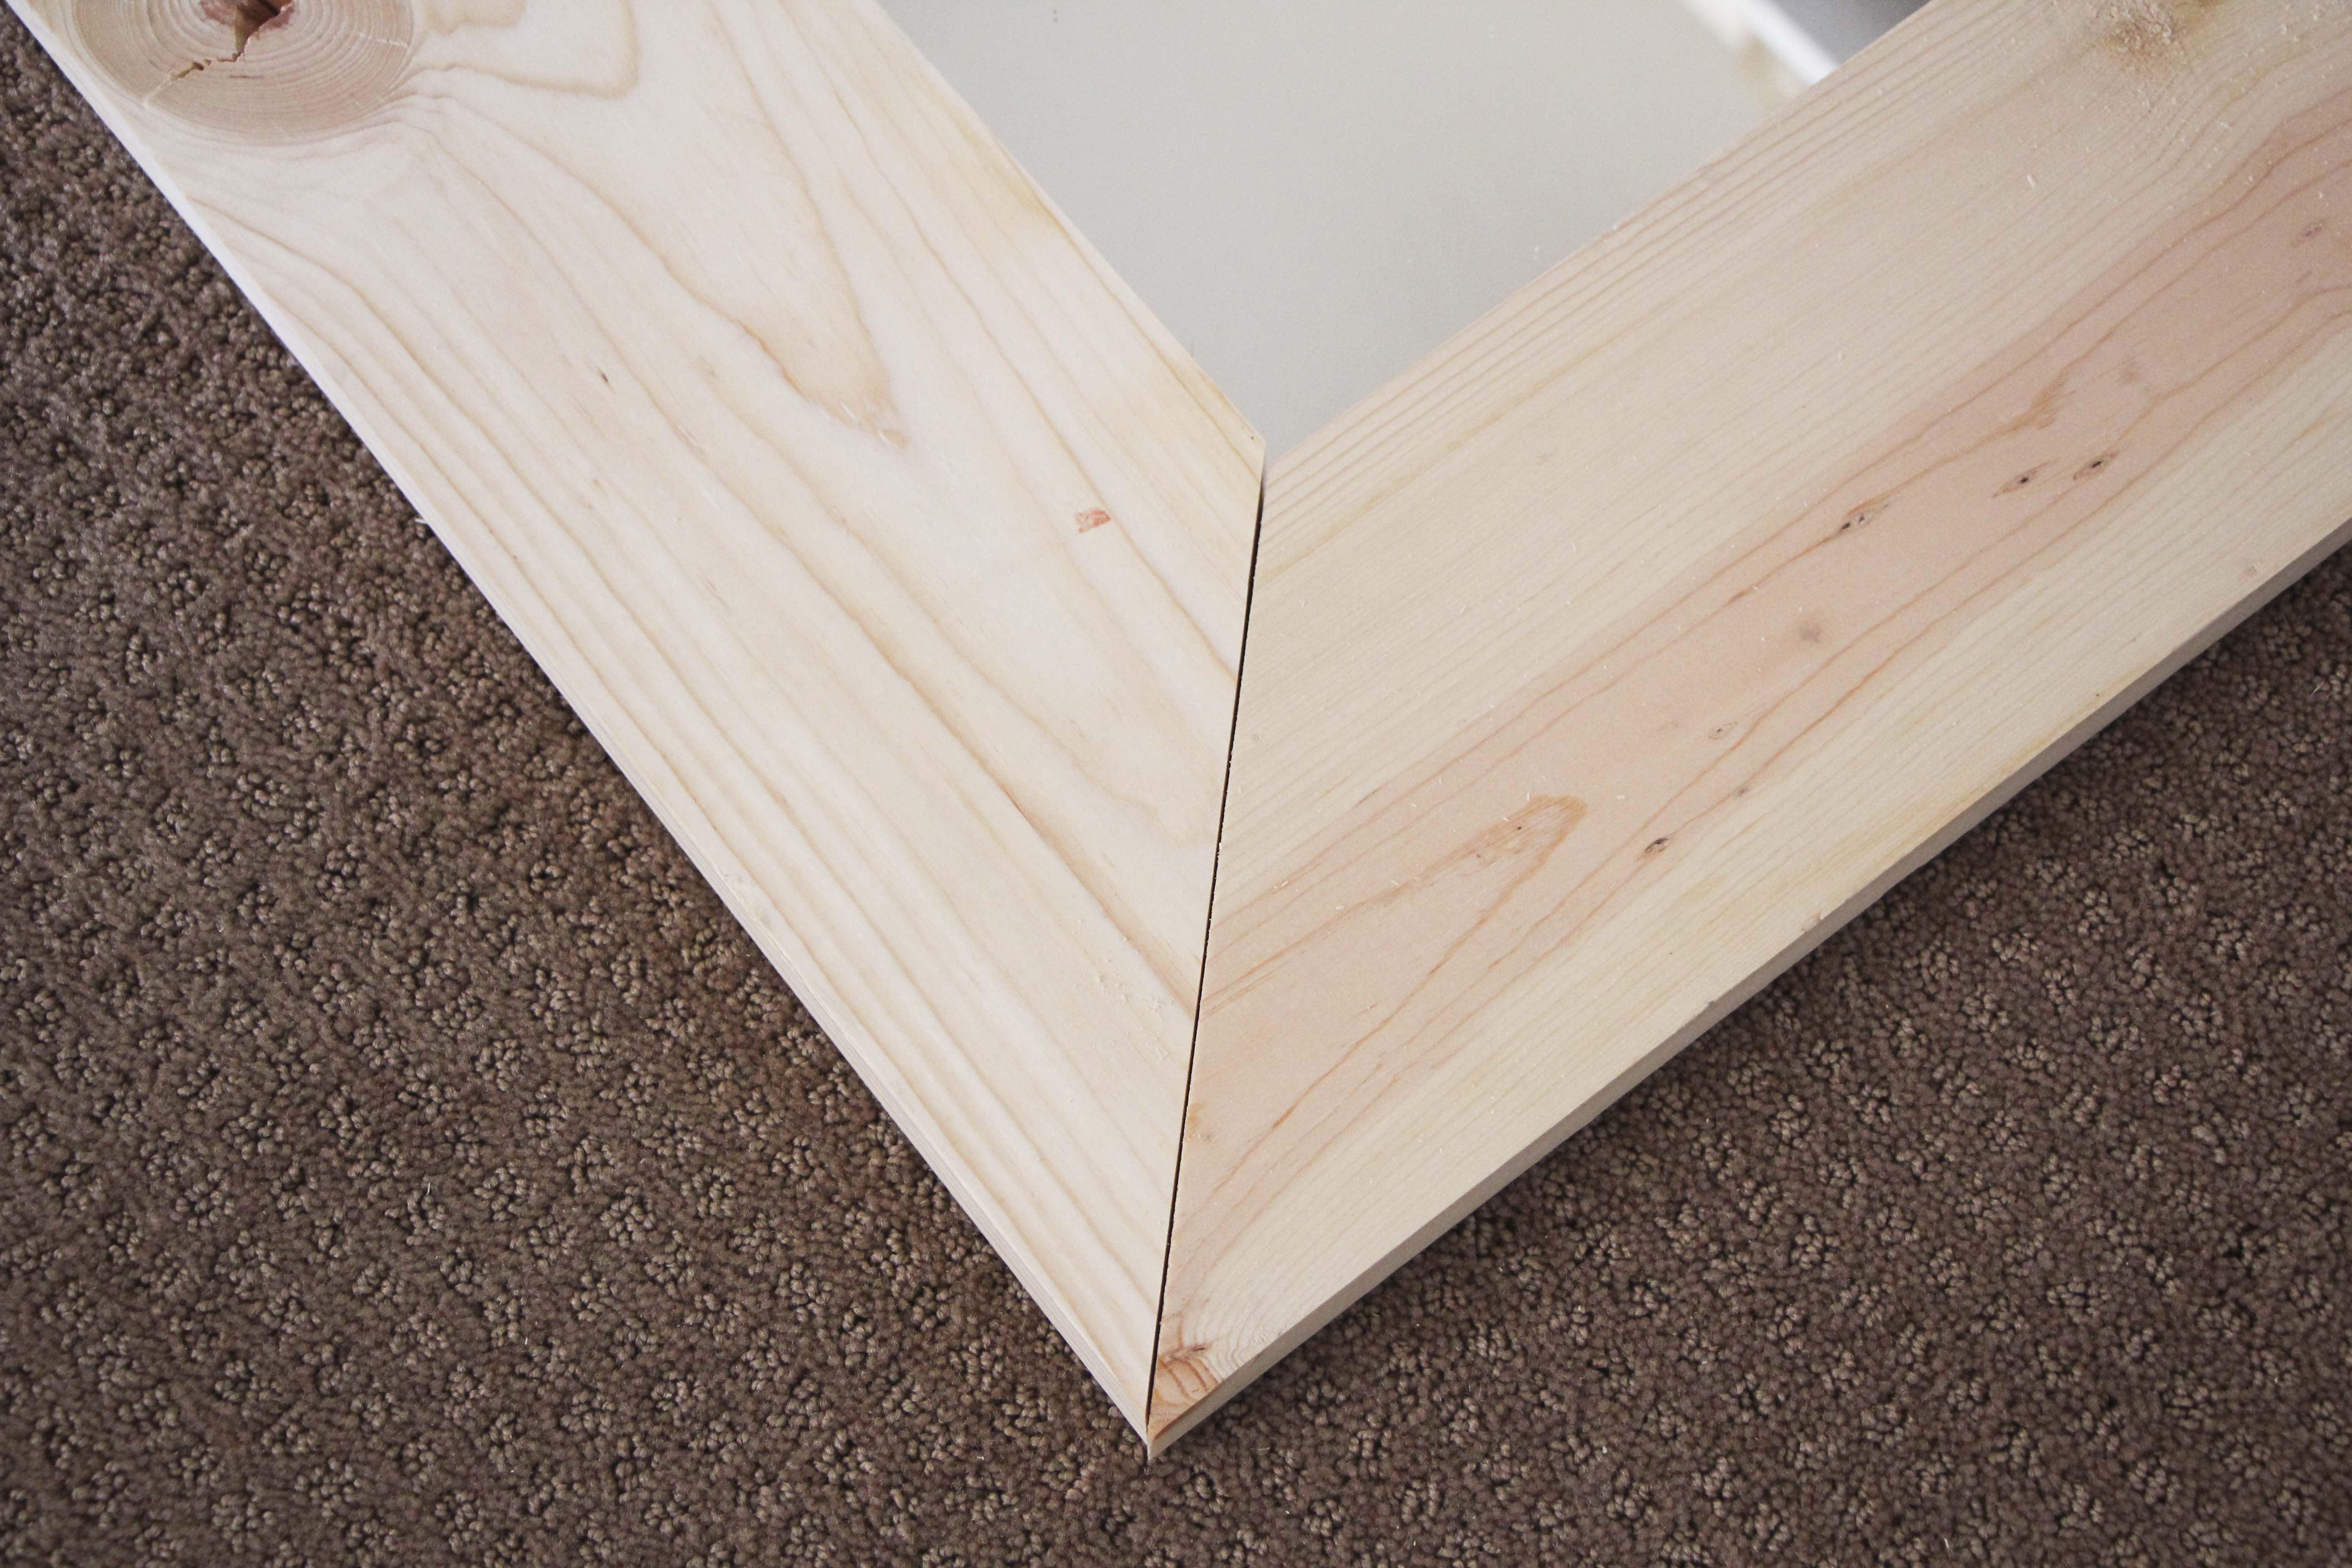
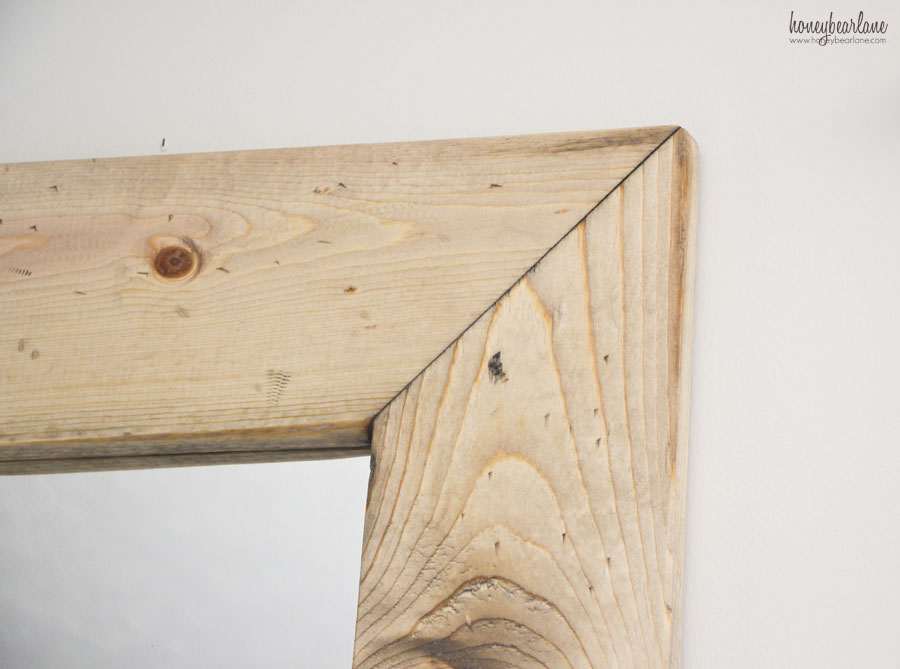
Next cut the wood. This can be tricky to get the angles just right. I did this project with a cousin of mine, and when I cut her boards, it fit perfectly. But for some reason mine were slightly off, so we had to keep measuring and squaring up to get it right. The DeWalt has little chinks in the metal that help you know you are at exactly 45 degree angles. Cut it and check for square after each cut.
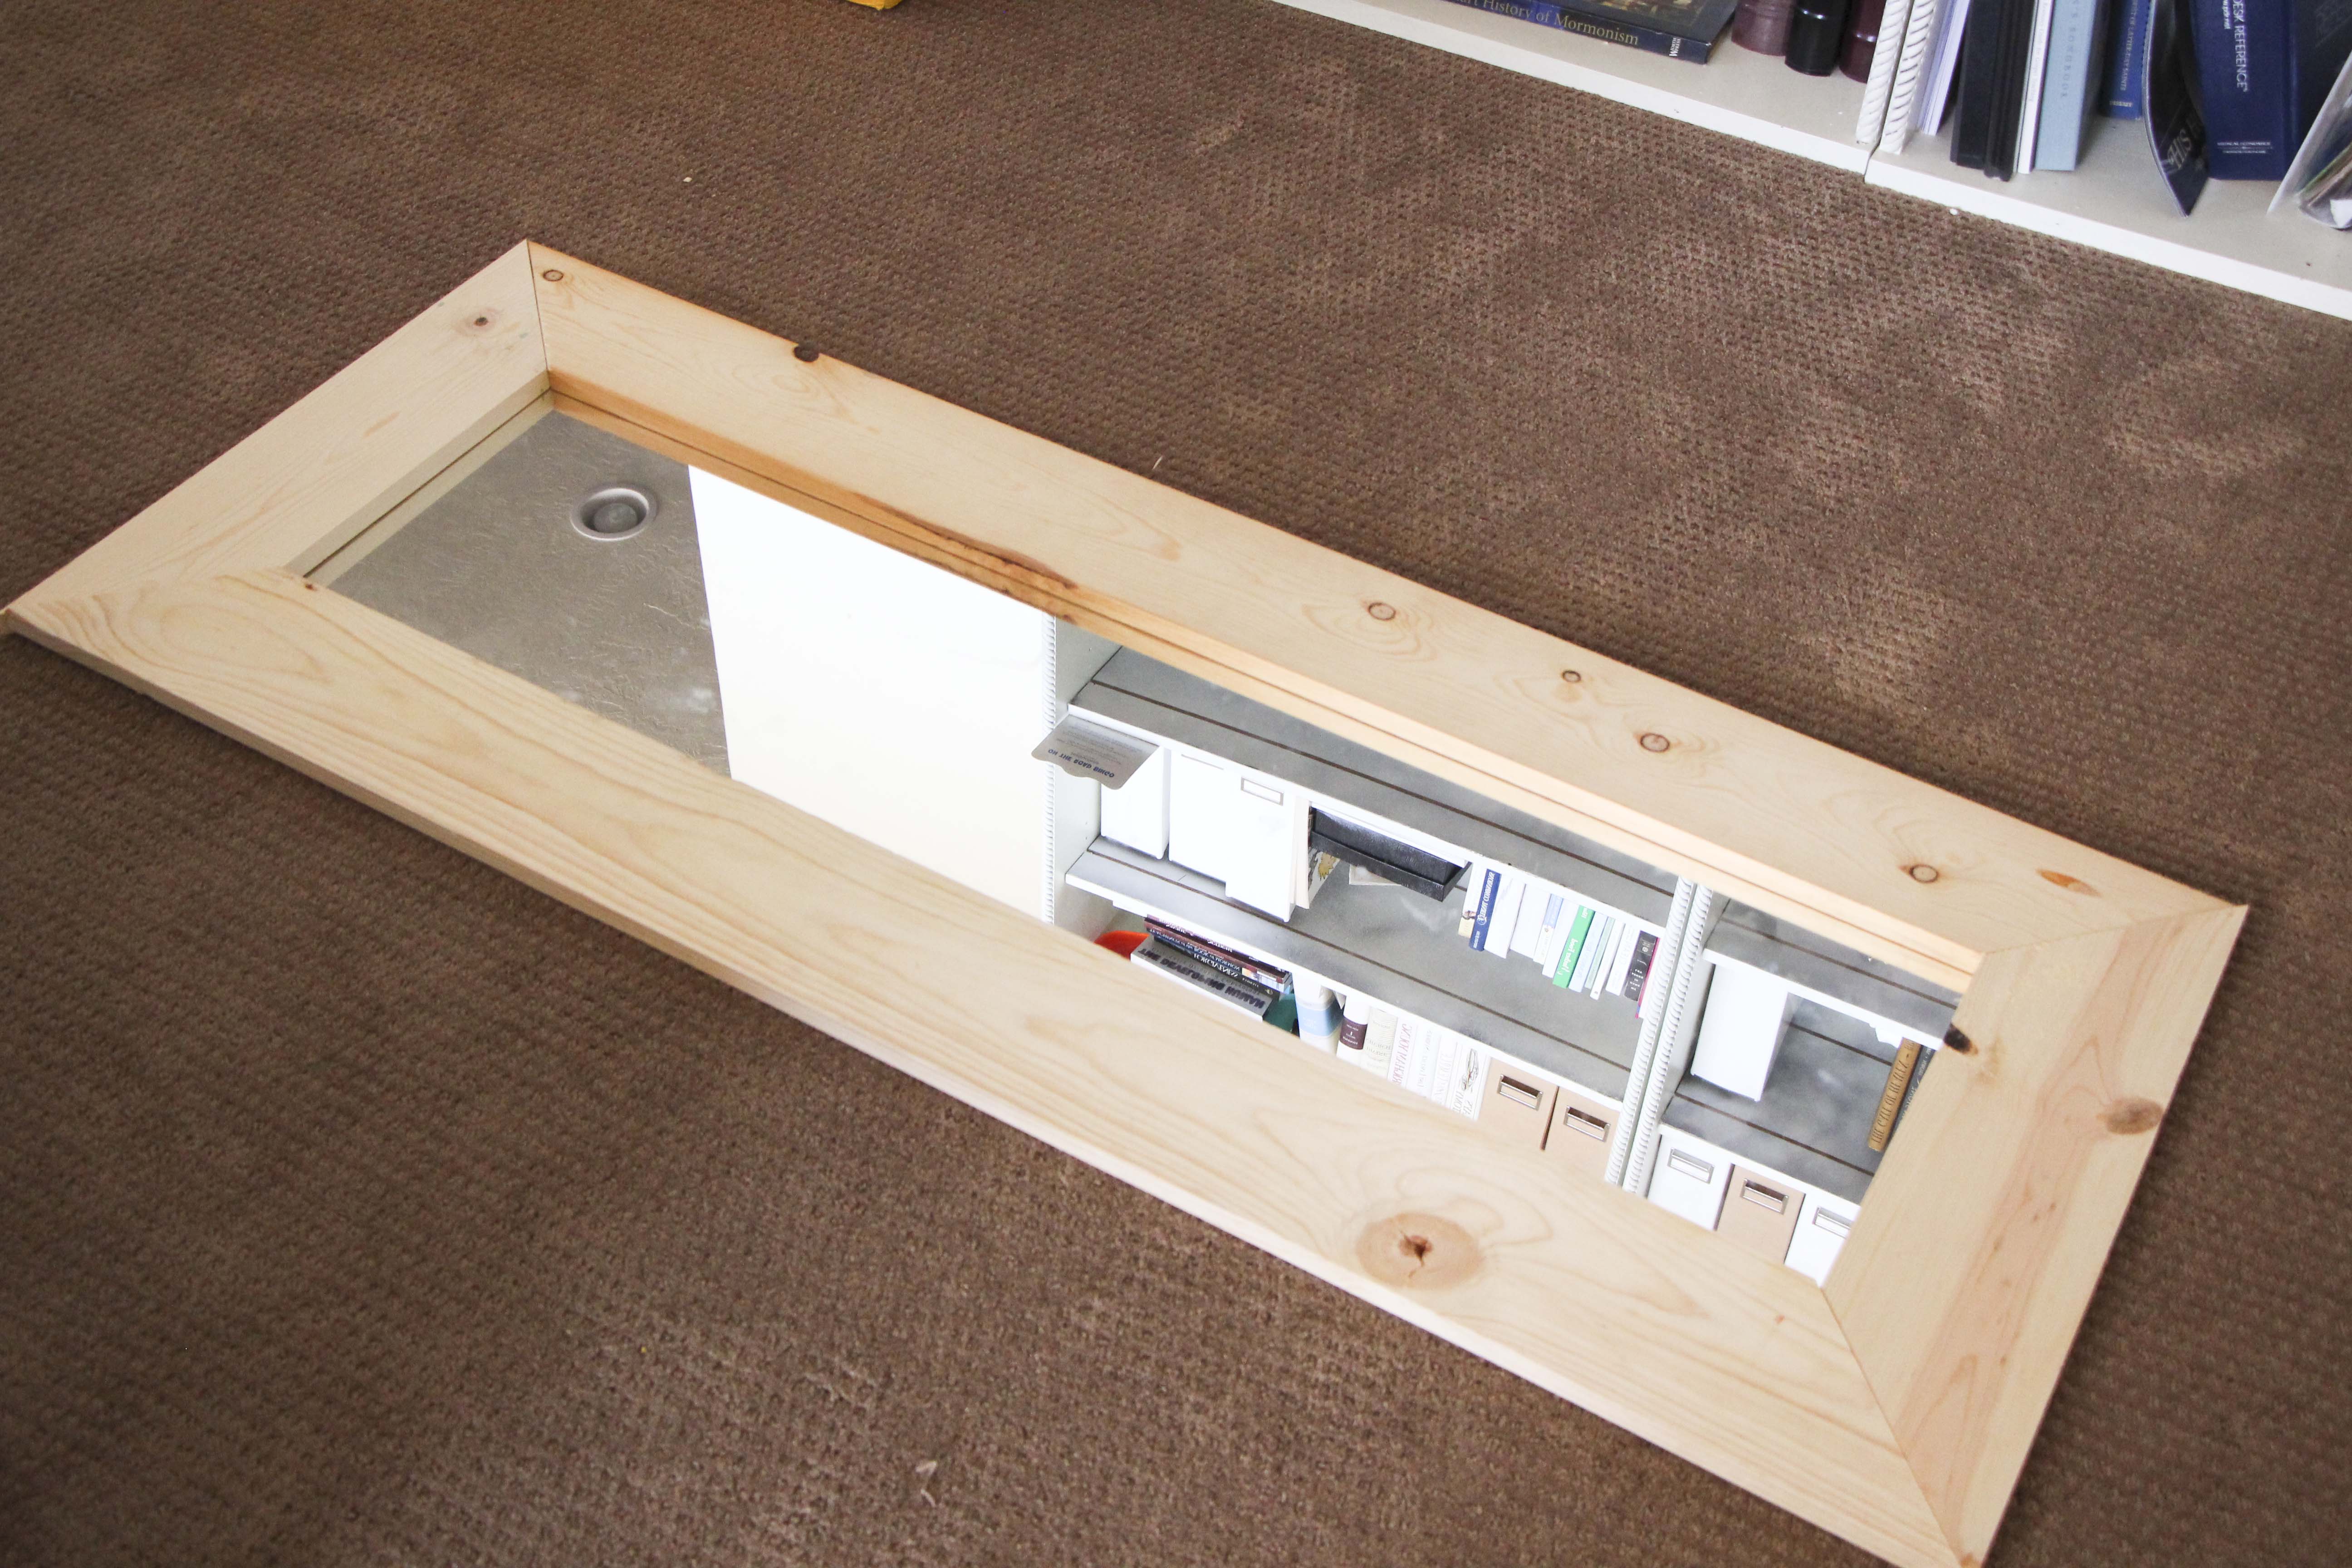
You will want to measure the length and width of the mirror and then cut the wood a little shorter so that the mirror can sit behind it without showing the edges. I think my measurements of the inside wood pieces ended up being close to 47 1/4″ and 11 1/2″. You will want them to be the exact same size and angle, and if you can’t seem to get them at the right angle, you might want to pull out your old protractor to get it right.
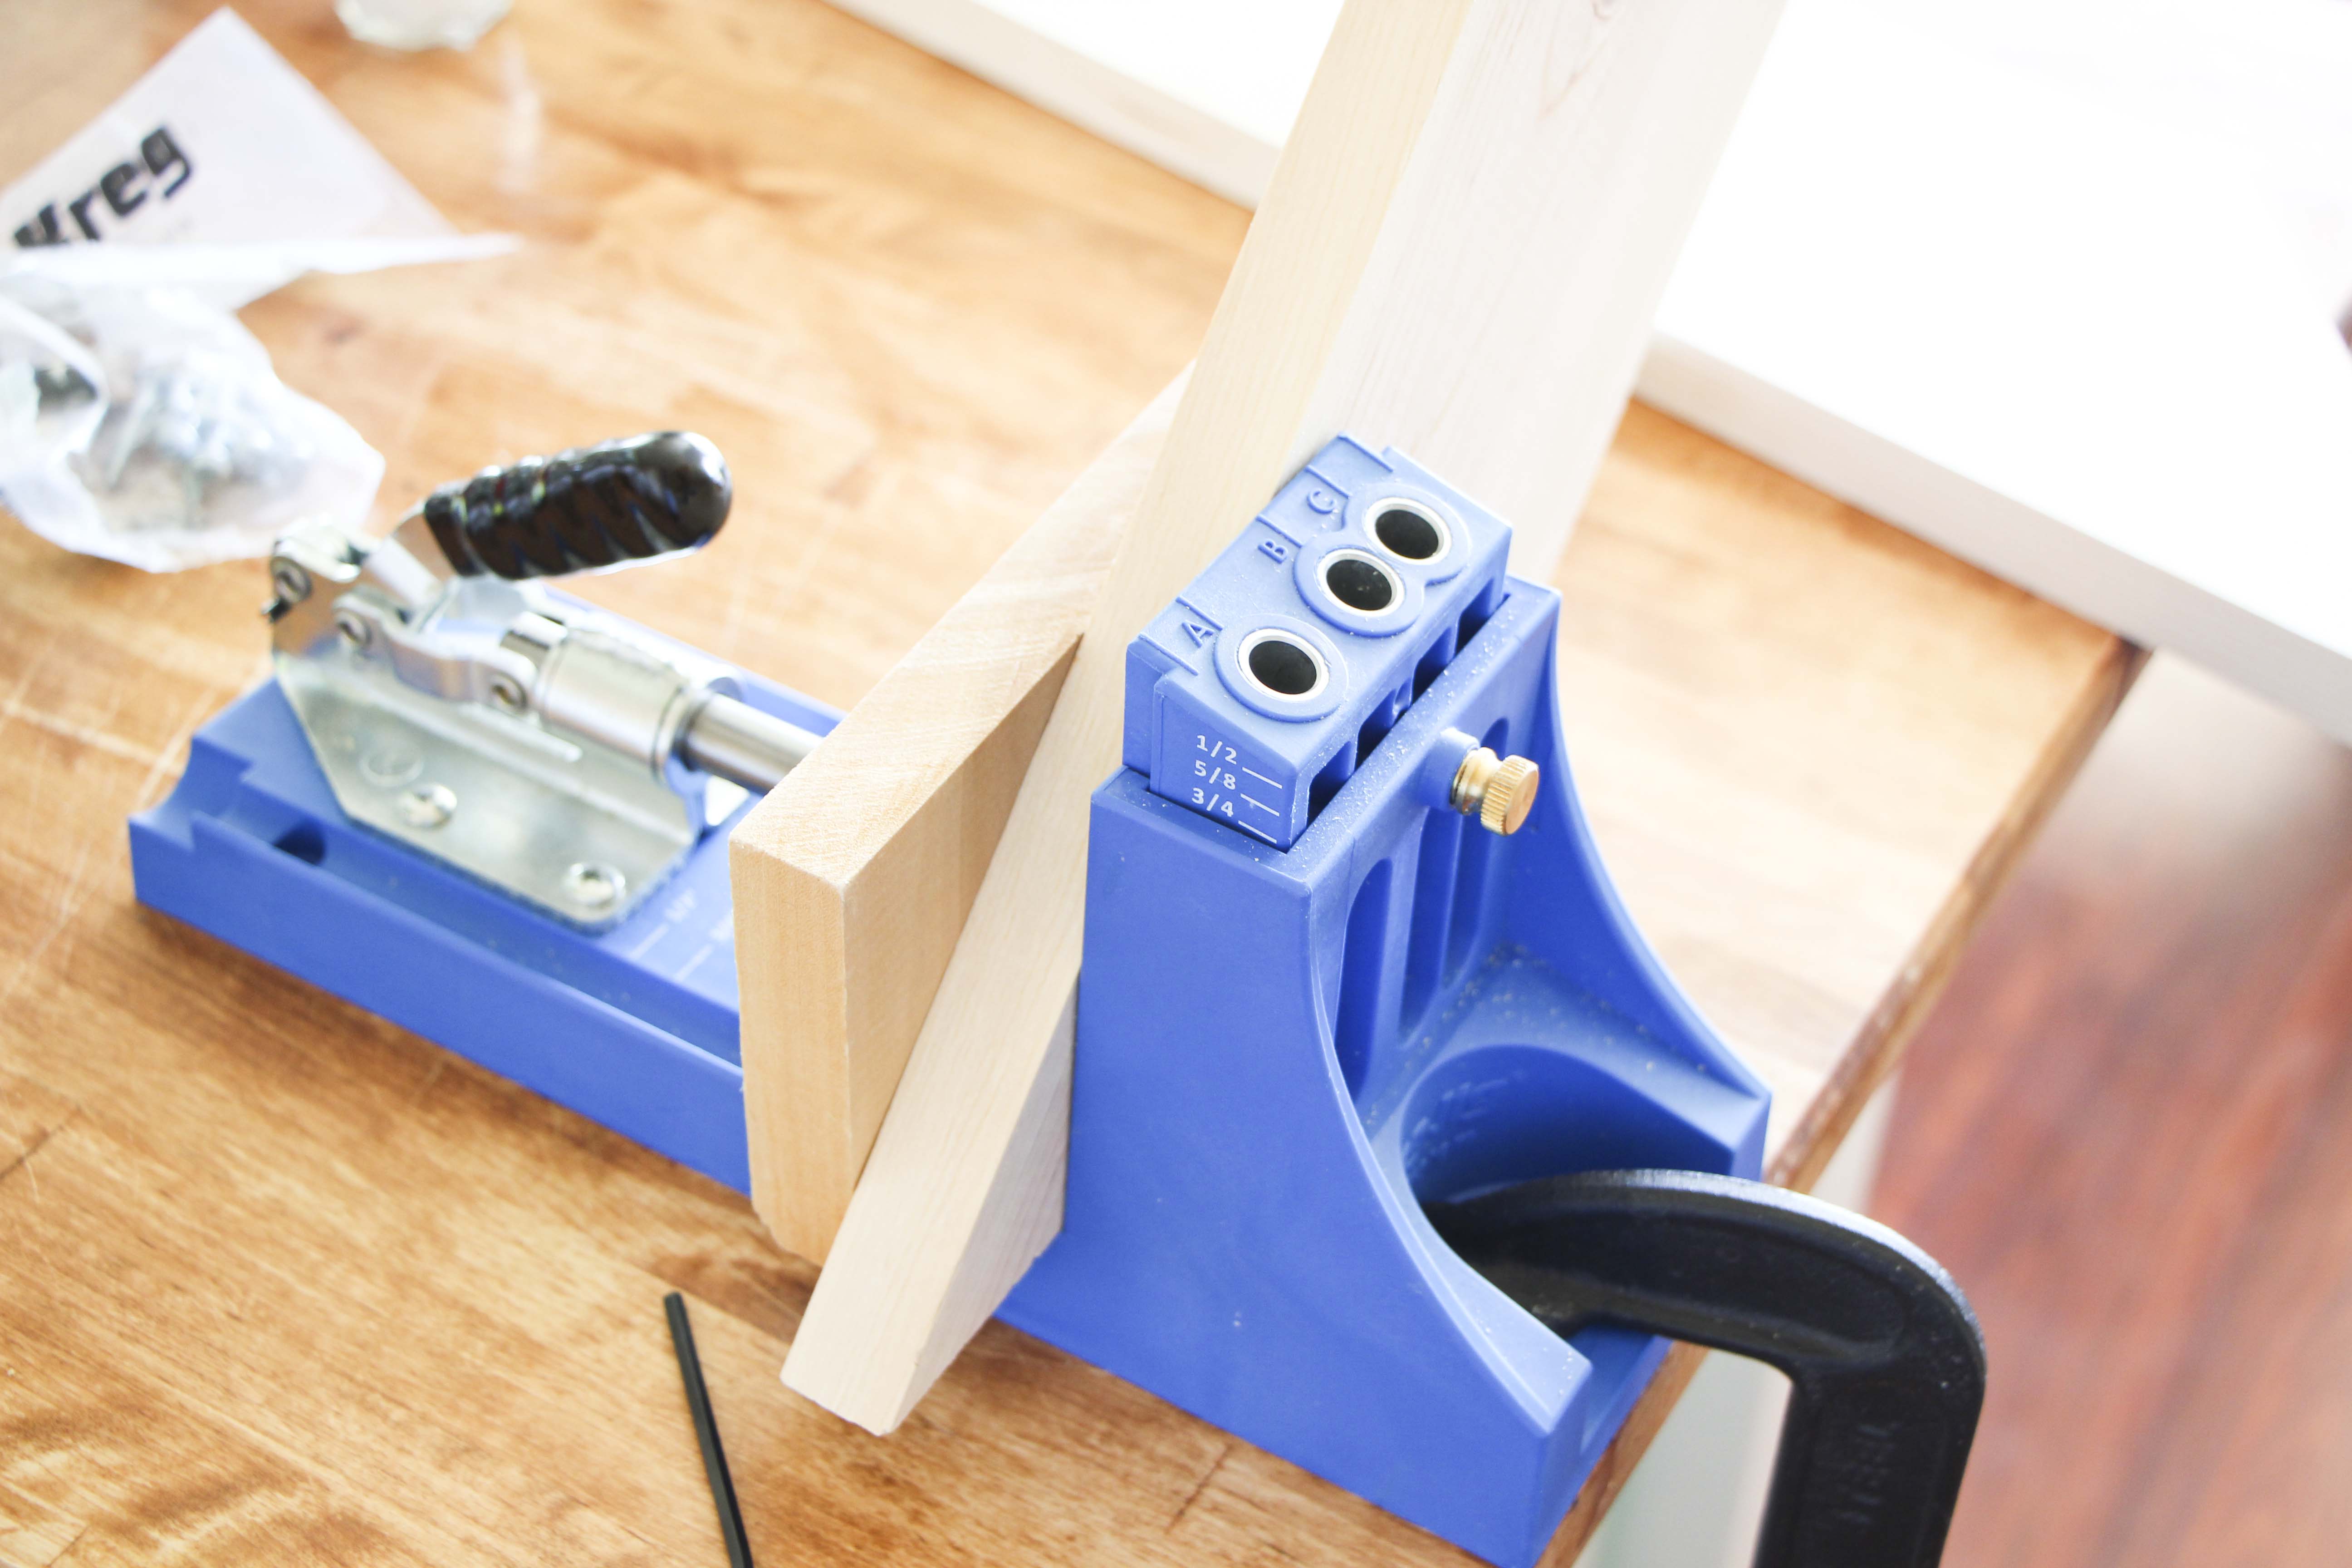
To connect the wood together for your frame, I recommend using a Kreg Jig. If you want to get into building your own wood things, this is a great tool to invest in. But if you don’t want to buy it yet, you can easily connect this frame with L Brackets. Pre-drill your holes and use glue for extra support. Make sure to wipe away any glue that might squeeze out the cracks because it won’t take stain.
To achieve the reclaimed wood look:
There are lots of different takes on reclaimed wood. Some is darker, some is really gray. My favorite color is the wood that is brown with a slight gray tinge and just looks like beautiful aged wood. The kind that they sell at Restoration Hardware and Pottery Barn. I wasn’t sure how to get that color at first, so I decided to just test stains until I got there. First, I used Minwax Pre-conditioner. This might seem like an unncessary step, but believe me, it is NOT. The conditioner helps the wood take the stain in an even, beautiful coat. If you don’t use it, you will end up with blotchy wood and with lighter stains, it totally changes the color as well. So PLEASE use the pre-conditioner. You will not be able to achieve this color of wood without it.
Next I beat up the wood (you can do this before the pre conditioner but I forgot.) I just banged it up with a hammer and some screws. I actually liked how it looked without the extra dents so I didn’t do that many.
Finally, I stained it with Minwax’s Weathered Oak stain. I put on several coats and wiped it off after five minutes of each coat. As I sat there, I like I could barely tell a difference in the stained vs. unstained sections. But as the time passed, the color deepened a little and you could tell it didn’t look like new wood anymore. I had gotten that beautiful color I wanted with only one stain.
I finished it with Annie Sloan’s Clear Wax which I buffed in really well. I didn’t want to do a poly because they tend to change the color a little and I love the feel of waxed wood.
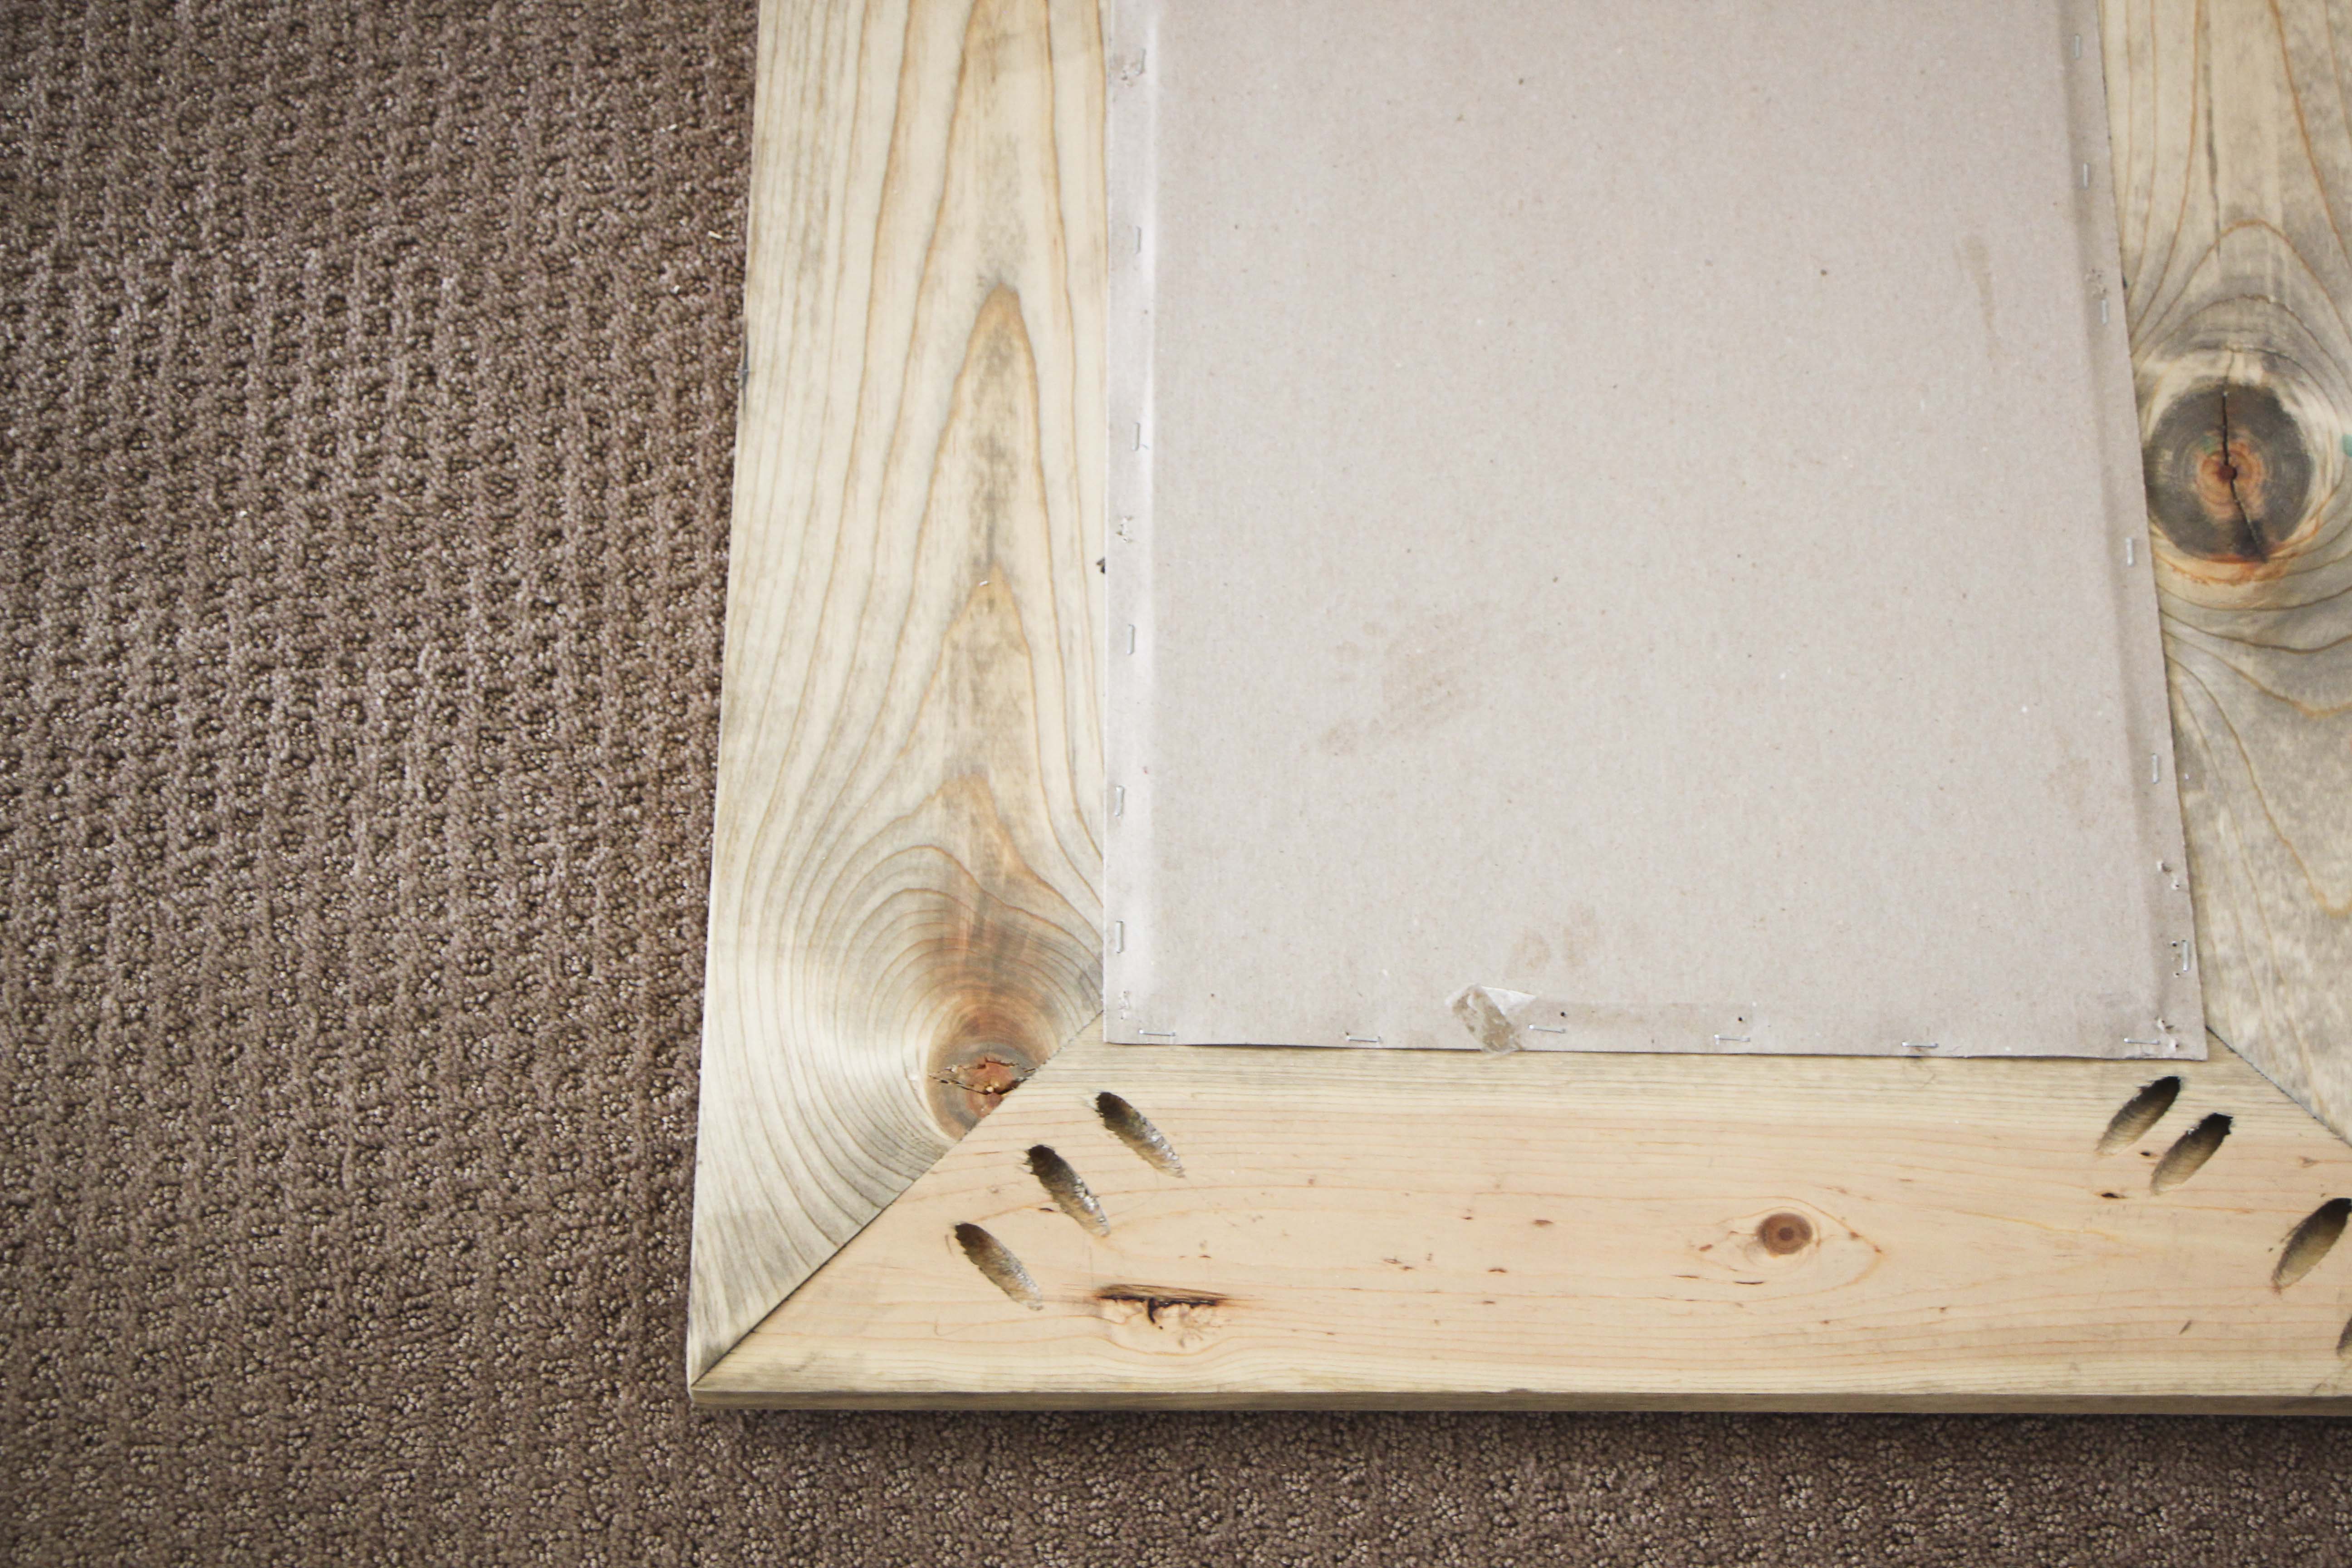
To attach the mirror, I just flipped the frame over and put the mirror on with the cardboard backing and stapled it on really well. It was really easy. If you don’t have anything but a mirror, you can buy mirror clips at the home improvement store and use those. I also rubbed on the Weathered Oak Stain on the back without the pre conditioner, and you can see how weird and uneven it is.
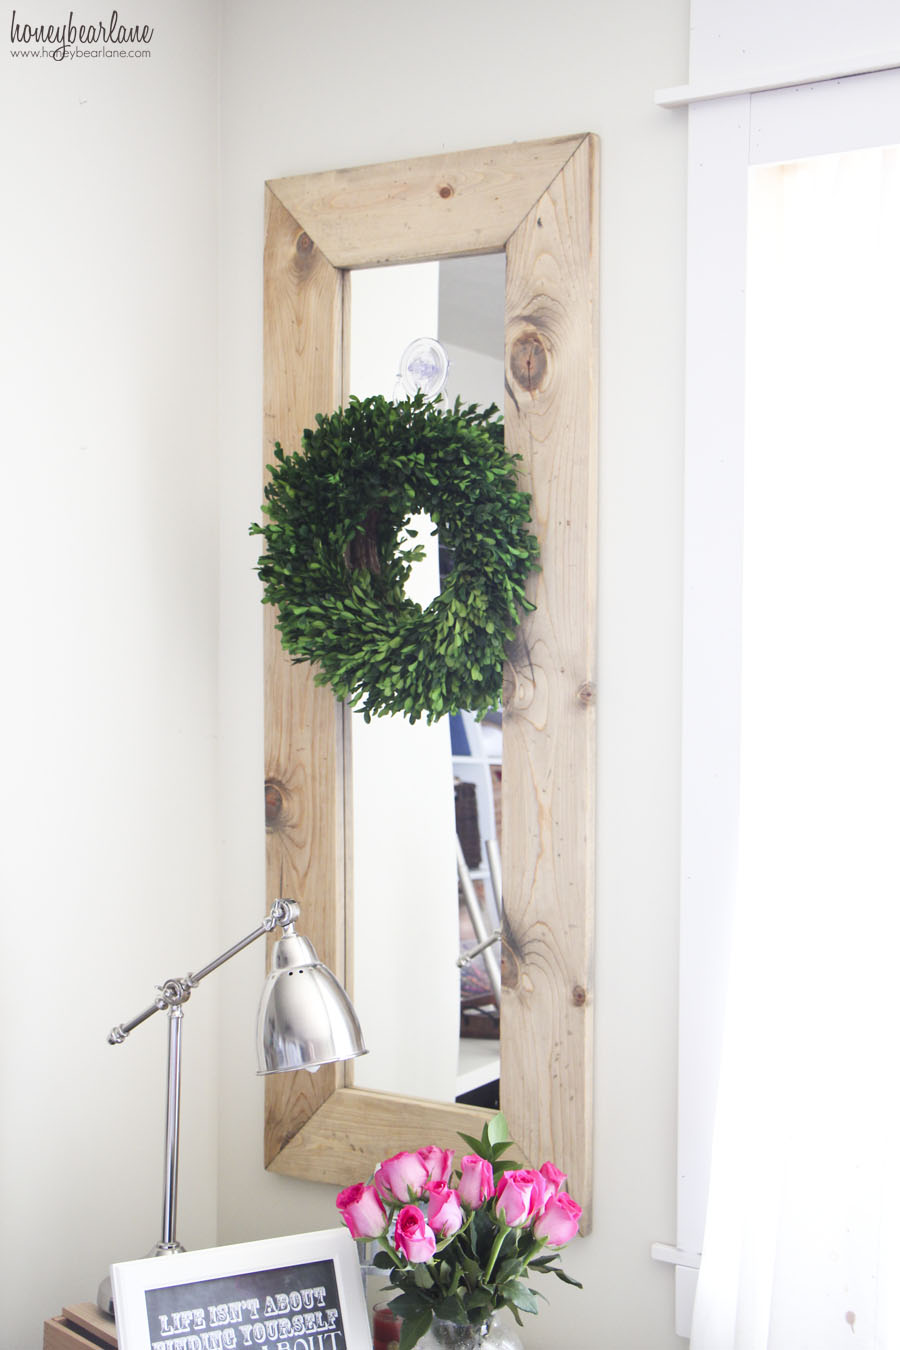
I absolutely adore this mirror. It is so gorgeous and looks like I bought it from Pottery Barn or Restoration Hardware or something. I am kind of redecorating my entire house around this mirror now.
Nice project & diy! Love how your mirror turned out.
Thanks! Me too!
Um you’re amazing. Enough said.
Aw, shucks!
Great job Heidi, your right it does look like a Pottery Barn Item.
I love it!
It’s mind-blowing product!!! One of the best designs wooden mirror frames. Kindly check on aarsunwoods.com for traditional designs.
wonderful mirror frame design.
I think it should be looks better if we use some very light color for frame.
Thanks for sharing this article.
Keep sharing great content.
Hey!!
These are so great post! Thanks for sharing…