Easy DIY Towel Hooks
I recently shared my bathroom makeover. It was simple but elegant and most of all, efficient. My favorite part of the new bathroom is the DIY towel hooks, the towel ‘organizer. It’s made the towel storage more accessible and it’s so pretty! Here’s how to do it.

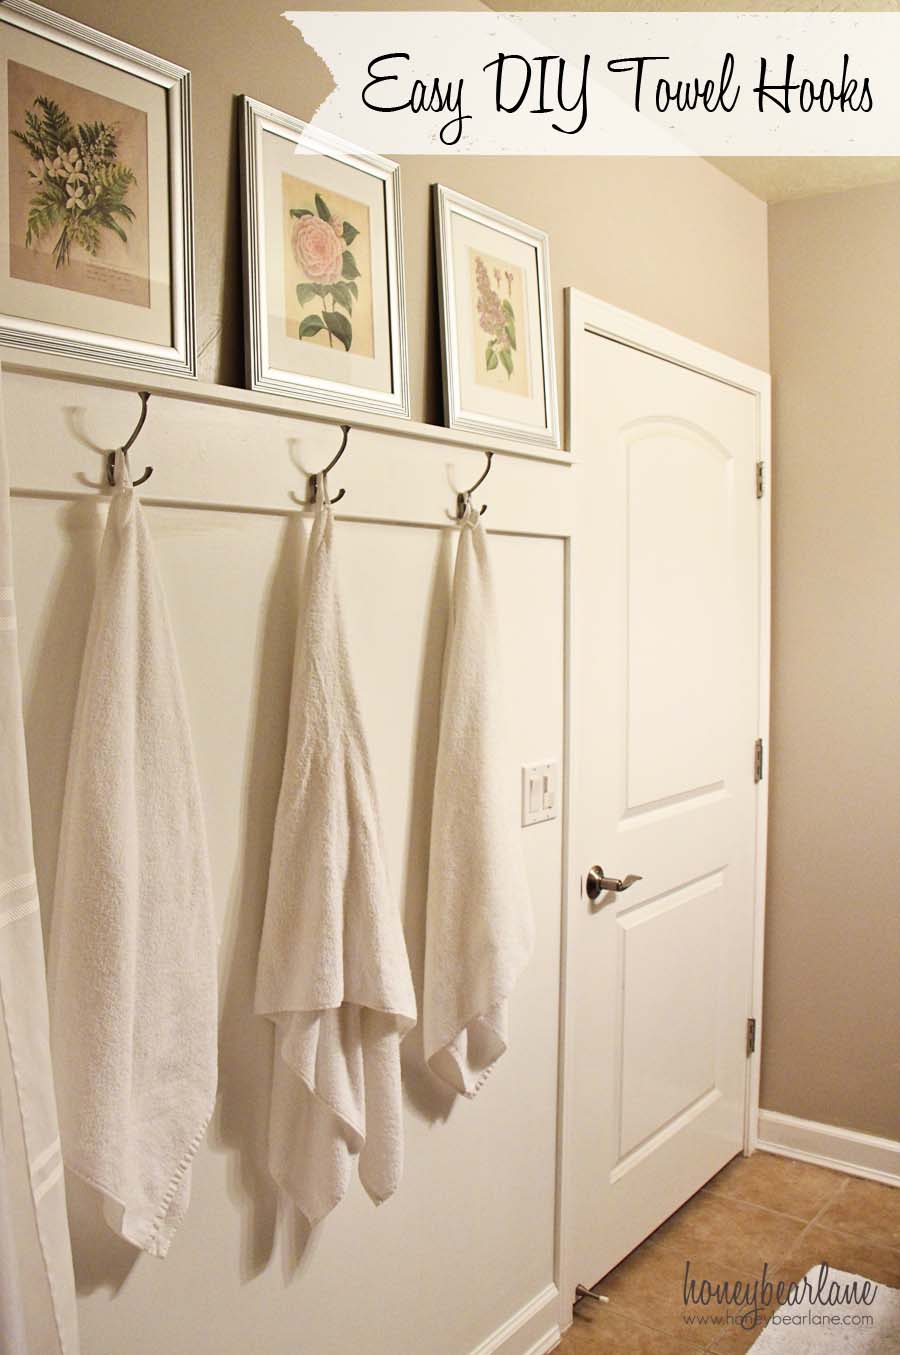
Since storage was my number one goal, I decided that rather than storing lots of towels in the room, I would make a decorative towel rack to just let them hang. I love how nice it looks and how functional it is! And believe me, this was an EASY project. You could probably do this with just a hammer and nails. (It’s easier with a nail gun tho!)
Supplies:
1×6 MDF measured to size and cut
1×2 MDF measured to same size as 1×6
White paint (I used the basic Behr white satin paint from Home Depot)
Ryobi Brad Nailer
Directions:
First I measured the length of the space between the door frame and the shower. Then I headed to Home Depot and purchased a piece of 1×6 MDF that was pre-primed. MDF is great for molding because it’s super smooth and pre-primed. If you want to save even more money, you can buy common boards, but just make sure it’s super straight and has as few knots as possible. You will have to putty those up so they are smooth. If you want a cap like I have, get a piece of 1×2 the same length. Have the guys at Home Depot cut the wood for you or do it at home if you have a saw.

I used a stud finder to find the studs in the wall and I marked them with a pencil. Then I put the board up, and it was cut so dead-on that it actually held in place without anything! But you will probably want to have someone help you by holding it while you nail it in. Make sure you have a level on it so you get it square and level.
Apply some Liquid Nails on the back so it really stays put. Nail into the studs with a nail gun or hammer some finish nails in. The Liquid Nails will dry and then the full weight won’t be on the nails. Make sure you really get the nails down in the wood so you can caulk over the holes.

If you want to put on a cap, I would put it on before putting it all on the wall. I actually put the cap on after, but it will be easier to do it first. You can nail it in with a nail gun or some long finish nails.

Once you have put it up, caulk the edges and nail holes. Caulk is easy, just apply it in a line and use your finger to swipe it into place. Then paint the entire thing bright white, including the wall below. Let it dry for 24 hours.
Once it’s all dry, mark your spots for your hooks and pre-drill holes. Then screw into the MDF and you’re good to go! Use towels with loops on them to hang, and then you don’t have to worry about your kids (or husband) hanging the towels up ugly. I got this towels at IKEA for SUPER cheap (like $3 each) and they already have loops.
This was just one thing I did in my bathroom makeover–I also painted, hung new shower curtain, and put up other shelving units. It has made the whole bathroom feel so much bigger and more practical. I love it!
I love this idea, perfect for a teen bathroom. How high did you place the hooks? Thanks for sharing 🙂
Do you mean on the board or on the wall? They were centered on the board and the board is about 3/4 of the way up the wall.
Where are the hooks from?