Spooky Halloween Signs
I’ve teamed up with a group of 75 bloggers to share tons of Fall Harvest Ideas with you! From crafts, to recipes, to home decor and more…we have you covered for Fall inspiration!

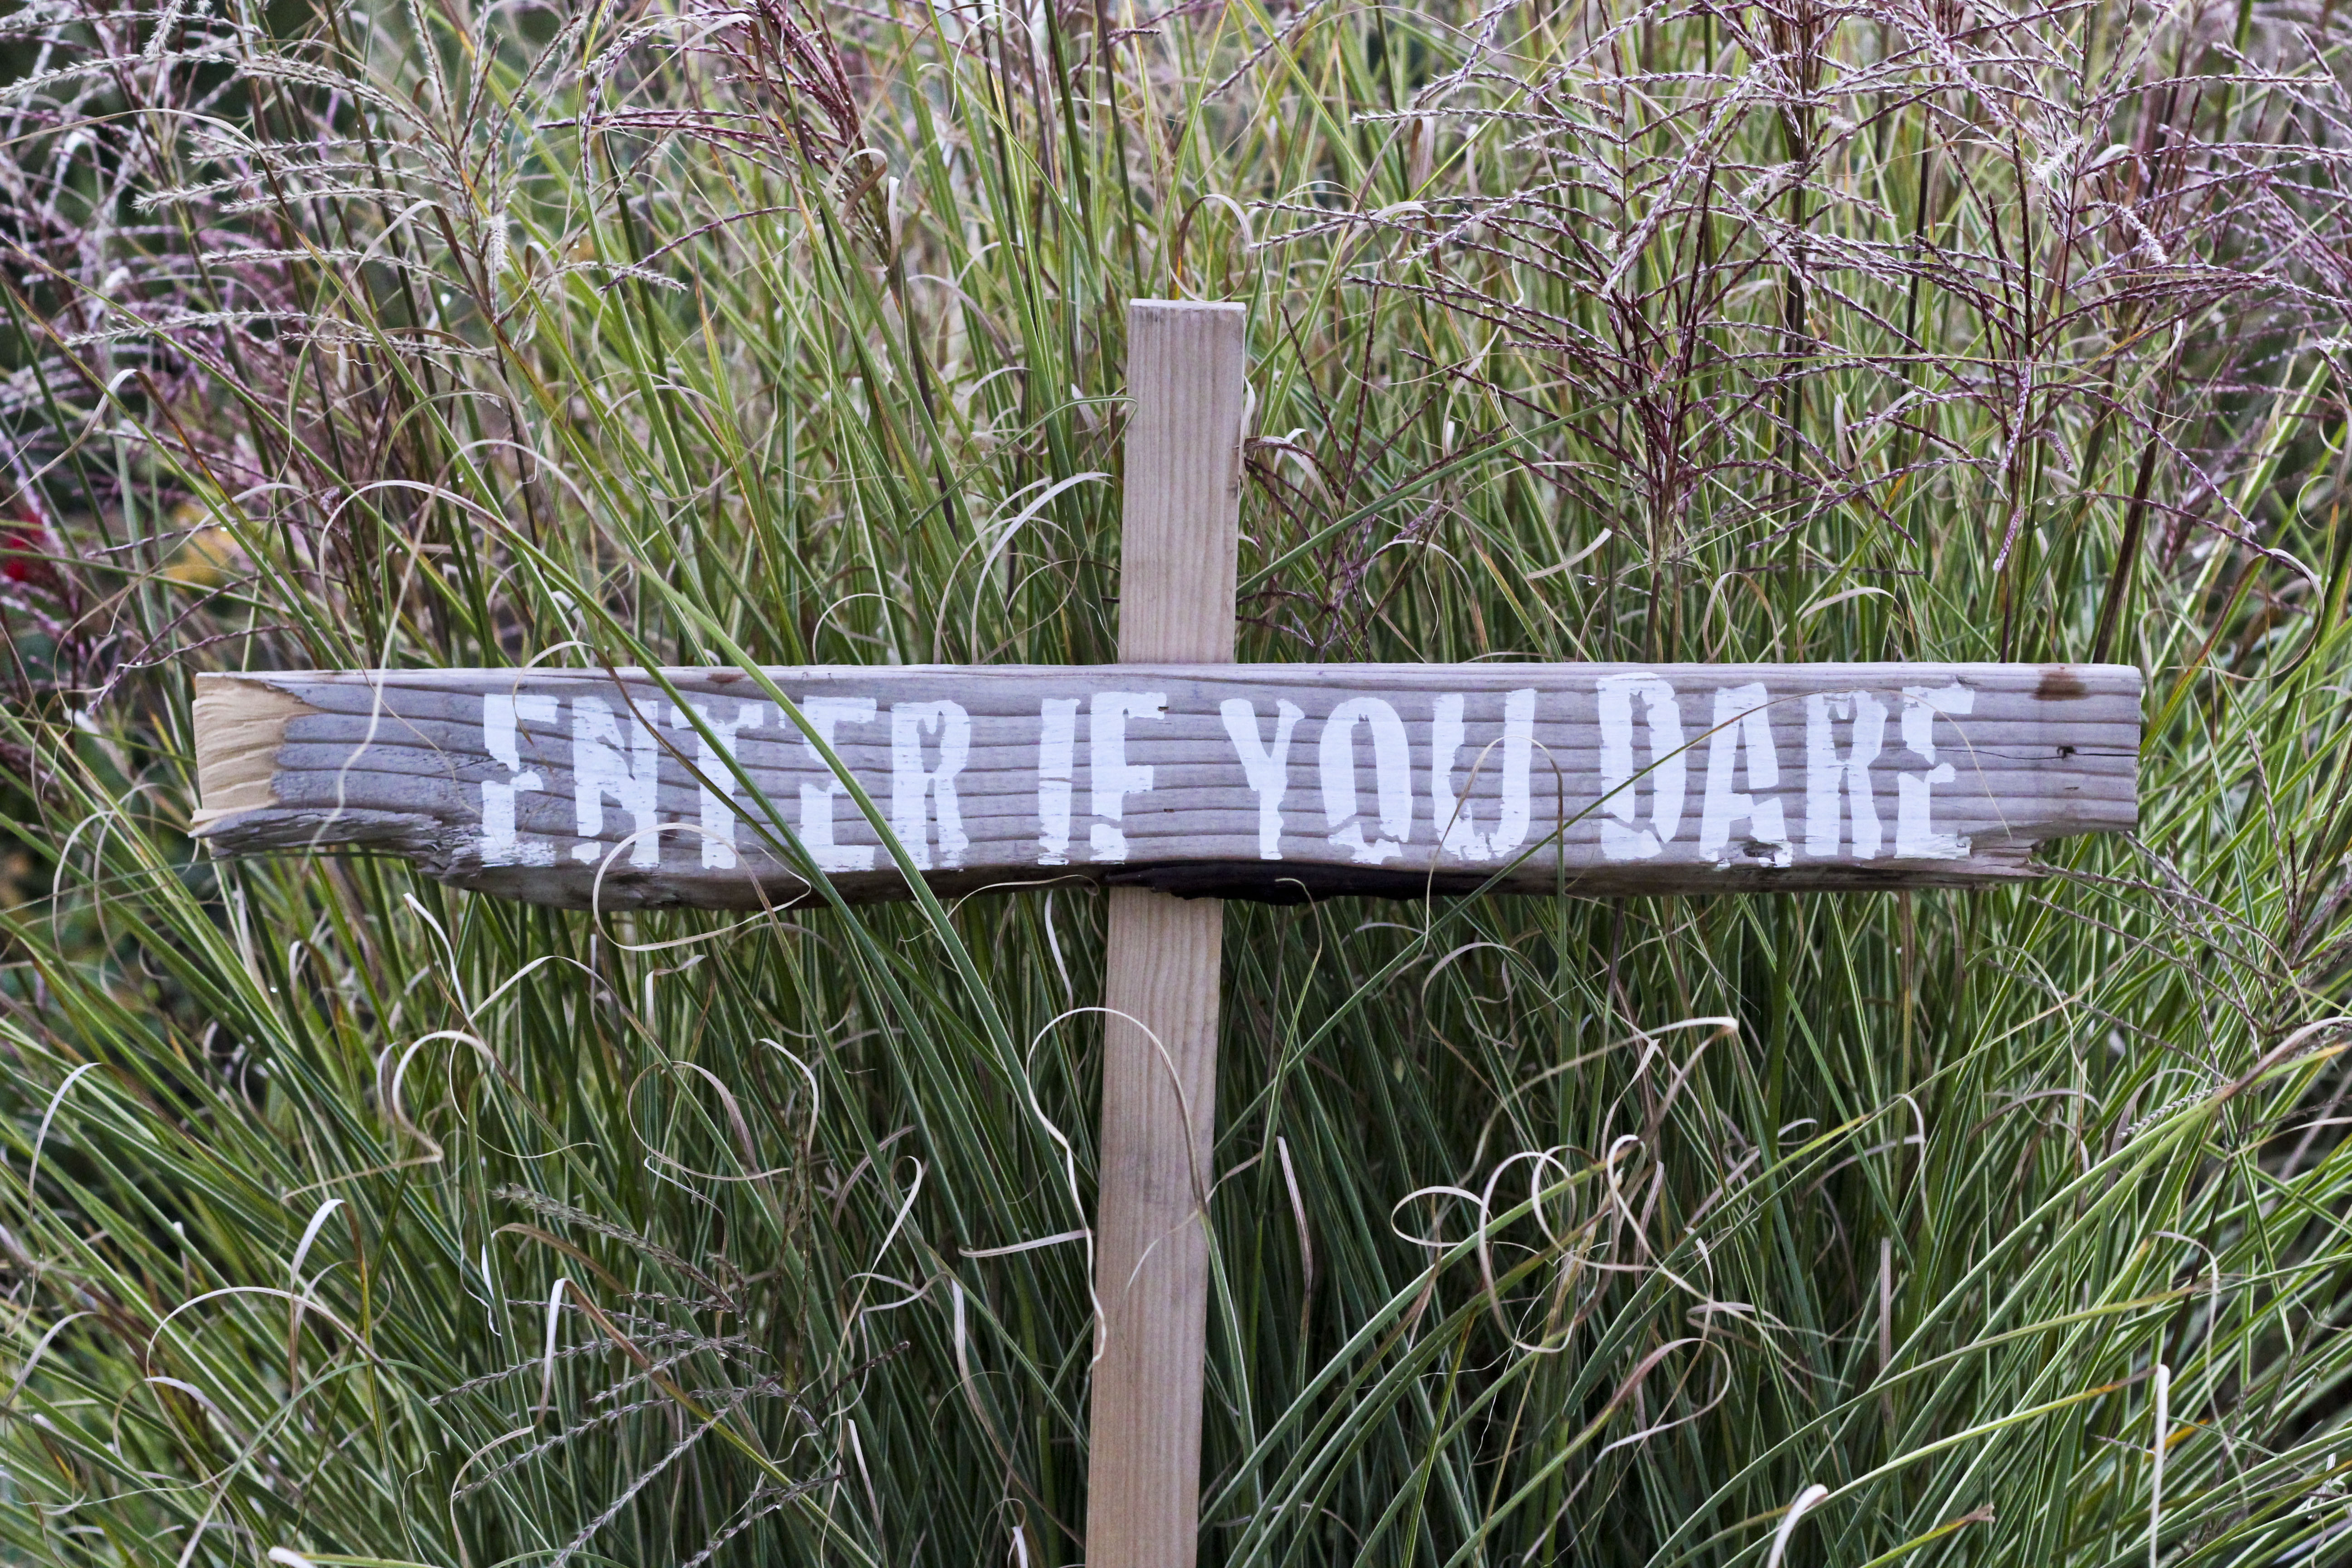
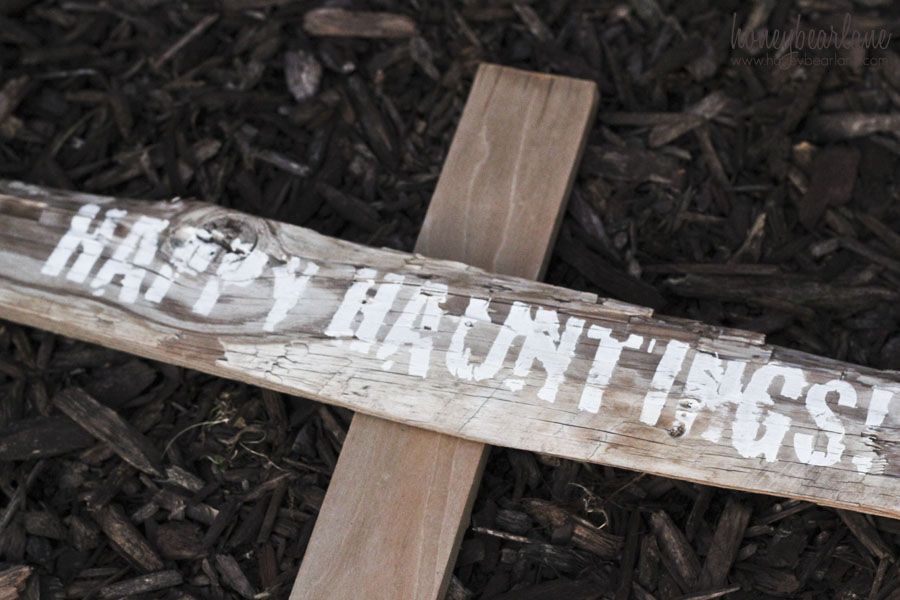
One of my favorite parts of my Halloween party was the signs I made–which I haven’t shared yet, until now. I had several pieces of this old very rustic wood, and I knew I wanted to do something with it. I wasn’t sure what since I didn’t have a whole lot of it. But one thing that came to me were some spooky halloween signs that remind me of Sleepy Hollow, to guide my party guests to the back yard.
I used my Silhouette for this project, which to be honest, has been such a long time since I’ve used it, was kind of starting to scare me that it would take forever. I have never been the best with the craft cutters. But I was determined to overcome my fears and I pulled it all out. And it was actually the quickest Silhouette project I’ve ever done!
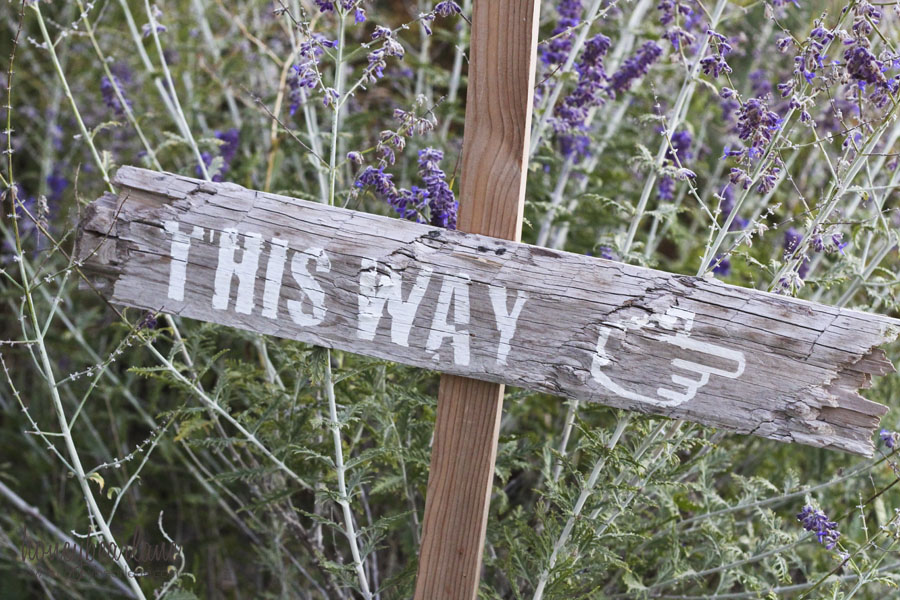
Signs are a great project and not hard at all. Don’t be skeered!
Supplies:
- Craft Cutter (like a Silhouette)
- Vinyl
- Paint (like Decorart Chalky Finish)
- Rustic wood
- 1×2 (for the sign post)
- Screws or nail gun
First, I opened up my Silhouette program and designed the files for my signs. I used the Cracked font. And I have generously provided the Silhouette files for you because I’m so nice. 🙂 Also, please excuse the crappy picture below–it was taken quickly with my phone.

Then I cut out the designs on the vinyl I had on hand. I removed the letters so I only had the negative space. I used transfer paper to apply it to the wood, and it was a little tricky because the surface of the wood was so rough.
Then I dabbed on some white paint (I used Decoart Chalky finish in white) and removed the vinyl while it was still wet. This is key to getting crisp lines but the font was very forgiving. Once it was dry, I sanded it lightly.
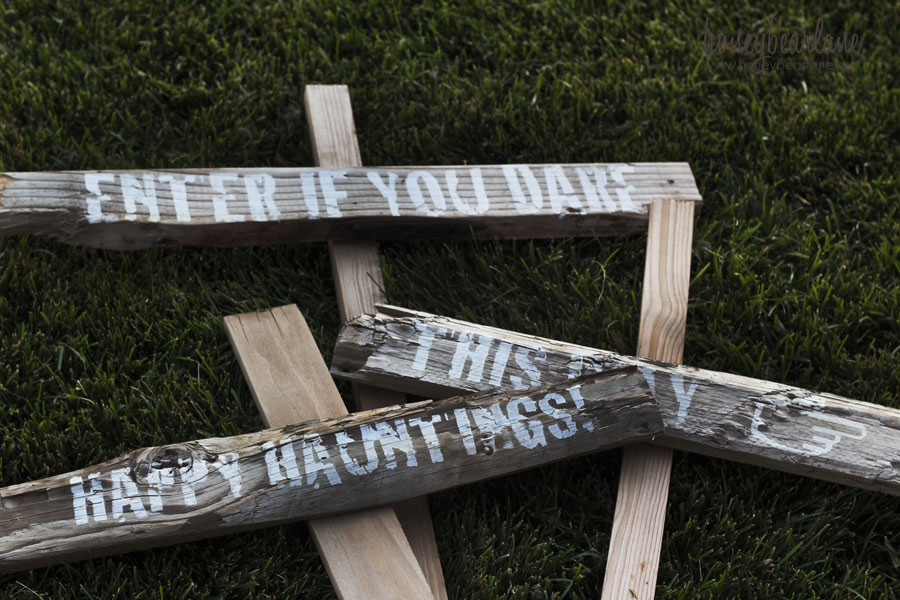
I used 1x2s (and one .5×4) that I had on hand for the signposts. I used my miter saw to cut the end into a sharp angle so it would go into the ground easier. Then I used my nail gun to nail the signs to the post. This wasn’t the most stable way so I would recommend a screw from the back (1 1/4″ will be a good length.)
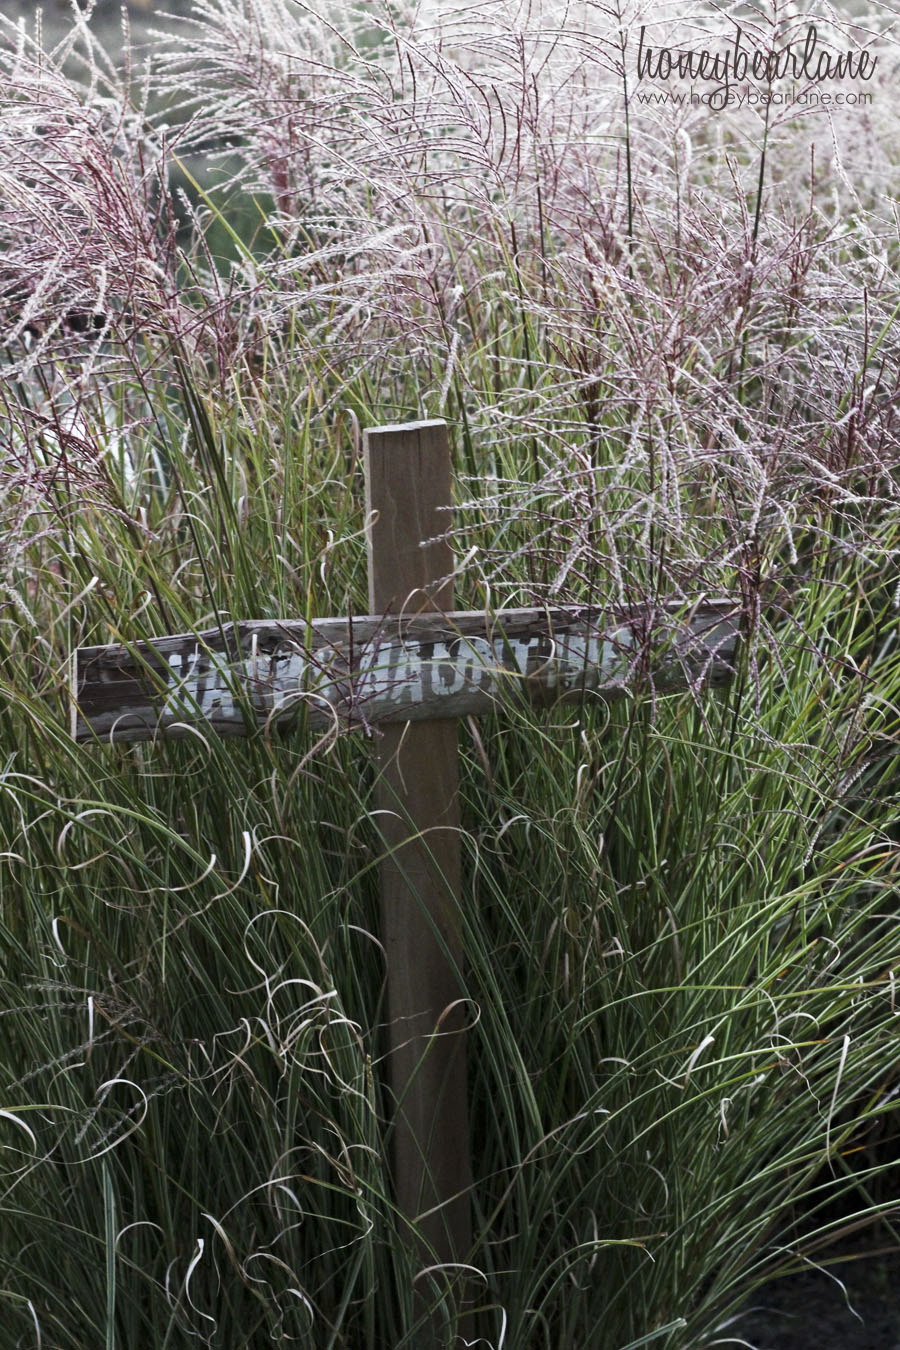
I love these signs and I can use them for years to come for all the Halloween parties I plan to throw 🙂
Check the gallery below and visit some of my blogging friends to see their awesome ideas!!
One Comment