Sharing is caring!
*This post contains affiliate links. Please read my full disclosure here.
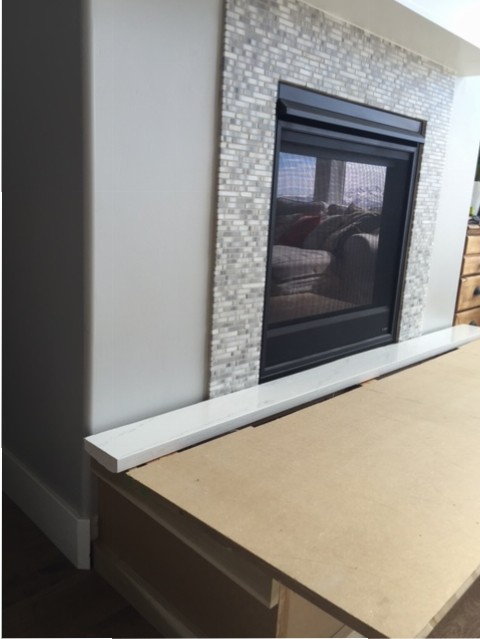
I first placed a couple of pieces of our old quartz backsplash (from our DIY kitchen backsplash project) on top of the hearth to get a basic idea of where the mantel had to sit. I’m glad I saved those!
Then I ripped off the old mantel. Easier said that done! I didn’t want to damage the TV or sound bar above it so I didn’t just go willy nilly on the thing. I ended up completely dismantling (no pun intended!) the mantel with a reciprocating saw and a 12″ construction blade that cuts through metal. It was actually super hard, which in fact the entire thing was held to the wall with a few nails and caulk. Sigh. Underneath the mantel were a couple of boards screwed into studs.
Wow! That looks so great! Thanks very much for sharing as this is exactly what I’ll be doing next month! Timing! 🙂 I love the crown moulding! I cut scotia (cove) for the first time recently, and it nearly did my head in trying to match the cuts up correctly. Eventually discovered I had to place everything on the saw backwards and upside down! (I’ve kept samples with instructions written on them for next time! Nearly drove me nuts!).
Thanks again, Heidi. Well done!
Cheers, Liz (Australia).
Thanks! Good luck with yours!