Painted Weathered Wood Tutorial
I’m guessing that most of you have seen my DIY farmhouse table and bench post, right? This was my first major furniture build and I absolutely LOVE my table and do not regret building it at all. Yes–I just bought less than $100 in supplies, spend a little time and practice building this table, and BOOM saved myself about $3000 (since all similar tables in stores were at least that much!)
However, when it came to finishing it, I made one crucial mistake that ended up causing tons of problems. I used the WRONG sealer. I used DecoArt Soft Touch Varnish. I actually like this finish for tables that aren’t used a lot, it’s similar to wax but a lot easier to apply. But it was the absolute WORST finish for a kitchen table.
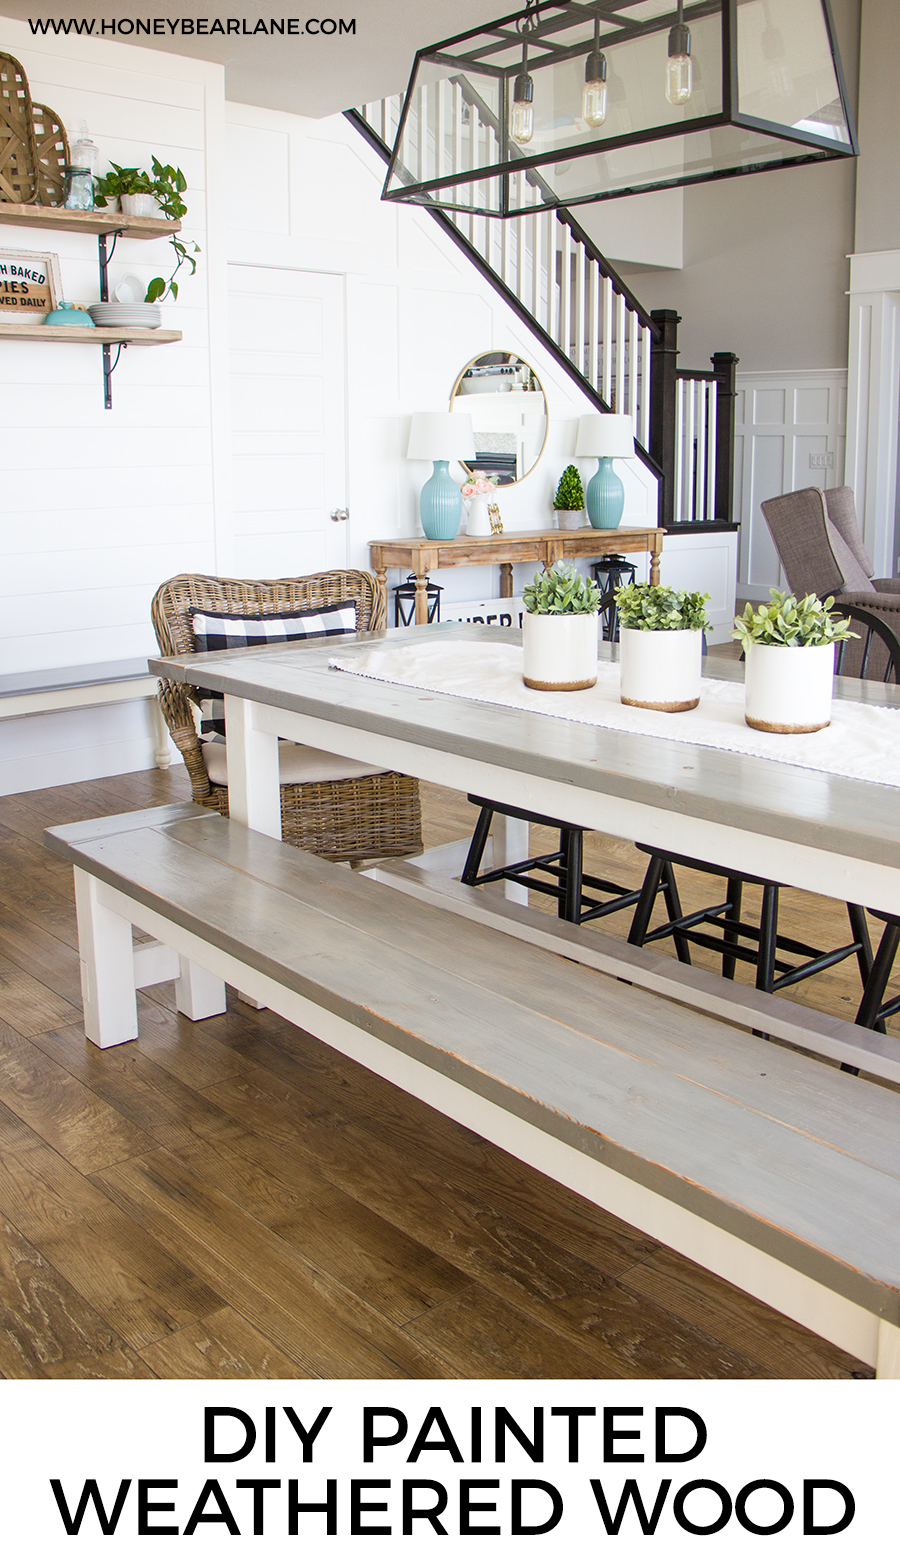
My kids beat up my table. They get all kinds of food on it in addition to play dough, marker, crayon, pencil, pen, watercolor, etc, etc, etc. So much stuff. And some of it would leave a stain behind so I would pull out Oxyclean or Bar Keeper’s Friend and both of them would get the stain off but then take off the finish AND the stain and leave a giant and obvious bare wood spot. The worst part about the finish though was that it was always sticky/tacky. It felt like a giant popsicle had melted on it and could never get cleaned off. I knew that it bothered people when they would eat over and that embarrassed me. So please save yourself some time and do not use this finish for a kitchen table.
See how bad that looks?
So what finish should I use? Polyurethane. Hands-down. Polyurethane is an alkyd varnish with polyurethane resin added–which adds scratch, heat, solvent, and water resistance. It dries to a hard and smooth finish and it very durable when applied correctly. I’ll get to that part in a minute.
So my table, which had been finished in this gorgeous weathered wood finish (get the tutorial for that here!) was looking worse and worse by the day because it simply wasn’t protected by anything. I was prepared to haul the thing back outside this summer and strip the entire top and refinish it…although I also considered just building a completely new top so I could just rip off the rounded edges of the planks and make the cracks flush. Either way, it was going to be a major project and one I really didn’t have time for.
So this last weekend, the thought occurred to me that I could just paint it. I love white, but I’ve had a white table before and it was a nightmare to keep clean, even with a good finish. Plus I have a lot of white in my house already. So I thought “what about gray?” I happened to have a few new pots of some DecoArt Satin Enamels, which is a paint that doesn’t require sanding beforehand, adheres to anything, and is very durable and smooth. I had one called Gray Taupe and one called Smoke Gray and I thought if I mixed the two I could get the color I wanted.
Here’s a list of supplies I used:
(affiliate links, see my disclosure)
- Paintable caulk
- DecoArt Satin Enamels Gray Taupe
- DecoArt Satin Enamels Smoke Gray
- DecoArt Satin Enamels Pure White
- Minwax Semi-gloss Polyurethane
- 4″ foam rollers
***Before I started painting I should mention that I caulked all the cracks. This would NOT work if you are using stain but caulk is meant to be painted. So if you want to paint your tabletop, go ahead and caulk any cracks. Just make sure the caulk is ONLY in the cracks because if you leave residue on the tabletop it doesn’t sand off easily and it will be apparent through the paint.
I poured the entire pot of Gray Taupe in my tray and started rolling it on with a 4″ foam roller. But I didn’t like the color…it was reading very pink. So I mixed in about 2/3rds of the Smoke Gray and then it was much better. It dried to a perfect gray that matches my walls perfectly.
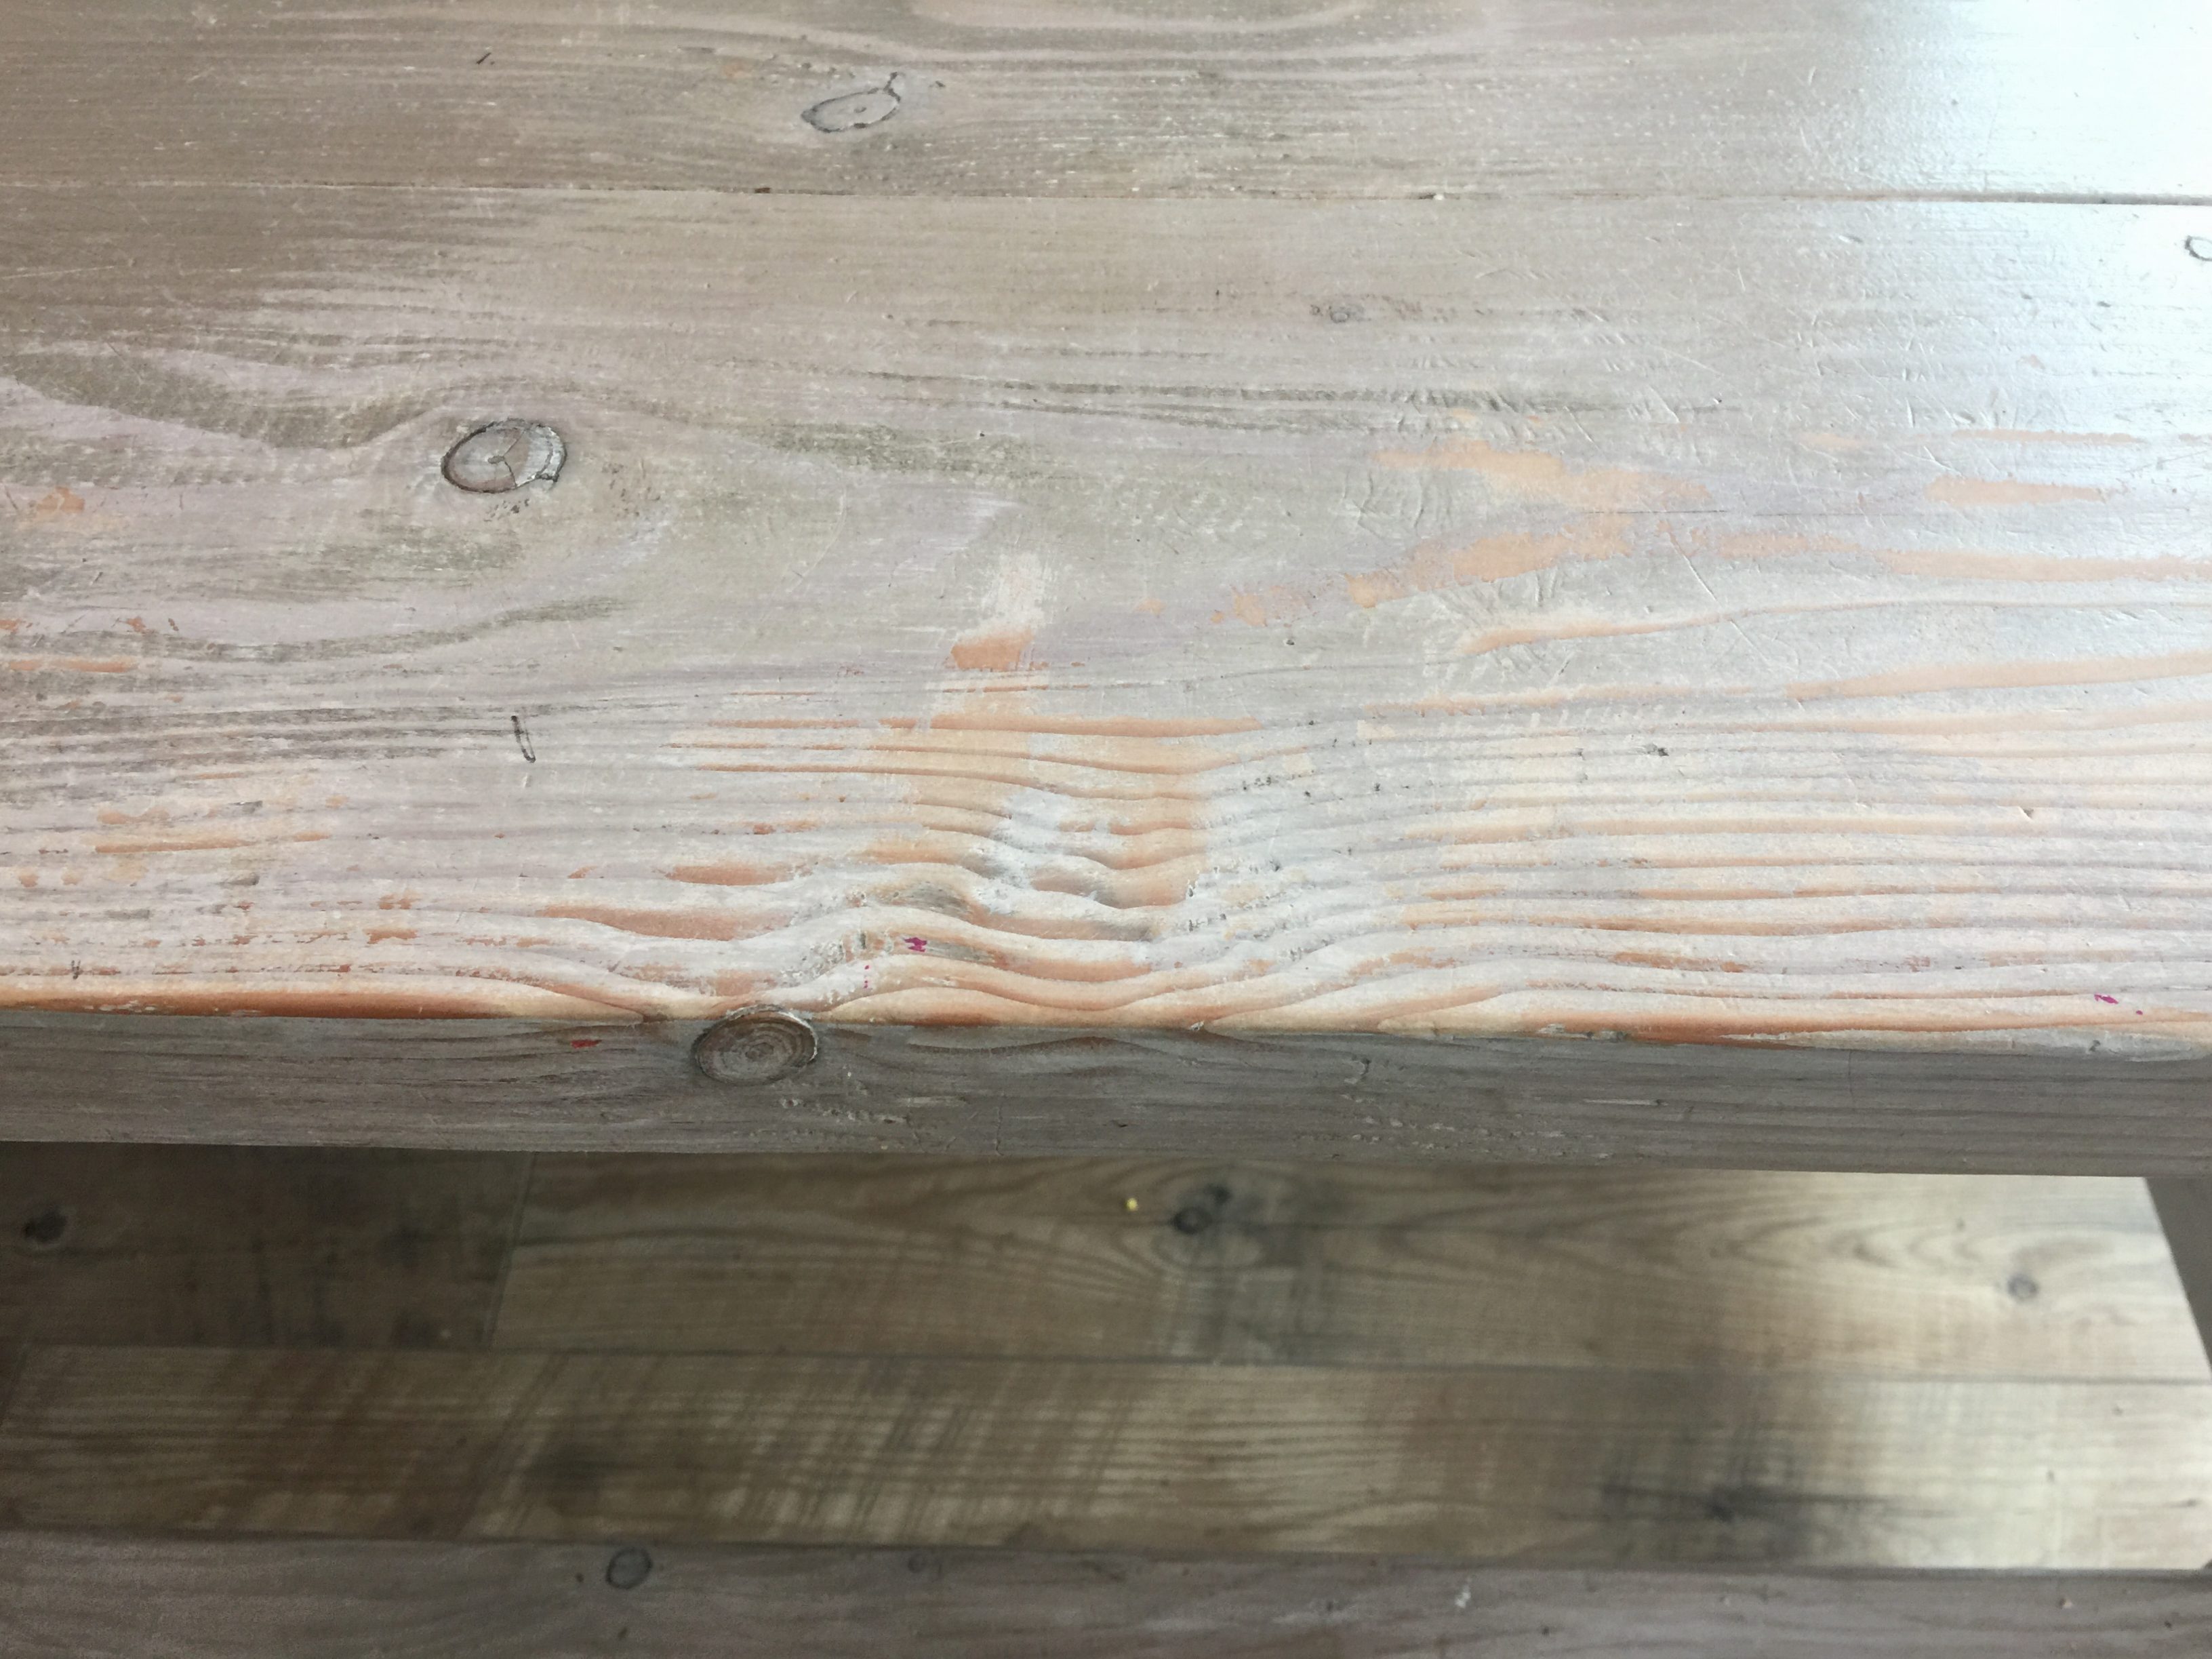
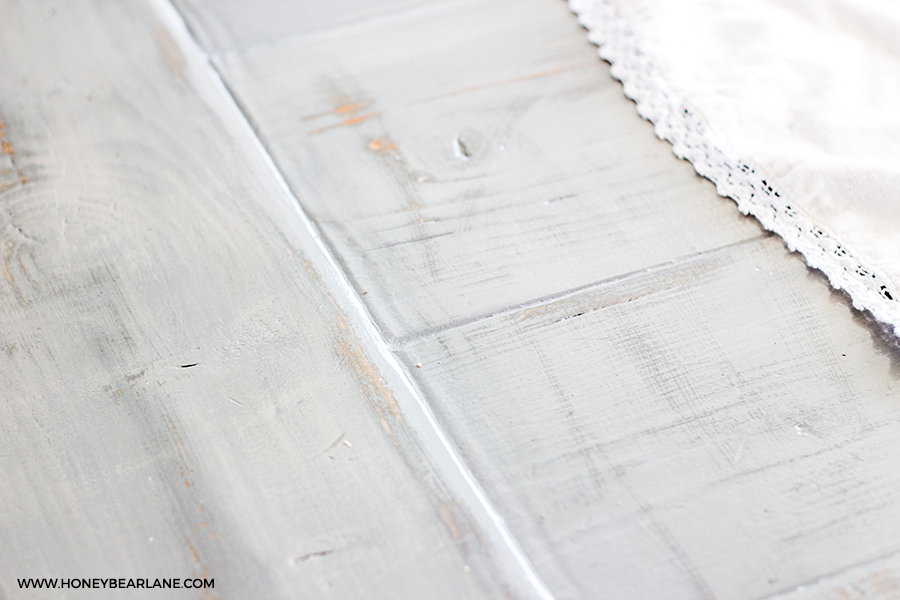
I painted the entire surface this gray color as well as the top of the bench. Once it was completely covered and dry, I knew I wanted some interest and depth to this tabletop. So I started to dry brush the Gray Taupe on the top. I was struggling with it though…it just looked so obvious and fake. So I got a damp paper towel and as I brushed on the Gray Taupe (more generously this time), I followed it with the wet paper towel.
The paper towel adds a little more water to the paint and made it spread around more naturally. It ended up adding a beautiful pattern to the plain gray and really helped bring out the wood grain. I did this all over the table and bench top and let it dry.
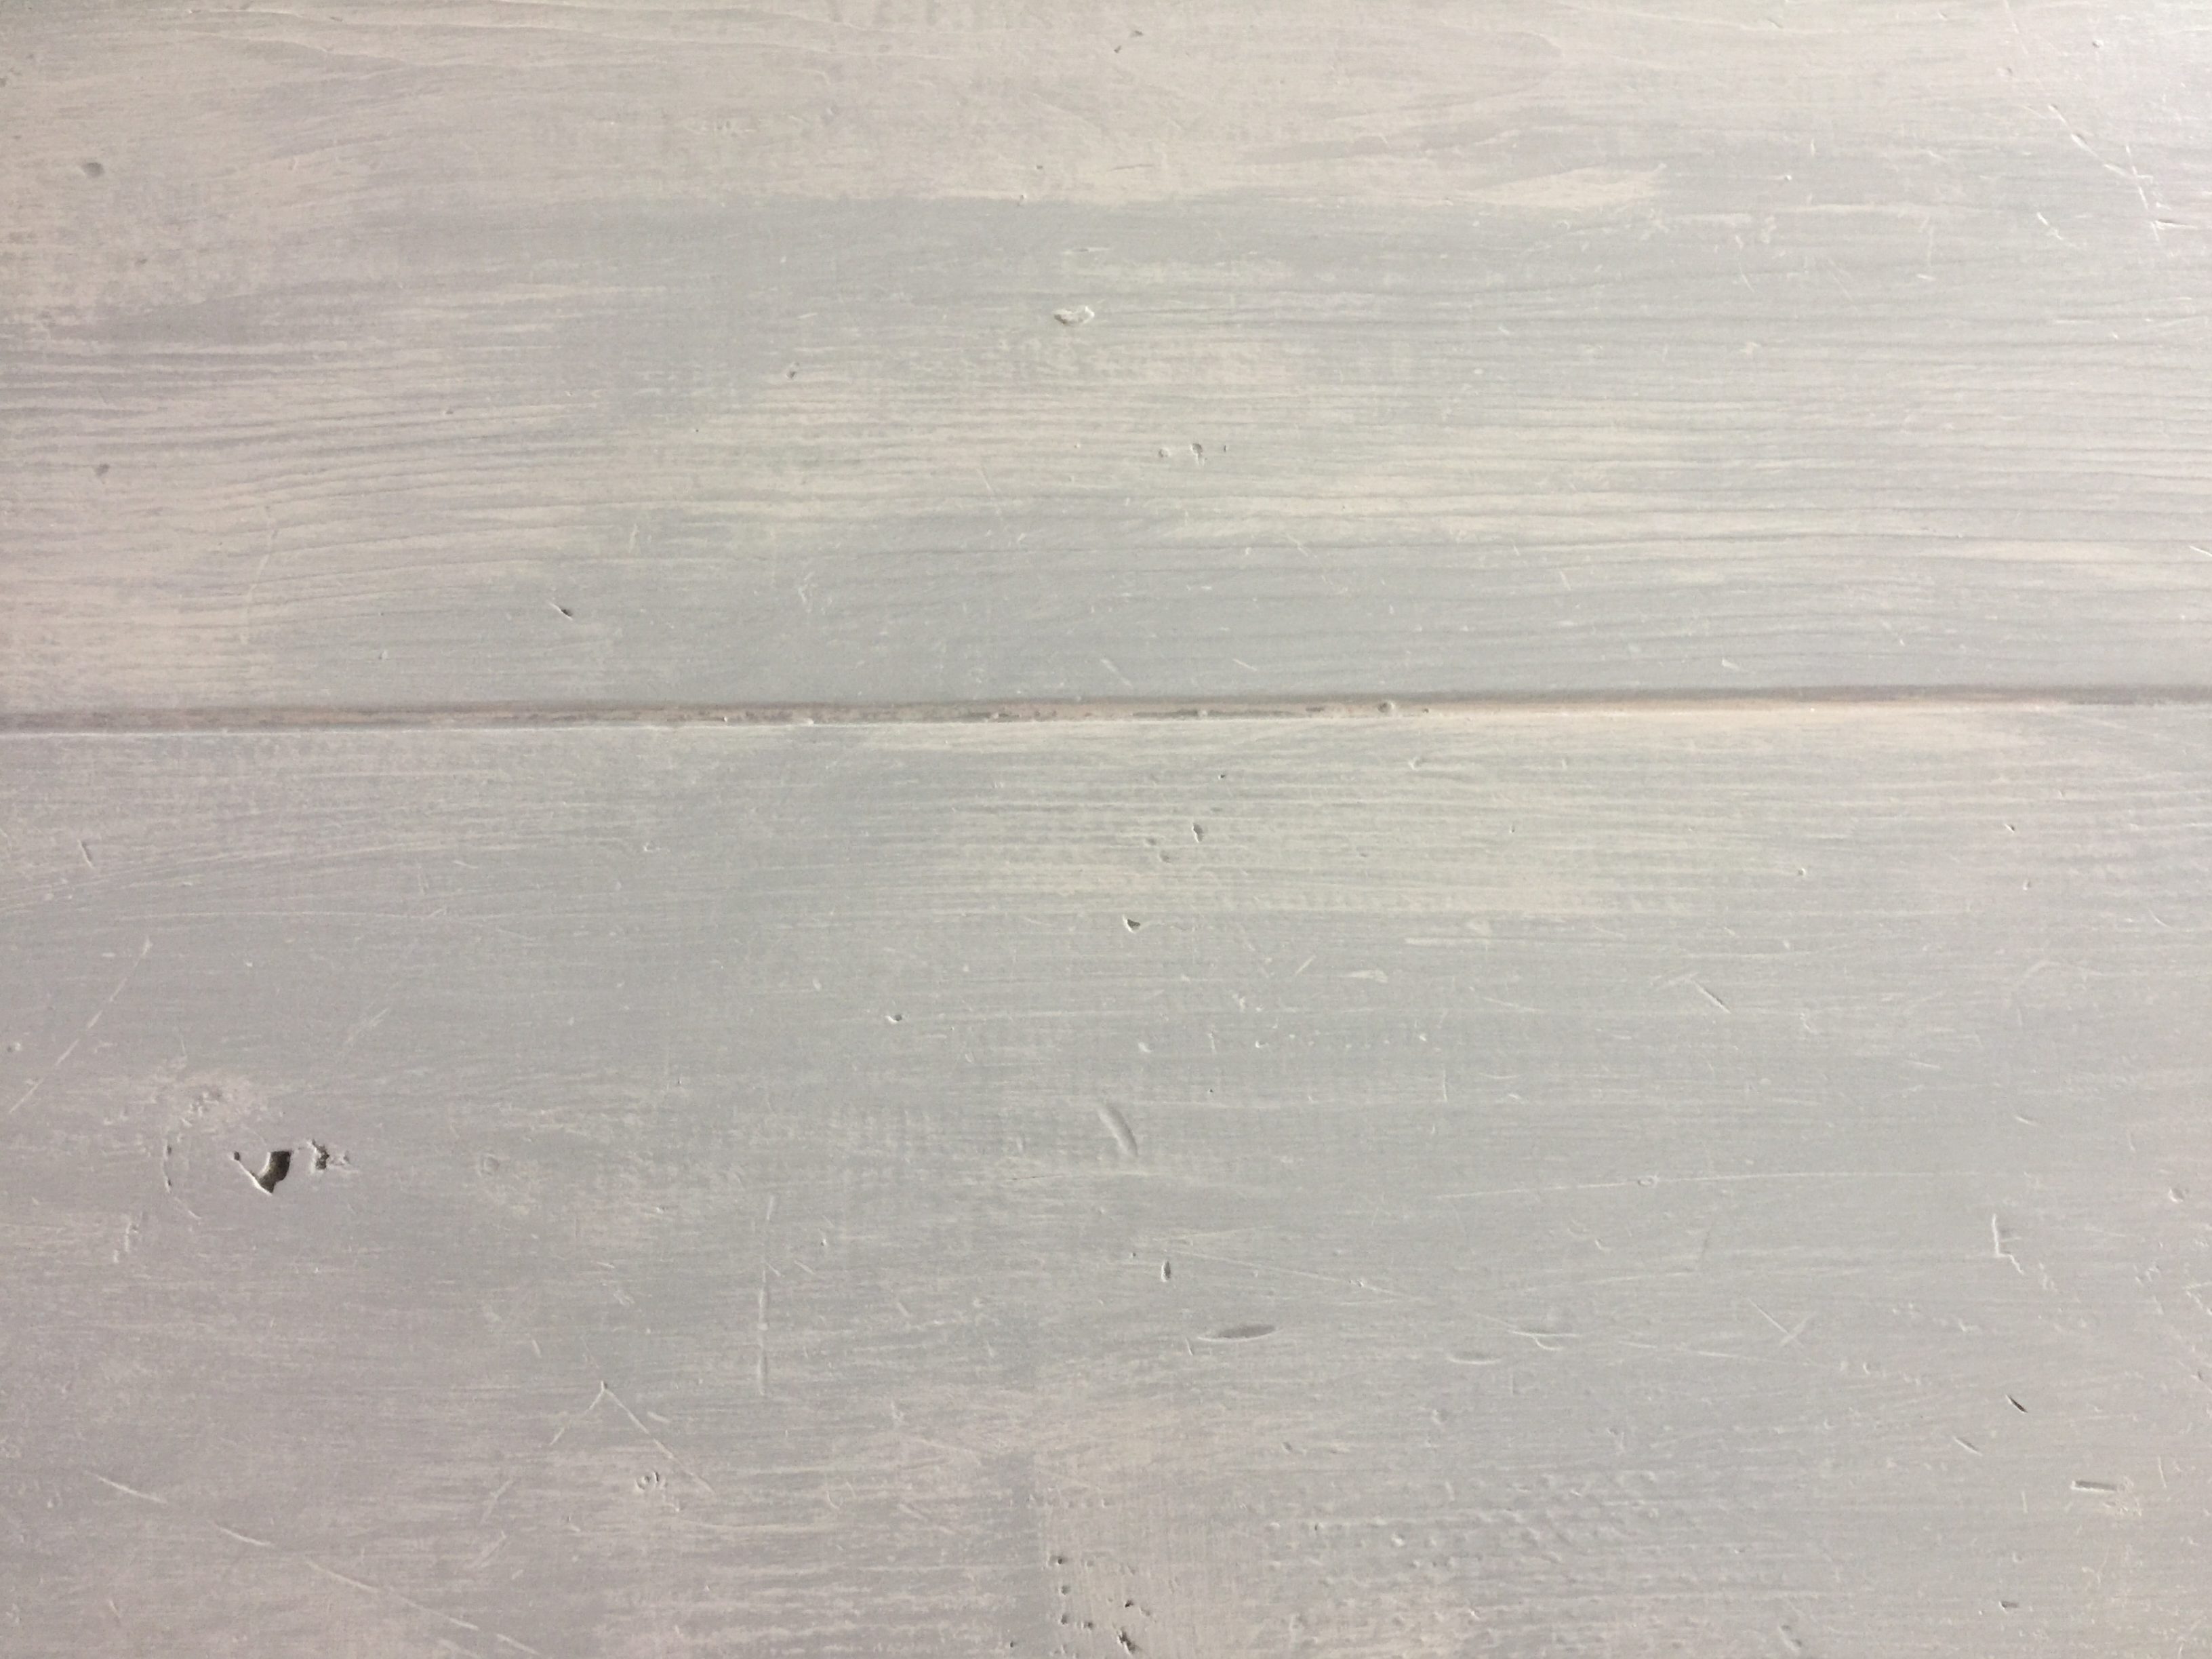
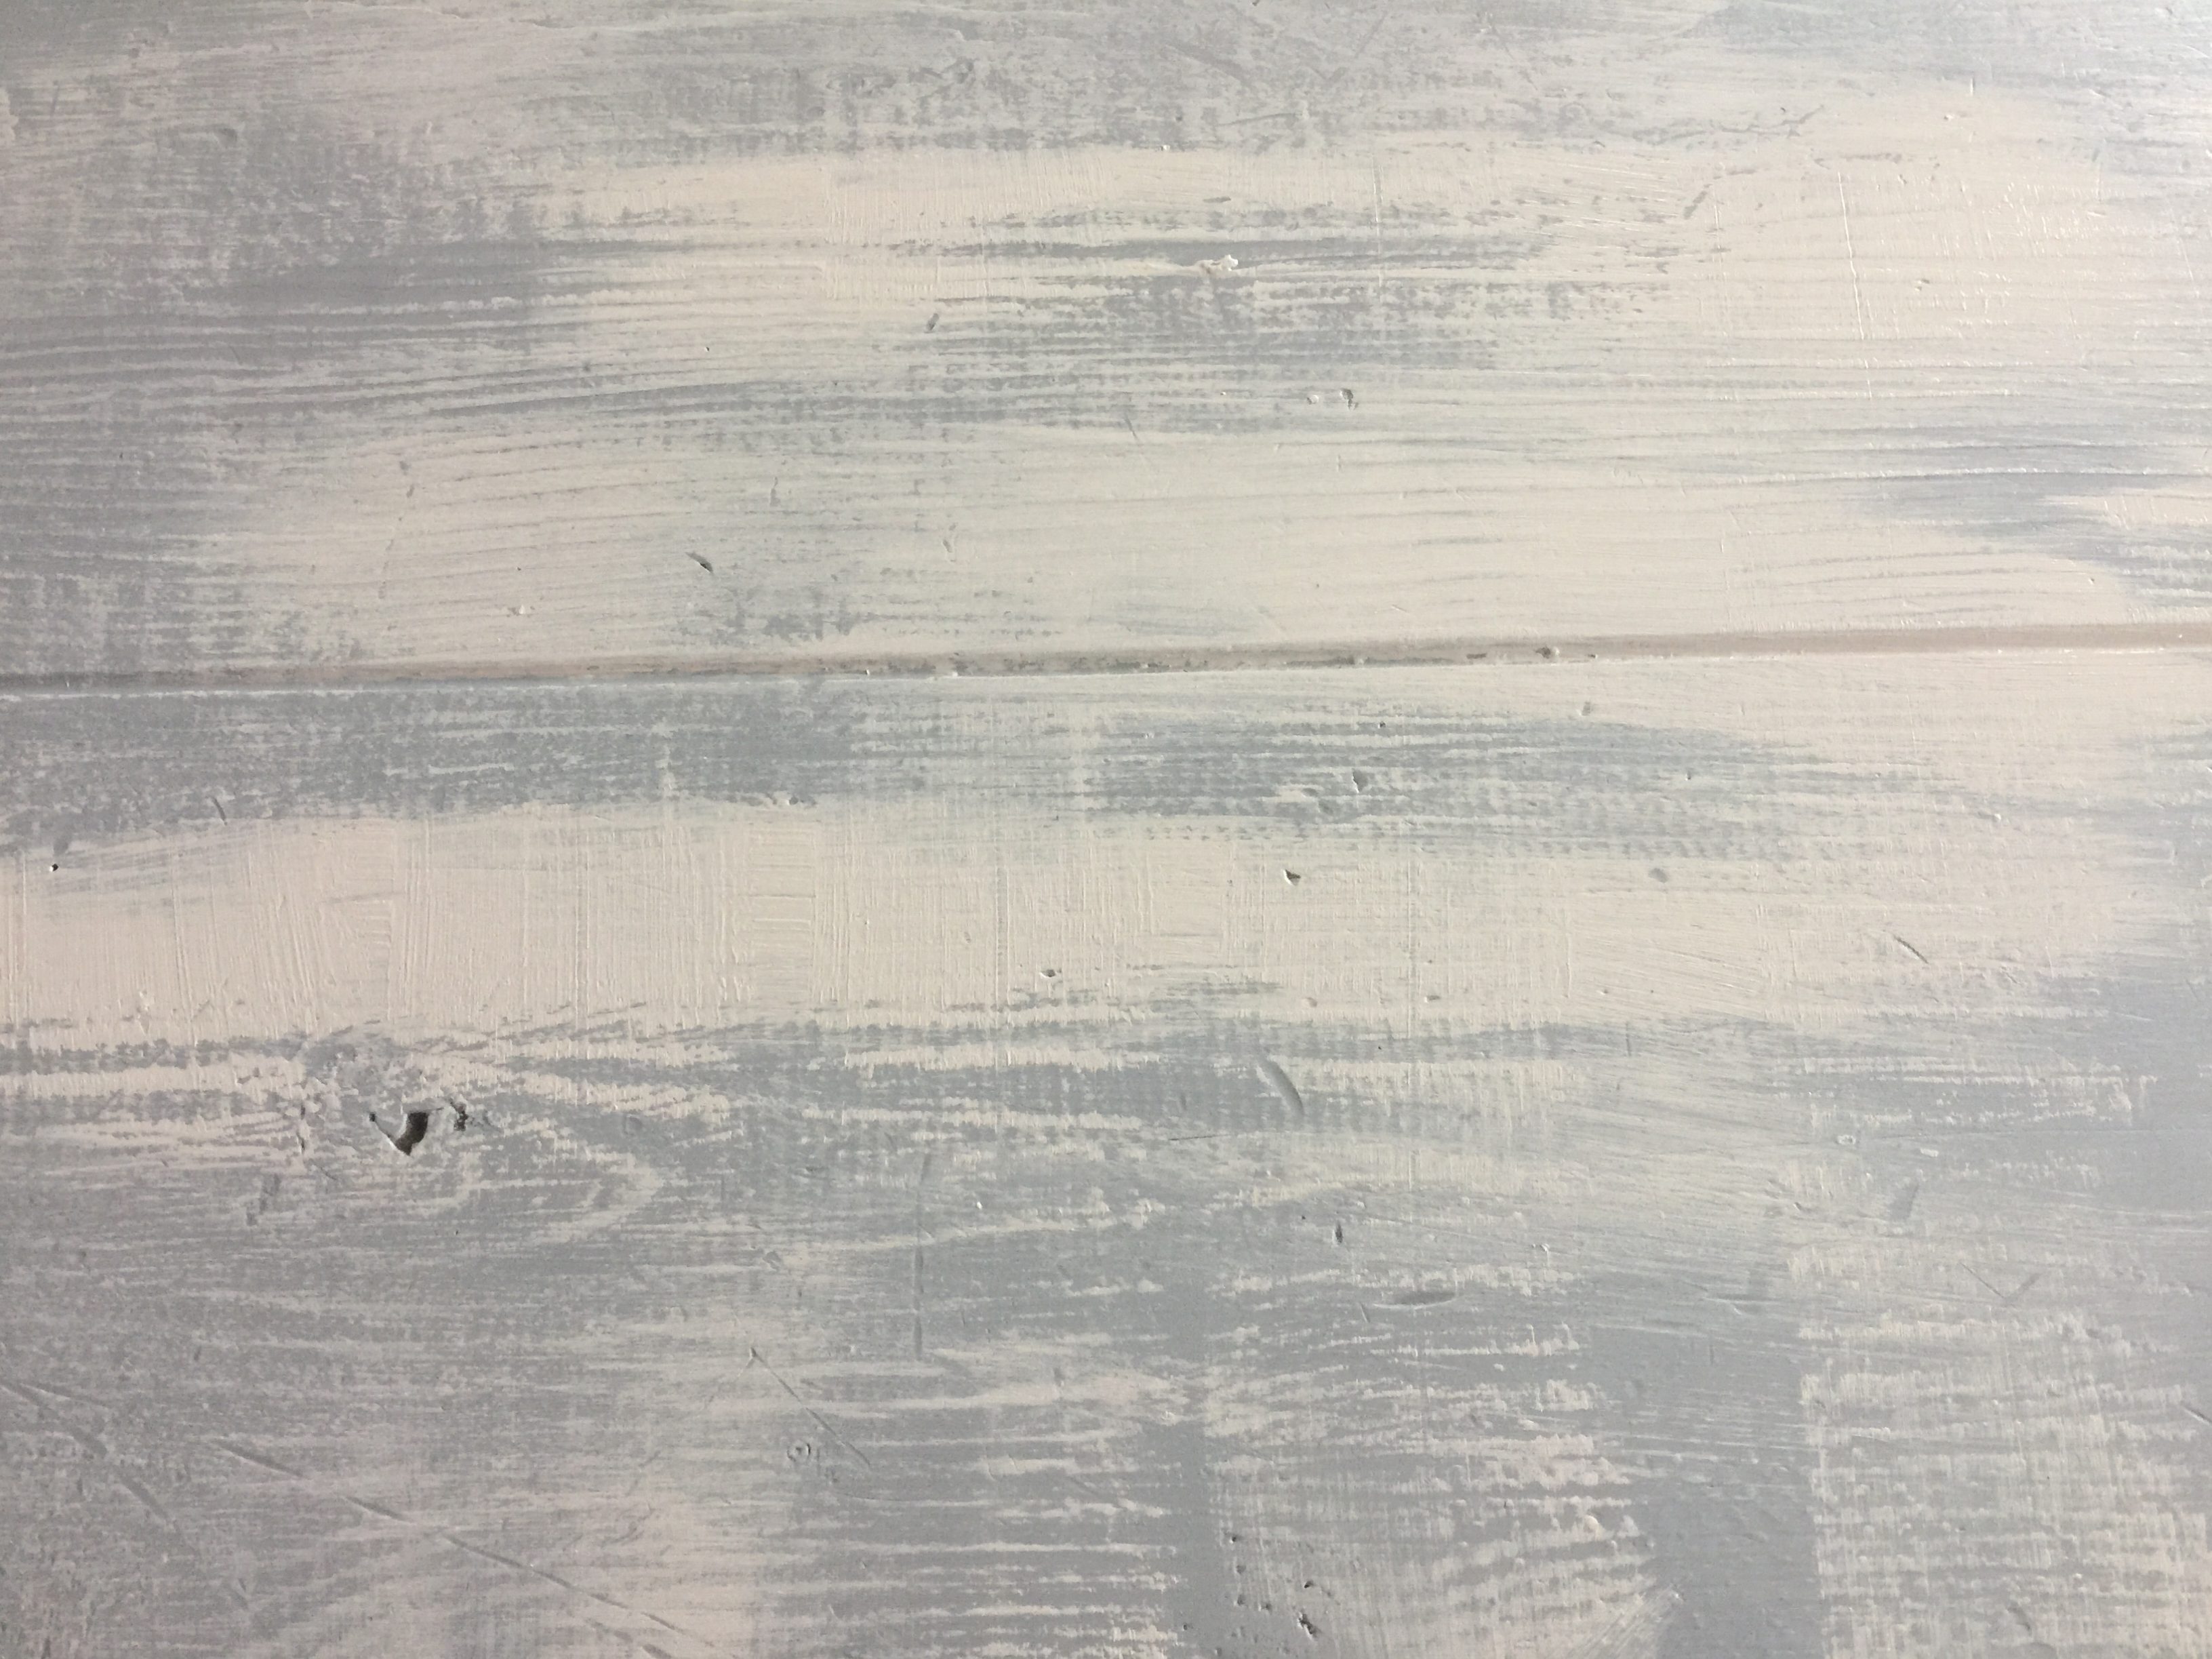
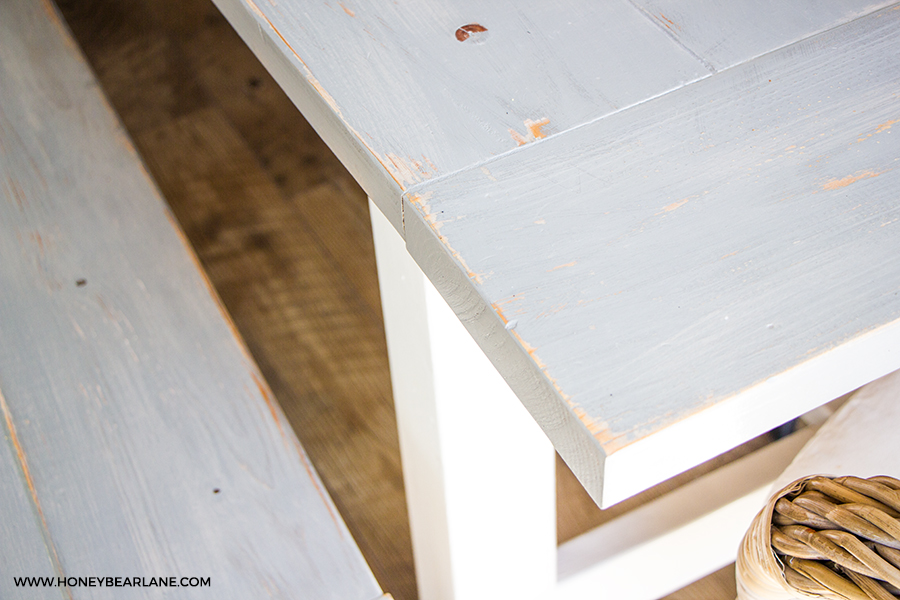
The last step was to take some sandpaper and sand the entire surface to distress. I went over the edges and all the places where it would naturally distress, but then ran my paper over the grain (in the direction of the grain) to further help bring it out.
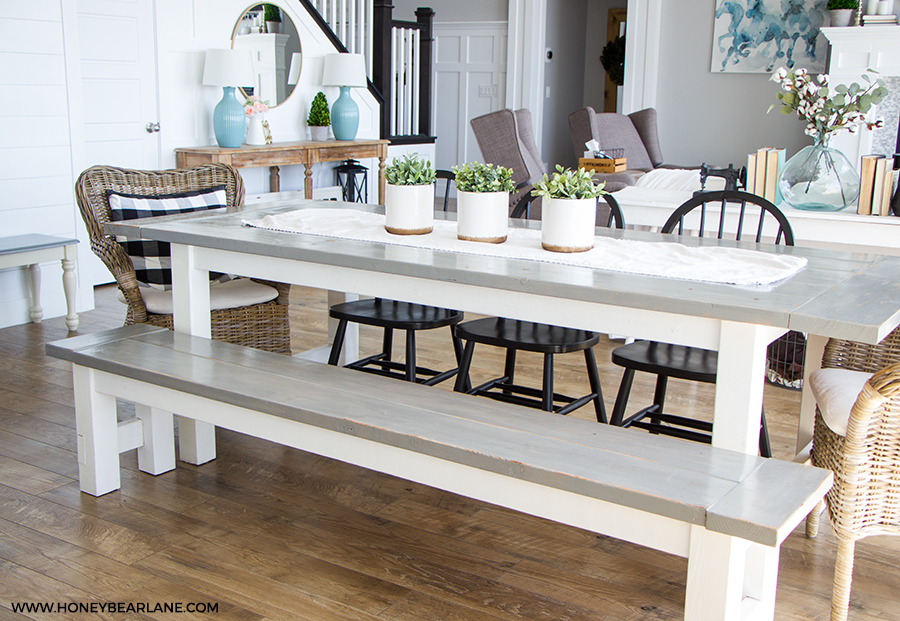
I ended up with a painted weathered wood effect that I really love. It’s gorgeous! And the best part is that I was able to refinish my table without having to strip or sand it down first. This whole process took a few hours.
I then used the last pot of DecoArt Satin Enamels in Pure White to give the base of the table and bench a fresh coat.
Polyurethane:
The last and most crucial step was the polyurethane. I purchased a quart of semi-gloss (the higher the gloss, the easier it is to clean) and mixed it up. Then I rolled it on with a foam roller. It left bubbles behind but they all popped as it dried. I did a thin coat and left it overnight to dry. In the morning I went over it with the sandpaper, just gently to smooth it out. I wiped off the dust and then applied another coat. I repeated this process once more for a total of 3 coats. I also applied it to the base (for two coats).
So a quick run-down of this process:
- Caulk the seams, let dry
- Paint the surface in gray, let dry
- Use a dry brush/wet paper towel method to add a slightly lighter color to bring out the wood grain, let dry
- Sand to distress
- Apply several coats of polyurethane, with several hours of drying time in between.
Now I have that nice hard, non-sticky finish that I wanted the first time. Some day I will probably just build an entirely new table (just because I like to change things up as I improve my wood working skills) and I could sell this one in good condition. And in the meantime, it looks great in my house and is super durable to my kids’ destruction!
Be sure to check out the other posts in my table saga…

Thanks for the updated post! I had only stumbled across it when I went to follow you on instagram! We’re going to start building a table soon. I was wondering if you considered just oiling the table? would that seal the table? I can’t wait to start making some pieces like I want rather than compromising on the style that shops sell. Thanks for your great blog – all the way from New Zealand!
You could technically seal the table with oil but it does not offer any kind of protection and kitchen tables need the most protection. Trust me, unless you want your table very beaten up quickly, please seal it with polyurethane or polycrylic!
Heidi, thank you for the updated post. After shopping around for months, it was your original post that inspired my husband and I to build our own dining room table. I was obsessed with your table but after seeing that you were having issues with the finish on the top we decided to do a light stain (weathered oak) and then a polyurethane finish. We found one by Benjamin Moore that is clear and has more of a matte finish which we love. Your update gives me more confidence that we did the right thing with our newly completed table. Thank you again!
Sounds beautiful–I’d love to try that Benjamin Moore finish that is matte!
So does polyurethane yellow on white? The house we moved into has gorgeous light maple floors (at one point) but the previous owners polyurethaned them to make scratches formtbeir dogs less visible. This make the floors a yellow rather than vanilla. Their floors were very very glossy. We got rid of them and are installing a darker hickory. But for a table I’m curious.
So far it hasn’t yellowed my table at all, but it went over a gray paint. I think it does bring out the yellowness in wood though.
Nhưng tôi không thể lúc nào cũng ăn mặc
như vậy được.