Skip to content
Home
About
Contact
Shop
Expand
Patterns
Facebook
Instagram
Pinterest
Twitter
Search
DIY Tutorials
Expand
Projects
Building
Sewing
Quilting
Crafts
Home Decor
Expand
Home Decorating
Honeybear House
Organization
DIY home decor
My Home Tour
Recipes
Holiday
Expand
Valentines
St Patricks Day
Easter
Spring
Summer
July 4th
Fall
Halloween
Thanksgiving
Christmas
Entertaining
Expand
Printables
Parties
Wellness
Expand
Essential Oils
Health and Wellness
Weight loss
Toggle Menu
Facebook
Instagram
Pinterest
Twitter
Search
Author: Heidi @ Honeybear Lane
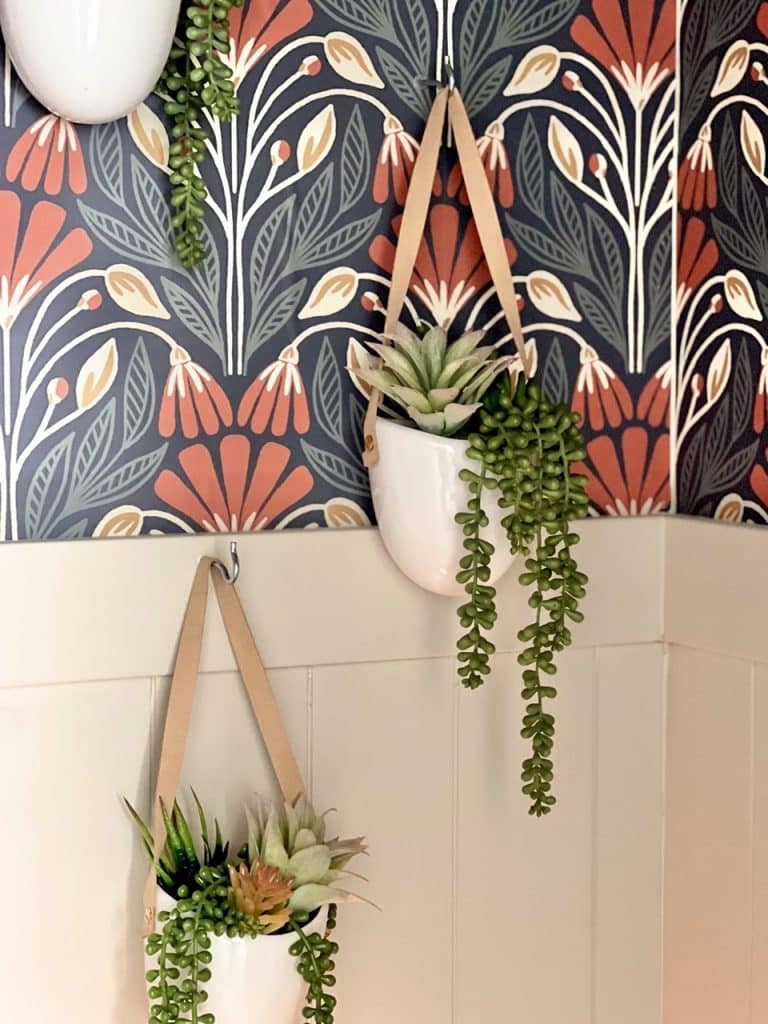
Chic Boho Half Bathroom Renovation
Easy Last Minute Teacher Gift Ideas
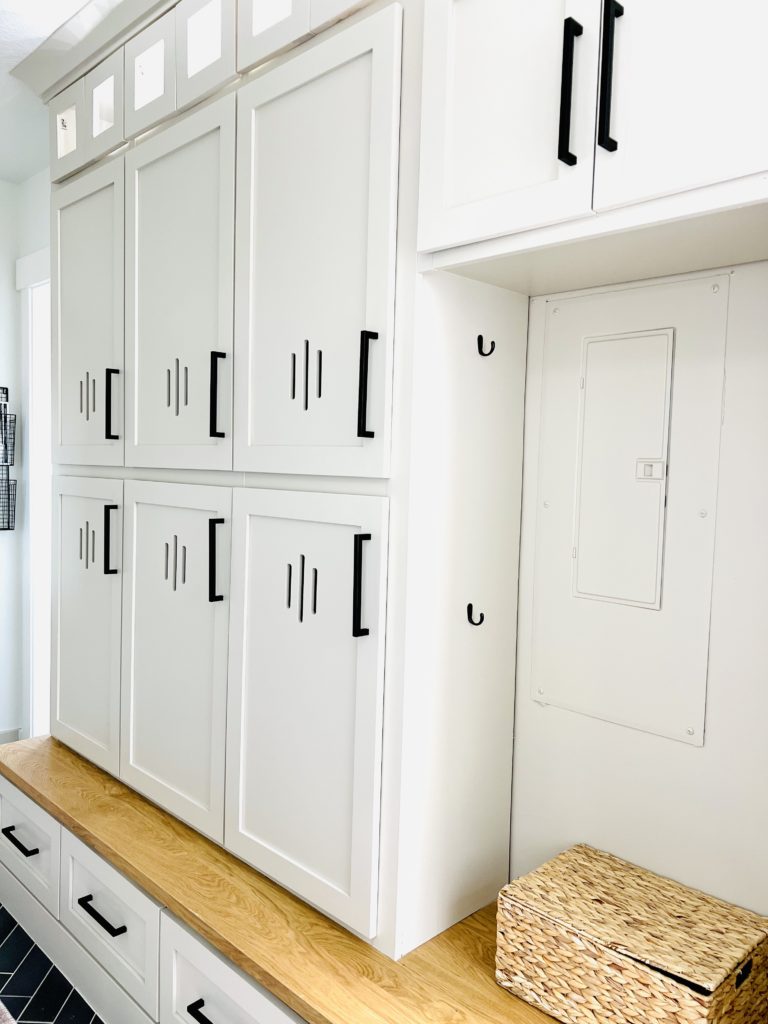
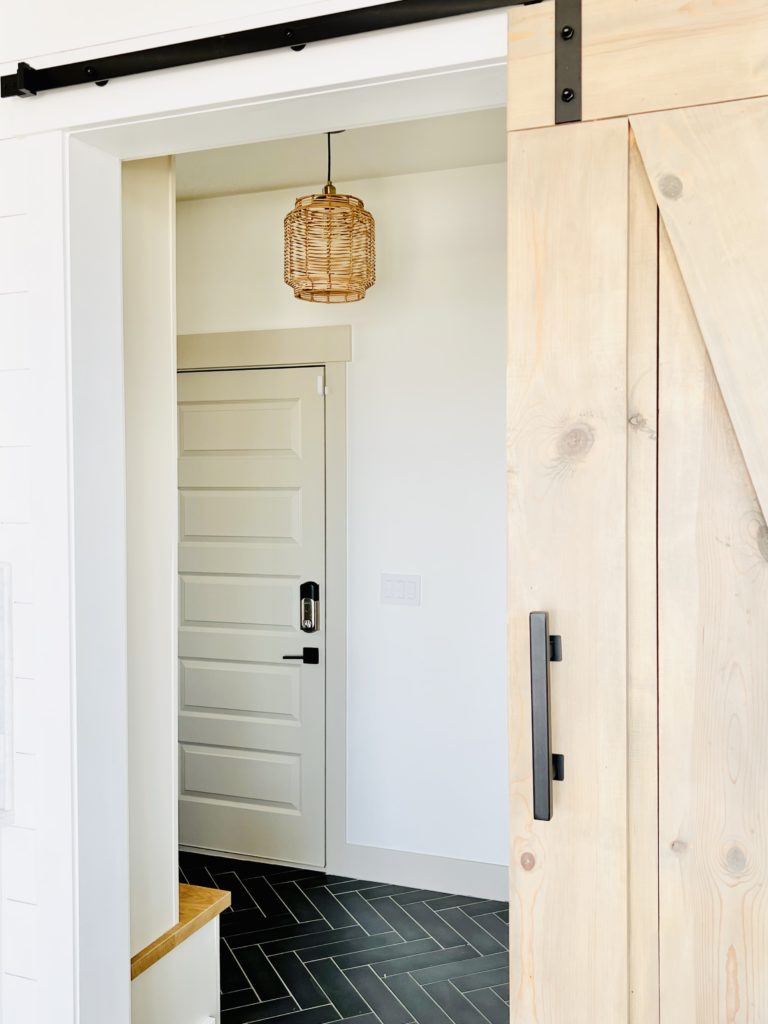
DIY Mudroom Lockers with Doors Reveal
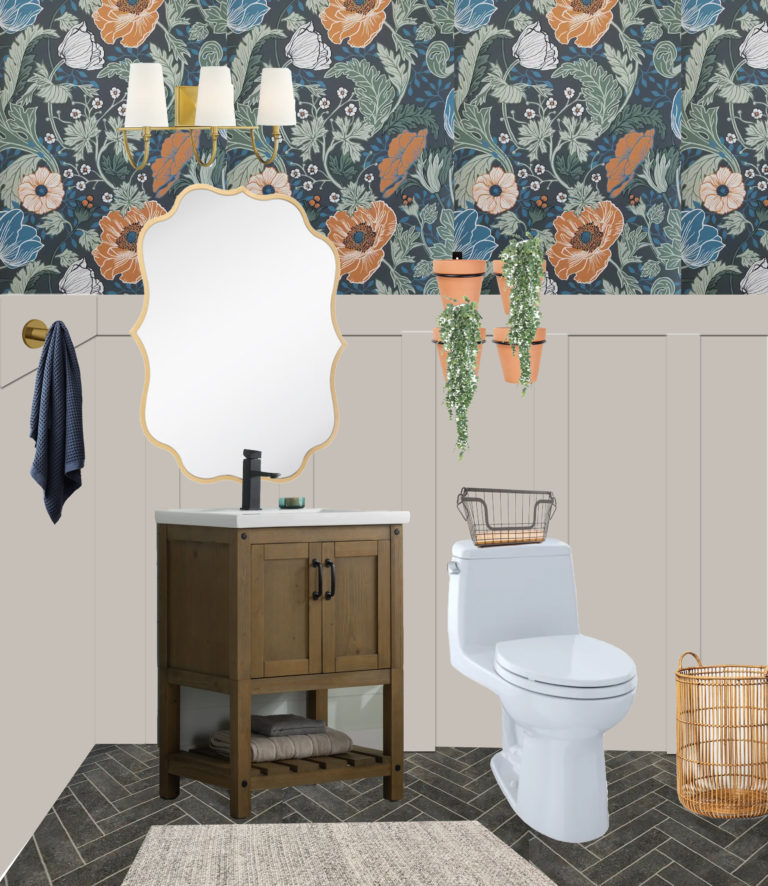
Half Bath Makeover Plans and Mockup
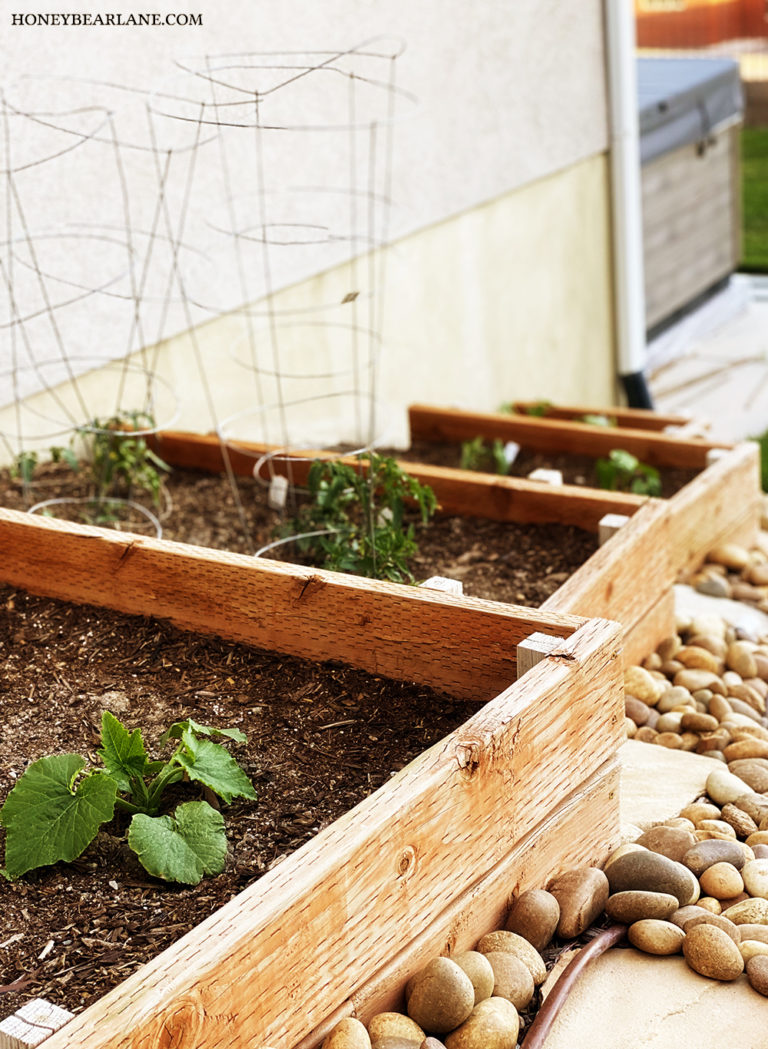
DIY Tiered Planter Boxes
Easy DIY Boho Light Shade Swap
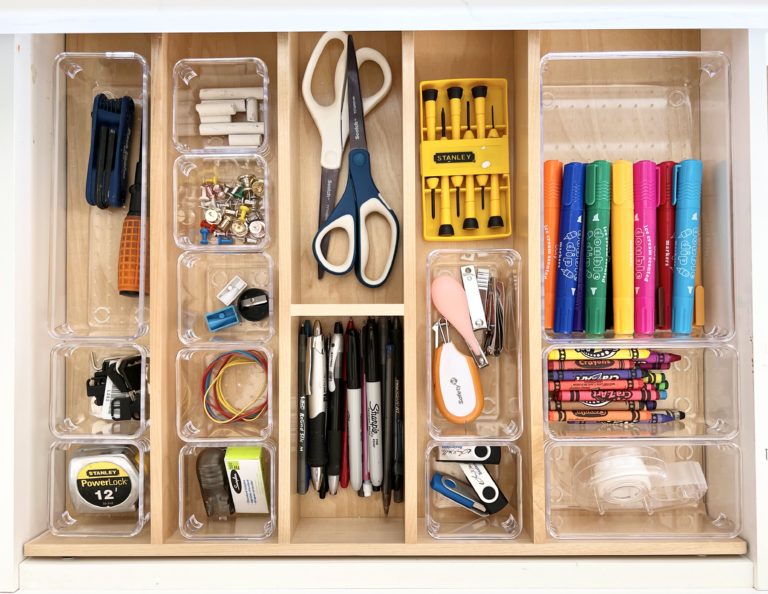
Junk Drawer Organization that Stays Put
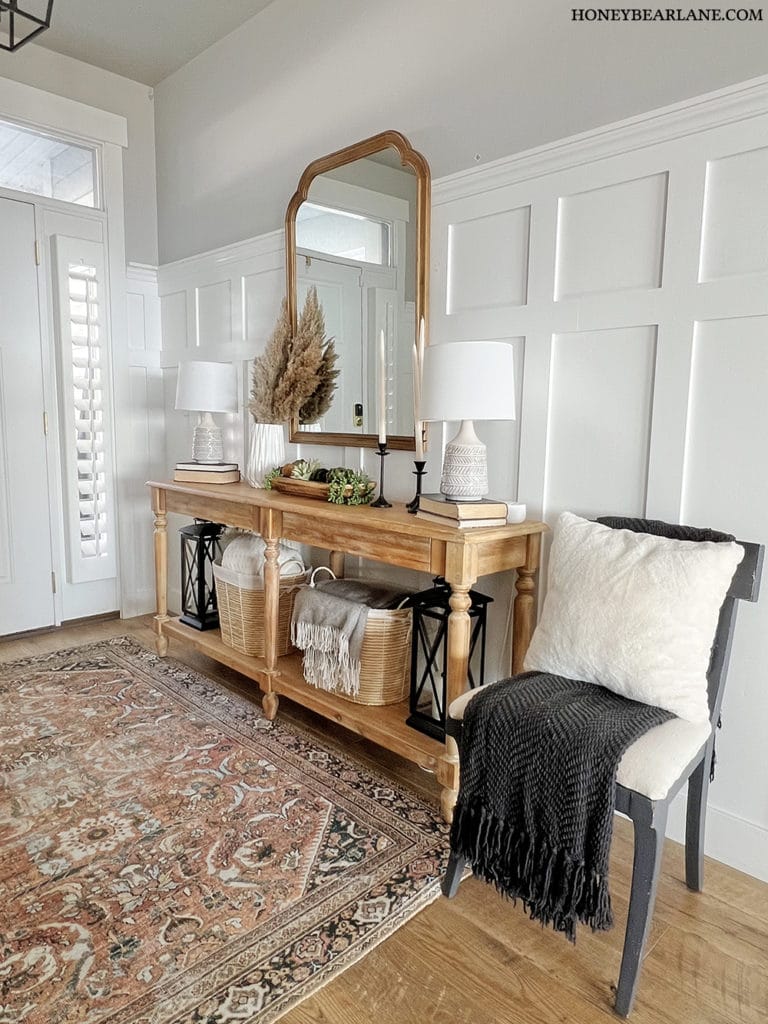
Modern Boho Entry Way Refresh
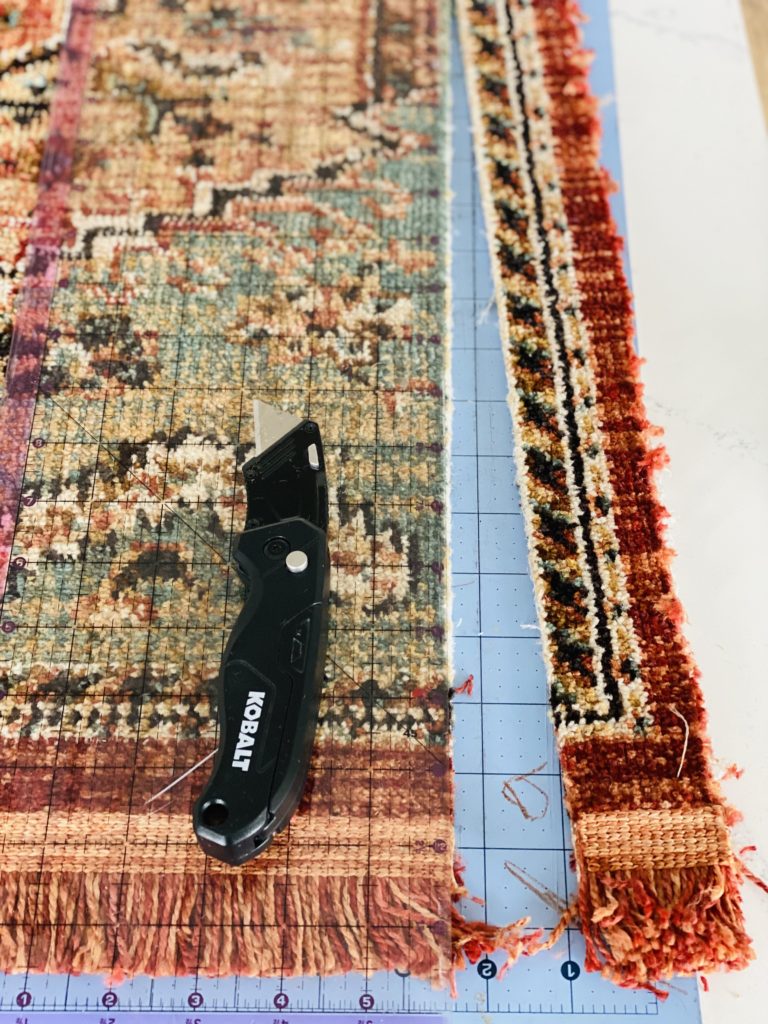
How to Trim a Rug to Fit a Small Space
Sanitize Everything: An IGGI Steamer Review
Adding a Drainage System to a Deck
Boho Farmhouse Dining Room Makeover
Page navigation
Previous Page
Previous
1
2
3
4
…
117
Next Page
Next
Scroll to top
Scroll to top
DIY Tutorials
Expand child menu
Expand
Projects
Building
Sewing
Quilting
Crafts
Home Decor
Expand child menu
Expand
Home Decorating
Honeybear House
Organization
DIY home decor
My Home Tour
Recipes
Holiday
Expand child menu
Expand
Valentines
St Patricks Day
Easter
Spring
Summer
July 4th
Fall
Halloween
Thanksgiving
Christmas
Entertaining
Expand child menu
Expand
Printables
Parties
Wellness
Expand child menu
Expand
Essential Oils
Health and Wellness
Weight loss
About
CONTACT
Shop Patterns
Toggle Menu Close
Search for:
Search