Skip to content
Home
About
Contact
Shop
Expand
Patterns
Facebook
Instagram
Pinterest
Twitter
Search
DIY Tutorials
Expand
Projects
Building
Sewing
Quilting
Crafts
Home Decor
Expand
Home Decorating
Honeybear House
Organization
DIY home decor
My Home Tour
Recipes
Holiday
Expand
Valentines
St Patricks Day
Easter
Spring
Summer
July 4th
Fall
Halloween
Thanksgiving
Christmas
Entertaining
Expand
Printables
Parties
Travel
Toggle Menu
Facebook
Instagram
Pinterest
Twitter
Search
handmade pillows
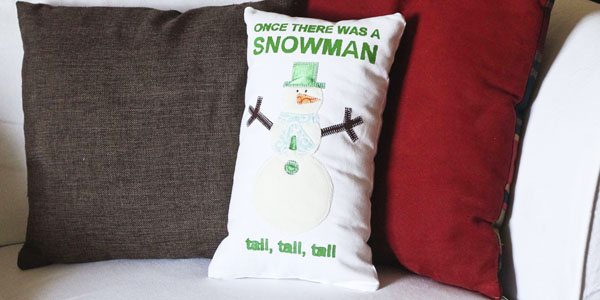
Once There Was a Snowman Pillow
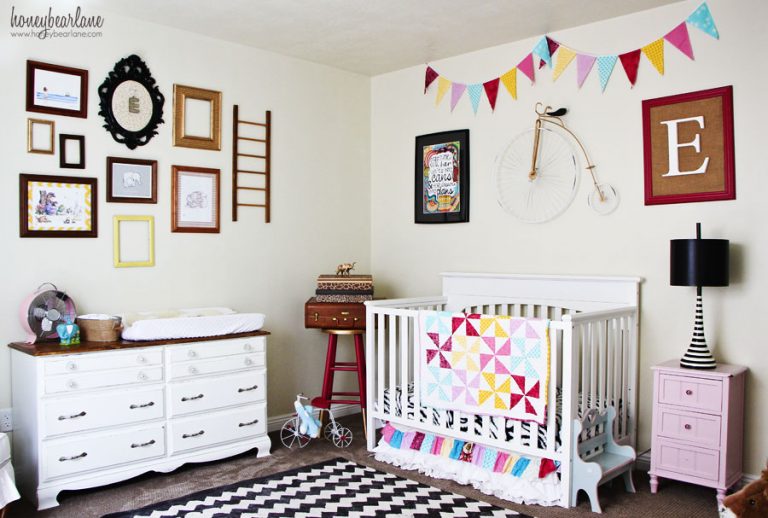
Vintage Circus Nursery Reveal!
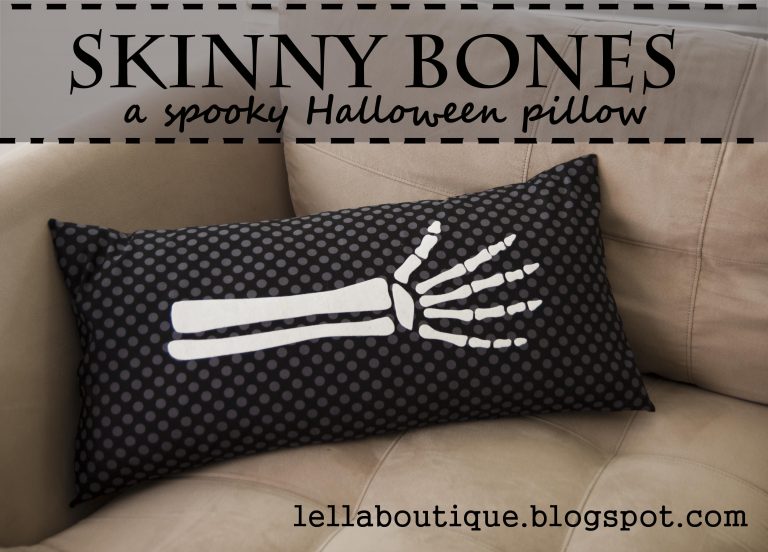
Skinny Bones Halloween Pillow
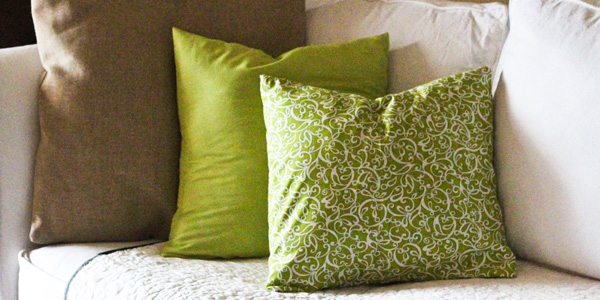
Ten Minute Pillow Cases
Halloween Living Room Decor
Ghastly Witch Pillows
$40 Giveaway from Love of Family & Home!!
Scroll to top
Scroll to top
DIY Tutorials
Toggle child menu
Expand
Projects
Building
Sewing
Quilting
Crafts
Home Decor
Toggle child menu
Expand
Home Decorating
Honeybear House
Organization
DIY home decor
My Home Tour
Recipes
Holiday
Toggle child menu
Expand
Valentines
St Patricks Day
Easter
Spring
Summer
July 4th
Fall
Halloween
Thanksgiving
Christmas
Entertaining
Toggle child menu
Expand
Printables
Parties
Wellness
Toggle child menu
Expand
Essential Oils
Health and Wellness
Weight loss
About
CONTACT
Shop Patterns
Toggle Menu Close
Search for:
Search