Make a Onesie into a Dress!
Hello, Honeybear Lane readers! This is Rebecca from Searching Out Simple. I’m so happy to have been chosen as a contributor. Thank you, Heidi!
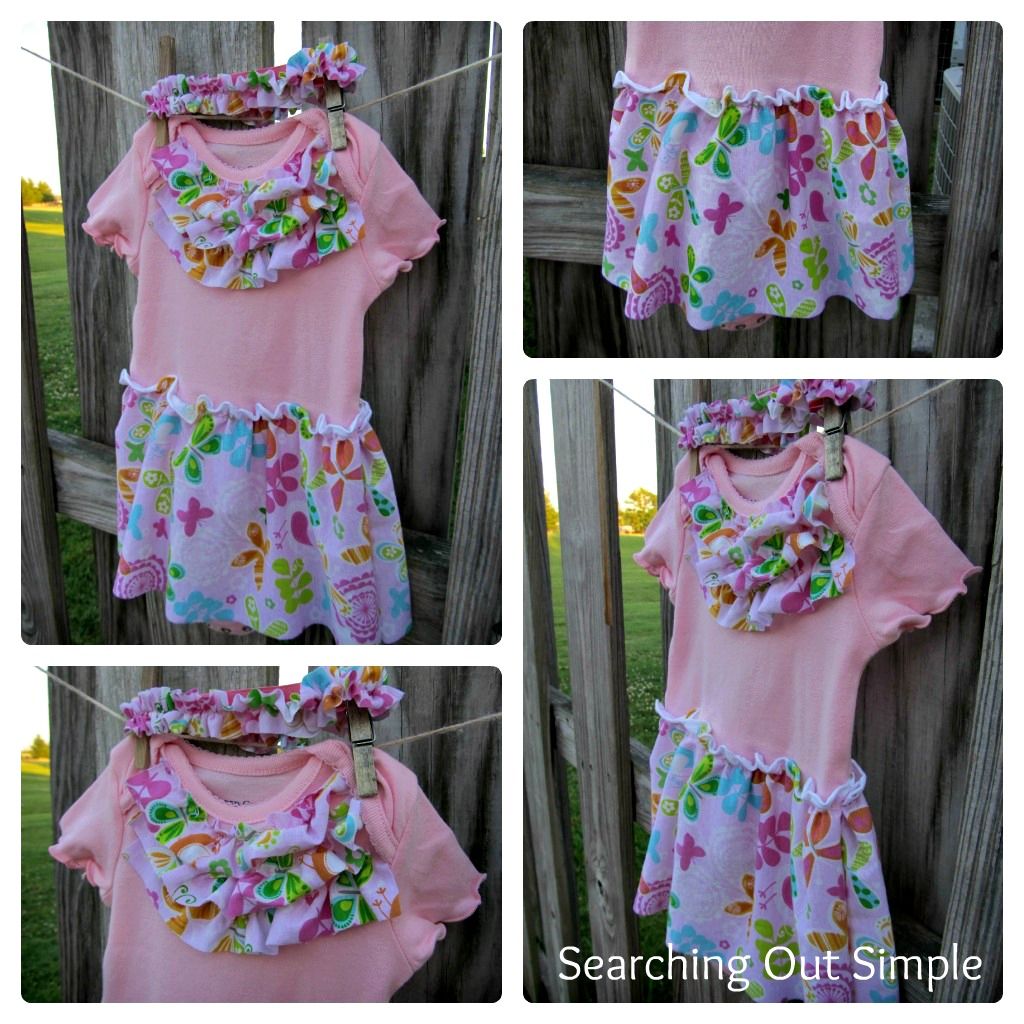
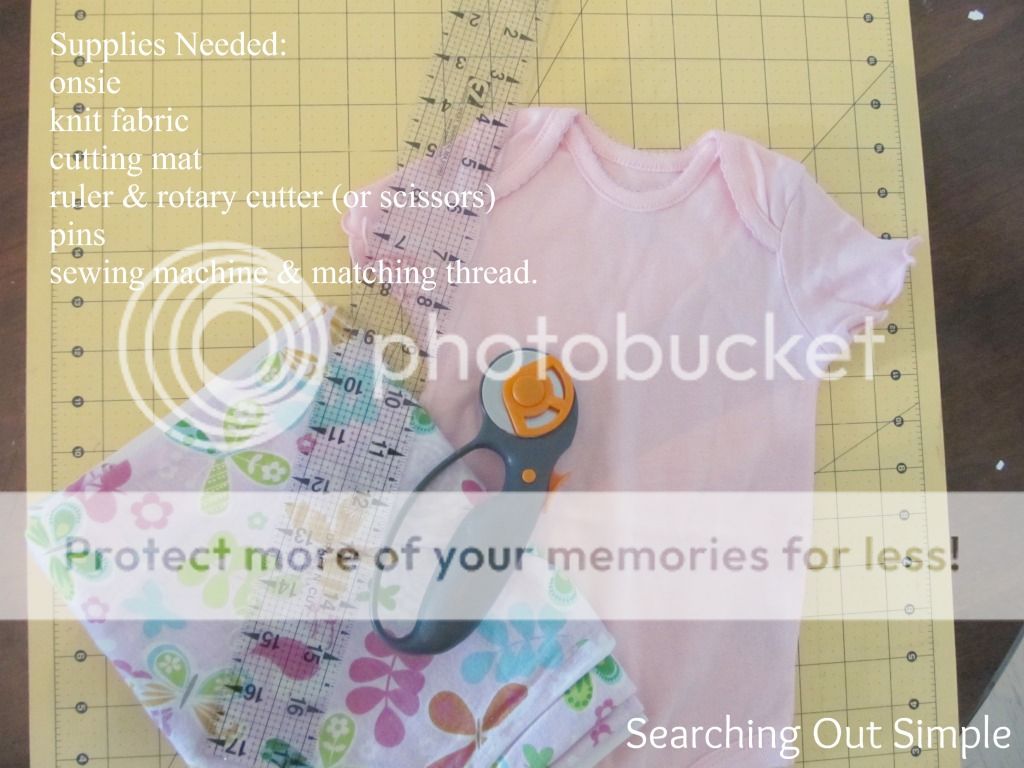
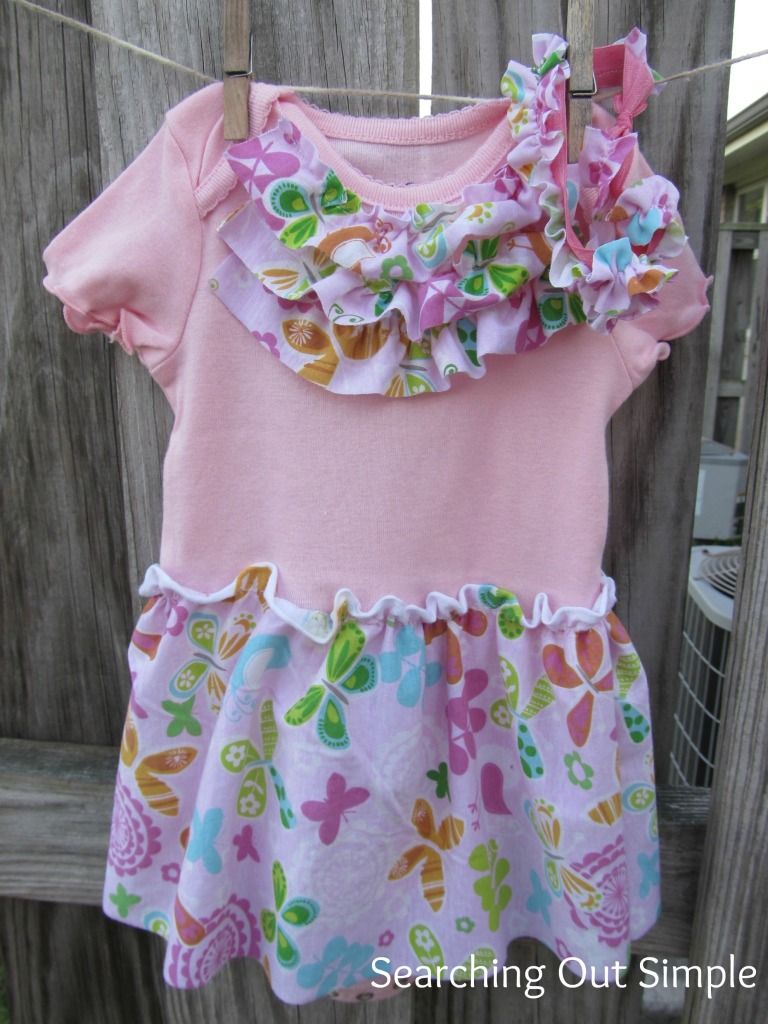
Today I have a onsie makeover to share with you. I wanted to make a gift for a cute little girl I know and this is what I came up with. Dressing up a onesie is a quick & easy way to make a custom dress for a gift or your own baby girl. I used a knit fabric but you can also use woven, though knit doesn’t require hems and won’t fray in the wash so it goes faster without a knit. If you use a woven cotton be sure to hem it.
Here is what you’ll need:
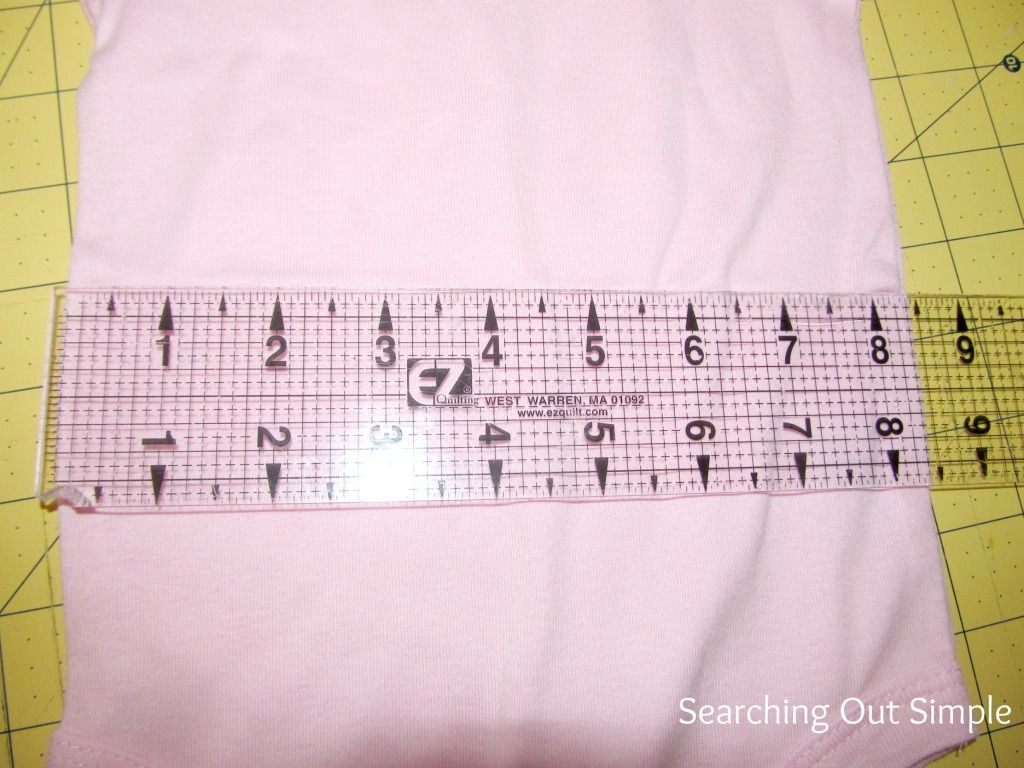
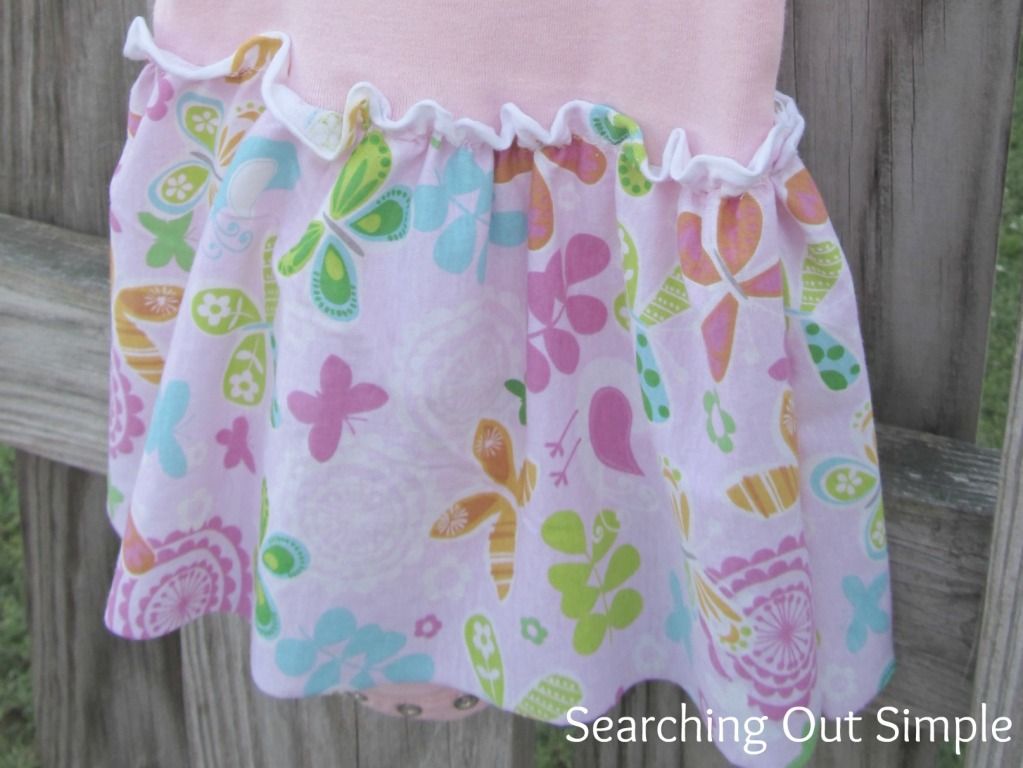
First I measured the width of the onsie, for this 6-9 mos size it was 8.5″. I multiplied that by four to get the width so I would have about twice the ruffle on both front and back and decided to make the skirt 8 inches long. Measuring it out, it looked about right. If you have a baby around to measure that would be more accurate.
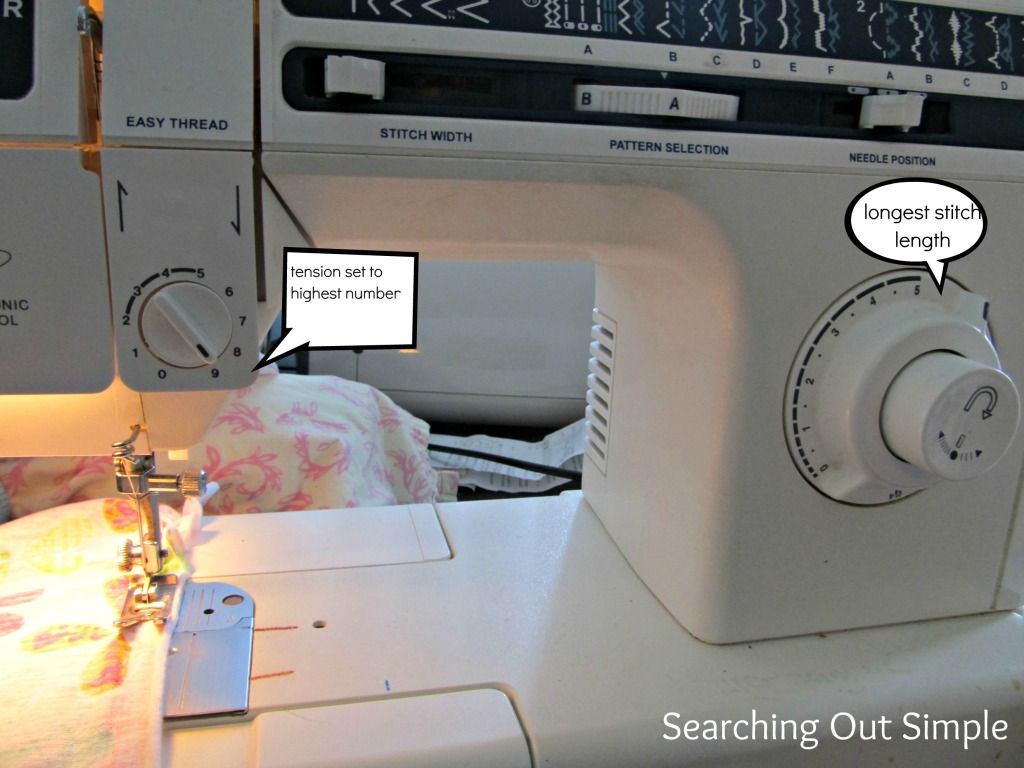
Next, I ruffled the long side of the skirt. If you have a ruffler foot, use that. Otherwise you can use this nifty trick I learned when I started sewing again. Set your tension to the highest setting and stitch length to the longest. On my machine that is a 9 & a 5. Then without using a basting stitch, sew down the side and watch the ruffles come. I leave a bit of thread on both ends to make adjusting the ruffles easier.
Lastly, you’ll attach the skirt to the onsie. I apologize for not having a picture of this step. Be sure to line the skirt up evenly on both sides, pins help keep everything in place. I used an elastic stitch (looks like a zig zag stitch with dashed lines) and stretched the onsie back toward me a bit while sewing to help ensure mama can easily put this on baby. You can attach the skirt one of two ways, put the skirt & onsie right sides together (with skirt upside down) or put the wrong side of skirt on right side of onsie with the skirt right side up as it will be worn. I chose the second option and this gave a paperbag style to the skirt.
This was cute but still missing something. I cut a long 1.5″ strip of the fabric and ruffled it with about 1/4″ edge and pinned it to the neckline, cutting to size as I pinned. I sewed the ruffle on the same way as I attached the skirt and repeated this step twice more. Again, I apologize for not having a picture of this step. I just eyeballed it and made sure the ruffle above would cover the edge of the ruffle below. It worked out.
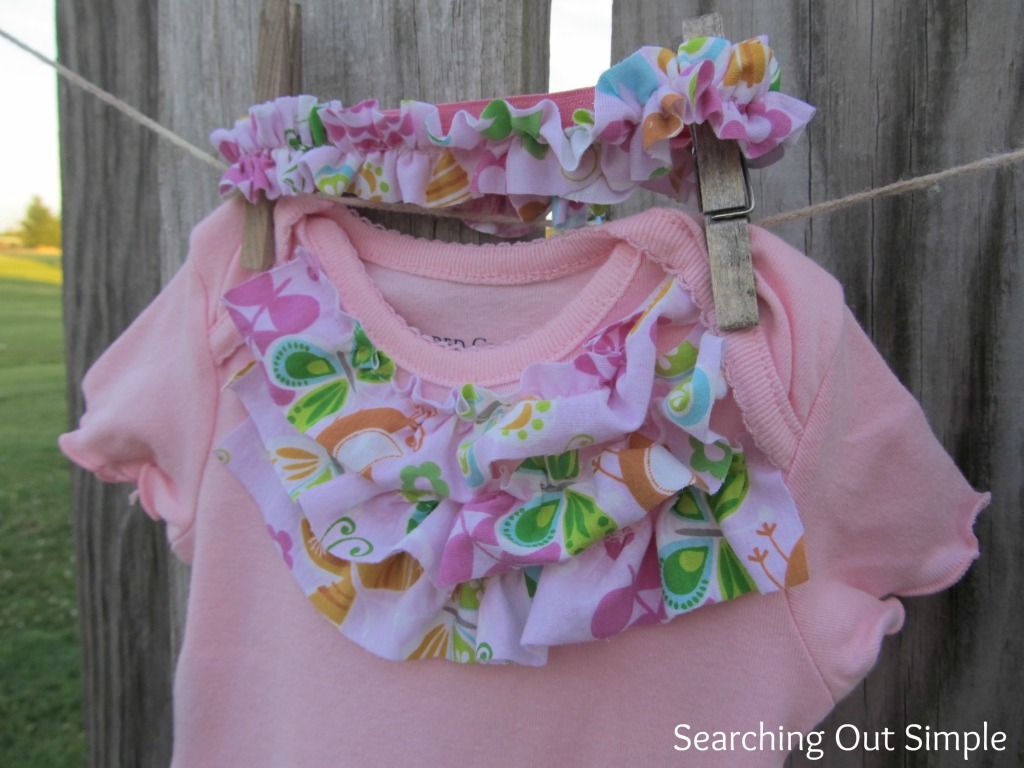
Lastly, I ruffled a 1 inch strip of fabric and attatched it to some FOE (fold over elastic) that I cut to 16″ and tied a knot at the ends. I think this will make a cute matching headband.
I hope you’ve enjoyed my dressed up onsie today, thank you for reading!
Really cute–that ruffled fabric is great!
That is adorable! The little ruffles are so girlie and cute!!!