Sand Art {4th of July Edition} –Kids Craft!

It is so fun and easy and it kept my kids busy for over an hour. Of course you know you aren’t restricted to the red, white and blue colors. You can do any colors you would like! I just thought they would be fun decor for the holiday.

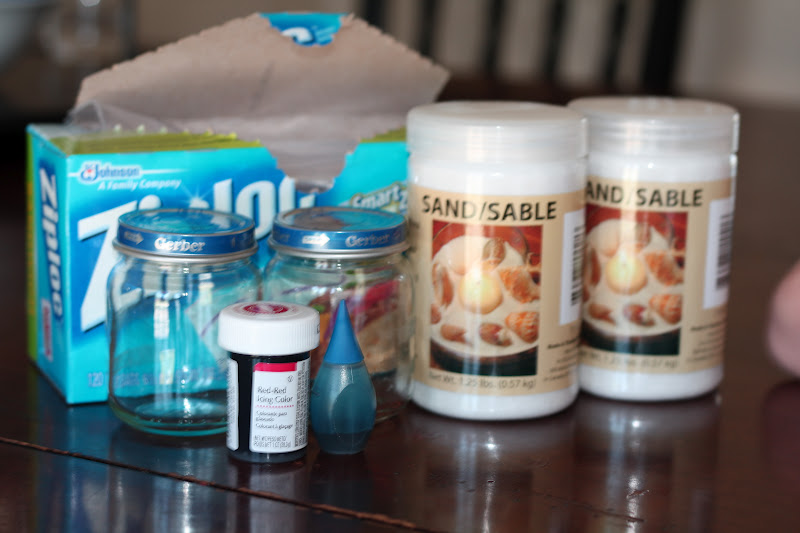
These are your needed items:
*Zip Loc sandwich bags (one bag per color per child if you want them to mix their own- it is part of the fun)
*Sand from the dolor store (one time I used salt and it works just fine)
*One baby food jar per child ( or whatever glass jar you want to fill.)
*Food coloring. To get a bright red gel food coloring is best. I used the regular liquid food coloring for the blue.
* Small funnel (optional)
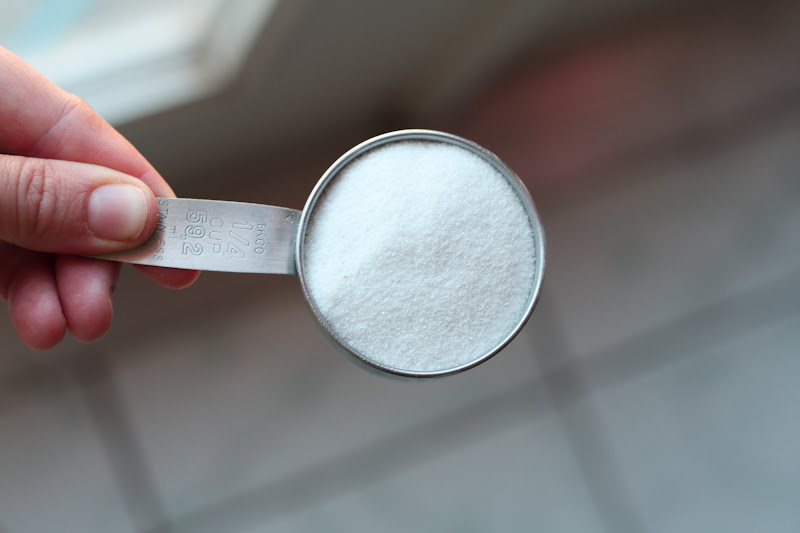
I filled my 1/4 cup measuring cup half way (1/8 of a cup) and poor it into a zip loc bag and added a tiny bit of red gel food coloring. I scooped the gel out of the container with a knife.
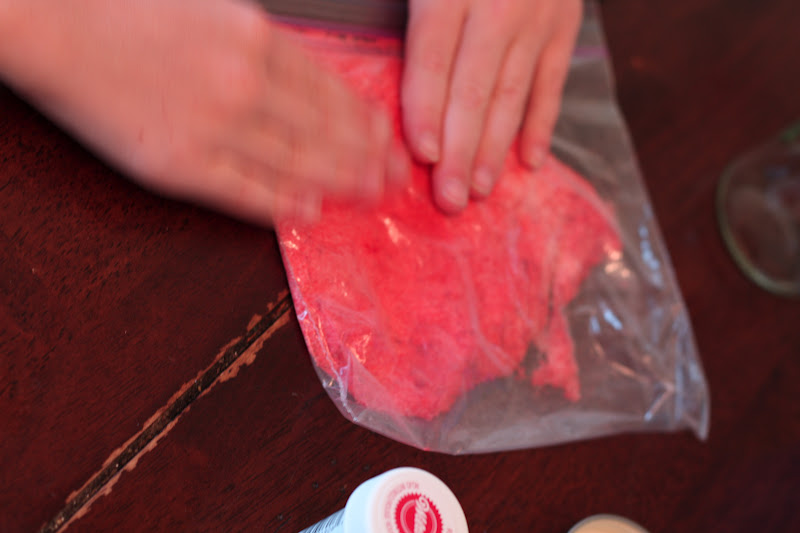
I did this for each of my girls. Sealed their bags and let them mix the food coloring and the sand. It helps to squeeze most of the air from the bag.

I let them shake the bag and , push the bag and do whatever it takes to spread that color around. It really isn’t hard, but it is kinda fun!!

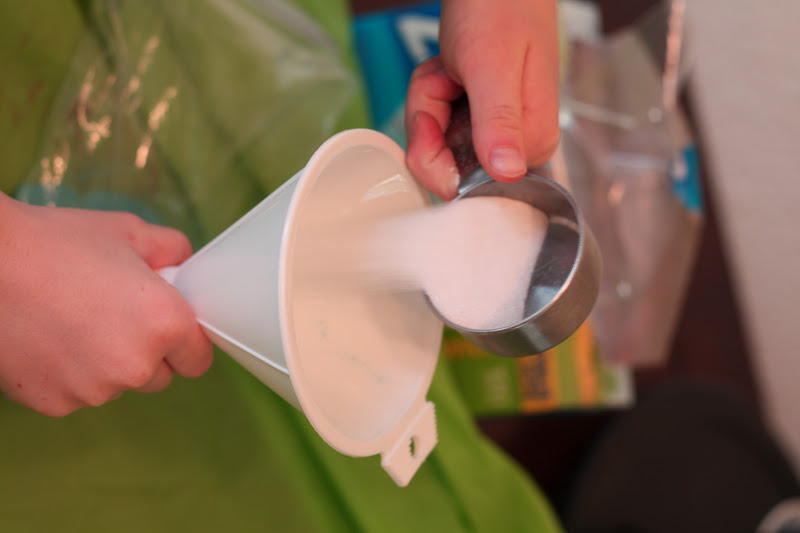
Using a funnel is optional, but it did make transferring the sand to the baby food jar a little less messy. We filled the bottom third with the blue coloring first.

Then we added the plain white sand . . .
And topped of the jar with a little red sand!

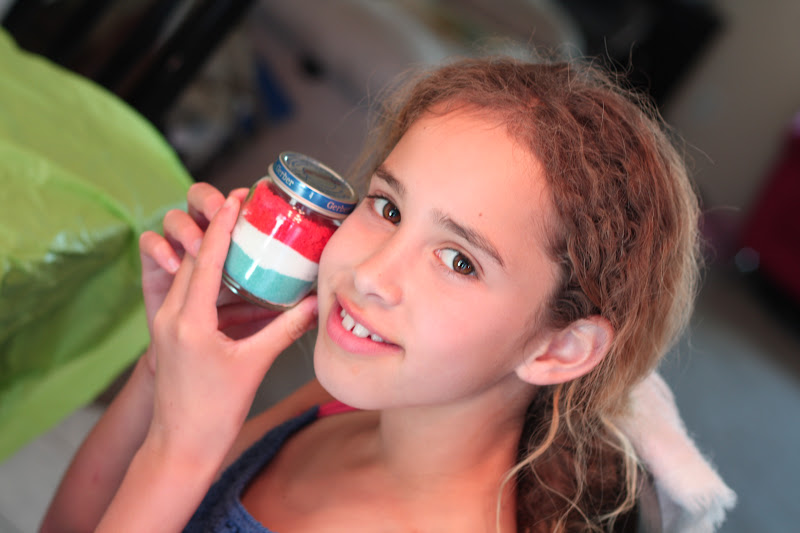
After making our patriotic sand decor, my kids then began to mix other colors with sand to fill more baby food jars. They really had a blast and like I said i kept them busy for over an hour. My four year old is not pictured, but even he had a fun time doing this little project.
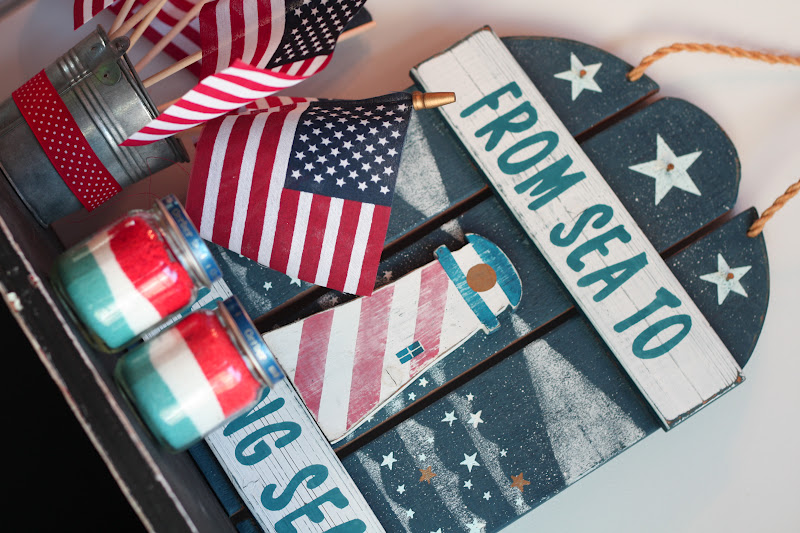
I think my kids enjoy seeing their arts and crafts used as decorations around the house. I think it make them feel somewhat special to see the things they have created in a place of hone. It is good for the old self-esteem you know!

Amy, I love it! i used to love sand art as a kid…i’d totally forgotten about it! this is a perfect craft for kids to make during the 4th of july BBQ’s and parties too!
I’ve linked to your post here: http://dollarstoremom.com/2012/06/make-4th-of-july-sand-art/
Thank you Heidi for letting me post and thank you Breanna for linking me! You girls are making me happy:)!!
Love the colored sand, and I’m sure my kids would too! Maybe when we’re on vacation with cousins soon!
Cute project! Congrats on your new adventure 🙂