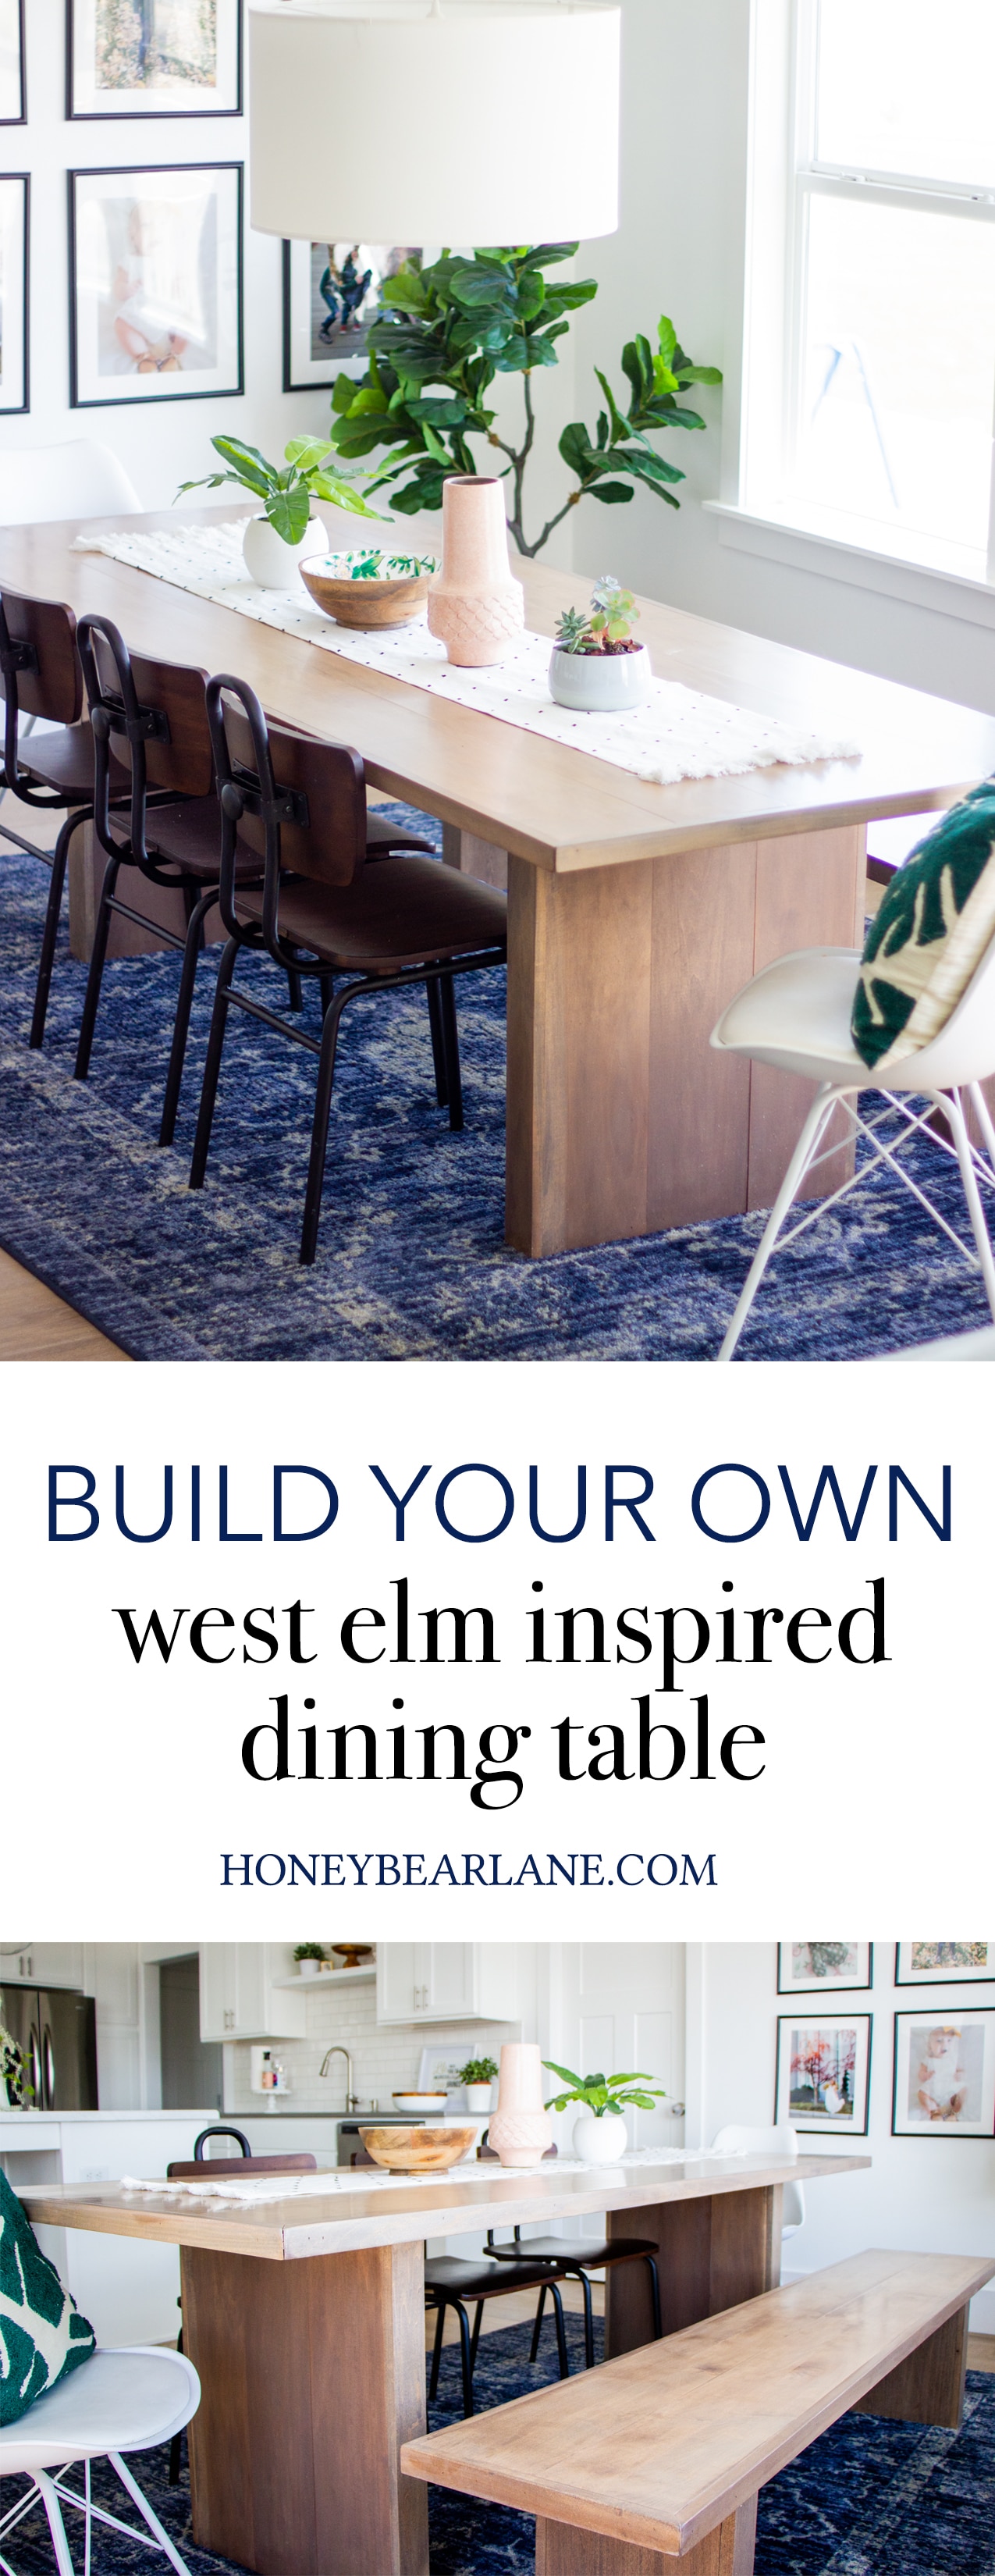
West Elm Inspired Dining Table
Oh boy…this project has been a few years in the works. A long while ago, my friend was talking about how she hated her kitchen table and she wanted one from West Elm but the ones she liked were out of her price range. I offered to take on the challenge and build her her own West Elm inspired dining table.
We decided to build a table inspired by this one:
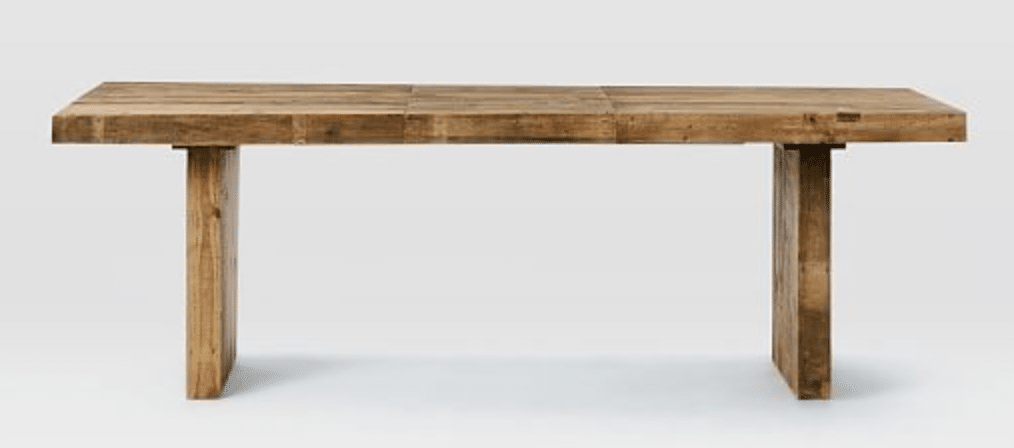
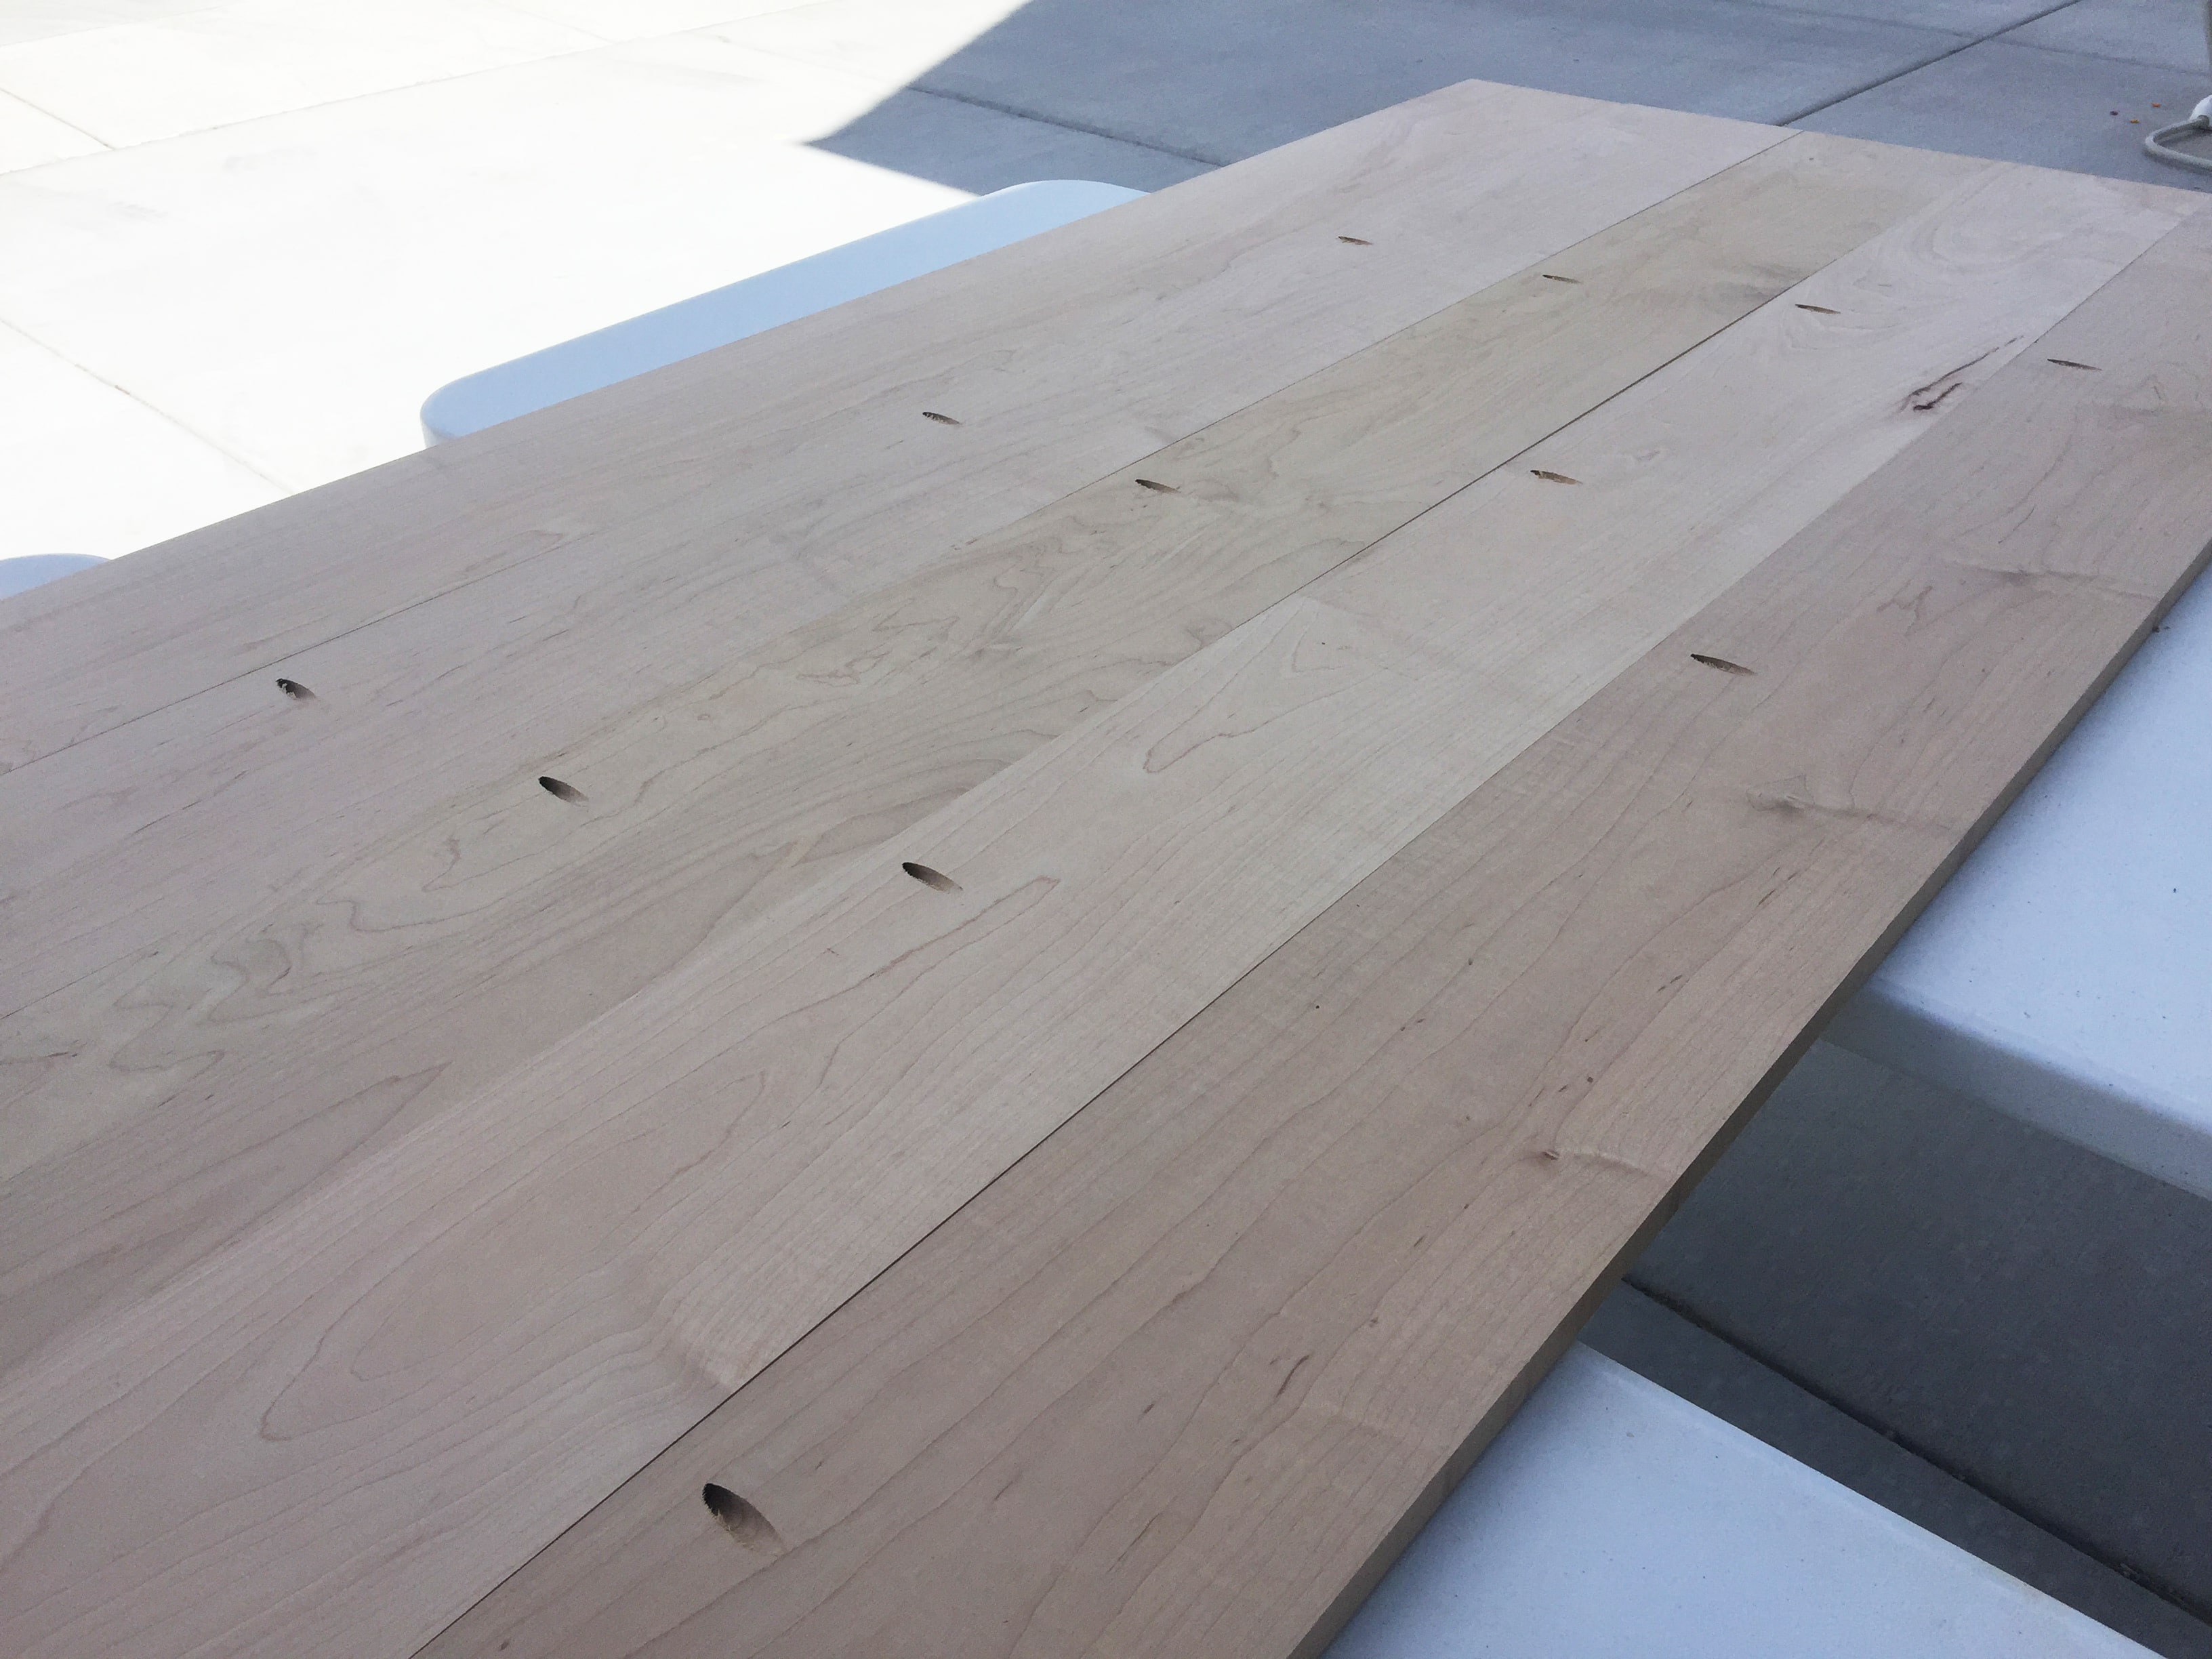
She didn’t like the overly rustic style of the table and preferred a crisp clean look. And she didn’t want soft wood for the table top because it would get beaten up fast by her kids. So we chose to special order Maple wood for the table top and opted to trim the rest and build the legs out of Poplar…a soft wood but much cheaper. I decided to not do Pine because the Poplar seemed to have a more similar grain to Maple. However you could totally build the entire table out of pine and save some money.
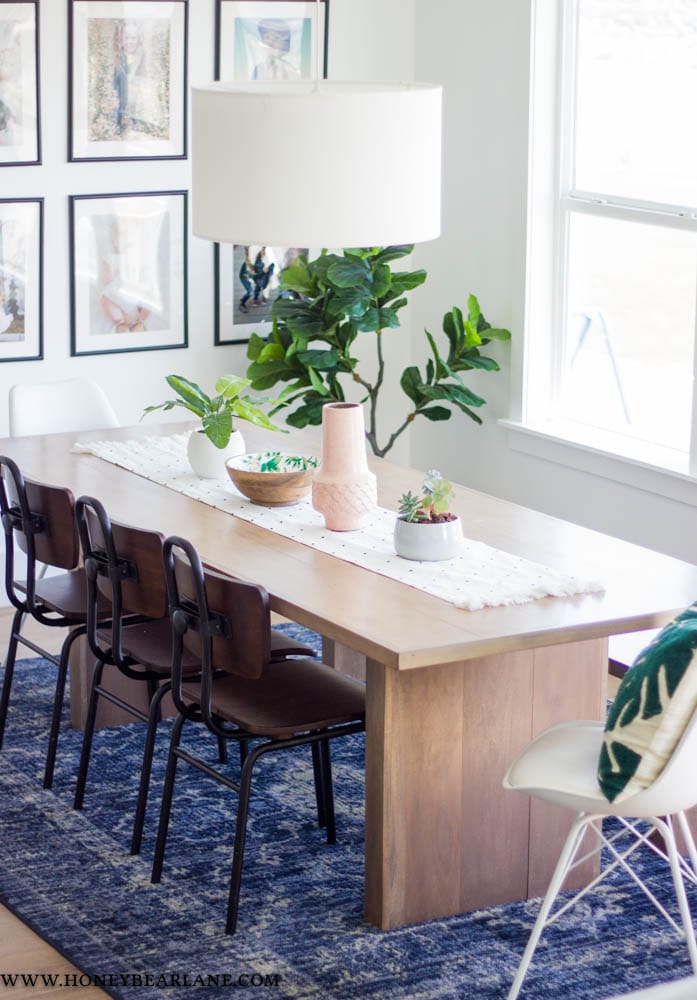
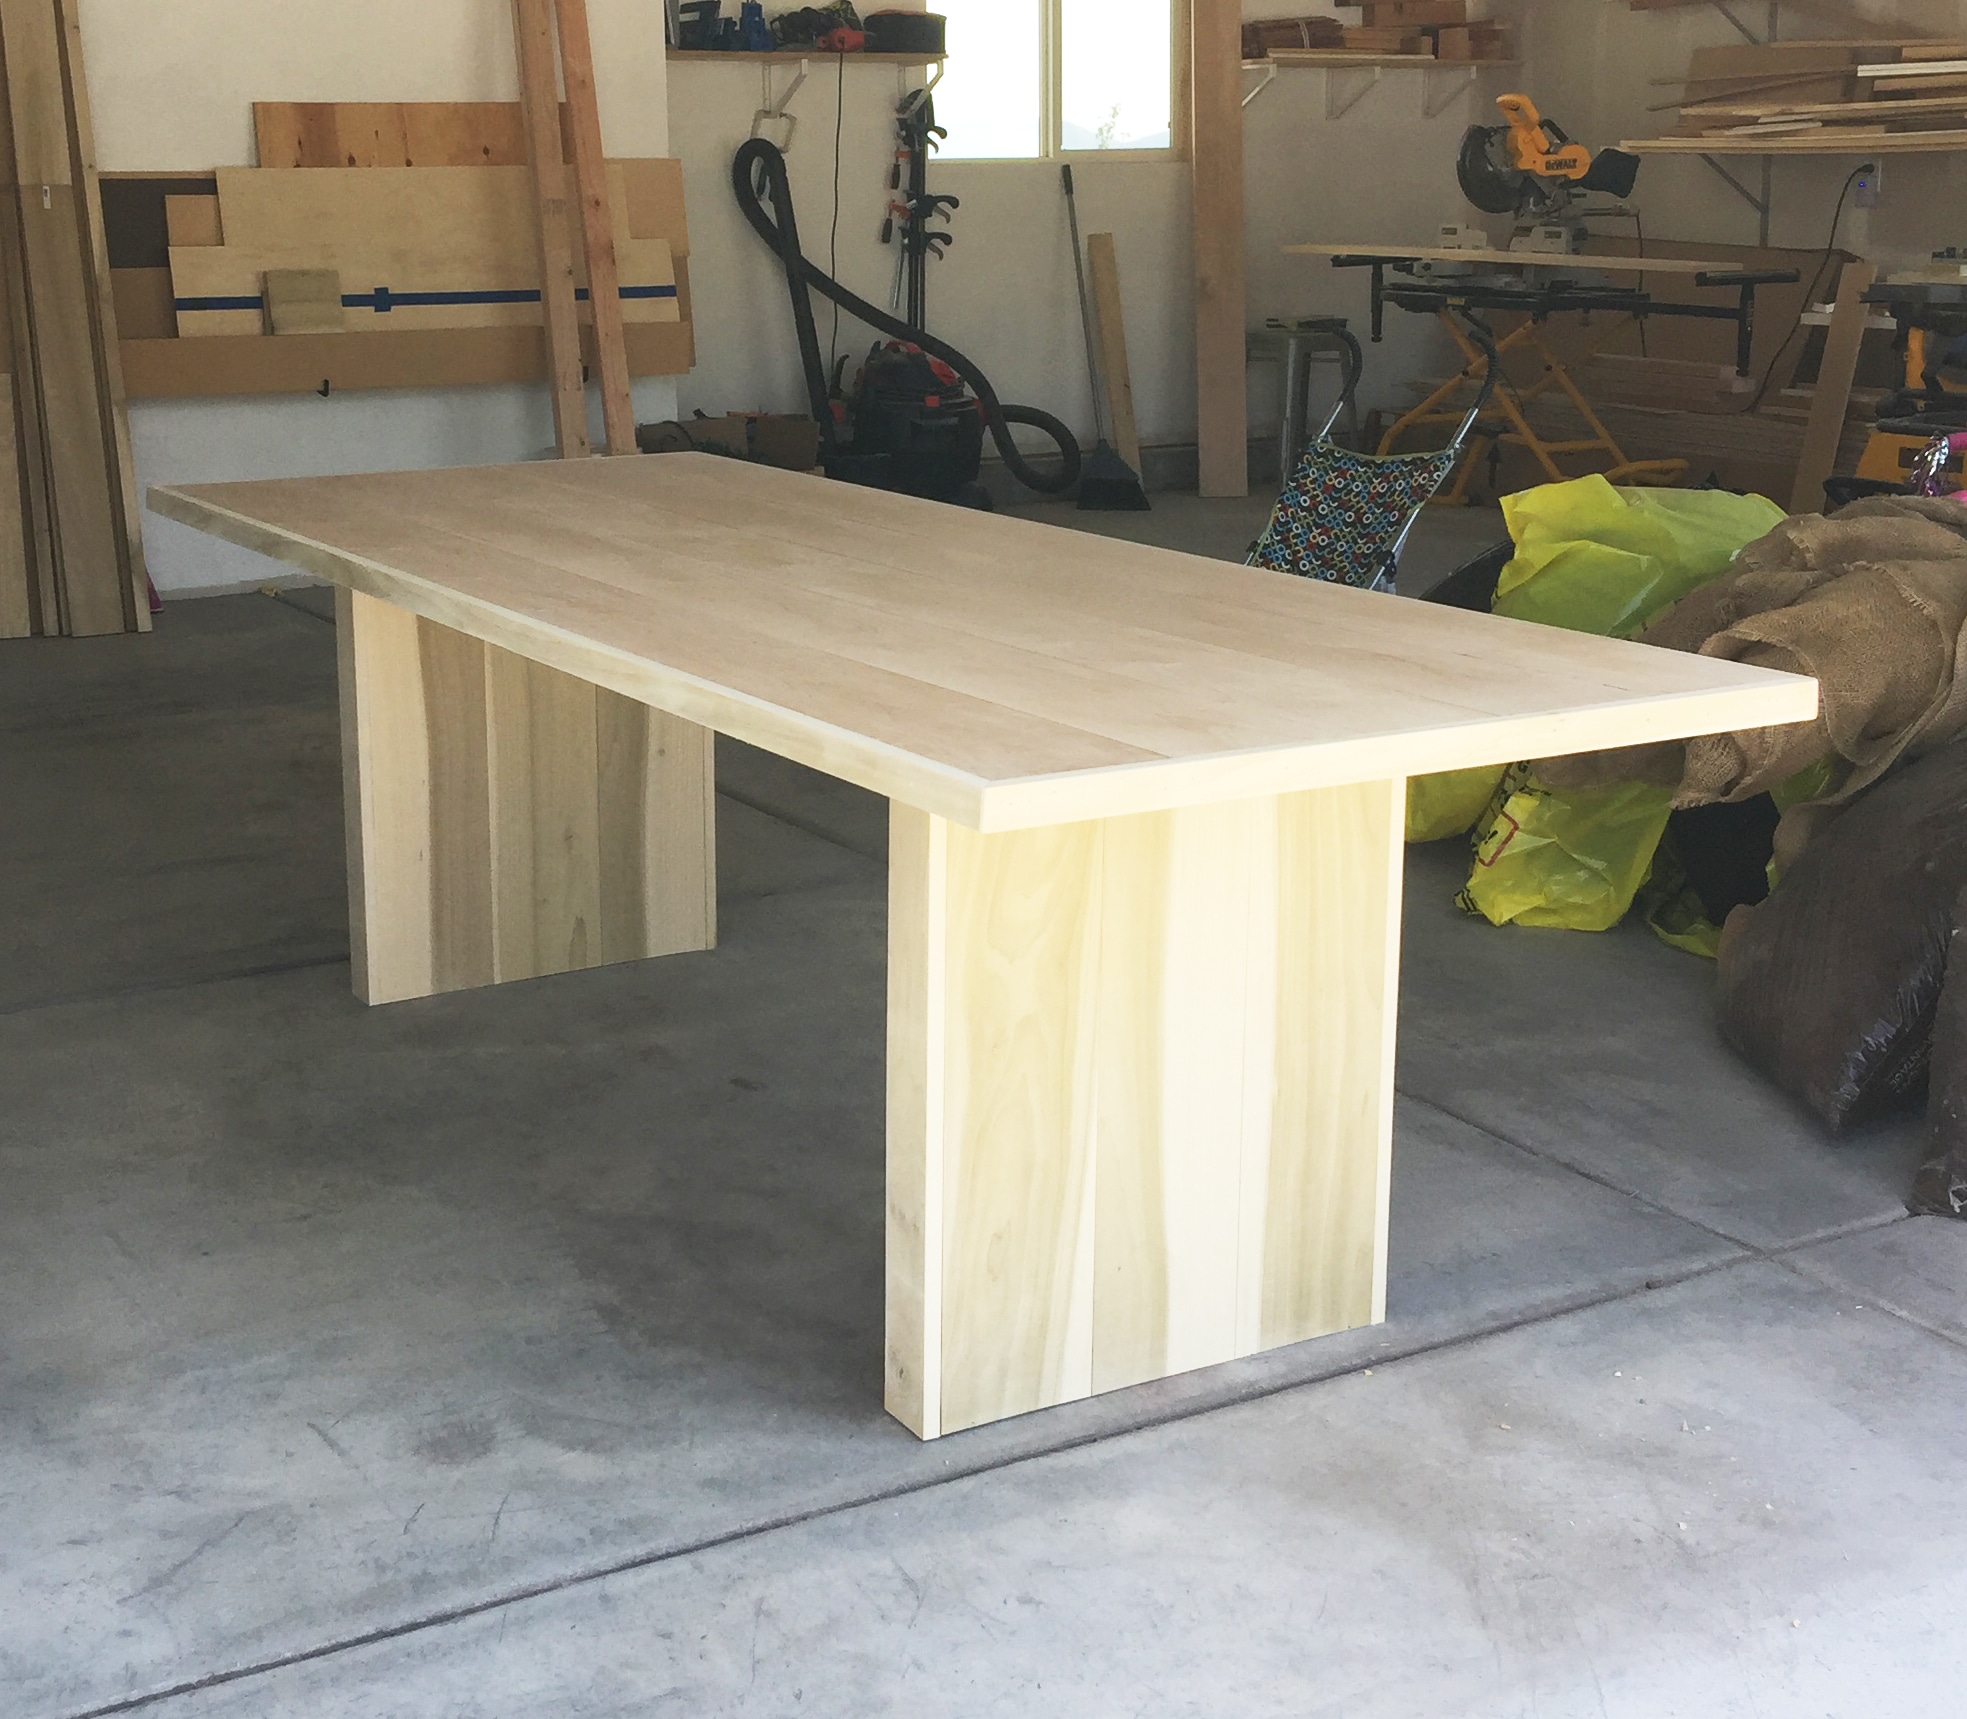
Here is the finished result!
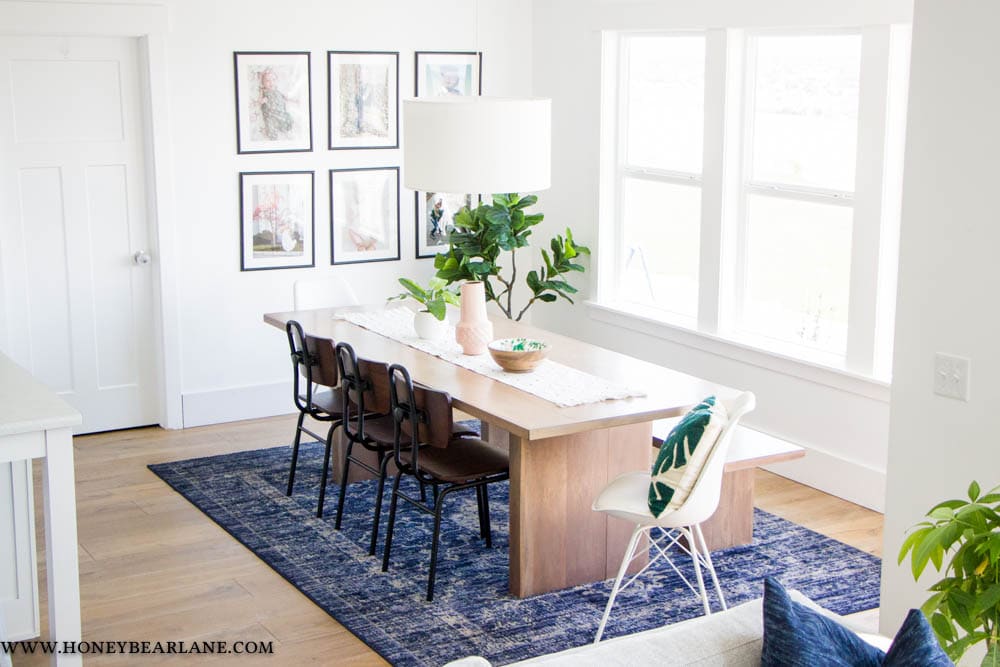
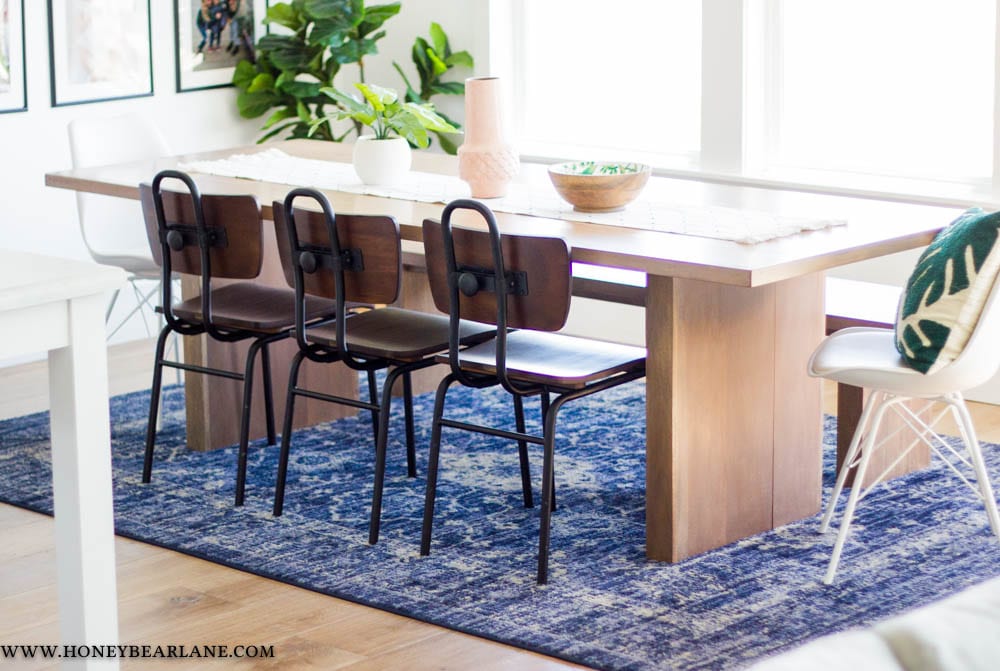
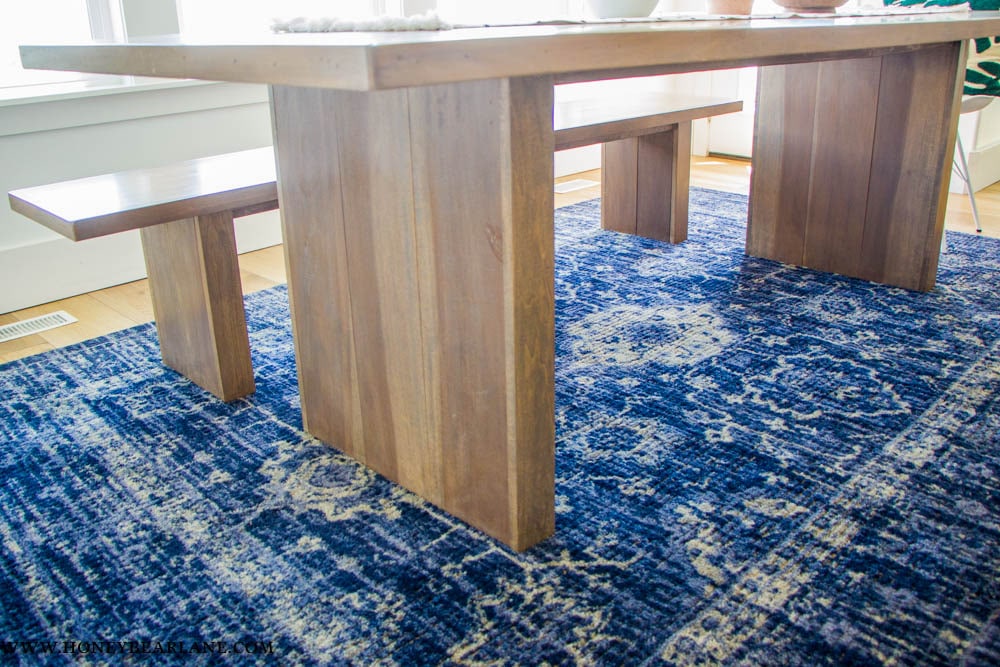
Isn’t it pretty? I really love the way it turned out. My friend had a very specific idea in her head of what she wanted and she really loves the finished result. Her whole house is decorated in a very mid-century modern style and it truly is so beautiful.
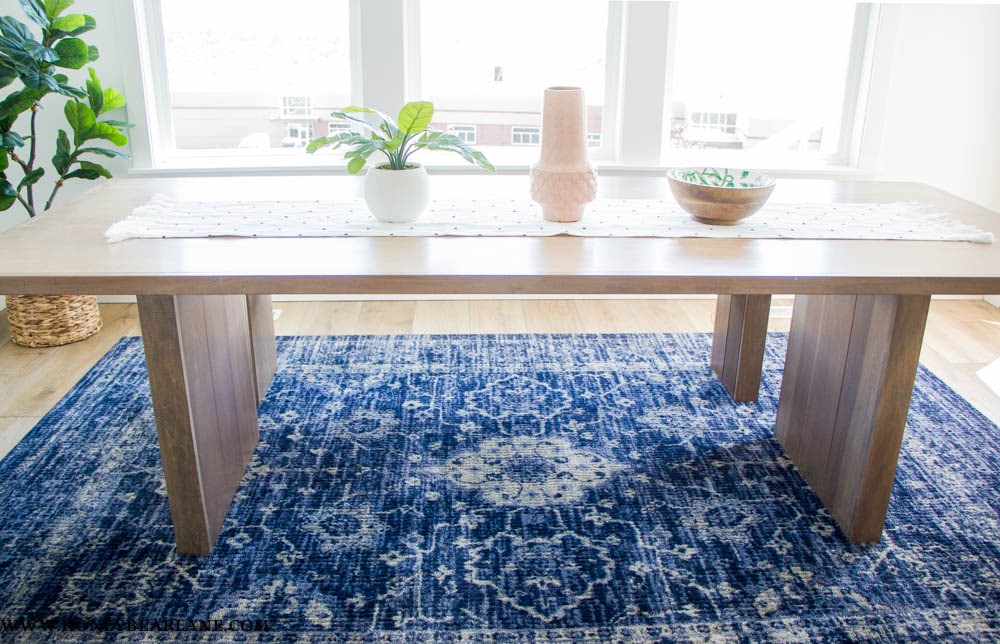
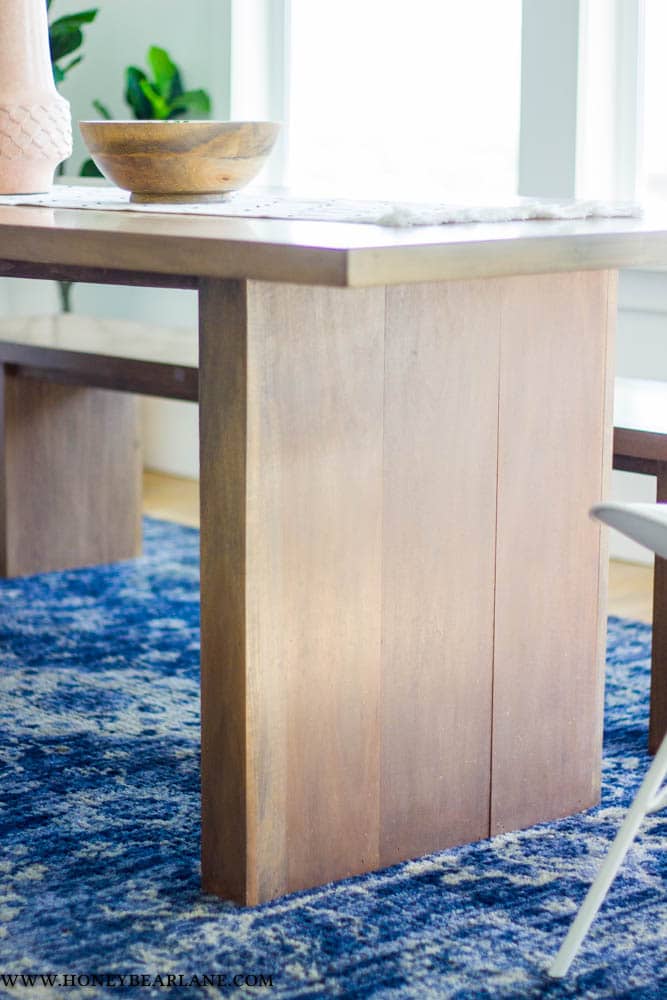
Since the top and the legs are different species of wood, the stain took them a little differently. The legs ended up being darker and the grain in the legs is more pronounced. I actually LOVE the look, and she ended up loving it too because it contrasted more with her wood floors.
It’s not exactly the most beginner table, simply because you need to rip some wood. That being said, if you have a table saw, you can totally do it. You could probably even do it with a circular saw (it’s just a lot easier with a table saw.)
I wrote the plans after I constructed the table so I was able to iron out some wrinkles from my own experience. So some of my personal pictures might confuse you a little because the plans might say to do something slightly differently. Stick to the plans. I also made a downloadable document for the plans since they are kind of long and I figured it would be easier this way.
Click Here to Download Building Plans
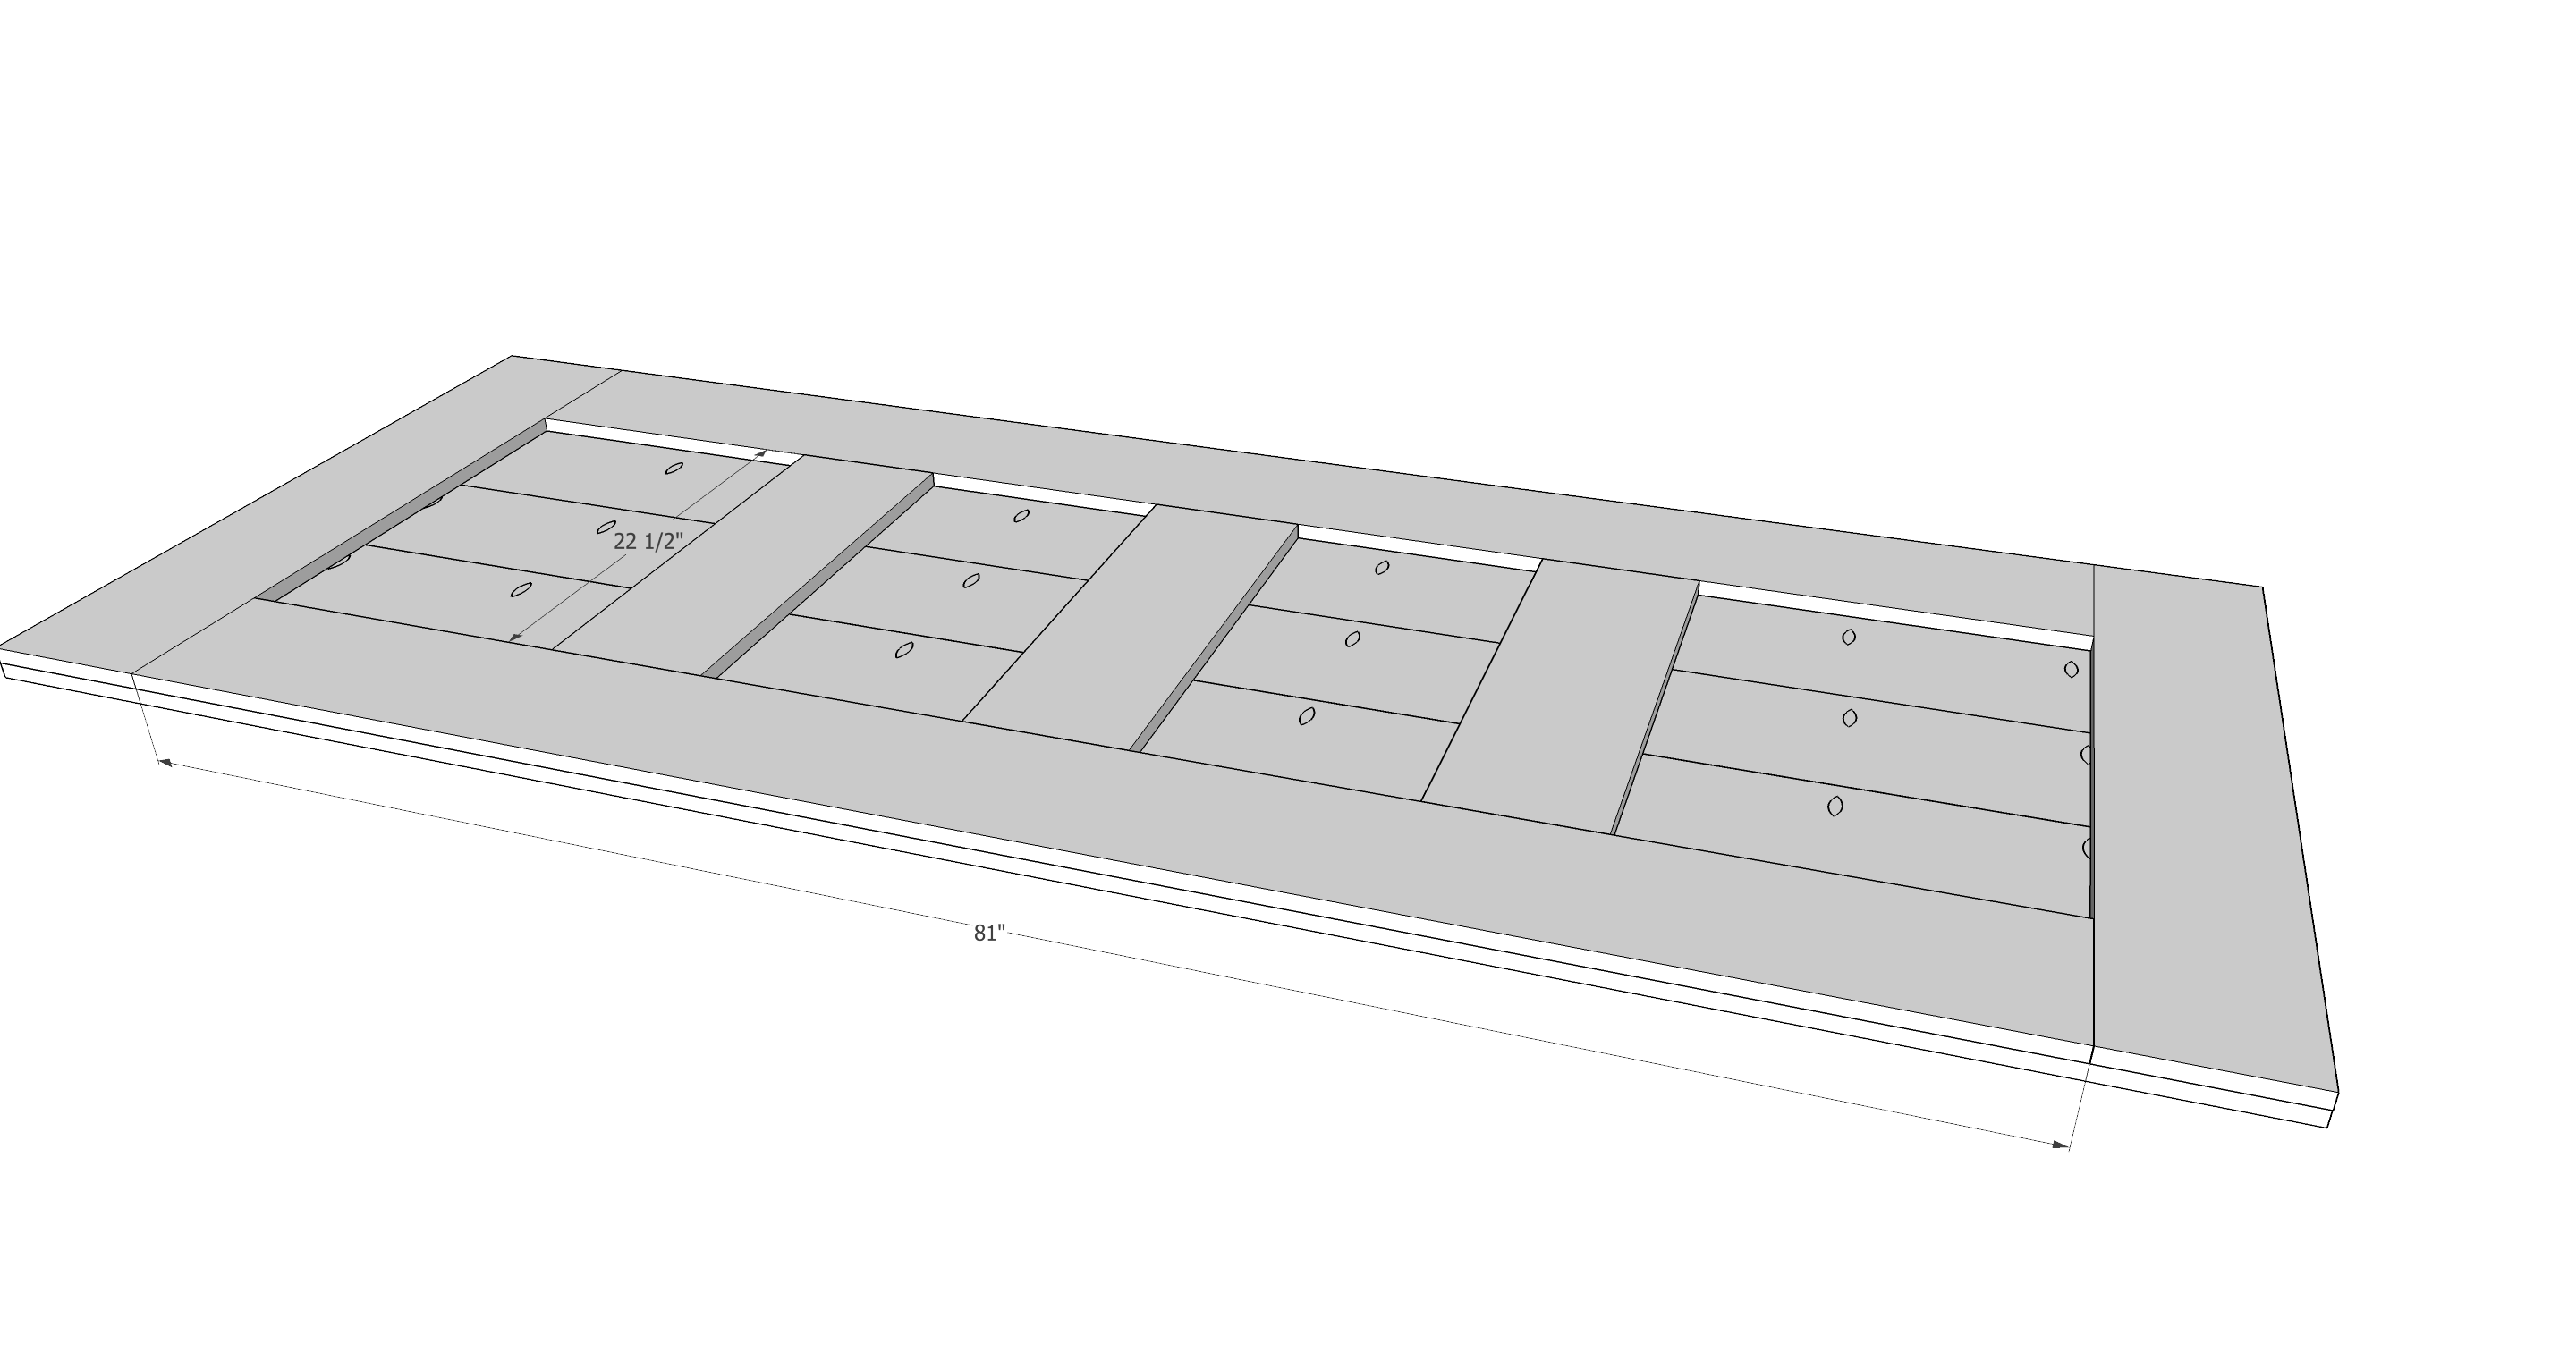
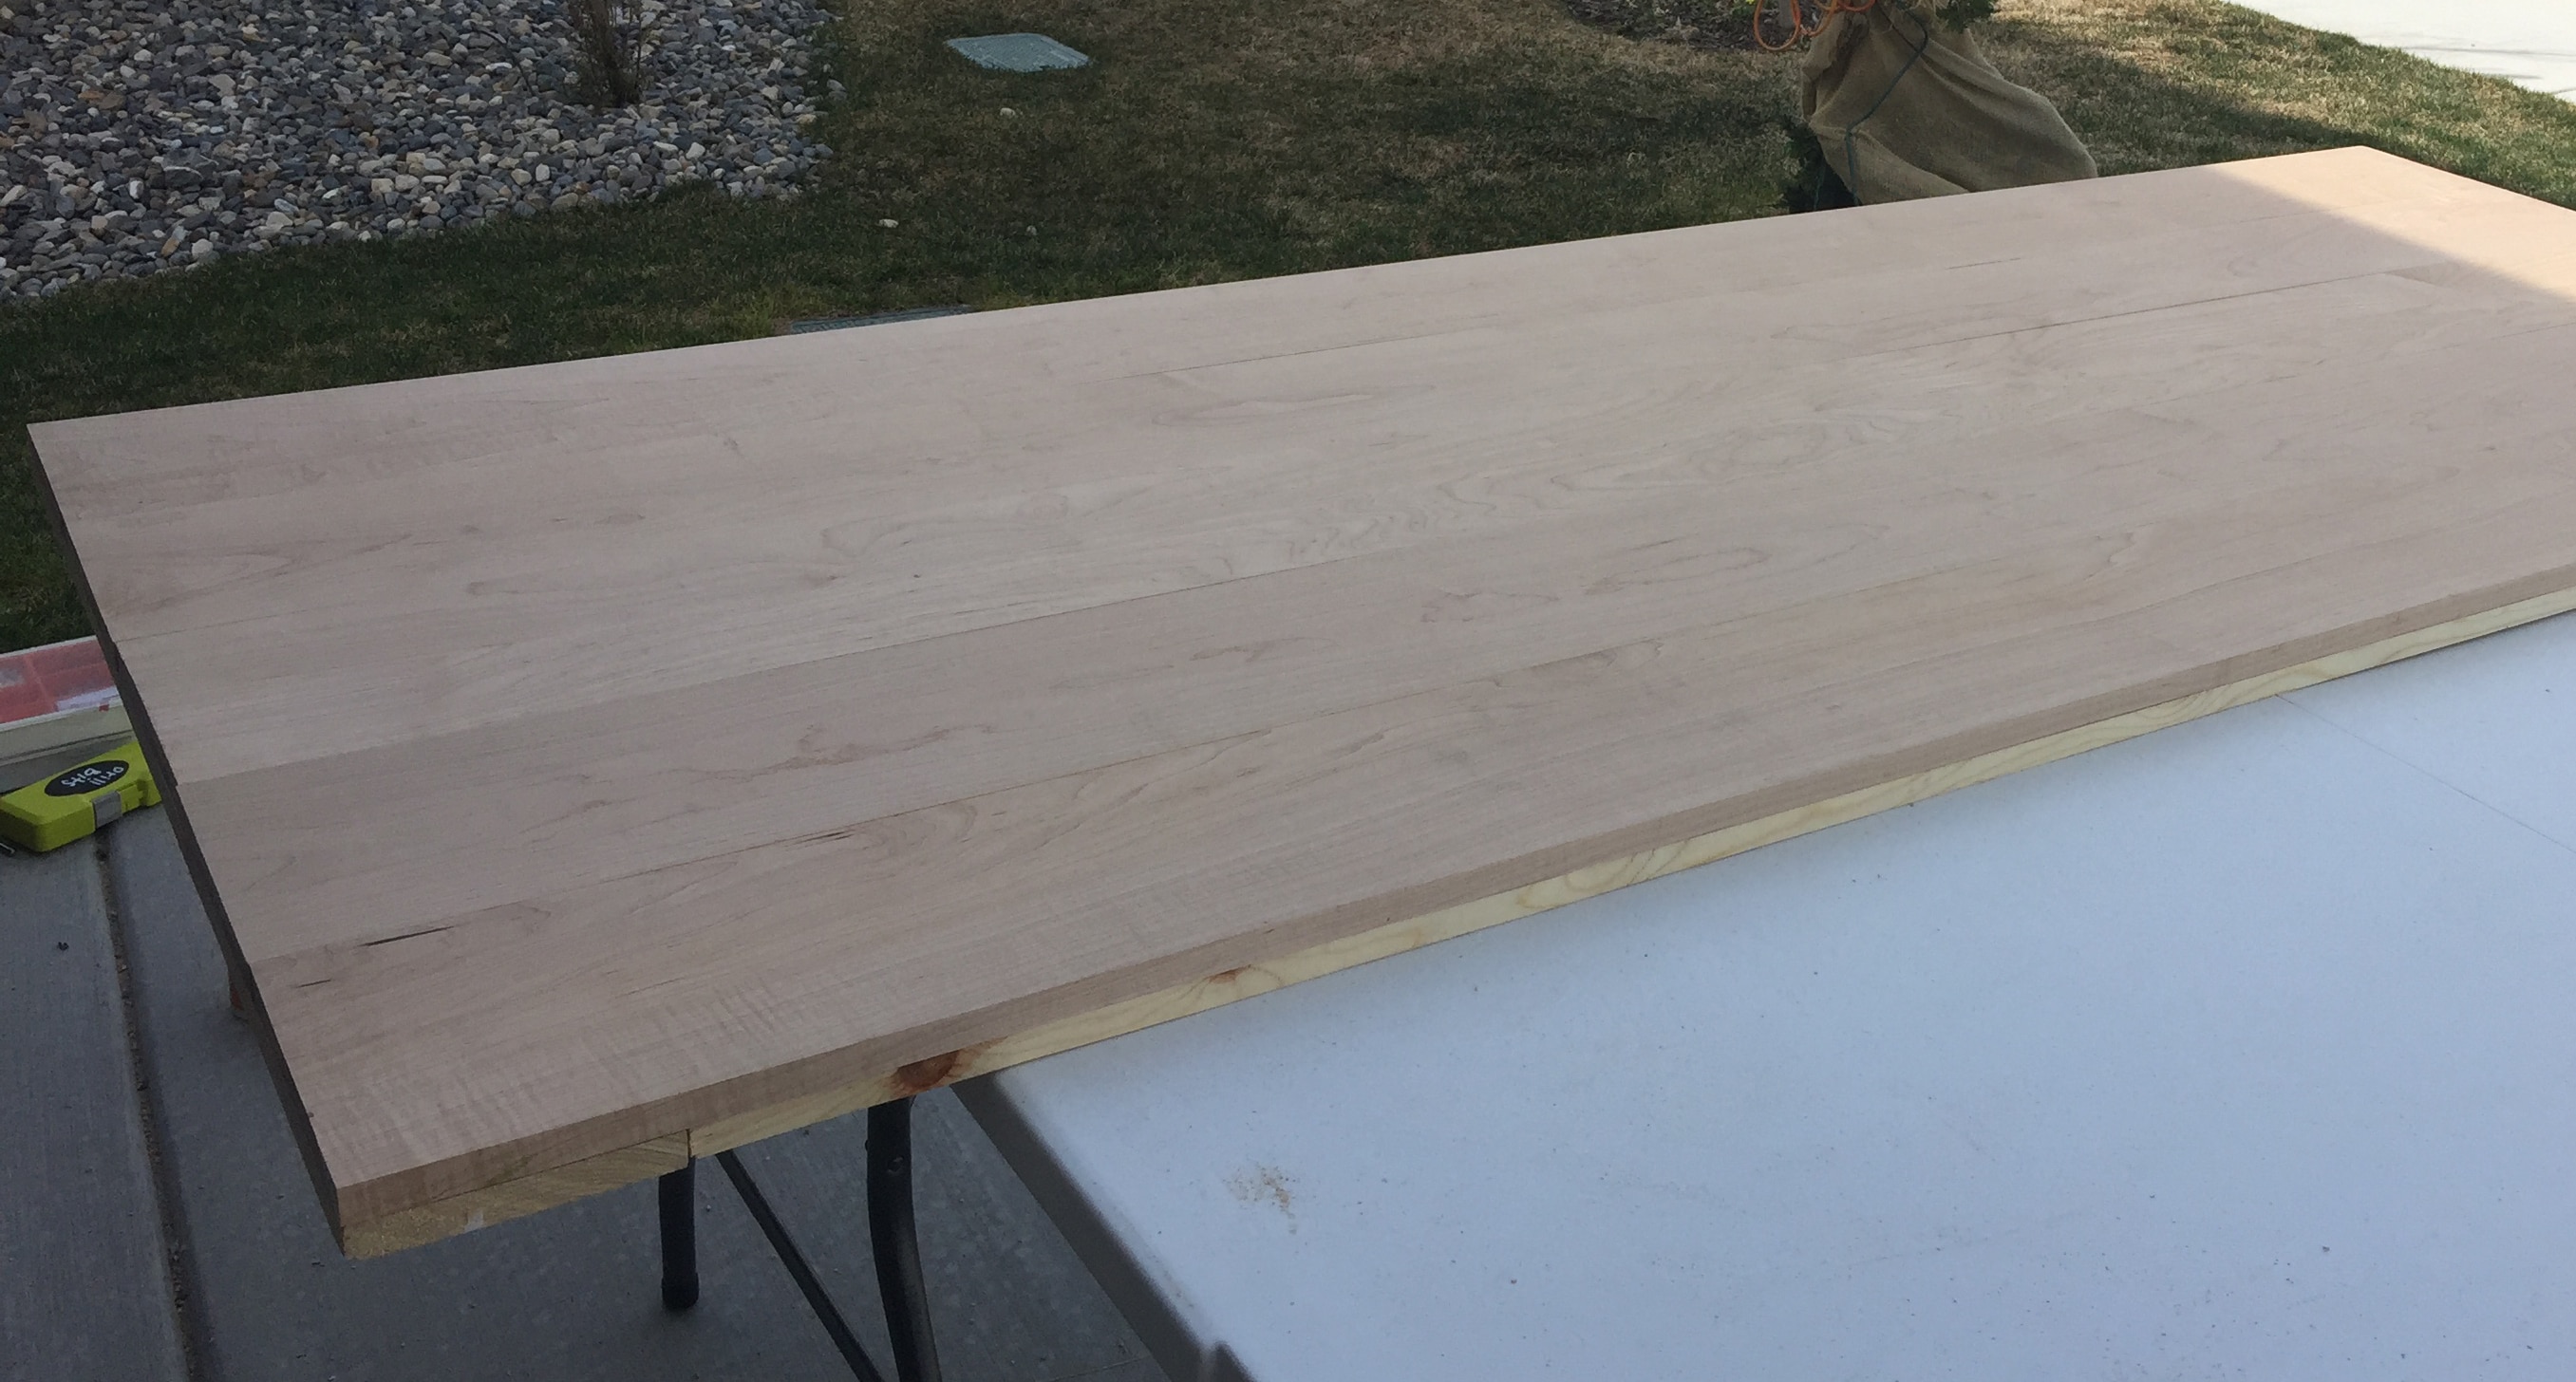
TABLE TOP: First I put together the table top. Whenever I make a plank-style table top I use my Kreg Jig. Lay out your table top boards side by side and find the best arrangement for them. Cut them all to the exact same length if you need. Flip the boards over and drill pocket holes every 12 inches or so. Then use wood glue and 1 1/4″ pocket screws to attach the boards together. I used large clamps for this and it really helps.
After the basic planked top is put together, You can construct a frame on the bottom side for extra support. I used cheap pine boards for the frame and screwed it in with 1 1/4″ wood screws. I made a frame go along the outside edges, and then had three boards across the middle.
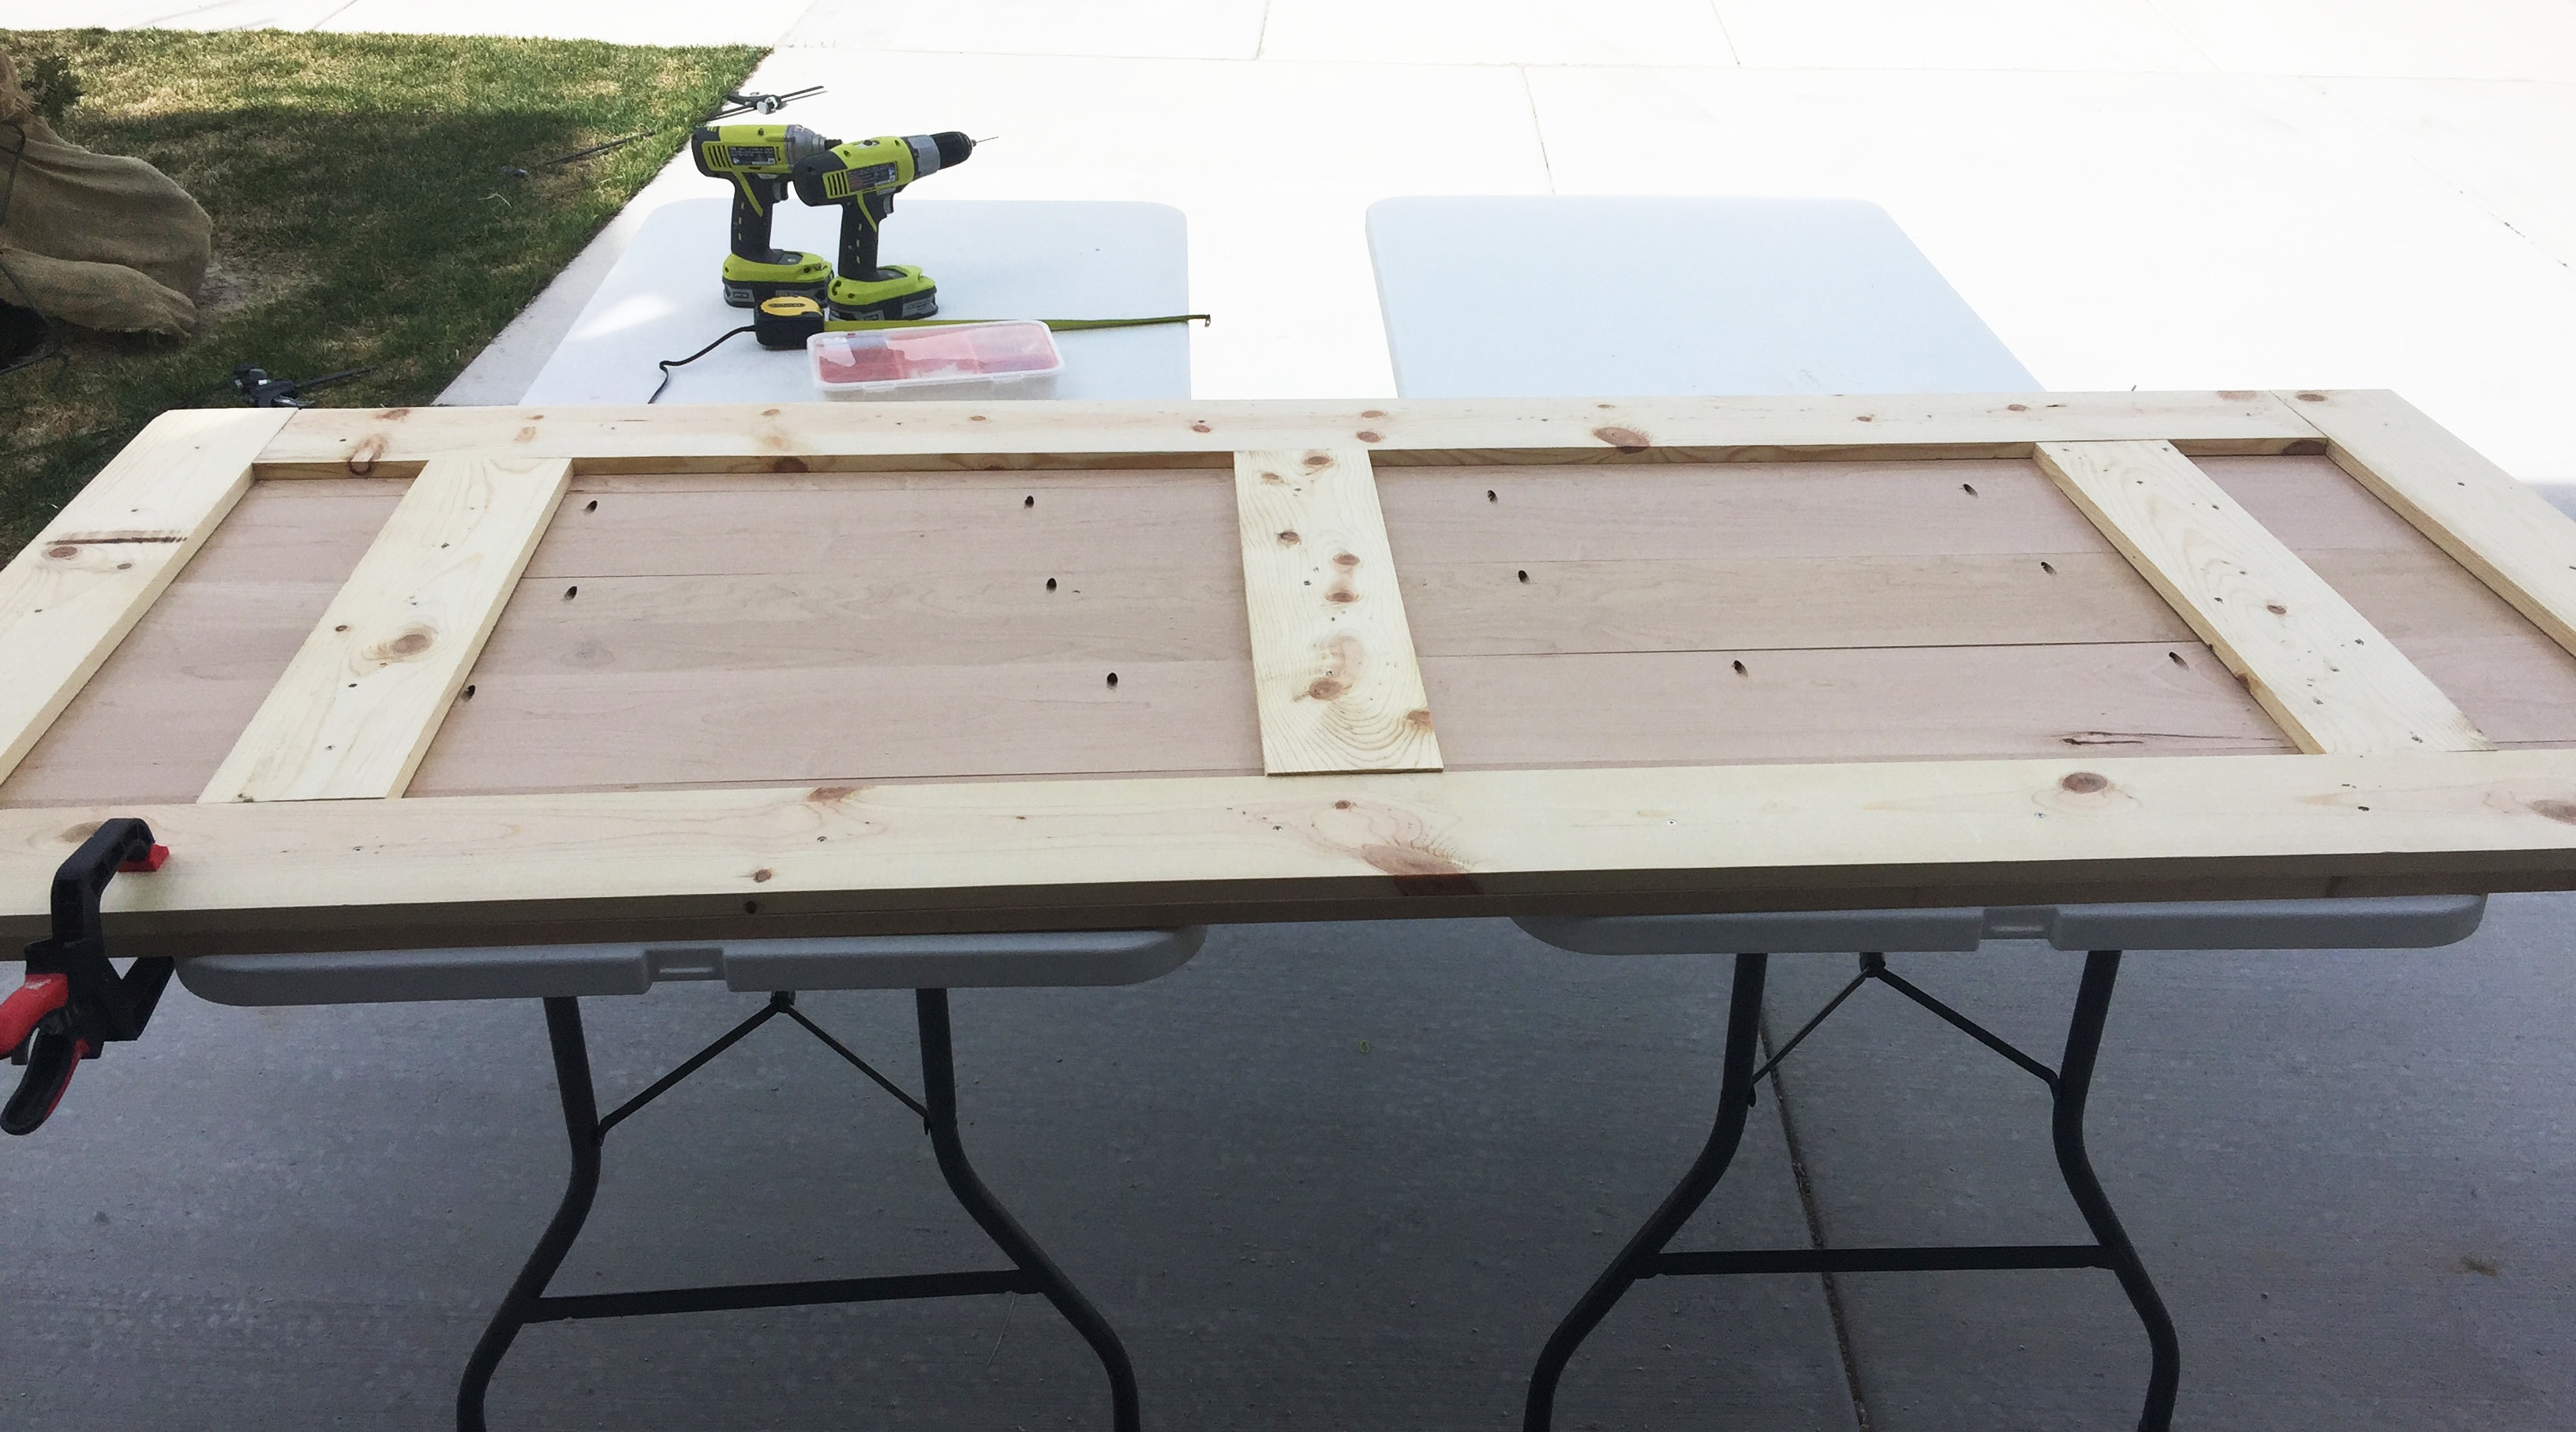
**In the picture below, two of the middle frame pieces are pretty close to the ends but in the plans above, they are closer to the middle. Make sure you screw them closer to the middle so you have room for the legs to fit. Follow the plans!
Here’s the view from the top side:
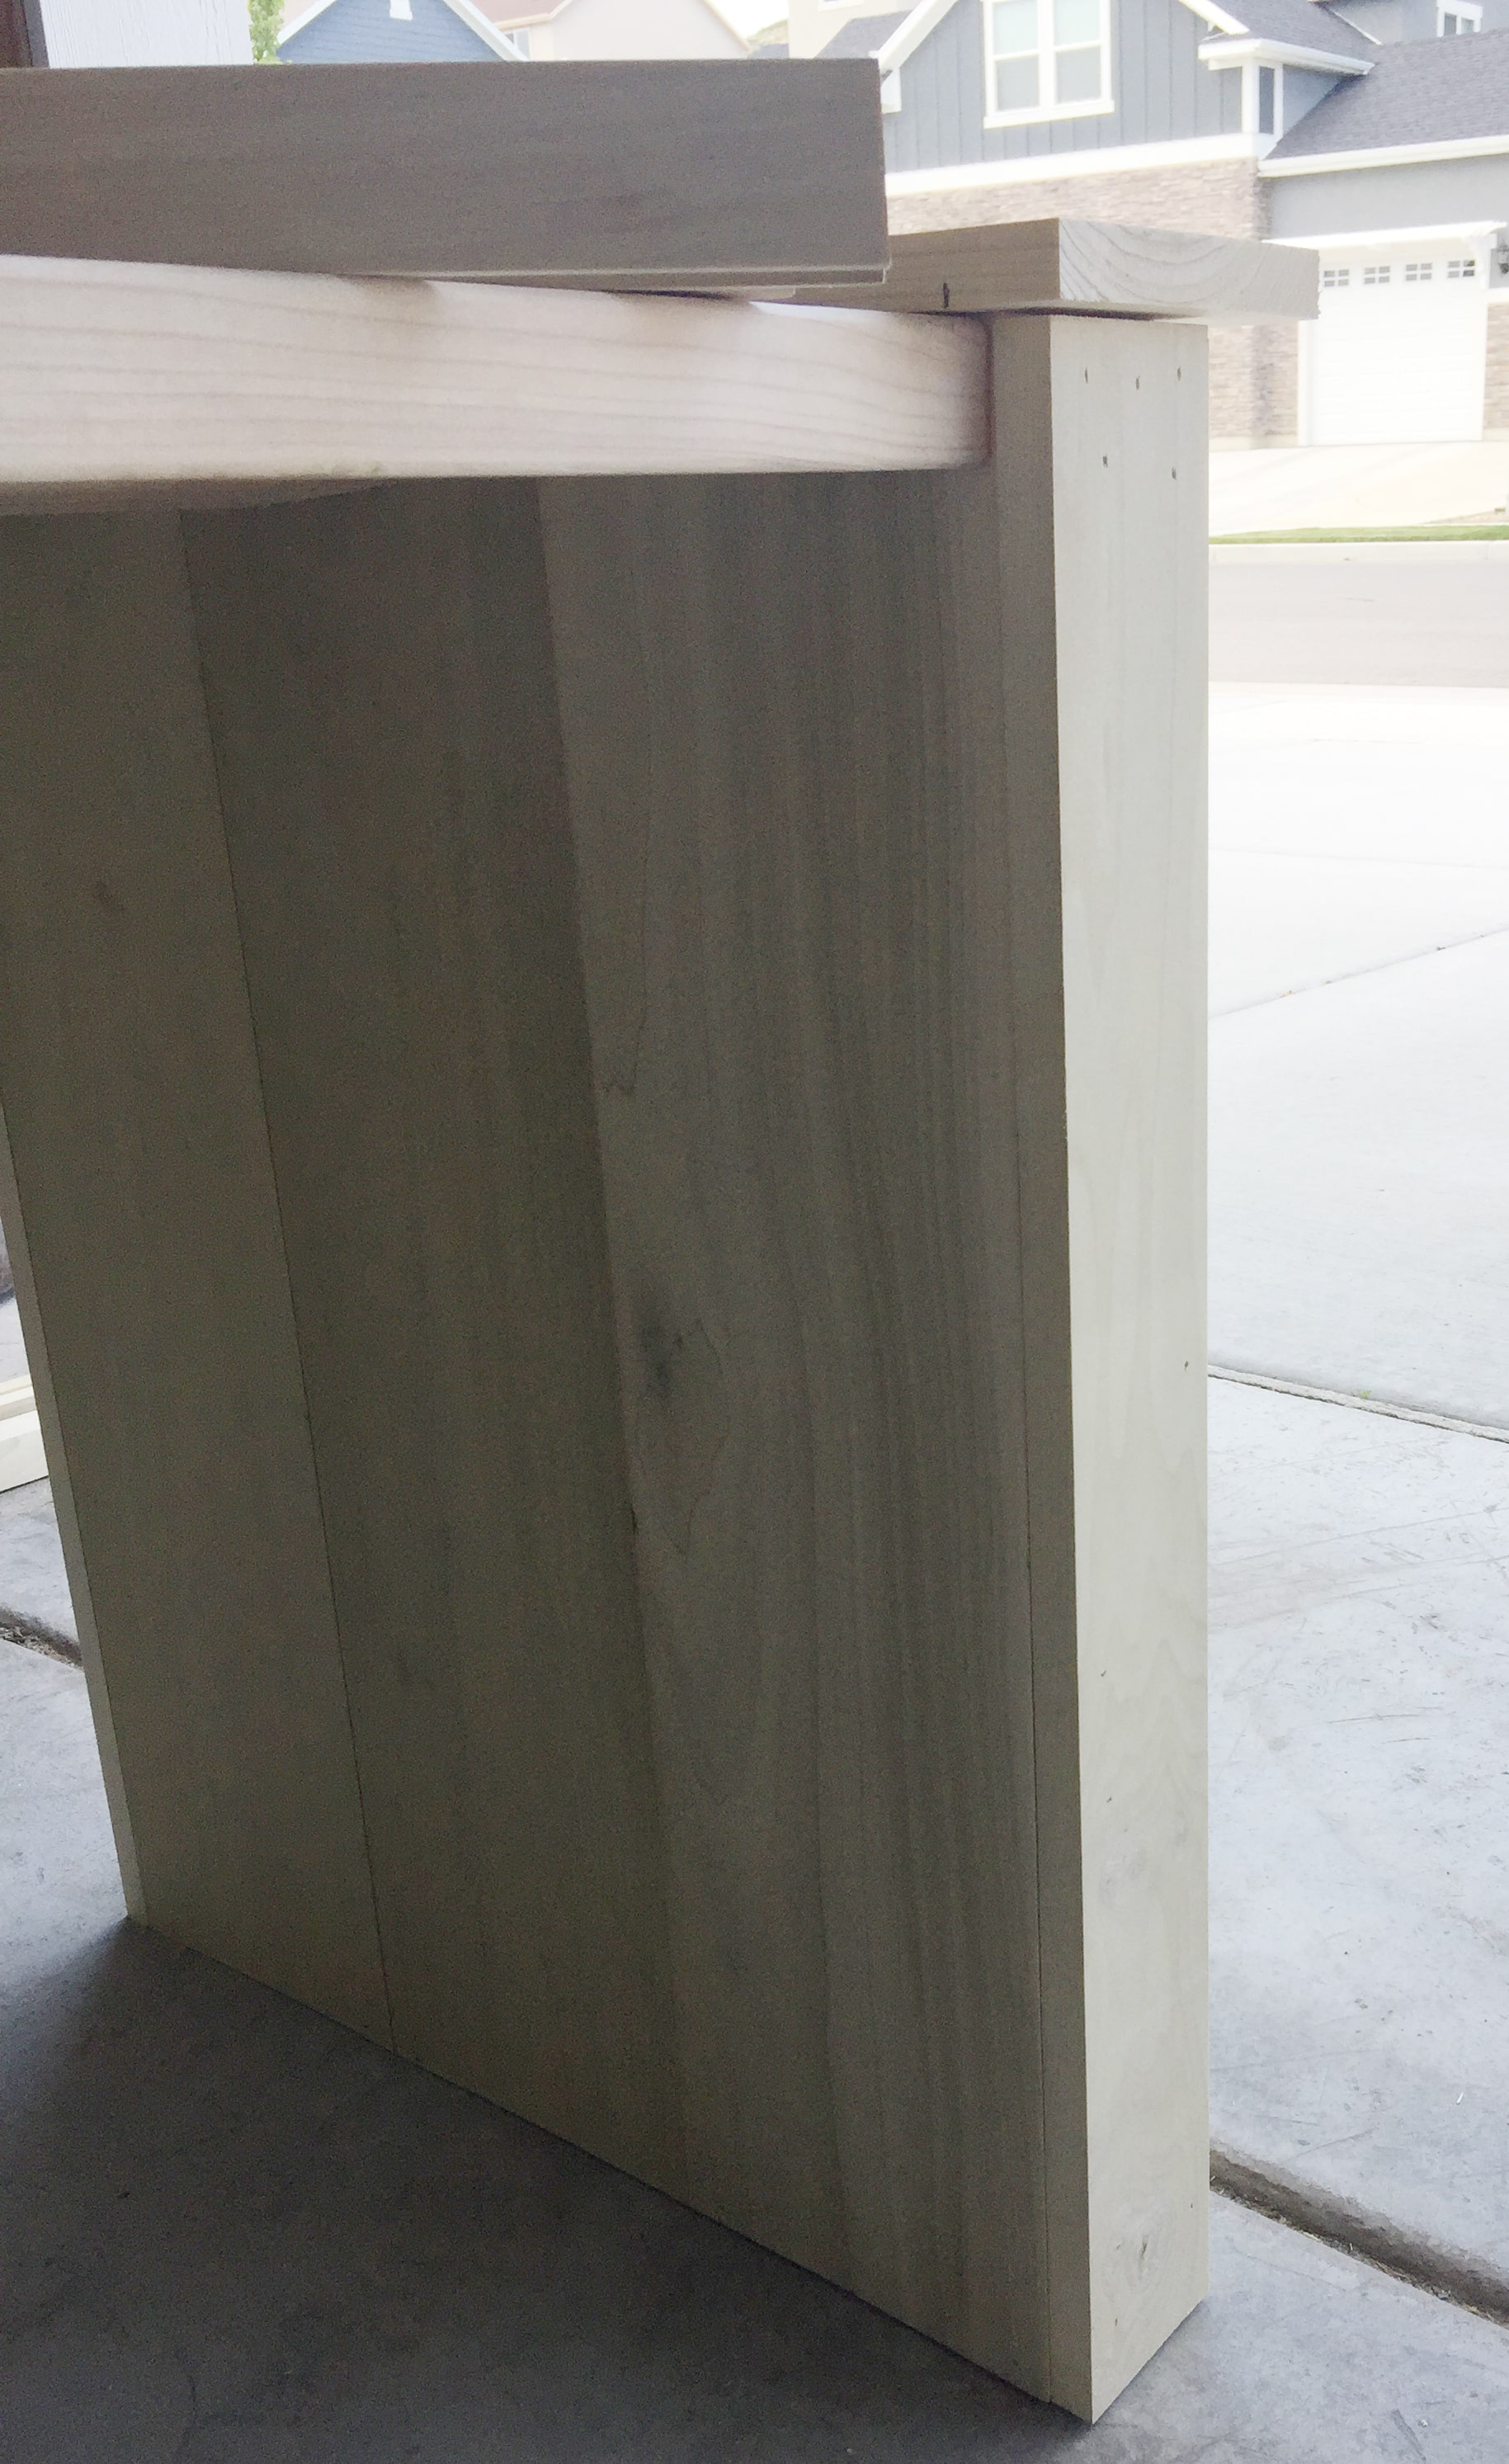
Having the cheap frame under the tabletop makes it sturdier but also helps support the side trim you’re going to add later.
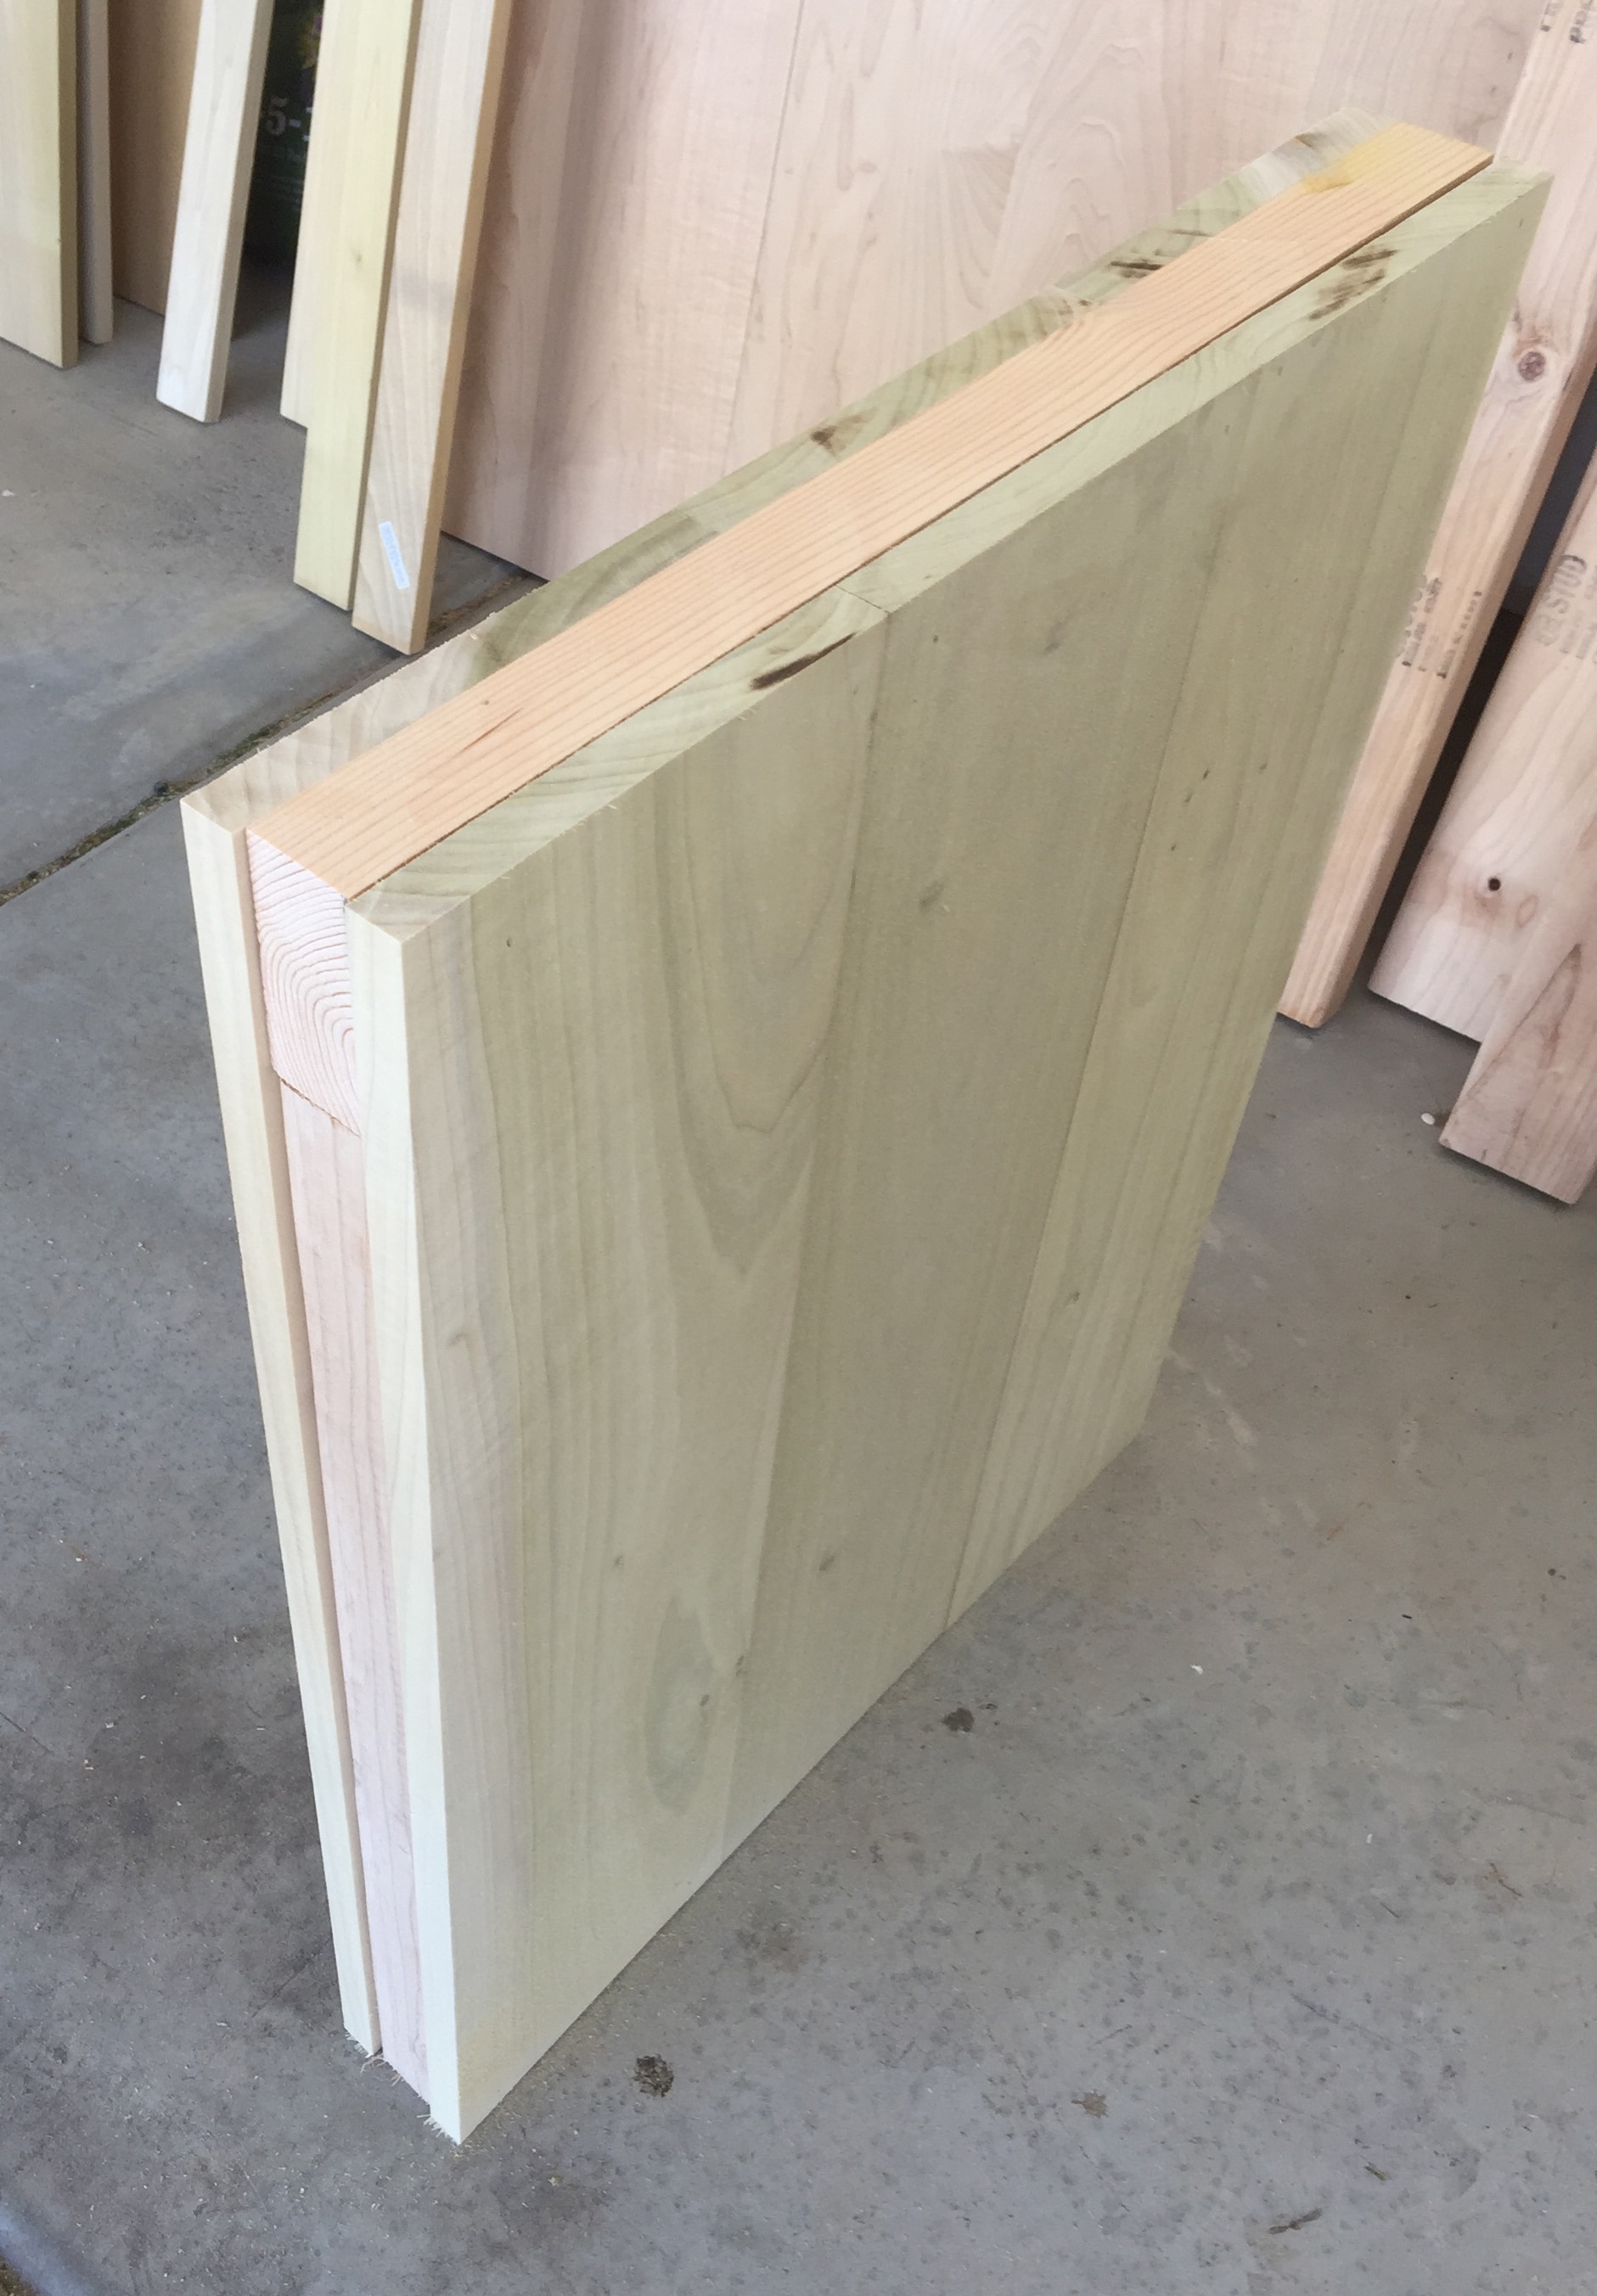
LEGS: The legs are made from a 2×4 frame and then trimmed out on all sides with poplar planks.
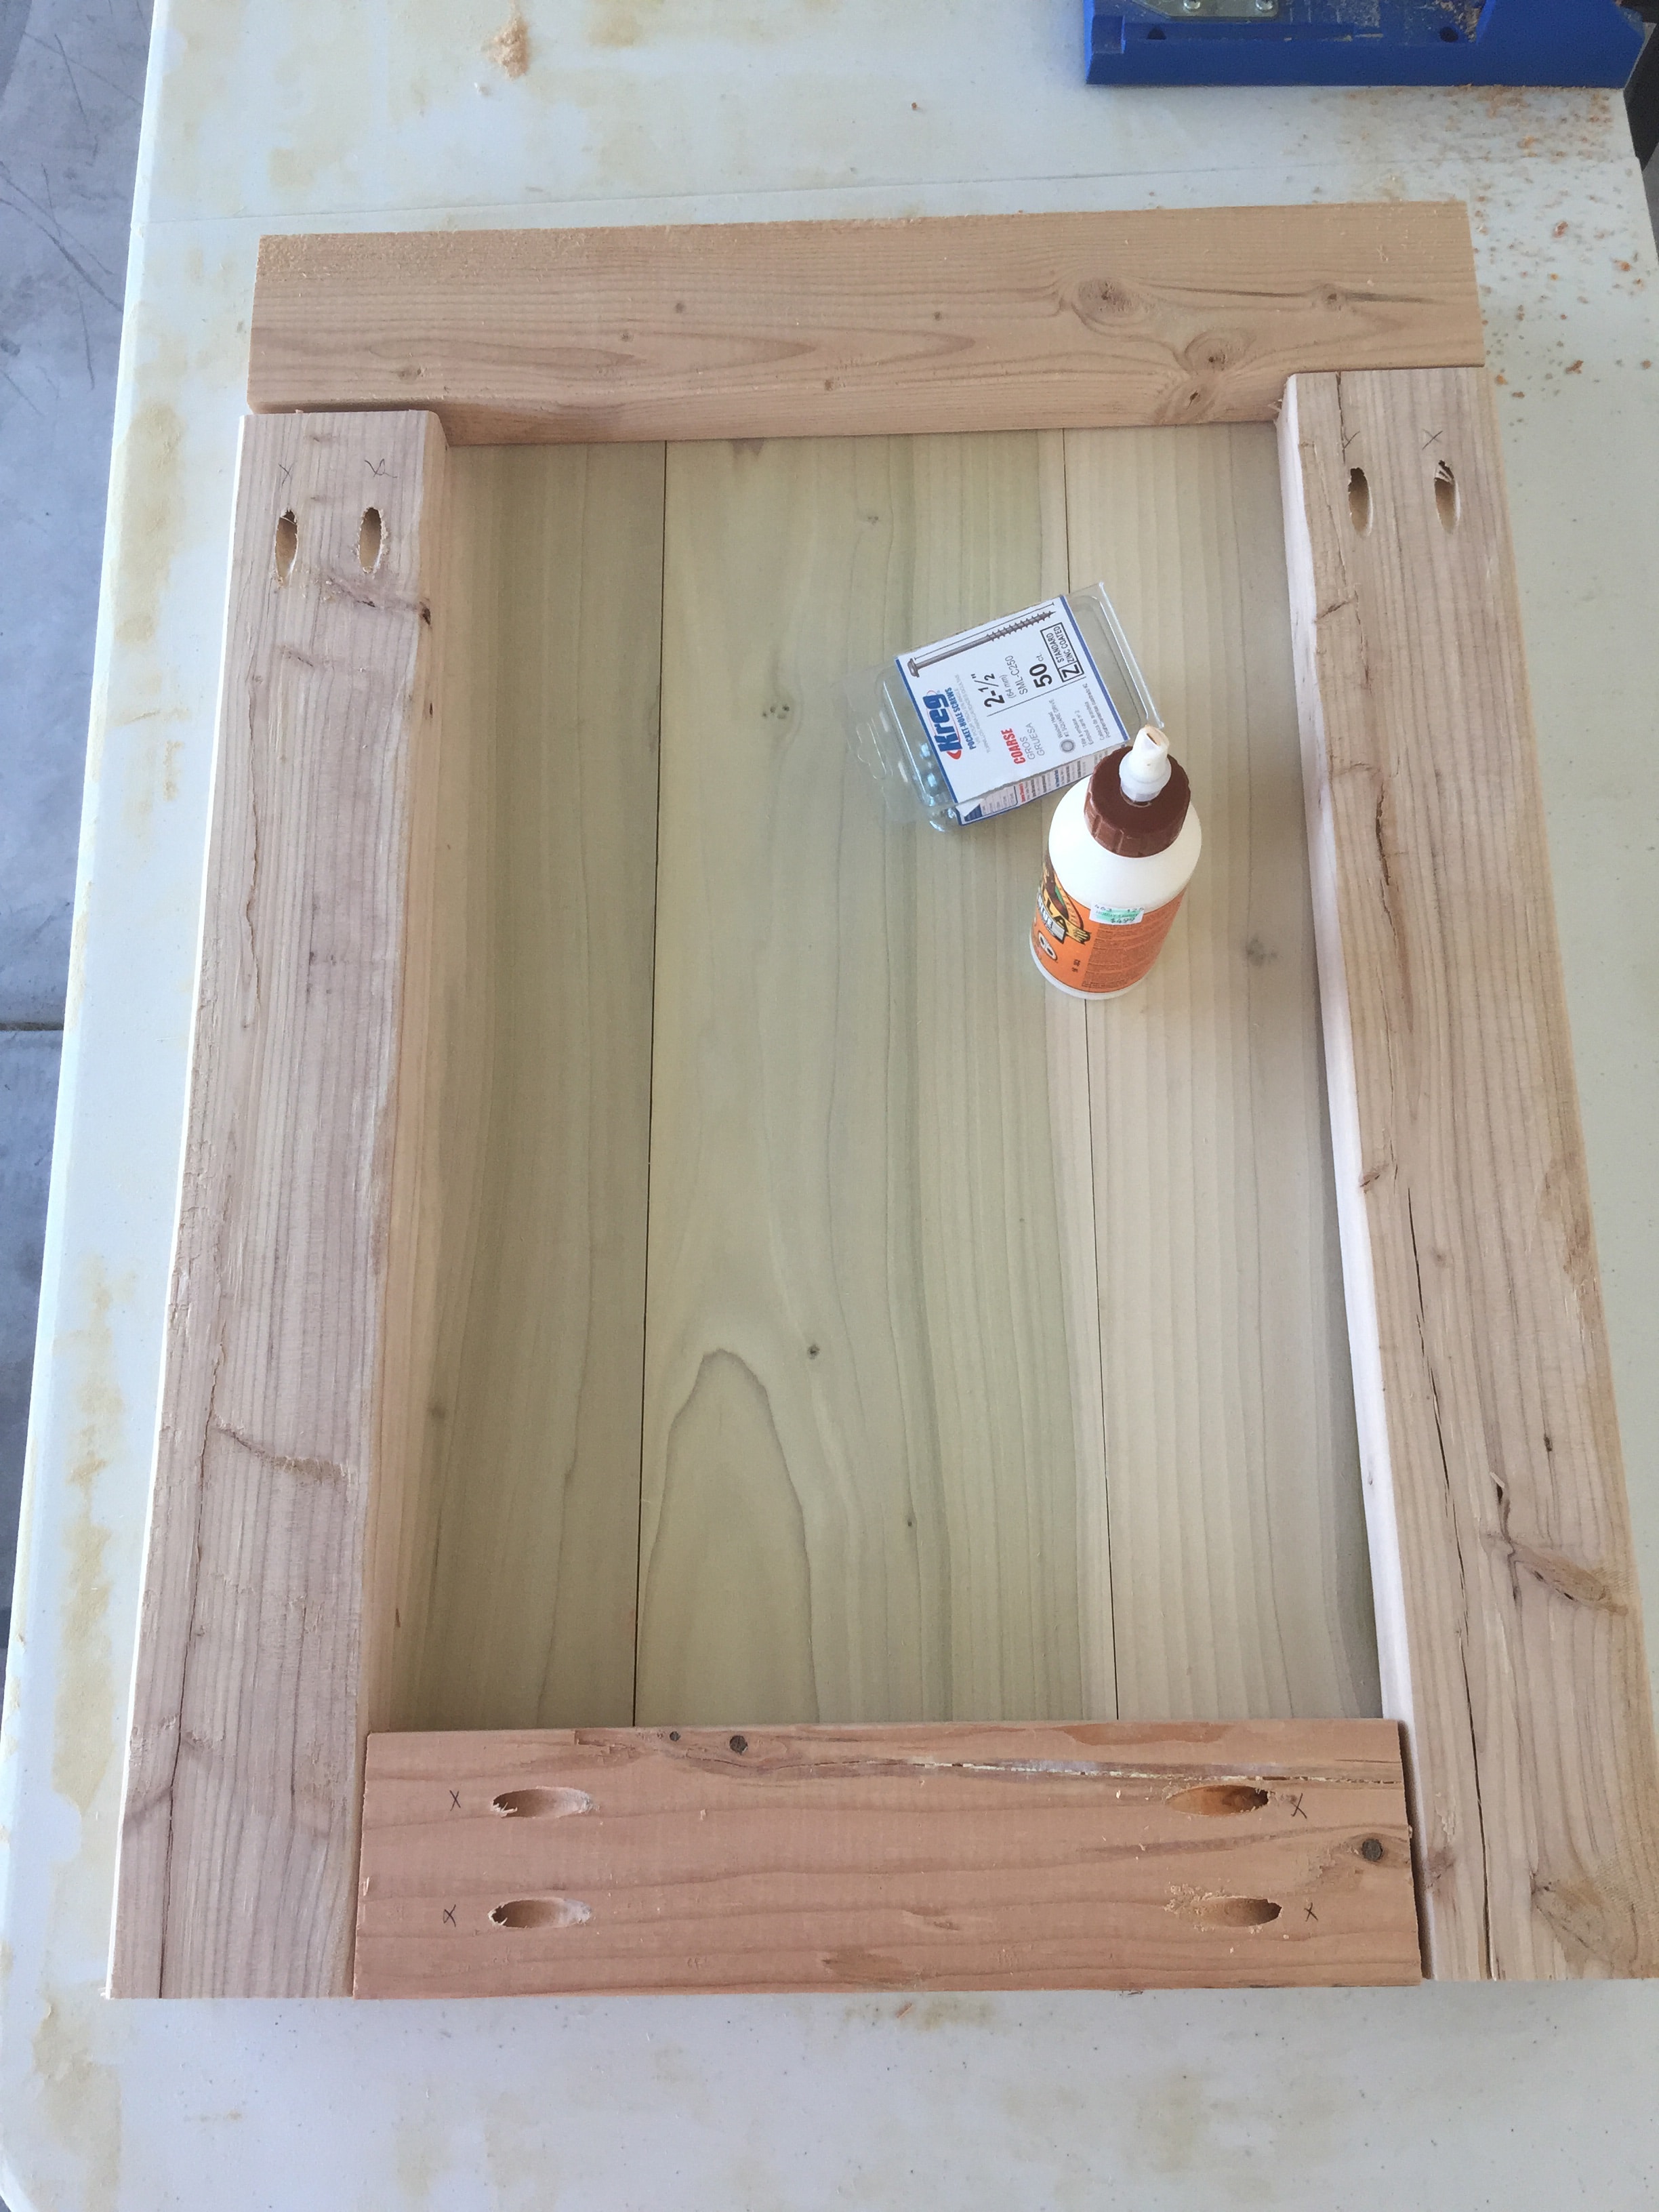
Next construct the legs. Use a Kreg Jig to drill pocket holes and assemble rectangular frames from 2x4s. Then cut 1×8 wood and square it up by pushing other wood planks perpendicular on either side. Glue and nail the wood on the top and bottom. Place the 1x4s on either side and mark lengthwise where it needs to be trimmed. Use a table saw to rip off about 1/4″ of each board (but measure measure measure!) Then nail the sides on. Again, clamps are your best friend.
*When I did the legs, I wanted them to be extremely flat on the bottom and top so there would be NO wobbling. I ended up running the top and bottom of both legs through the table saw to get a very clean cut. I had to ensure that the table legs were also the exact same height. So even though you made your cuts and you want to be as precise as possible, sometimes you still need to clean things up a bit.
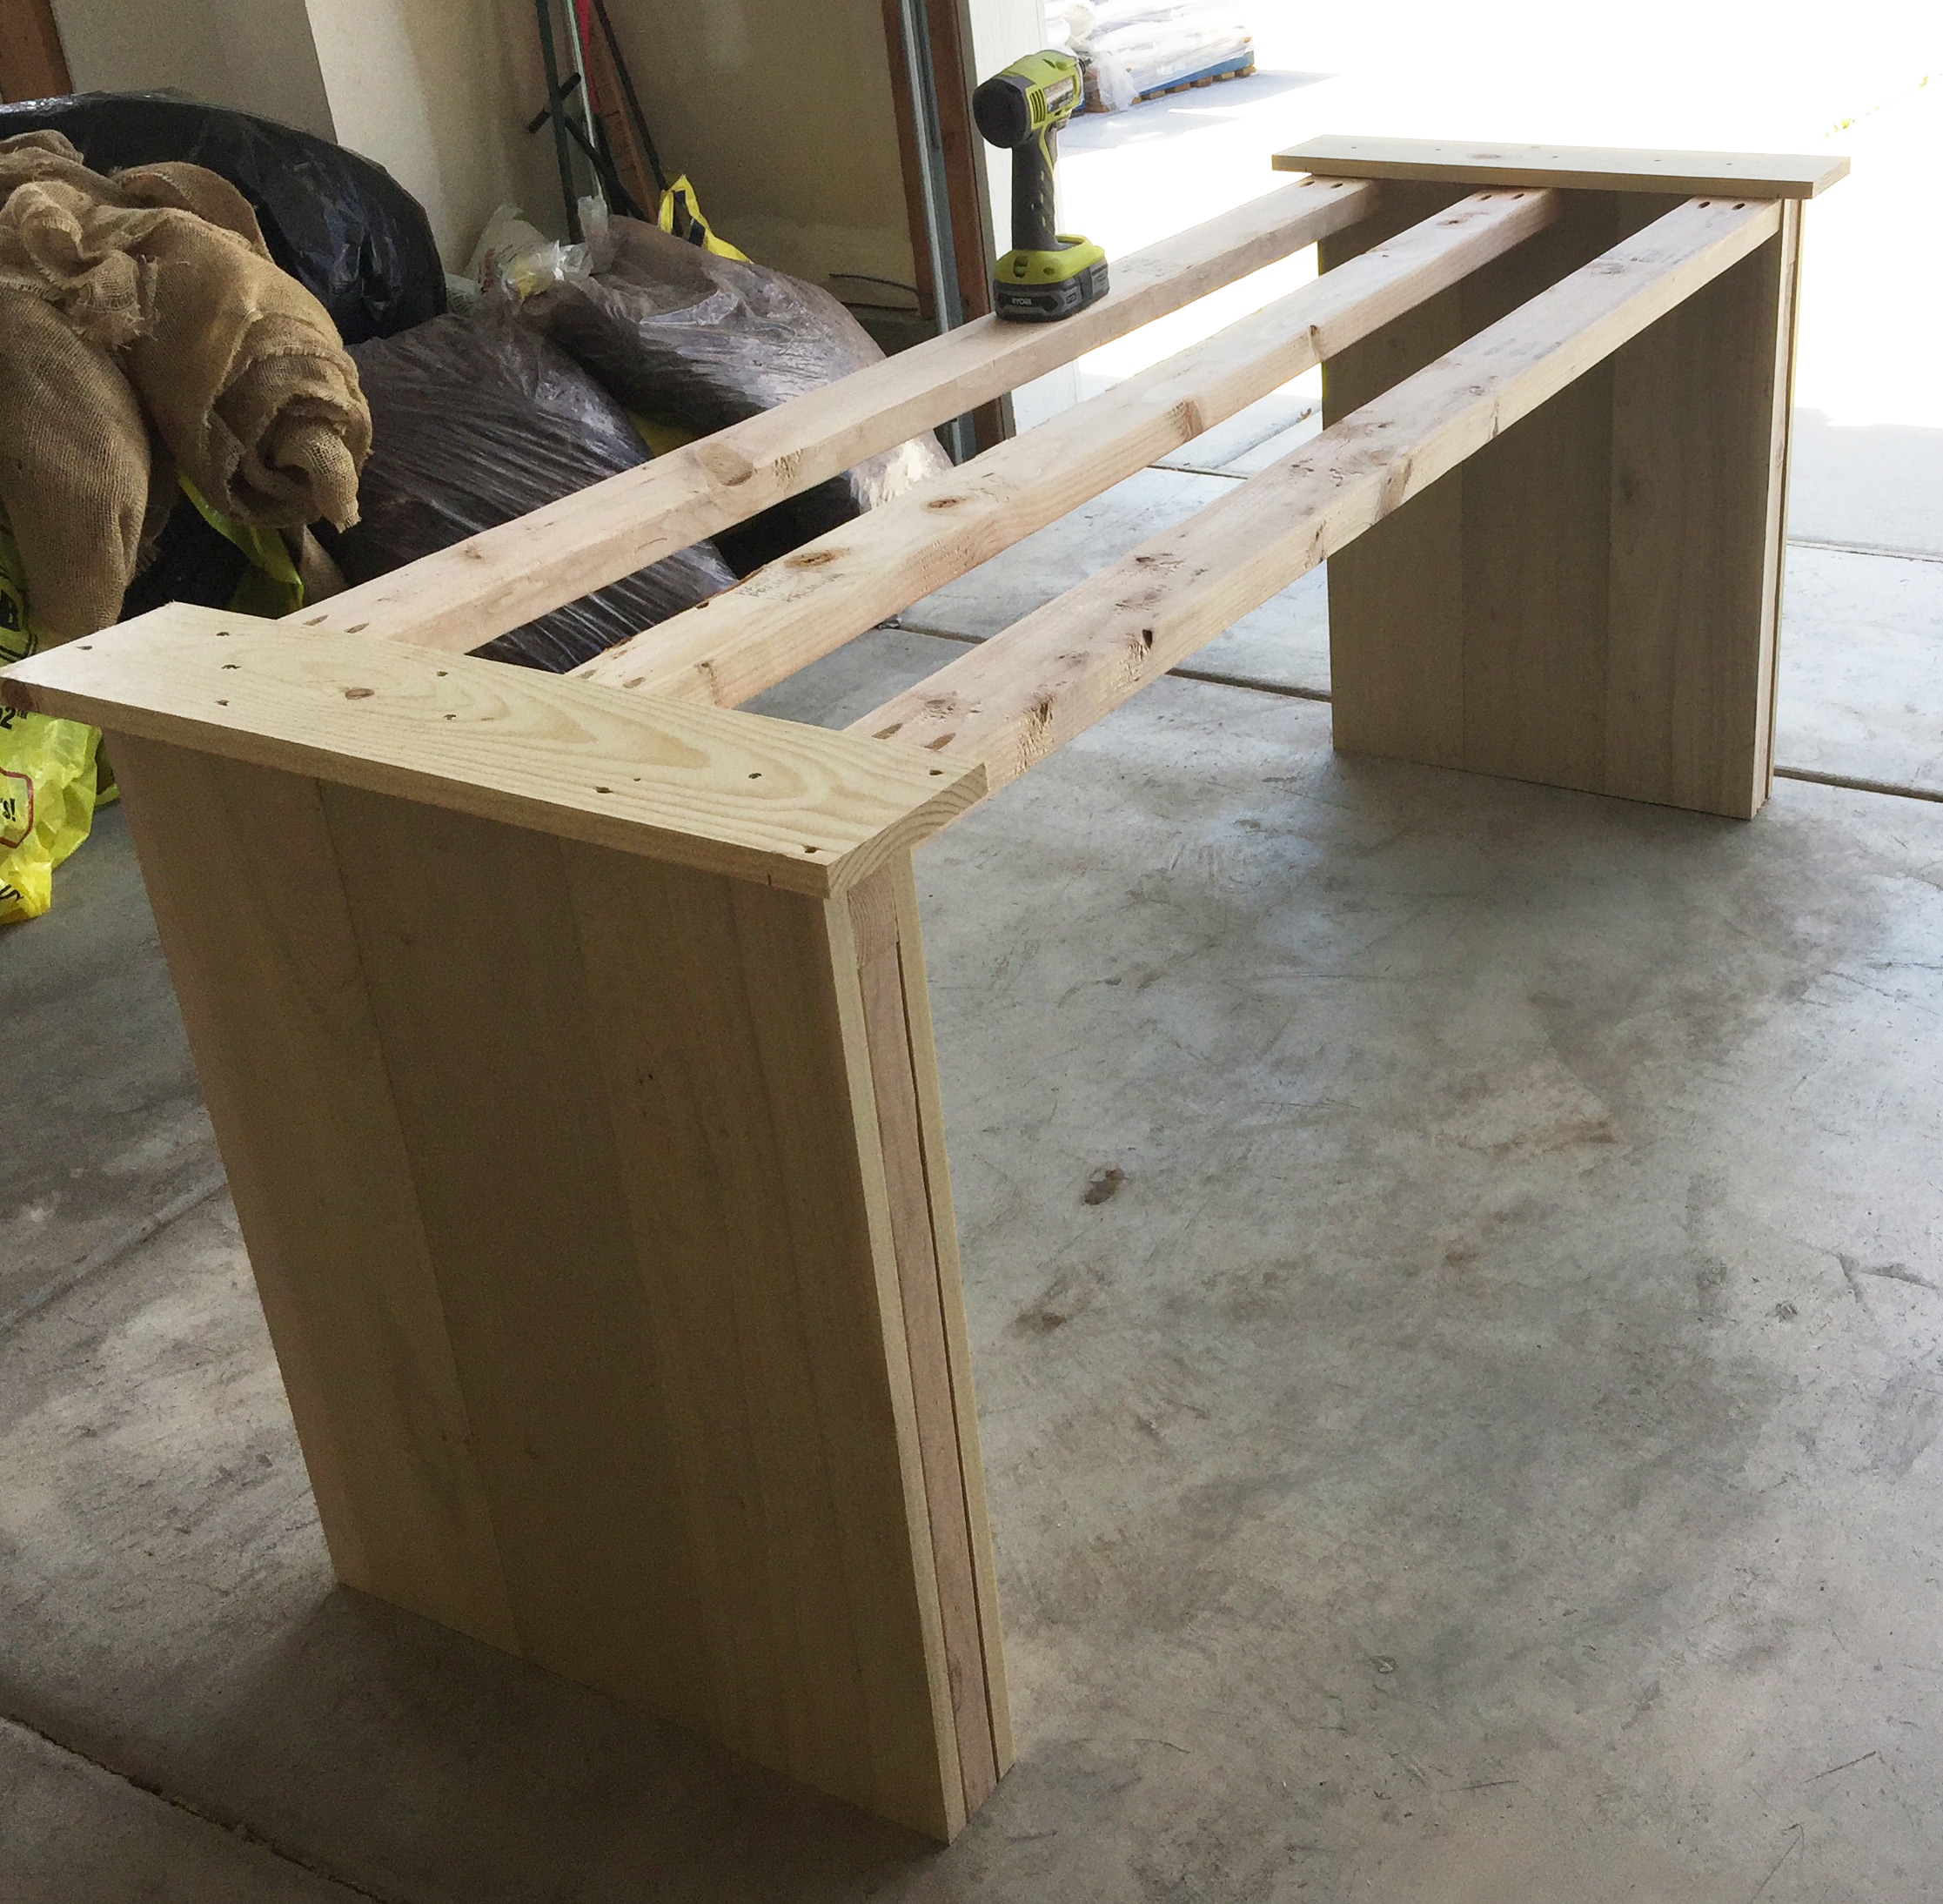
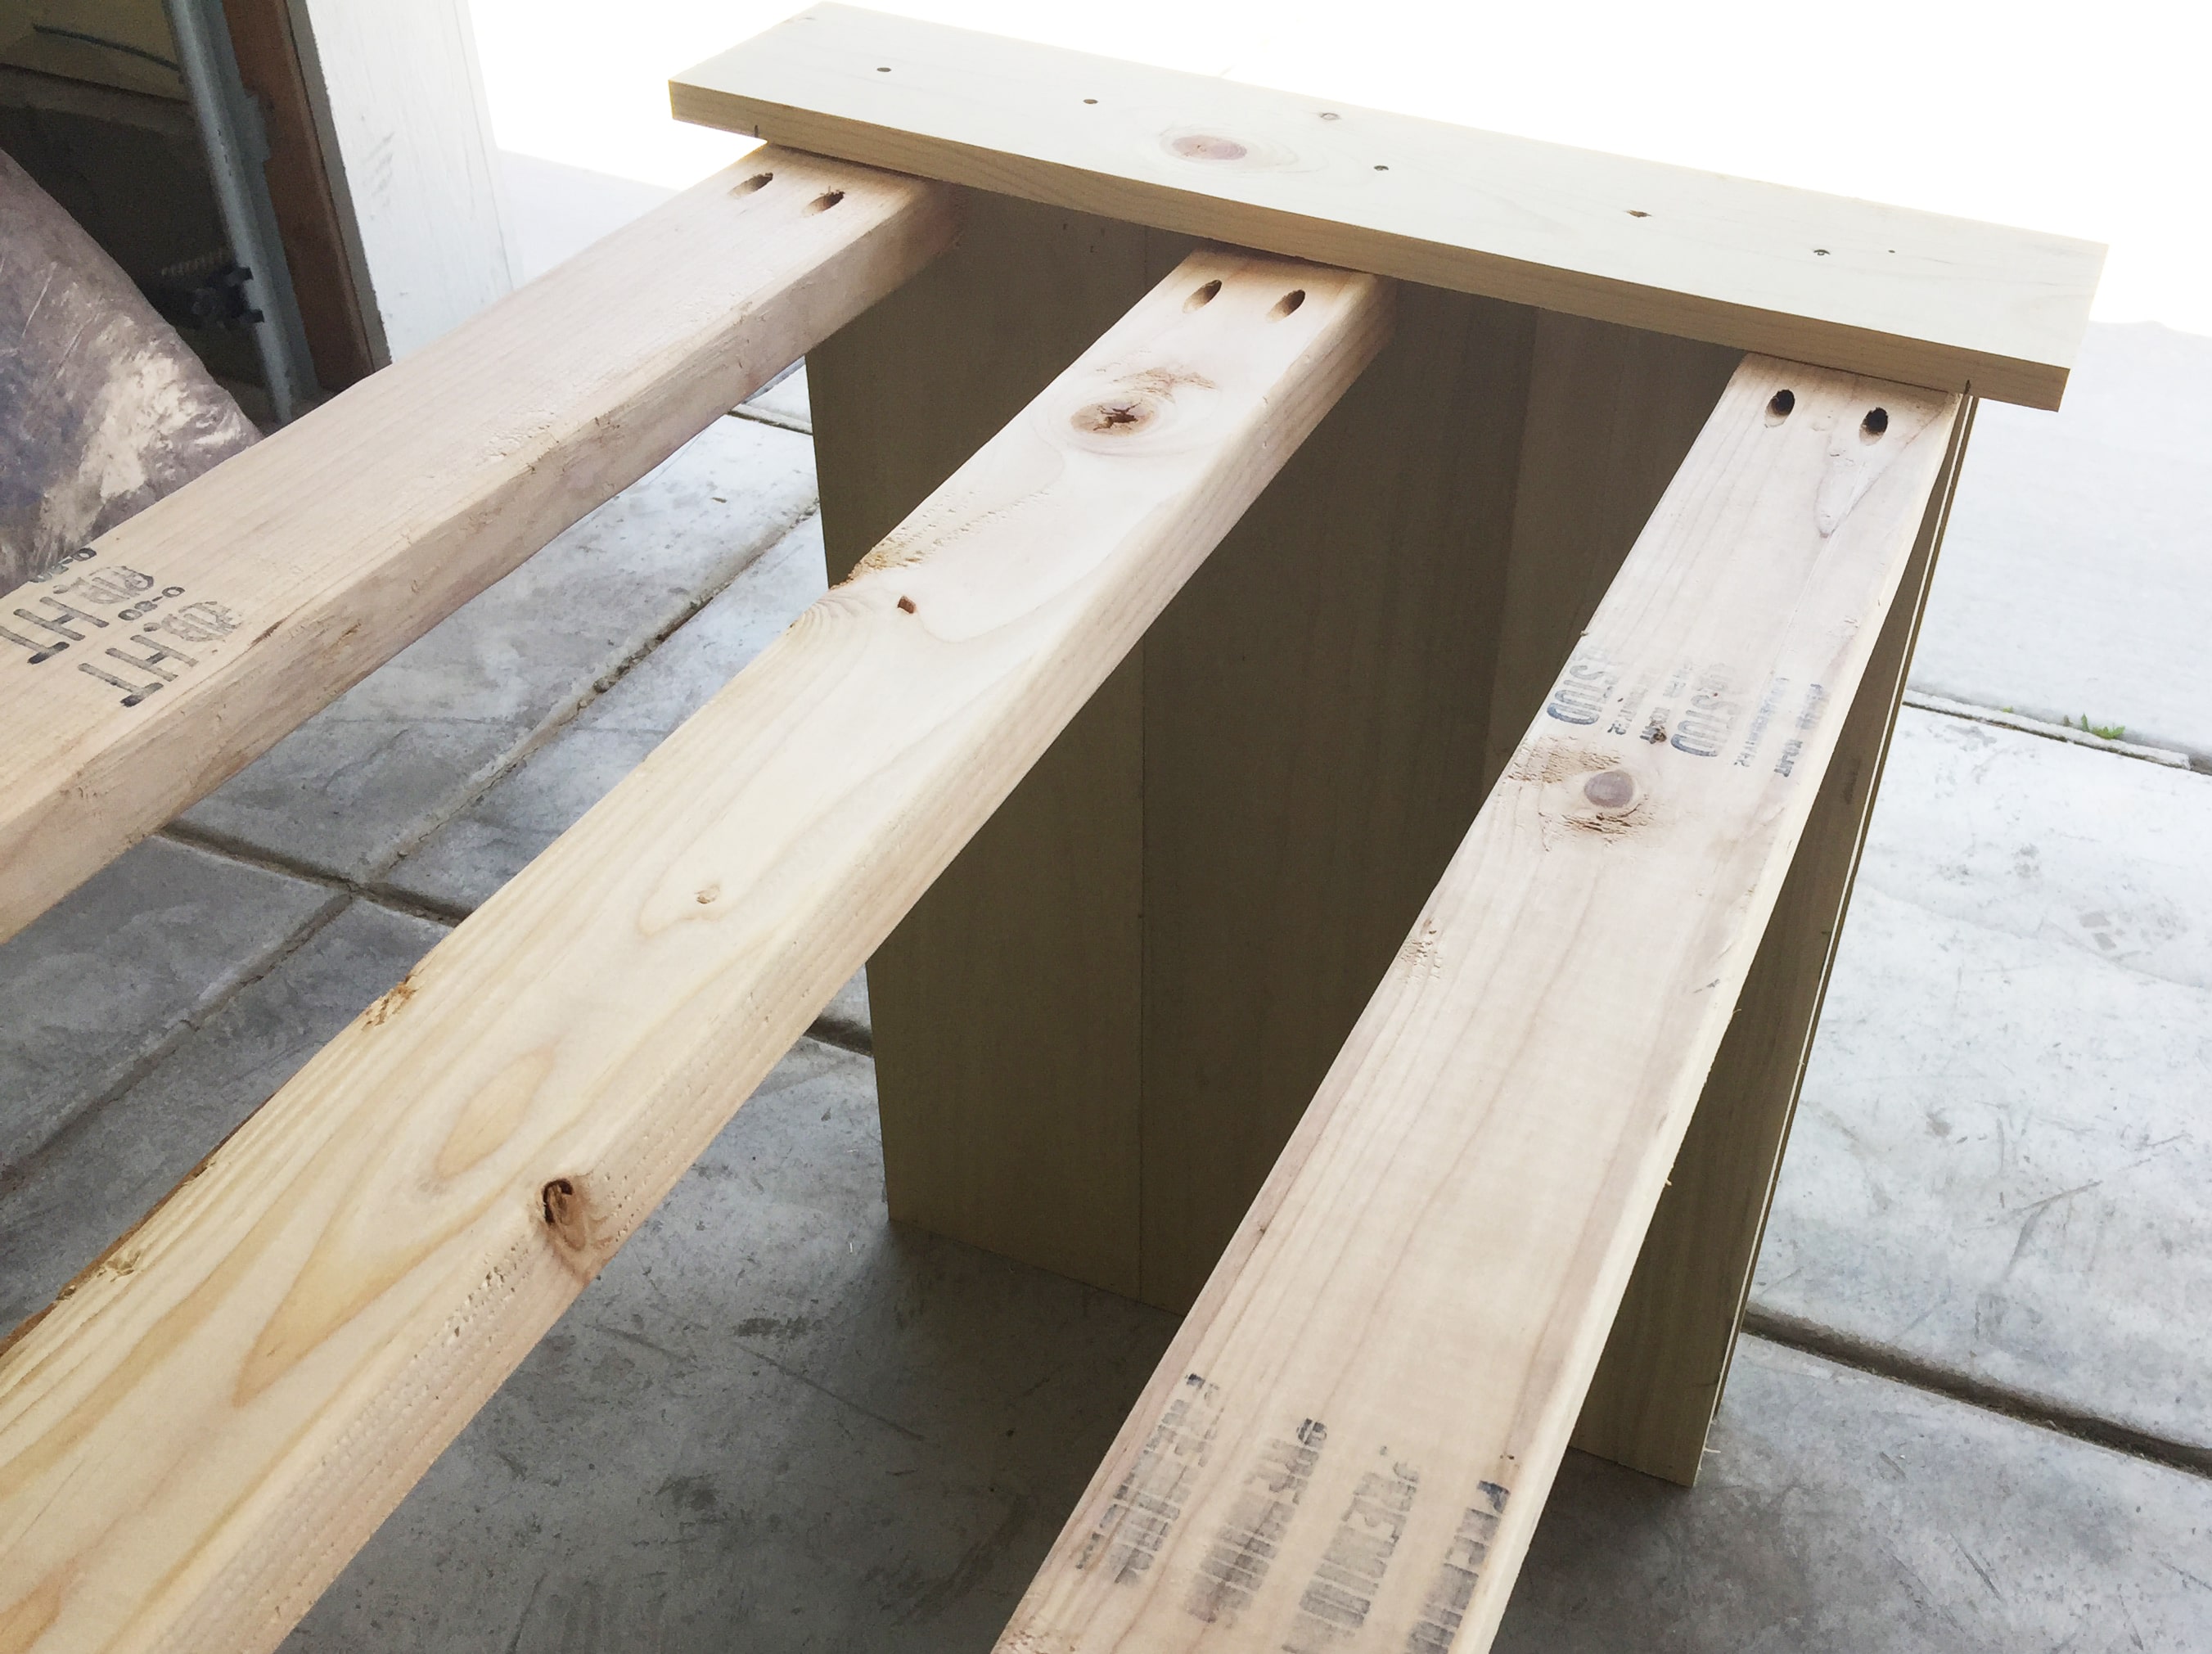
Turning the legs upside down, add three stretcher boards in between the legs, attaching them to the top of the leg (it’s lying on the floor because it’s upside down remember) Attach them to each leg using pocket holes. Then flip the entire thing back upright.
Top the legs with a 1×6 board cut to x inches. Center the board and line the edge up with the edge of the leg. Then screw in some 1 1×4″ screws to secure it into the leg and into the stretcher boards.
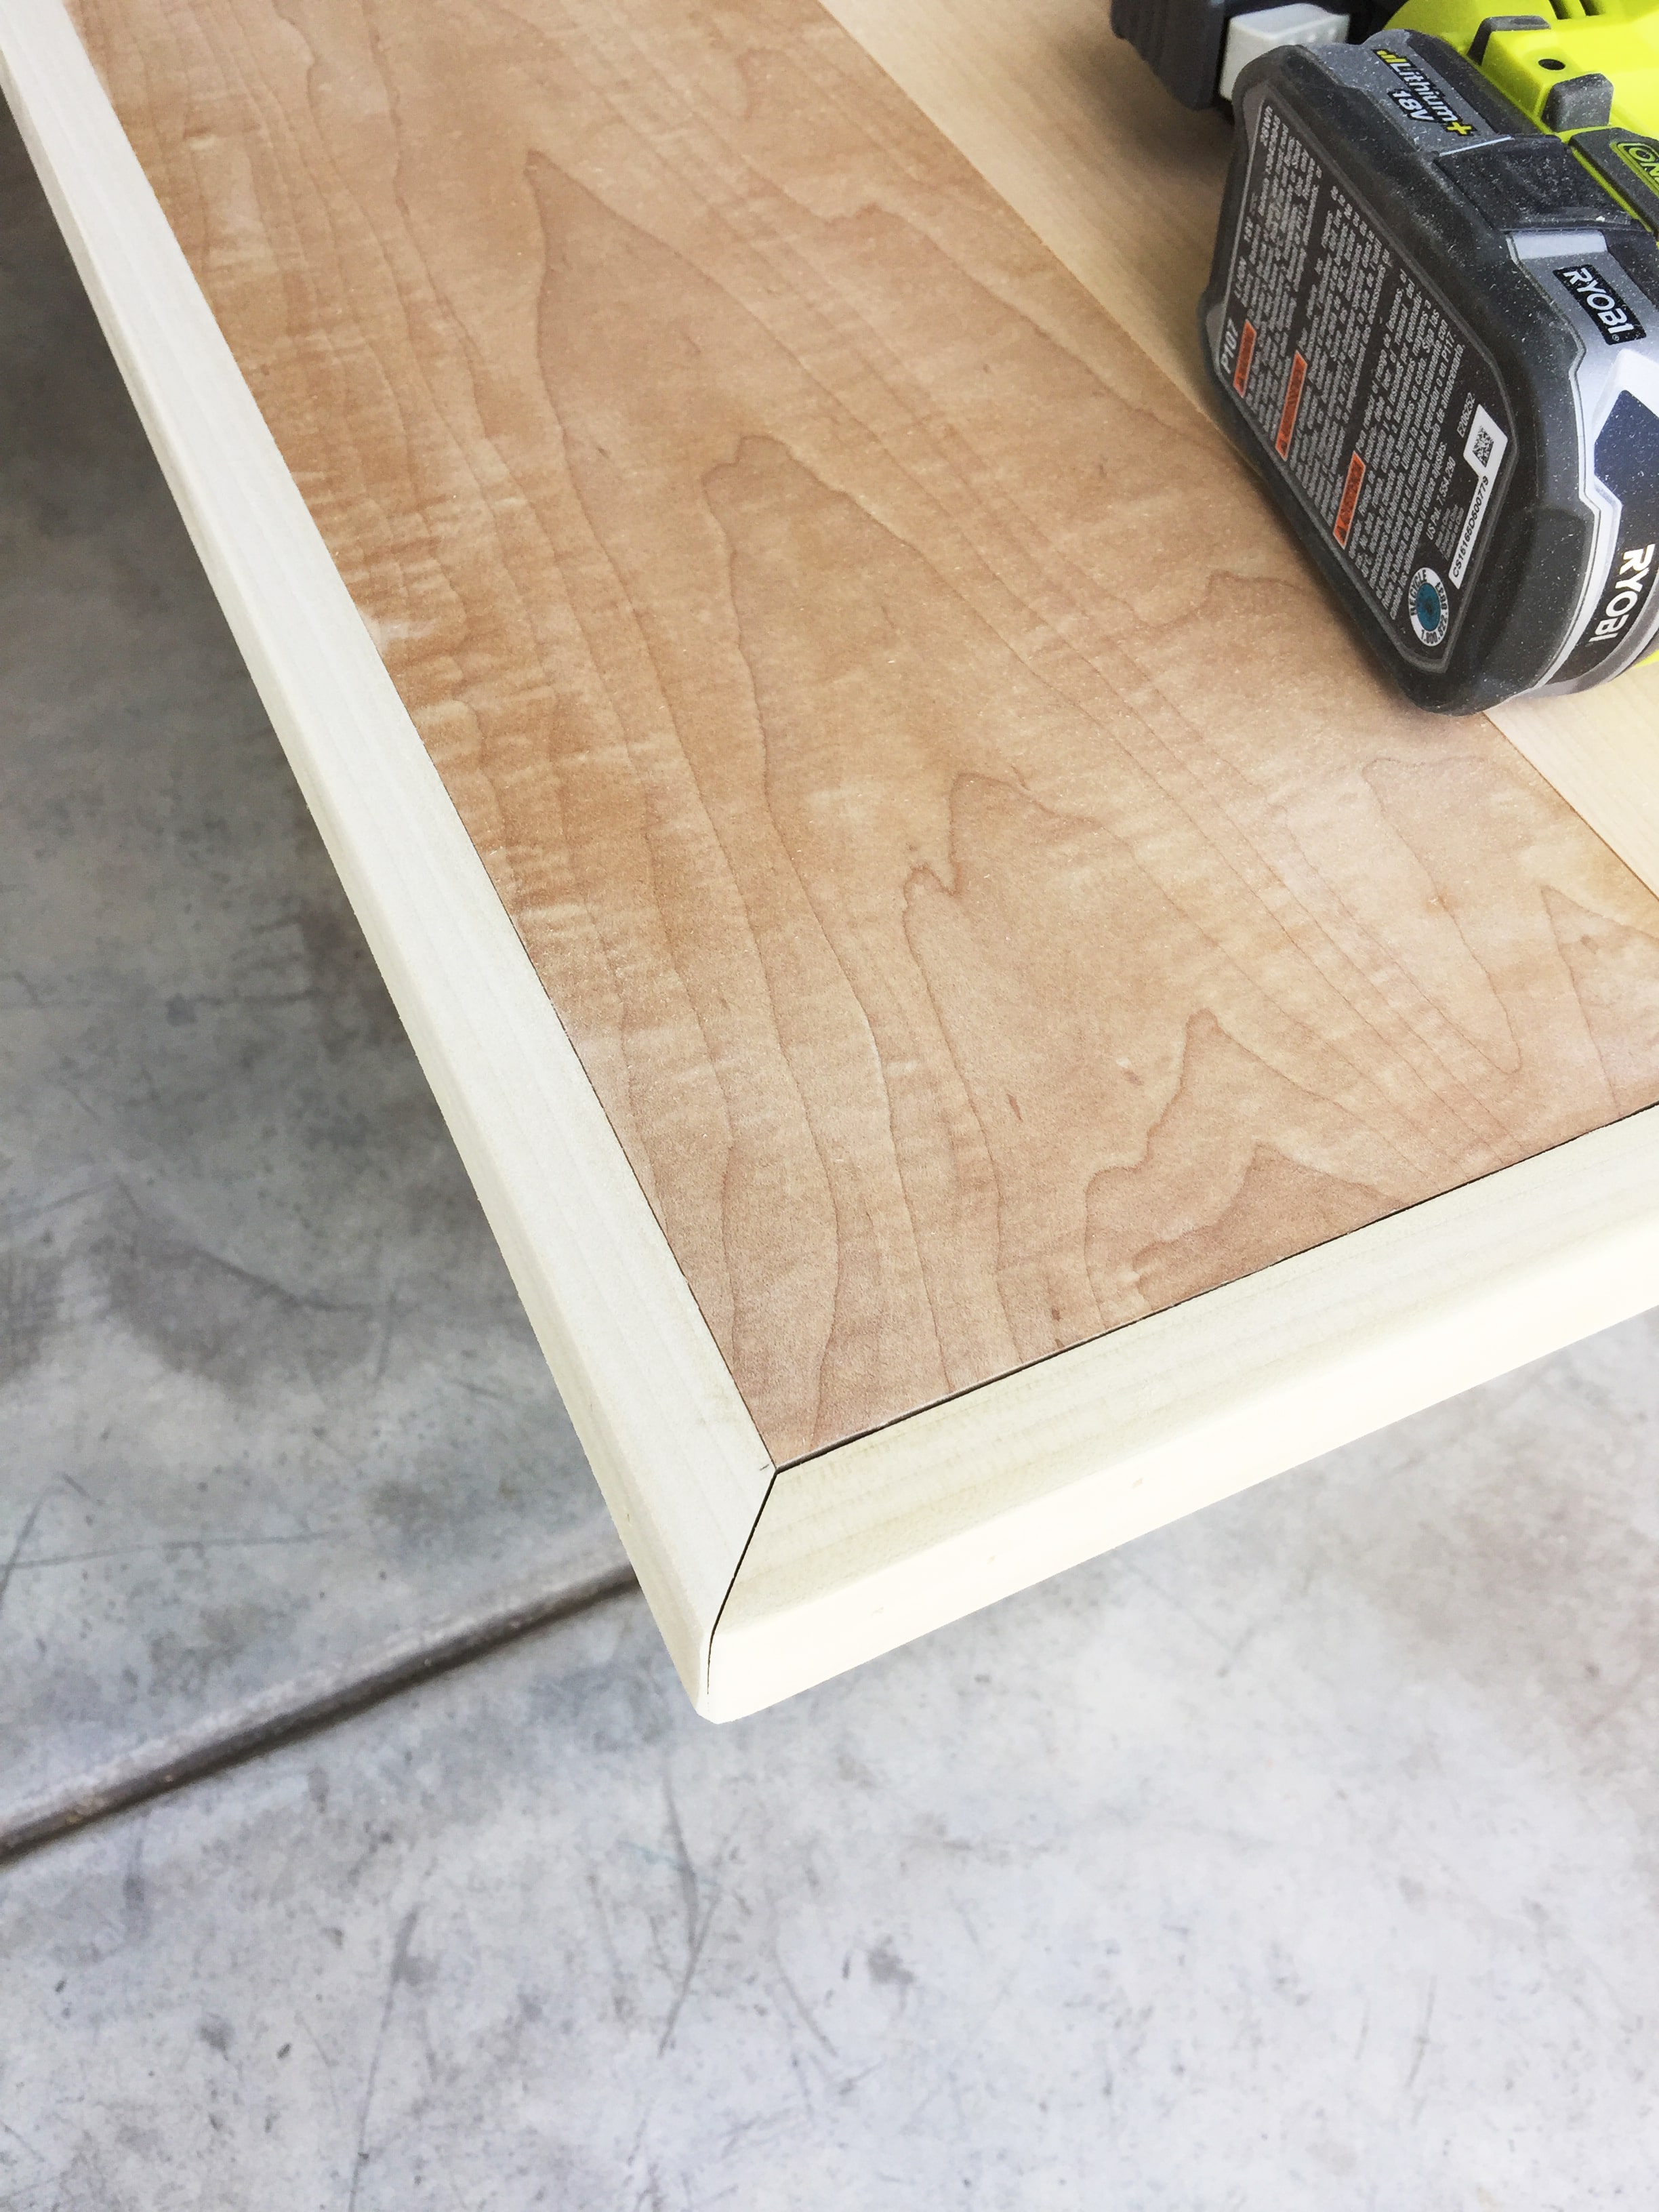
Use the 1x2s to trim out the tabletop. You can miter the corners if you like or just leave them straight. Mitered looks more finished but is a little more advanced. Use a nail gun to attach the trim. It’s extremely helpful to have someone help you with this step because you need someone to hold the boards in place to get exact measurements.
At this point the tabletop is still not attached to the base. I left it this way because it’s pretty heavy and you’ll want it to stay apart until it’s in the house and then you can screw them together.
While its in the shop, it’s a good idea to stain or paint it. First give it a really good sanding so it’s nice and smooth. For this particular table, I chose to use Special Walnut from Minwax with coat of Minwax Pickled Oak on top (it’s kind of a whitewash) and sealed it with a satin finish polyurethane. I also used a wood conditioner before staining because when I tested the stain on the maple it looked awful without the wood conditioner. Make sure to test your stain out on a piece of scrap or the underside of your table first!
Please finish your work with polyurethane so it stays beautiful and protected! Also check out this weathered wood tutorial for a cool way to finish wood.
To attach the table top to the base, first carefully carry them separately into the house where they will be. Place the tabletop on the floor, top facing down. Then place the base upside down on top of it. Center the legs on the table and then using 2″ screws, screw through the 2x4s into the 1x6s on the base frame and then screw 1 1/4″ screws into the 1×6 that is secured to the top of the legs into the tabletop. It should be very secure now. Carefully flip it over–it will be heavy!
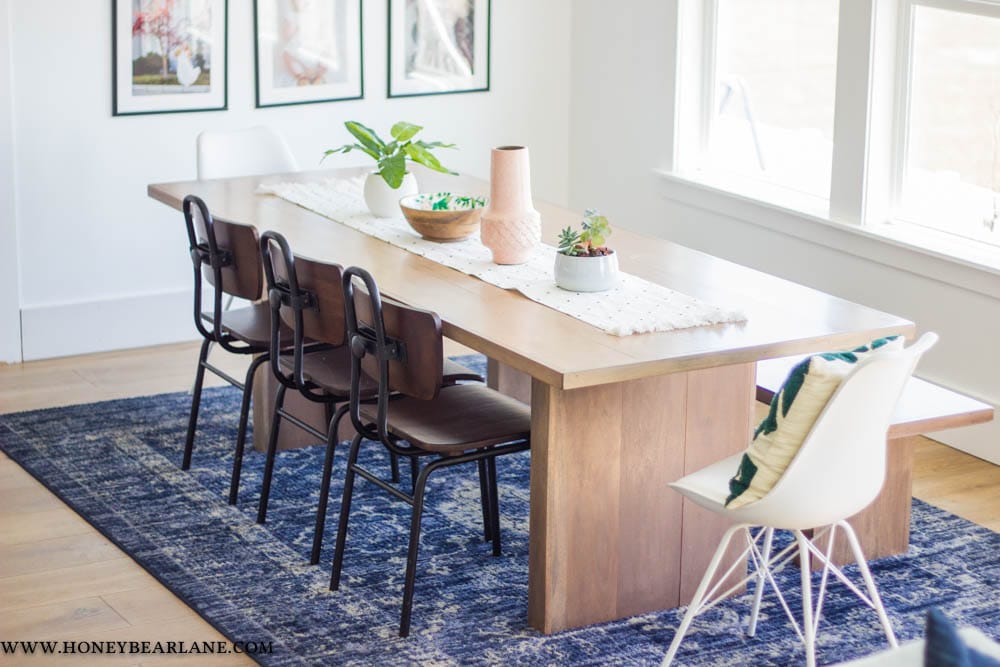
I love how this West Elm inspired table turned out, and it was so fun to build! It wasn’t so fun to seal it because I used a foam roller brush and it created a bunch of bubbles that didn’t pop and so it dried all bubbly. I had to completely sand it down and refinish it. But my friend loves it and gets lots of compliments on it! I also built the bench and I will be posting about that soon.
Download the plans now or Be sure to pin it for later!
Wow! I love that table. And I am never going to build my own so I’ll just admire the pictures and pretend like I’m eating off of it. So beautiful!
WOw, WOw, Wow!! Excellent, its a nice looking table.
I also love the 3 chairs with the table. Where did they come from?
She got them from TJ Maxx
Stunning build!! Im curious, how is the rock back and forth length-wise (where legs attach to table top)? Im very interested in this build but I’m worried it may need a little more stabilization to prevent rocking. Thanks and keep up the great work!
It’s pretty good but I would probably add a center support to prevent the rocking. I was trying my best to give my friend the exact table she wanted and she didn’t want a center support. So far it’s held up well but like I said, it’s not going to hurt if you add a center beam.
Love the table and it’s so funny I was at West Elm the other day and the sales gal was showing all the tables online and I said to hear I don’t want to buy anything that looks like I can make it! I don’t know if I ever would even try but this was inspirational ❤️
Ha, that’s awesome!
This is amazing! Do you have plans for the bench?
Oh sheesh I haven’t written them up yet! This project took me so long to post that I kind of forgot. Thanks for the reminder!
Would love the bench plans <3 Seriously plan to make them! You did such a wonderful job!
Yes, I will have to make those–thanks for the reminder!
Would love to see the bench tutorial!
Would love to know the cost of materials for this table? Also, what is the length?
Just built this table. Passing off to my other half for sanding and staining.
Do you have a copy of the bench plans?
Love the table Heidi!! In the building plan for cut list, there are “X’s”
3: 2x4x8 cut to X
2: 2x4x8 cut to X
4: 2x4x8 cut to X
2: 2x4x8 cut to X
Could you please kindly give the details as I’m planning to build this? Thank you!!
My goodness, thanks for pointing that out! I just went into the plans and replaced the X’s with the actual numbers. Sorry!
Hi! Can you share the stain color you used? Love this!
I sadly am not sure since it was so many years ago, but I do remember using “Pickled Oak” by Minwax. Not sure if that was the only one I used.
Hi! Could you post the plans for the bench too please? 🙂
Would also love to know the cost of materials for this table? I’ve been looking for this precise style but wonder if I’d end up saving much by building as opposed to buying (all options of which are out of my price range). Thanks!
We bought the top planks out of Maple from Home Depot so they were more expensive and the rest was from poplar. I don’t remember the exact cost but I’m thinking maybe $200? Either way, it was way cheaper than buying the table.