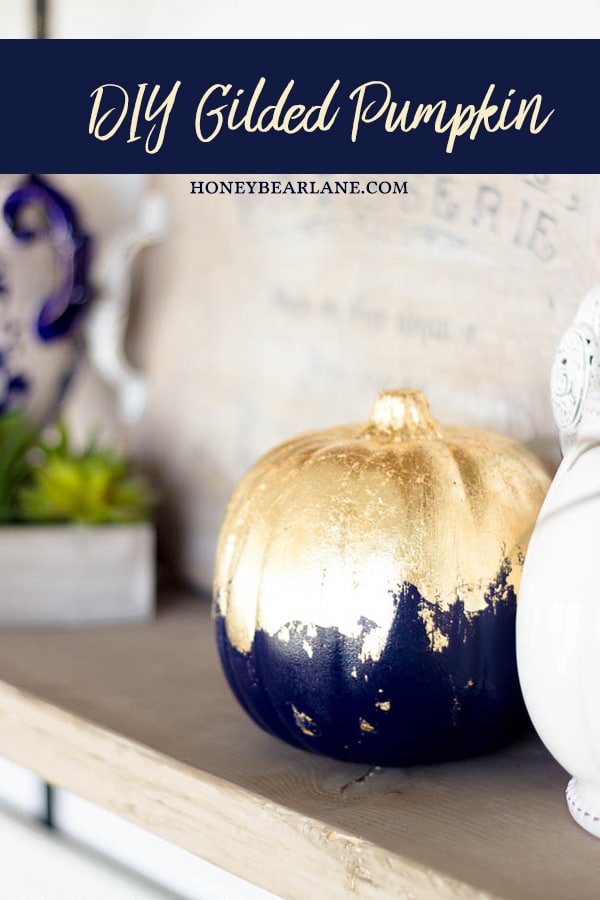
How to Make a DIY Gilded Pumpkin
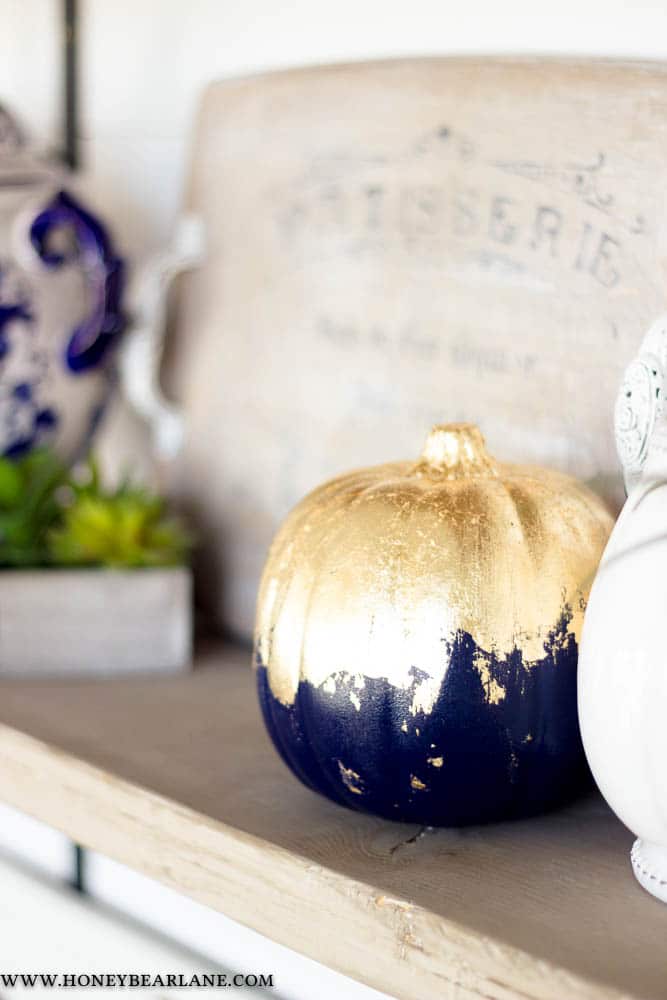
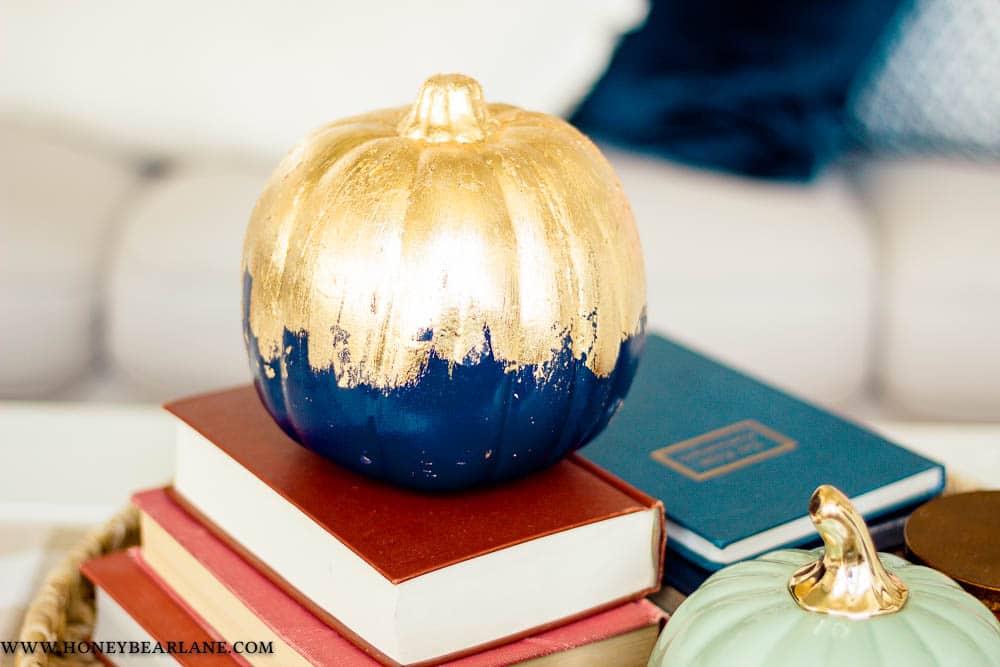
Gold is still in–I’m declaring it to be so. I still love it and it’s my metallic of choice. I’m also still loving navy blue, so what better combo for a fun fall craft than to make a DIY gilded pumpkin with actual gold leaf? Besides I’ve always though navy blue and gold go perfectly together.
I bought a little gold leaf kit a couple years ago when I did this Americana artwork. It’s a fun medium to work with and so nice to get that genuine gold look. The key is to expect non-perfection because it is literally LEAF so it just falls apart. I can’t remember if I bought it at a craft store or Amazon, but I have linked it to Amazon on here (affiliate links). Make sure to buy a kit that comes with metallic leaf glue.
Supply List:
- Craft Pumpkin
- Blue Spray Paint
- Gold Leaf and gold leaf glue
- Soft Rag and clean paintbrush
To make these DIY gilded pumpkins, I first bought these craft pumpkins at Hobby Lobby, however you could easily use a dollar store pumpkin or an old one you have. I used blue spray paint to spray the whole thing blue. I love using Rustoleum spray paint because the trigger is super easy to hold and the coverage is excellent. Let the spray paint cure overnight or longer. Spray paint is oil based so it has a longer cure time which is why sometimes when you lift something up that’s been spray painted it leaves some paint behind. Yay.
Next take the glue that comes with the gold leaf kit and paint it everywhere you want the gold leaf. That glue has to dry for 30-60 minutes…it stays tacky though so you won’t have any problem with the leaf adhering to it. Carefully take the gold leaf sheet and press it onto the pumpkin. It’s handy to use gloves for this if you have them just because then your hand oils won’t get onto the leaf. It sticks really quickly to the glue. Use a clean, dry brush to kind of ‘paint’ the leaf into place, getting into creases and nooks and crannies.
You can keep adding more leaf until the entire glue-painted area is covered sufficiently. Then you will take a soft rag and rub the leaf smooth. Remember to expect imperfection! That’s actually something I like about this technique. I feel like it has that paint brush look but in reality, it’s actually quite hard to achieve the look with actual paint and paintbrush. You don’t have to do coats and coats of the gold paint to get that shiny, thick gold look.
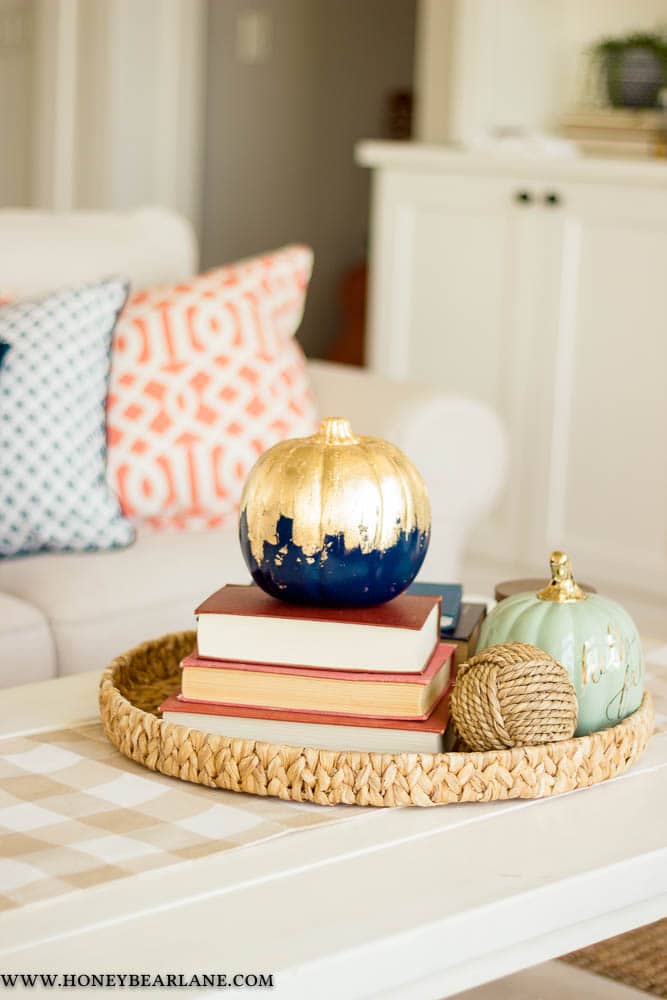
I didn’t take step by step photos of this process, but I did make a video this time. I really enjoyed making this DIY gilded pumpkin project and I might just have to do it again with another pumpkin or something.
**Music courtesy of Bensound
If you like this project, check out some of my other fall decor projects!
- Rustic Wood Pumpkins
- Shabby Chic Pumpkin
- Salt Dough Autumn Leaves
- Gold Painted Autumn Leaves
- Spiced Cider Donut Holes
Very Pretty!
Thank you!
Great job Heidi. I really like gold and blue too.
Thanks Diana! XO