Adding a Drainage System to a Deck
We have a deck that has a usable space underneath. We splurged on a hot tub this year and put it under our main floor deck. Since we want to be able to use the hot tub year round, we decided it would be optimal to add a drainage system to the deck for protection from weather in the space underneath and also to extend the life of the deck since it protects the substructure from water. This is a fairly straightforward project, and while I wouldn’t call it simple, it’s a DIY project that can be done in a weekend.
We partnered with Trex RainEscape on this project, the #1 deck drainage system. It’s honestly the best one out there and they include everything you need to protect your deck from moisture, deterioration and water damage. Whether you just want to protect the wood by taping over the joists or make it so water doesn’t seep through the deck, they have the whole shebang. It’s all pretty simple to use and high quality stuff.
Unlike competitive products – which make use of “under joist” technology – Trex RainEscape is installed above the joists, protecting the joists and beams from moisture, water damage and deterioration and ensuring the structural integrity of the deck.
Step 1: Take apart the deck
So if you are doing this to a pre-existing deck, you will have to remove any/all railing and deck boards to reach the joists underneath. So obviously it is ideal to waterproof a deck before you add the decking on top, if you are building it new. Highly recommend this step if you have livable space underneath, and even if you don’t, at least use the tape on the joists to protect it from water damage.
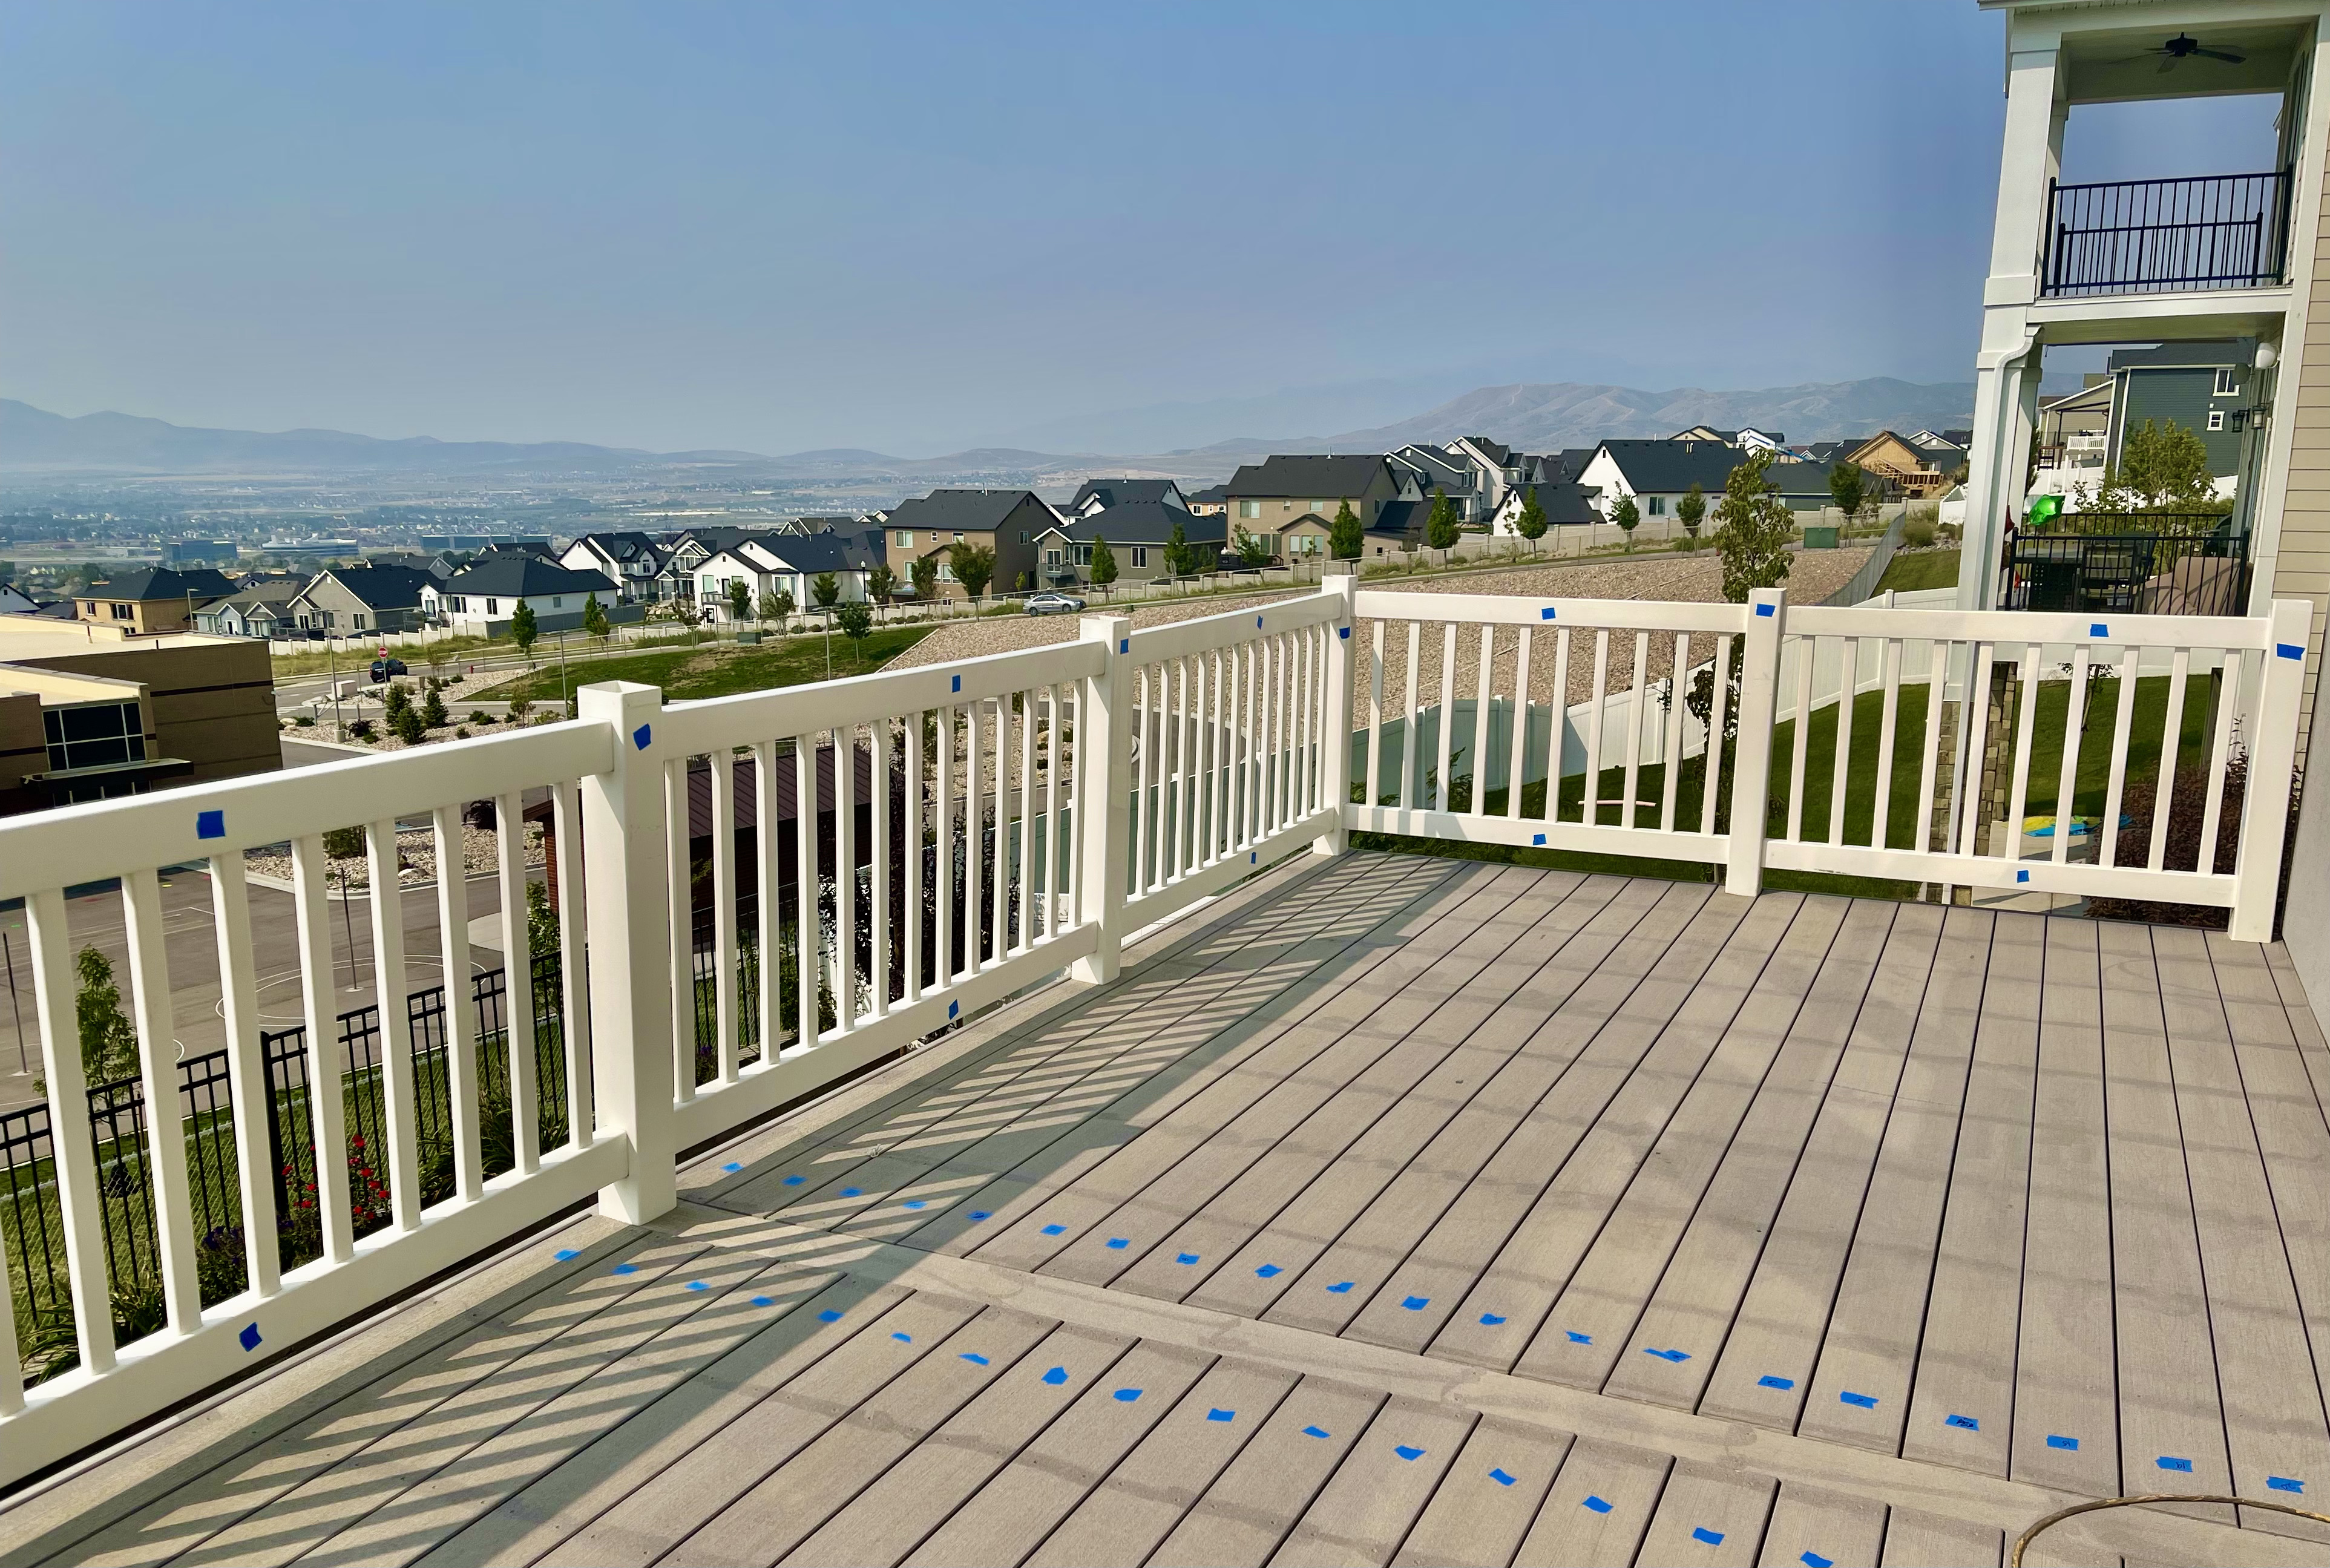
It wasn’t too hard for us to remove the railing and deck boards. The deck company who built our deck said that removing the deck boards would be next to impossible and you’d most likely break the boards in the process. Wrong! We bought some good, strong star bits for our impact driver and used them to remove the boards. We had to go through a few different bits, but we got the boards off, no problem. So don’t believe everything you hear, even if it’s from someone who is “professional.”’
One great idea my husband had was to put a piece of tape on each board to label exactly where it was. This helped a lot when putting the deck back together since there were holes drilled for the railing in certain boards.
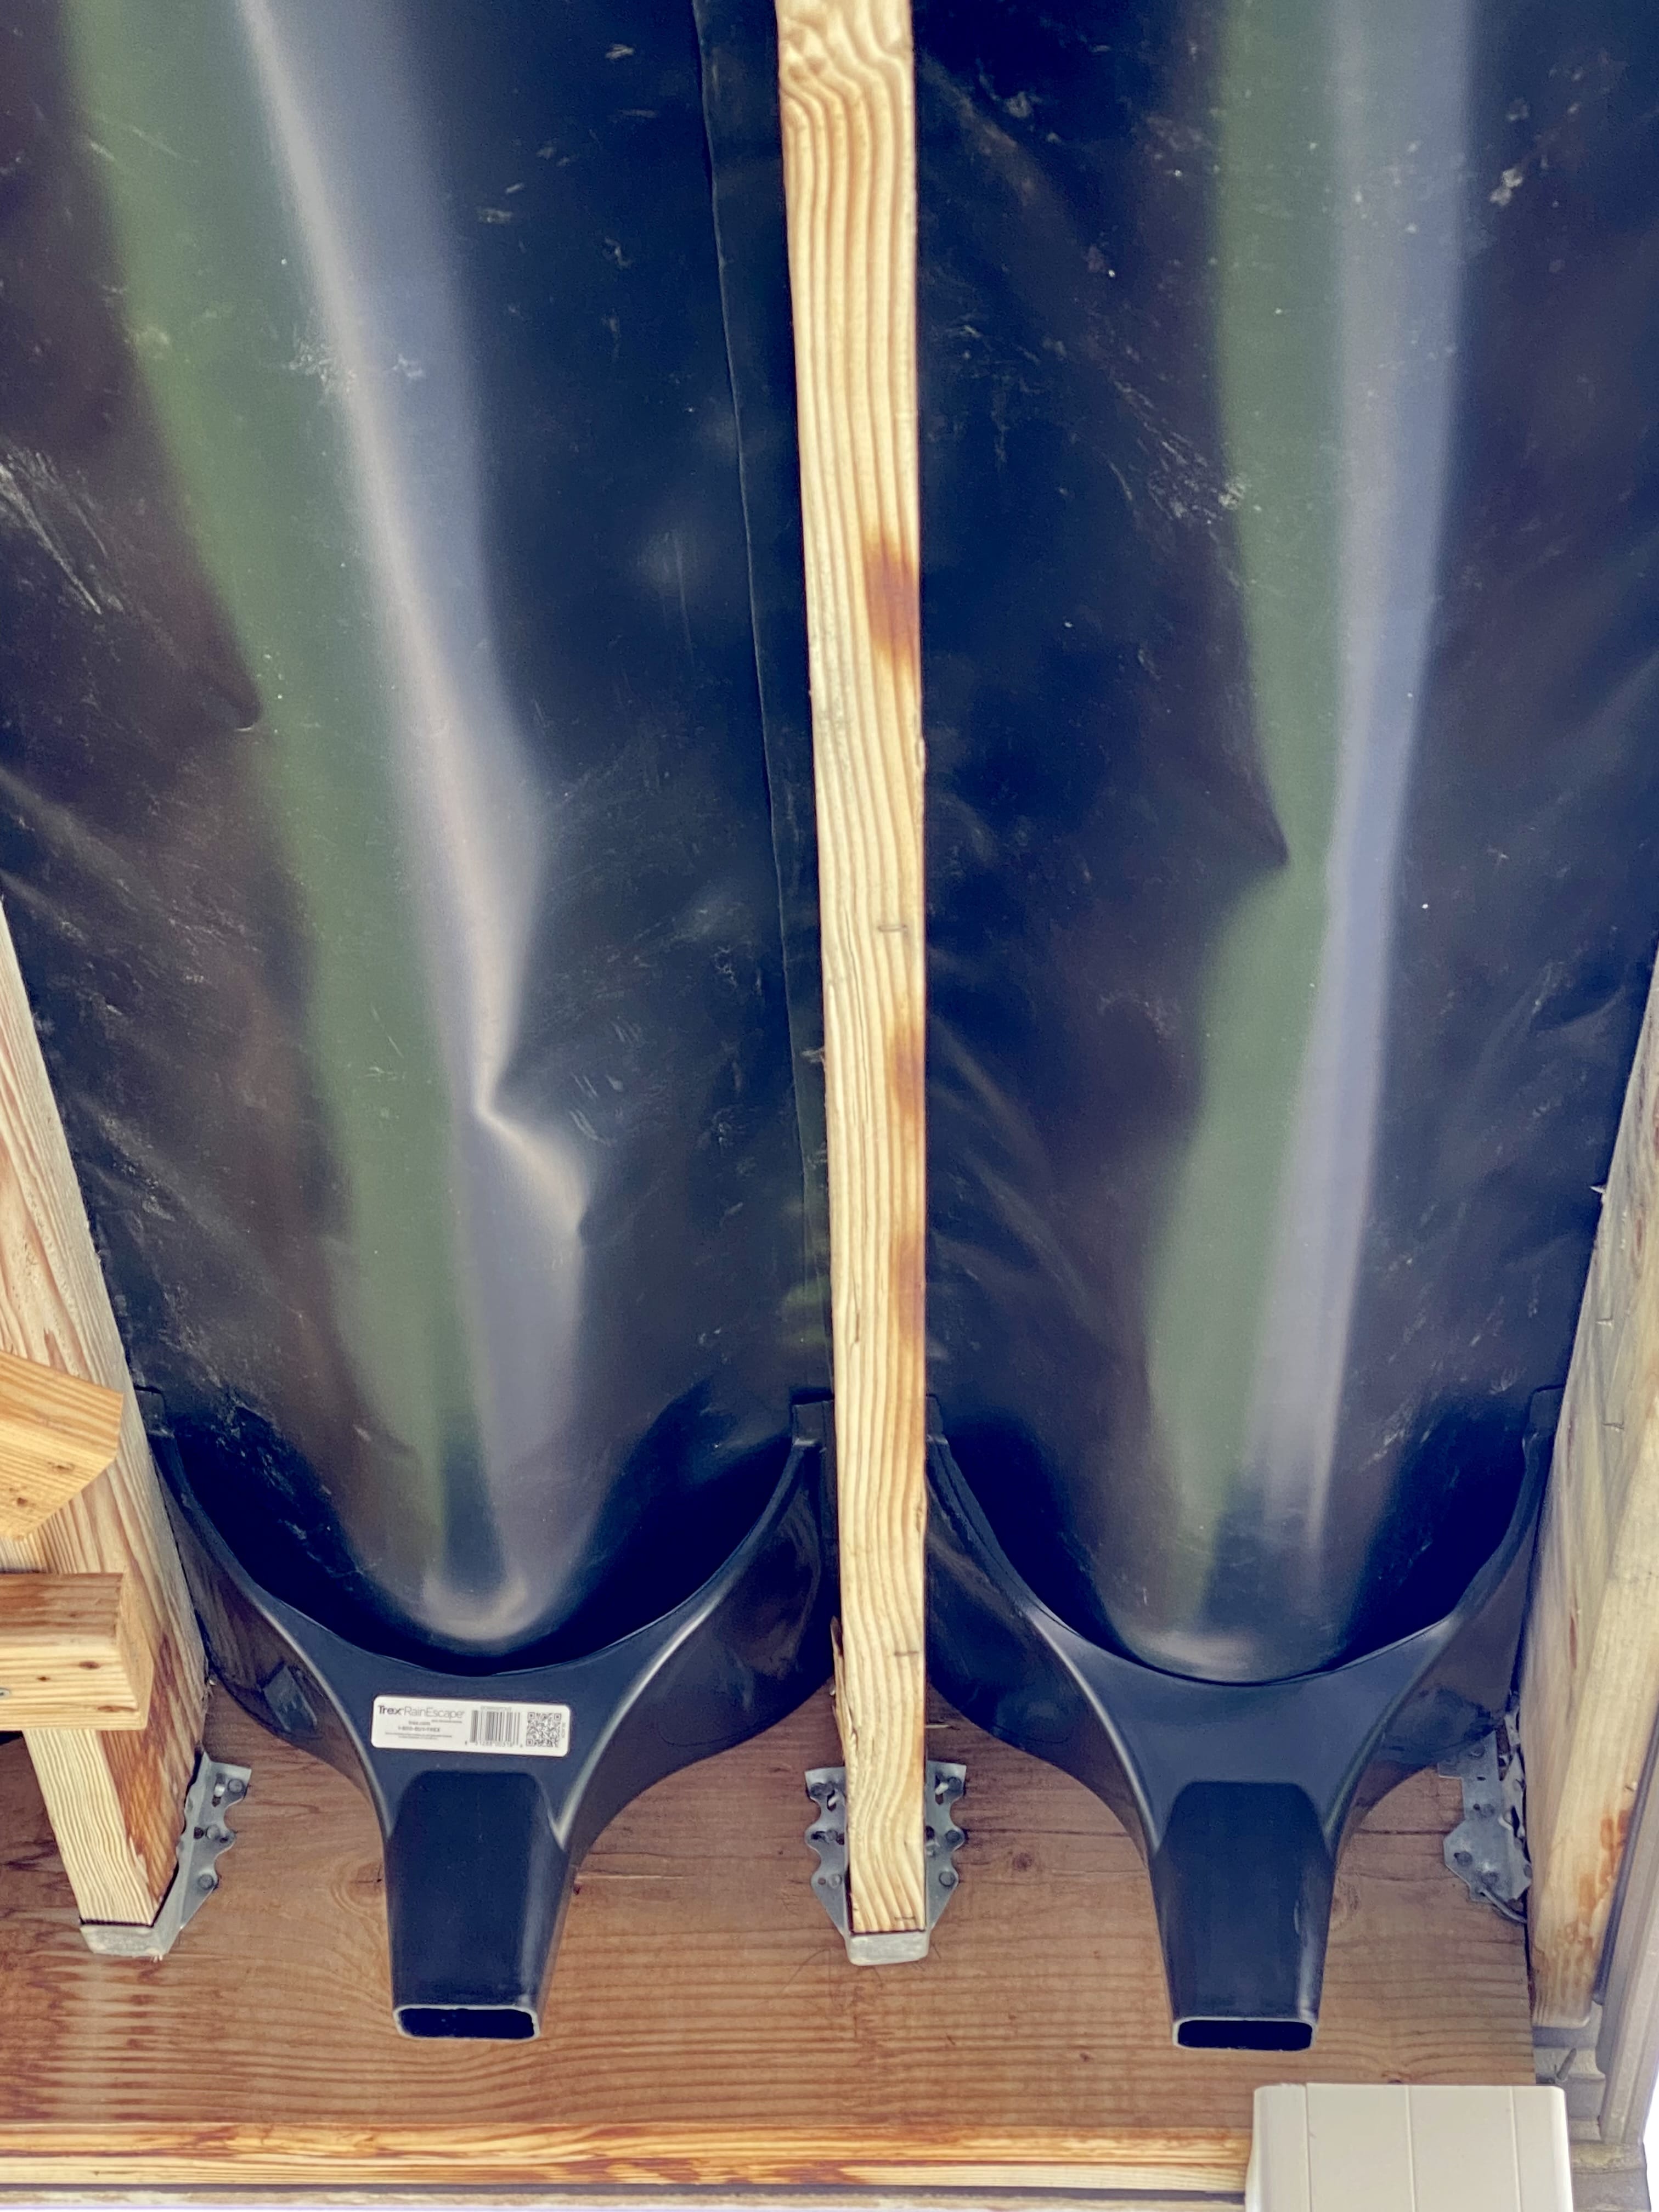
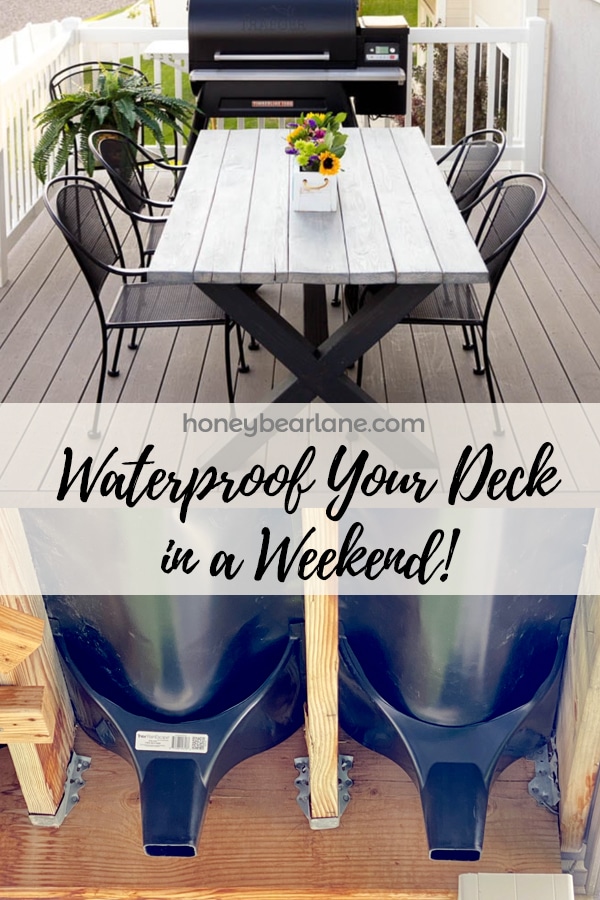
Step 2: Install the Drains
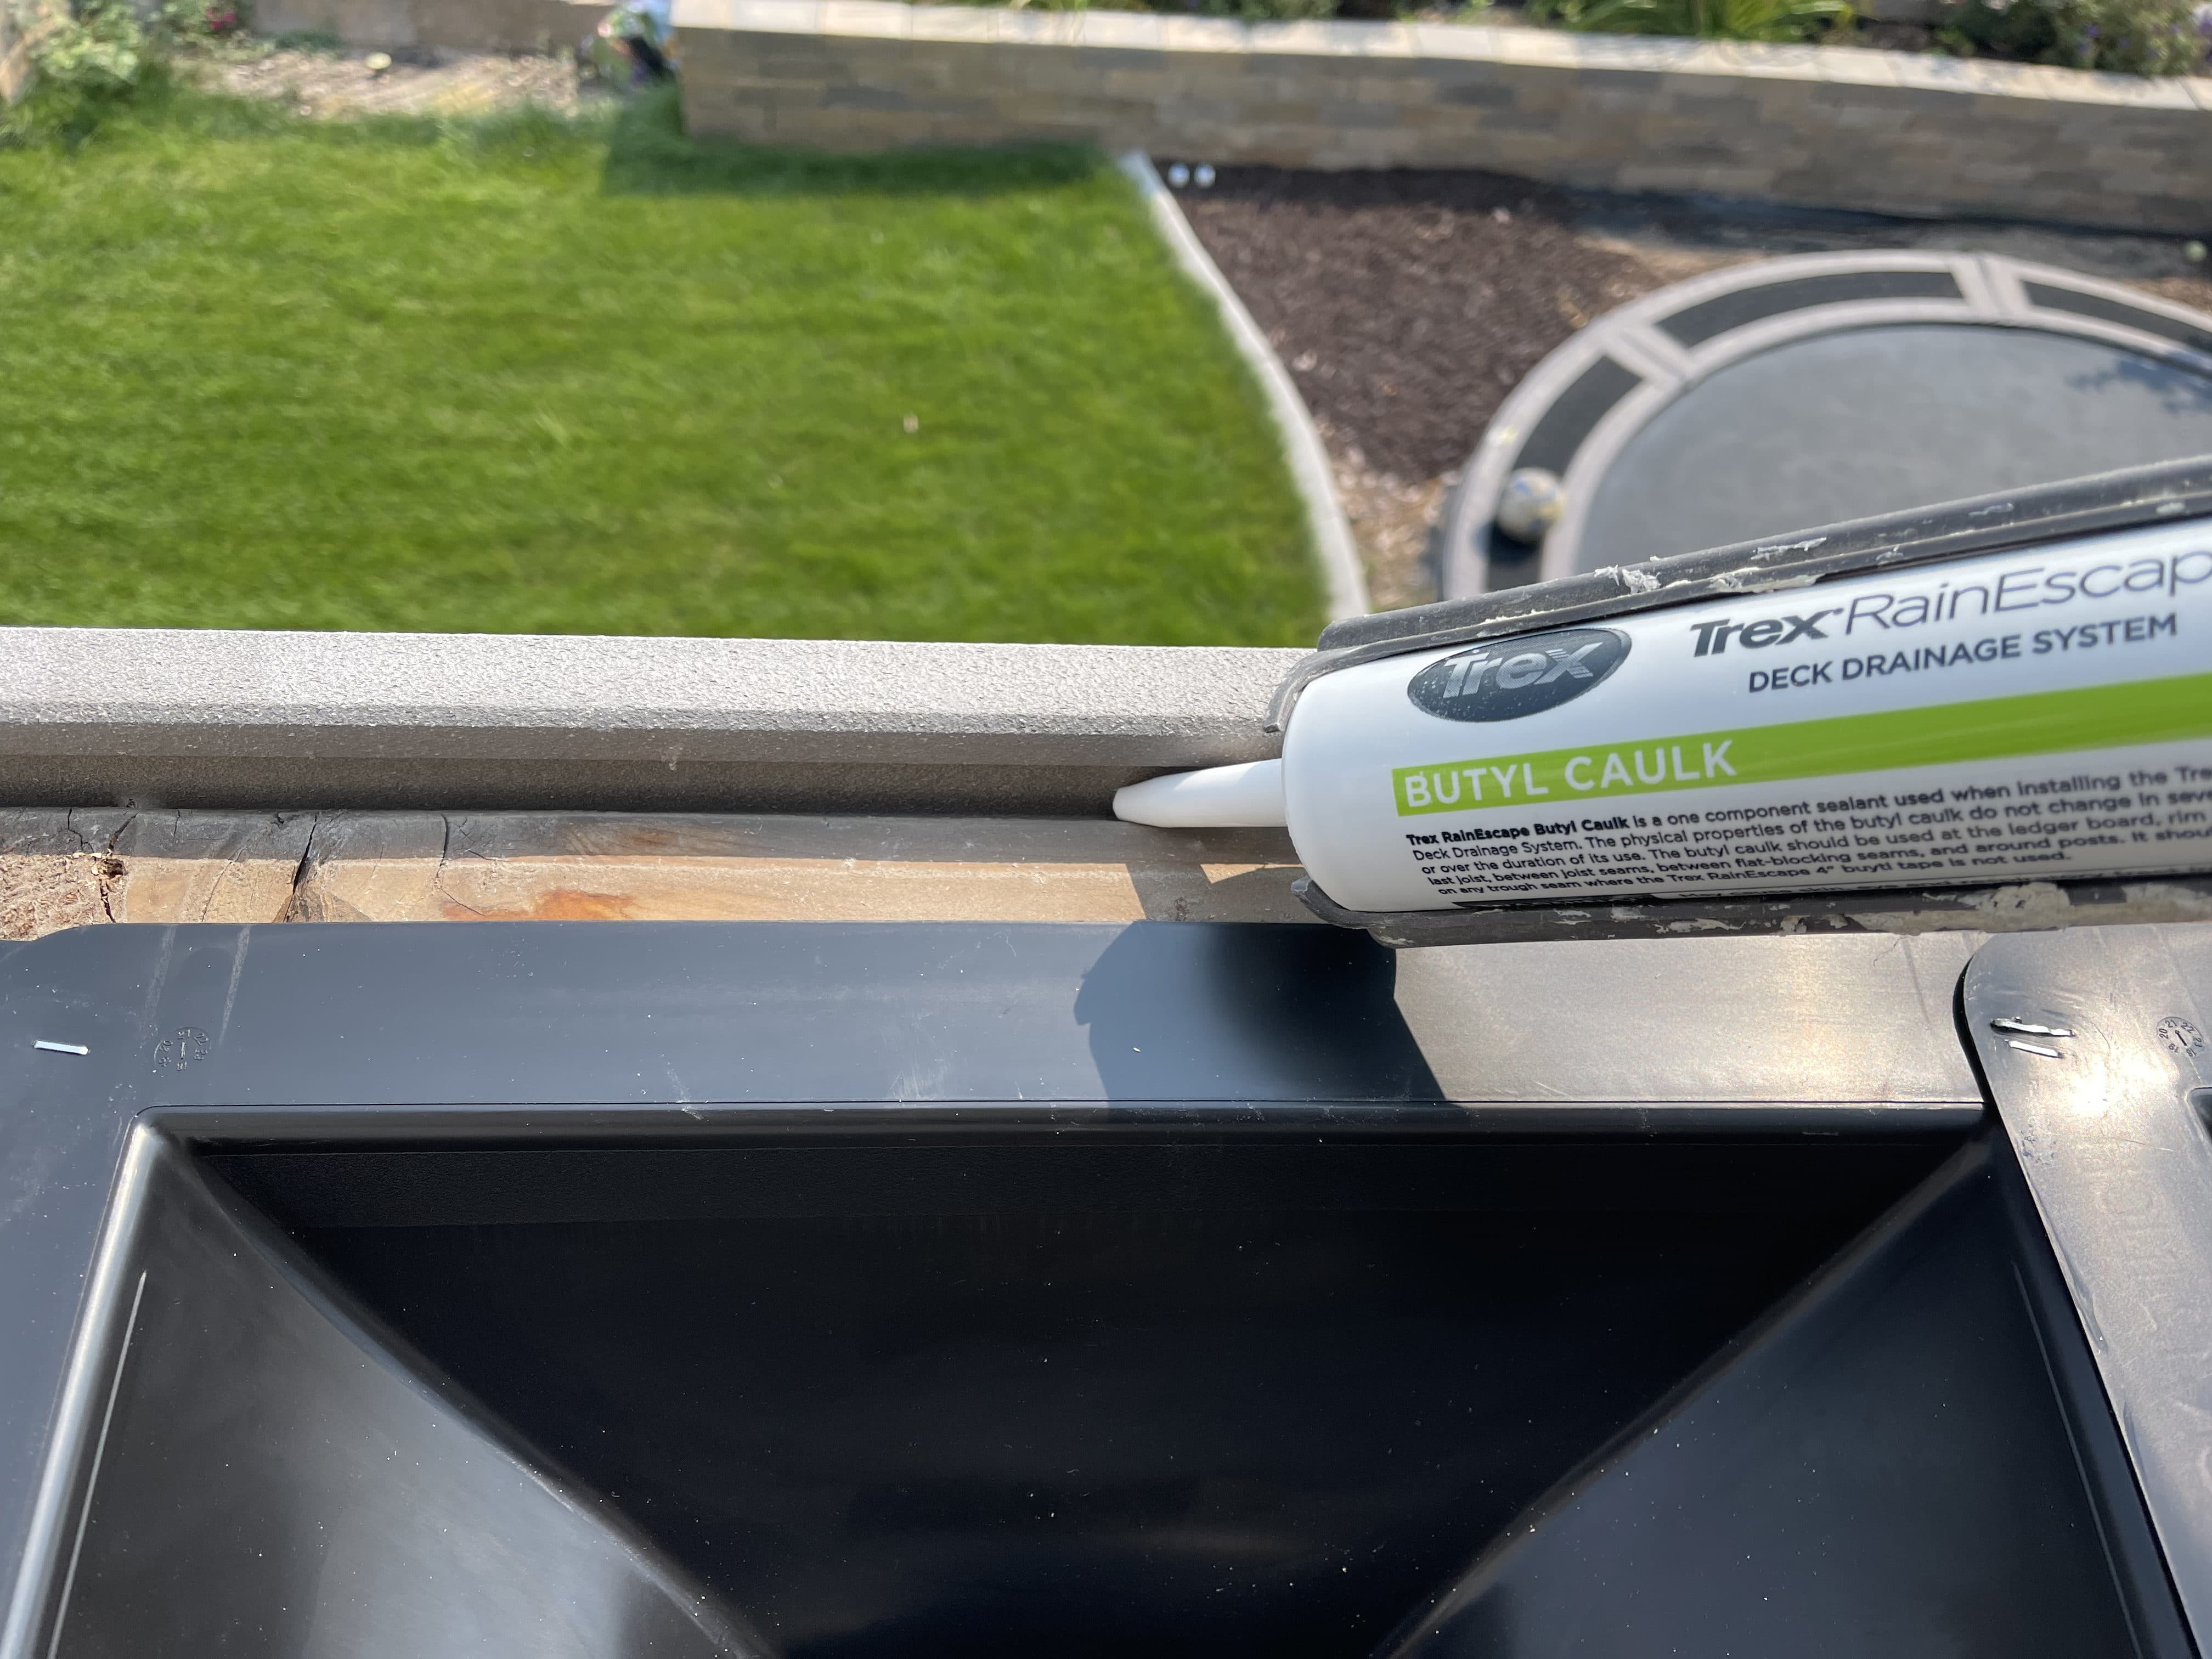
To install the drains, you cut a little half-moon shape out of each drain for the gutter to rest in. Then you just slip the drain in place. We then put a line of caulk on the seam between the front wood beam and the fascia board. It’s honestly the easiest part. Just ignore how bad my backyard looks right now. Seems like we’re always in the middle of 500 projects!
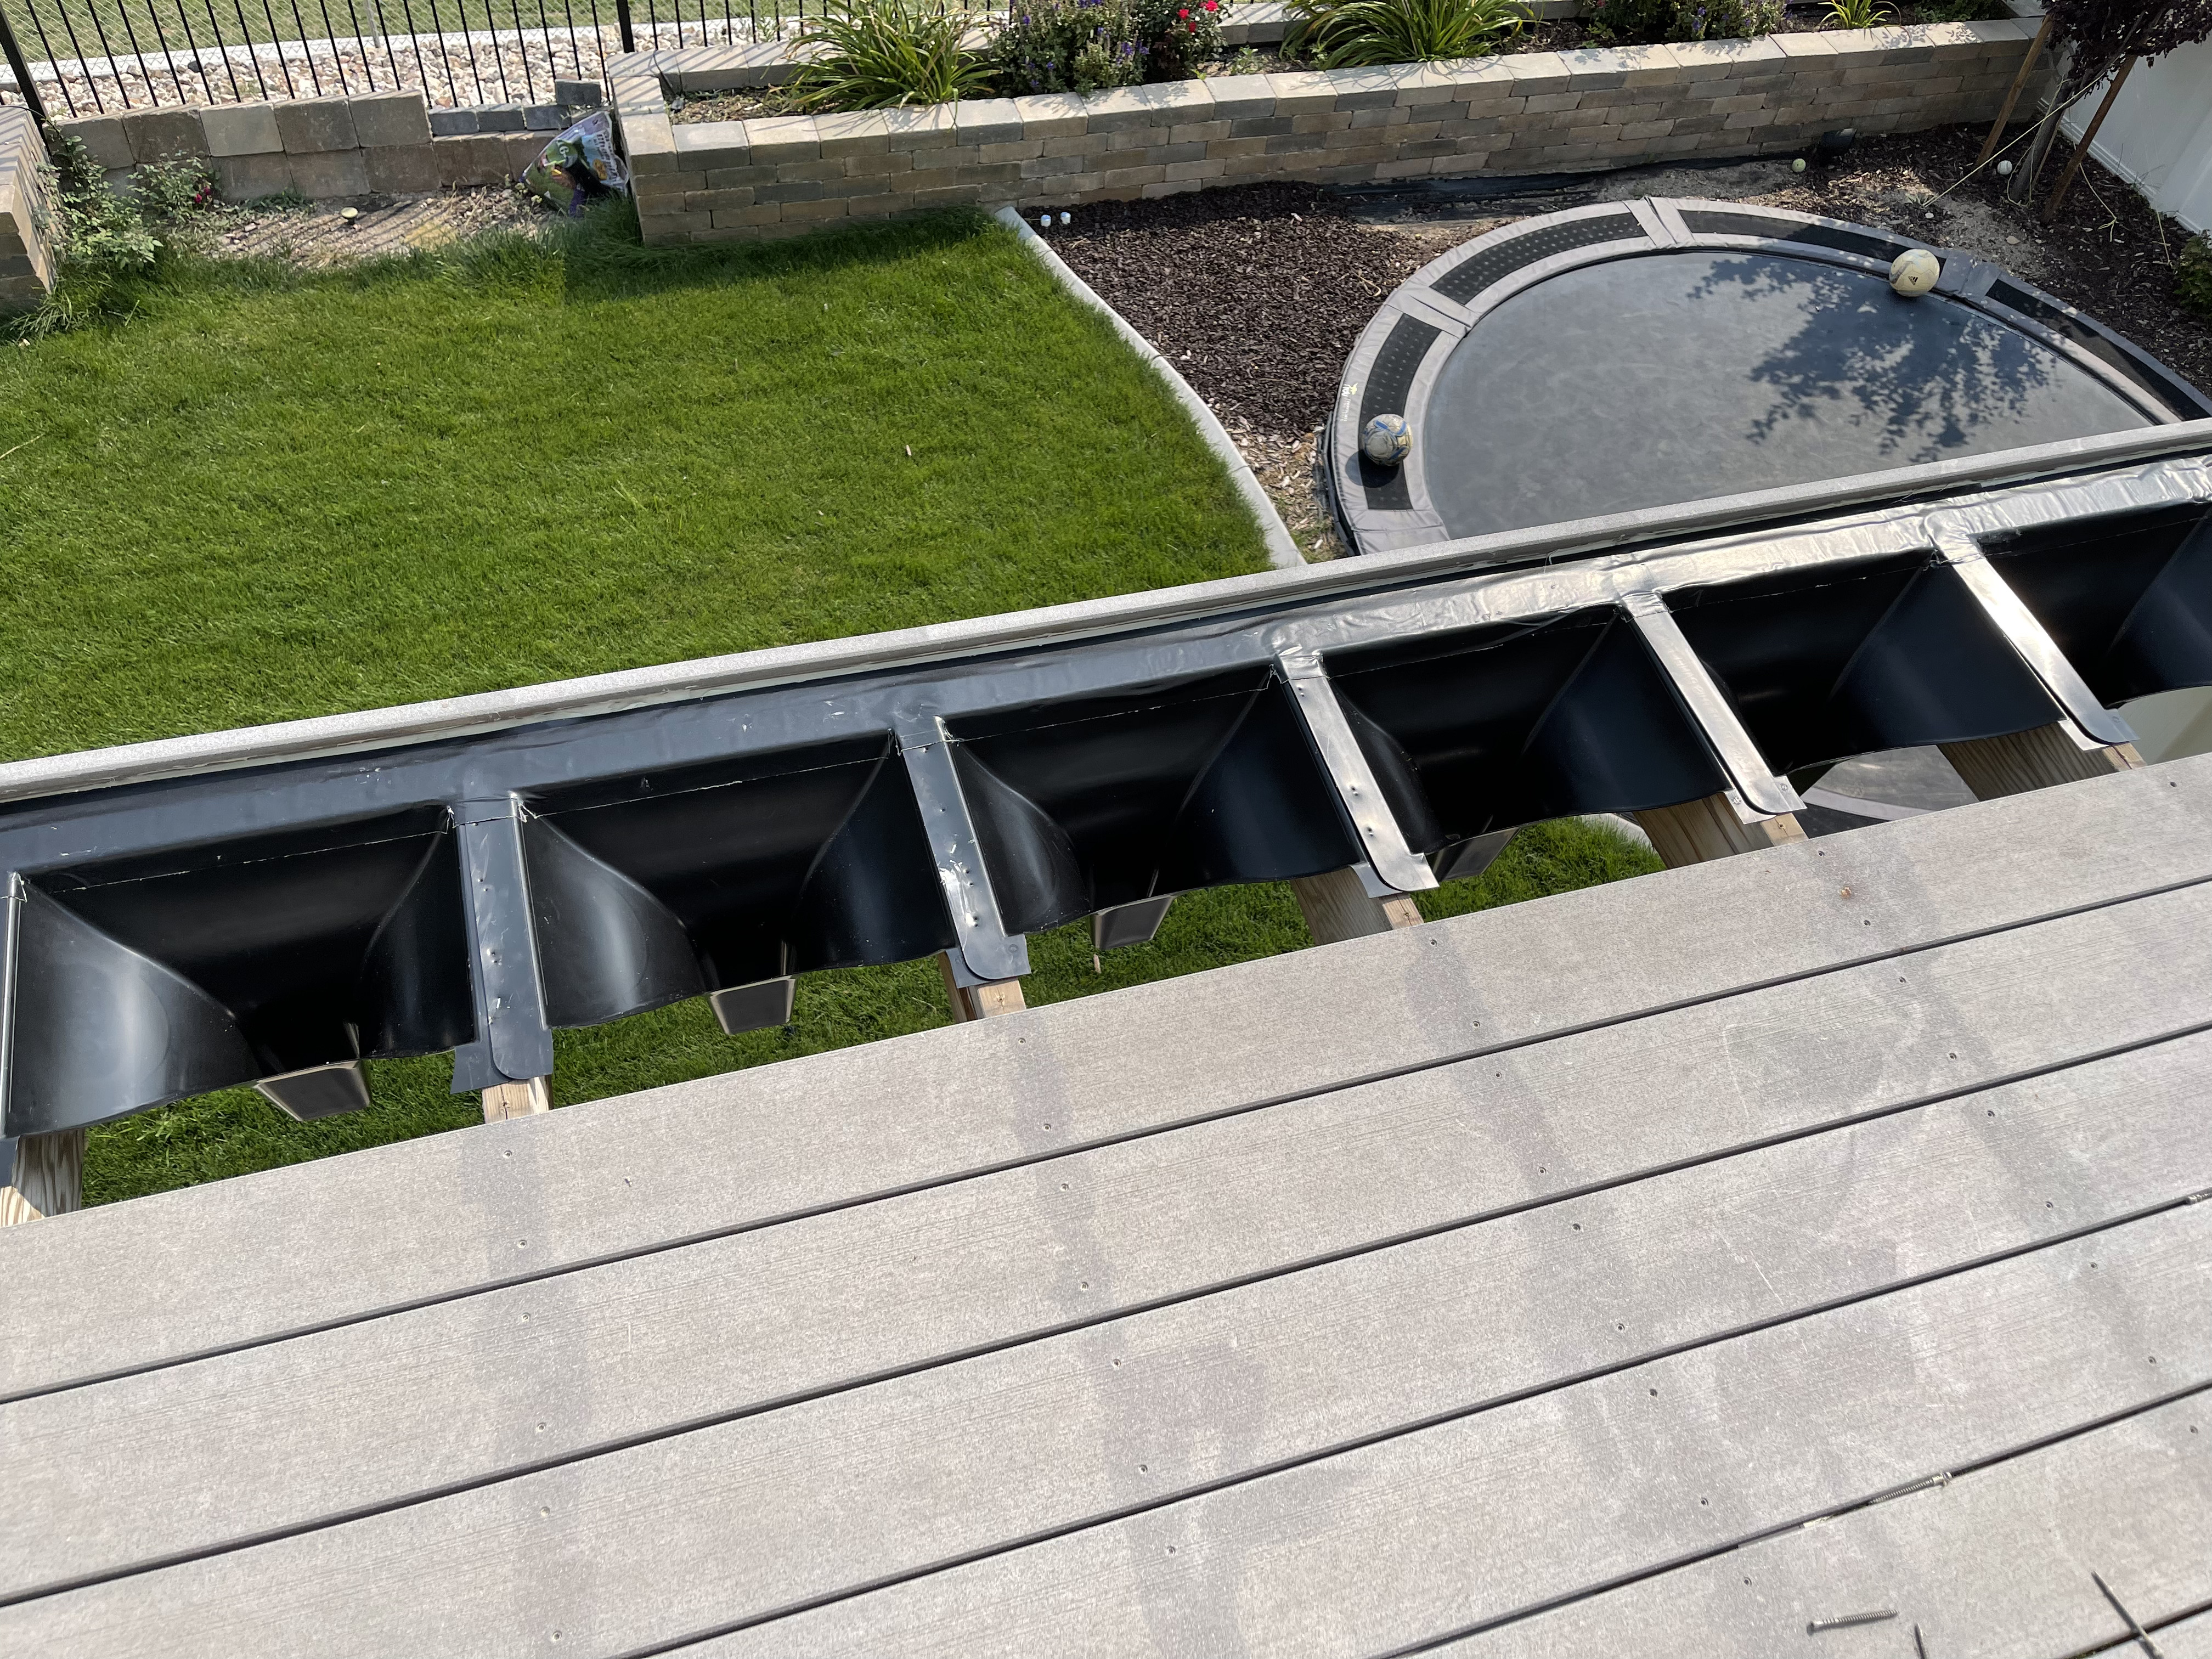
We first removed about five deck boards starting from the outer edge so we could kneel on the deck to install the drains. We then tried to start putting in the plastic sheeting you use for the gutters, but not being able to lay it completely the length of the deck made for a very uneven gutter.
Suggestion: Remove a few boards from the outside edge to install drains. Then remove the rest of the boards to install the gutters. Step on joists or slide deck boards to the joist closest to the spot you’re working on so you can kneel on them (which is what we did.)
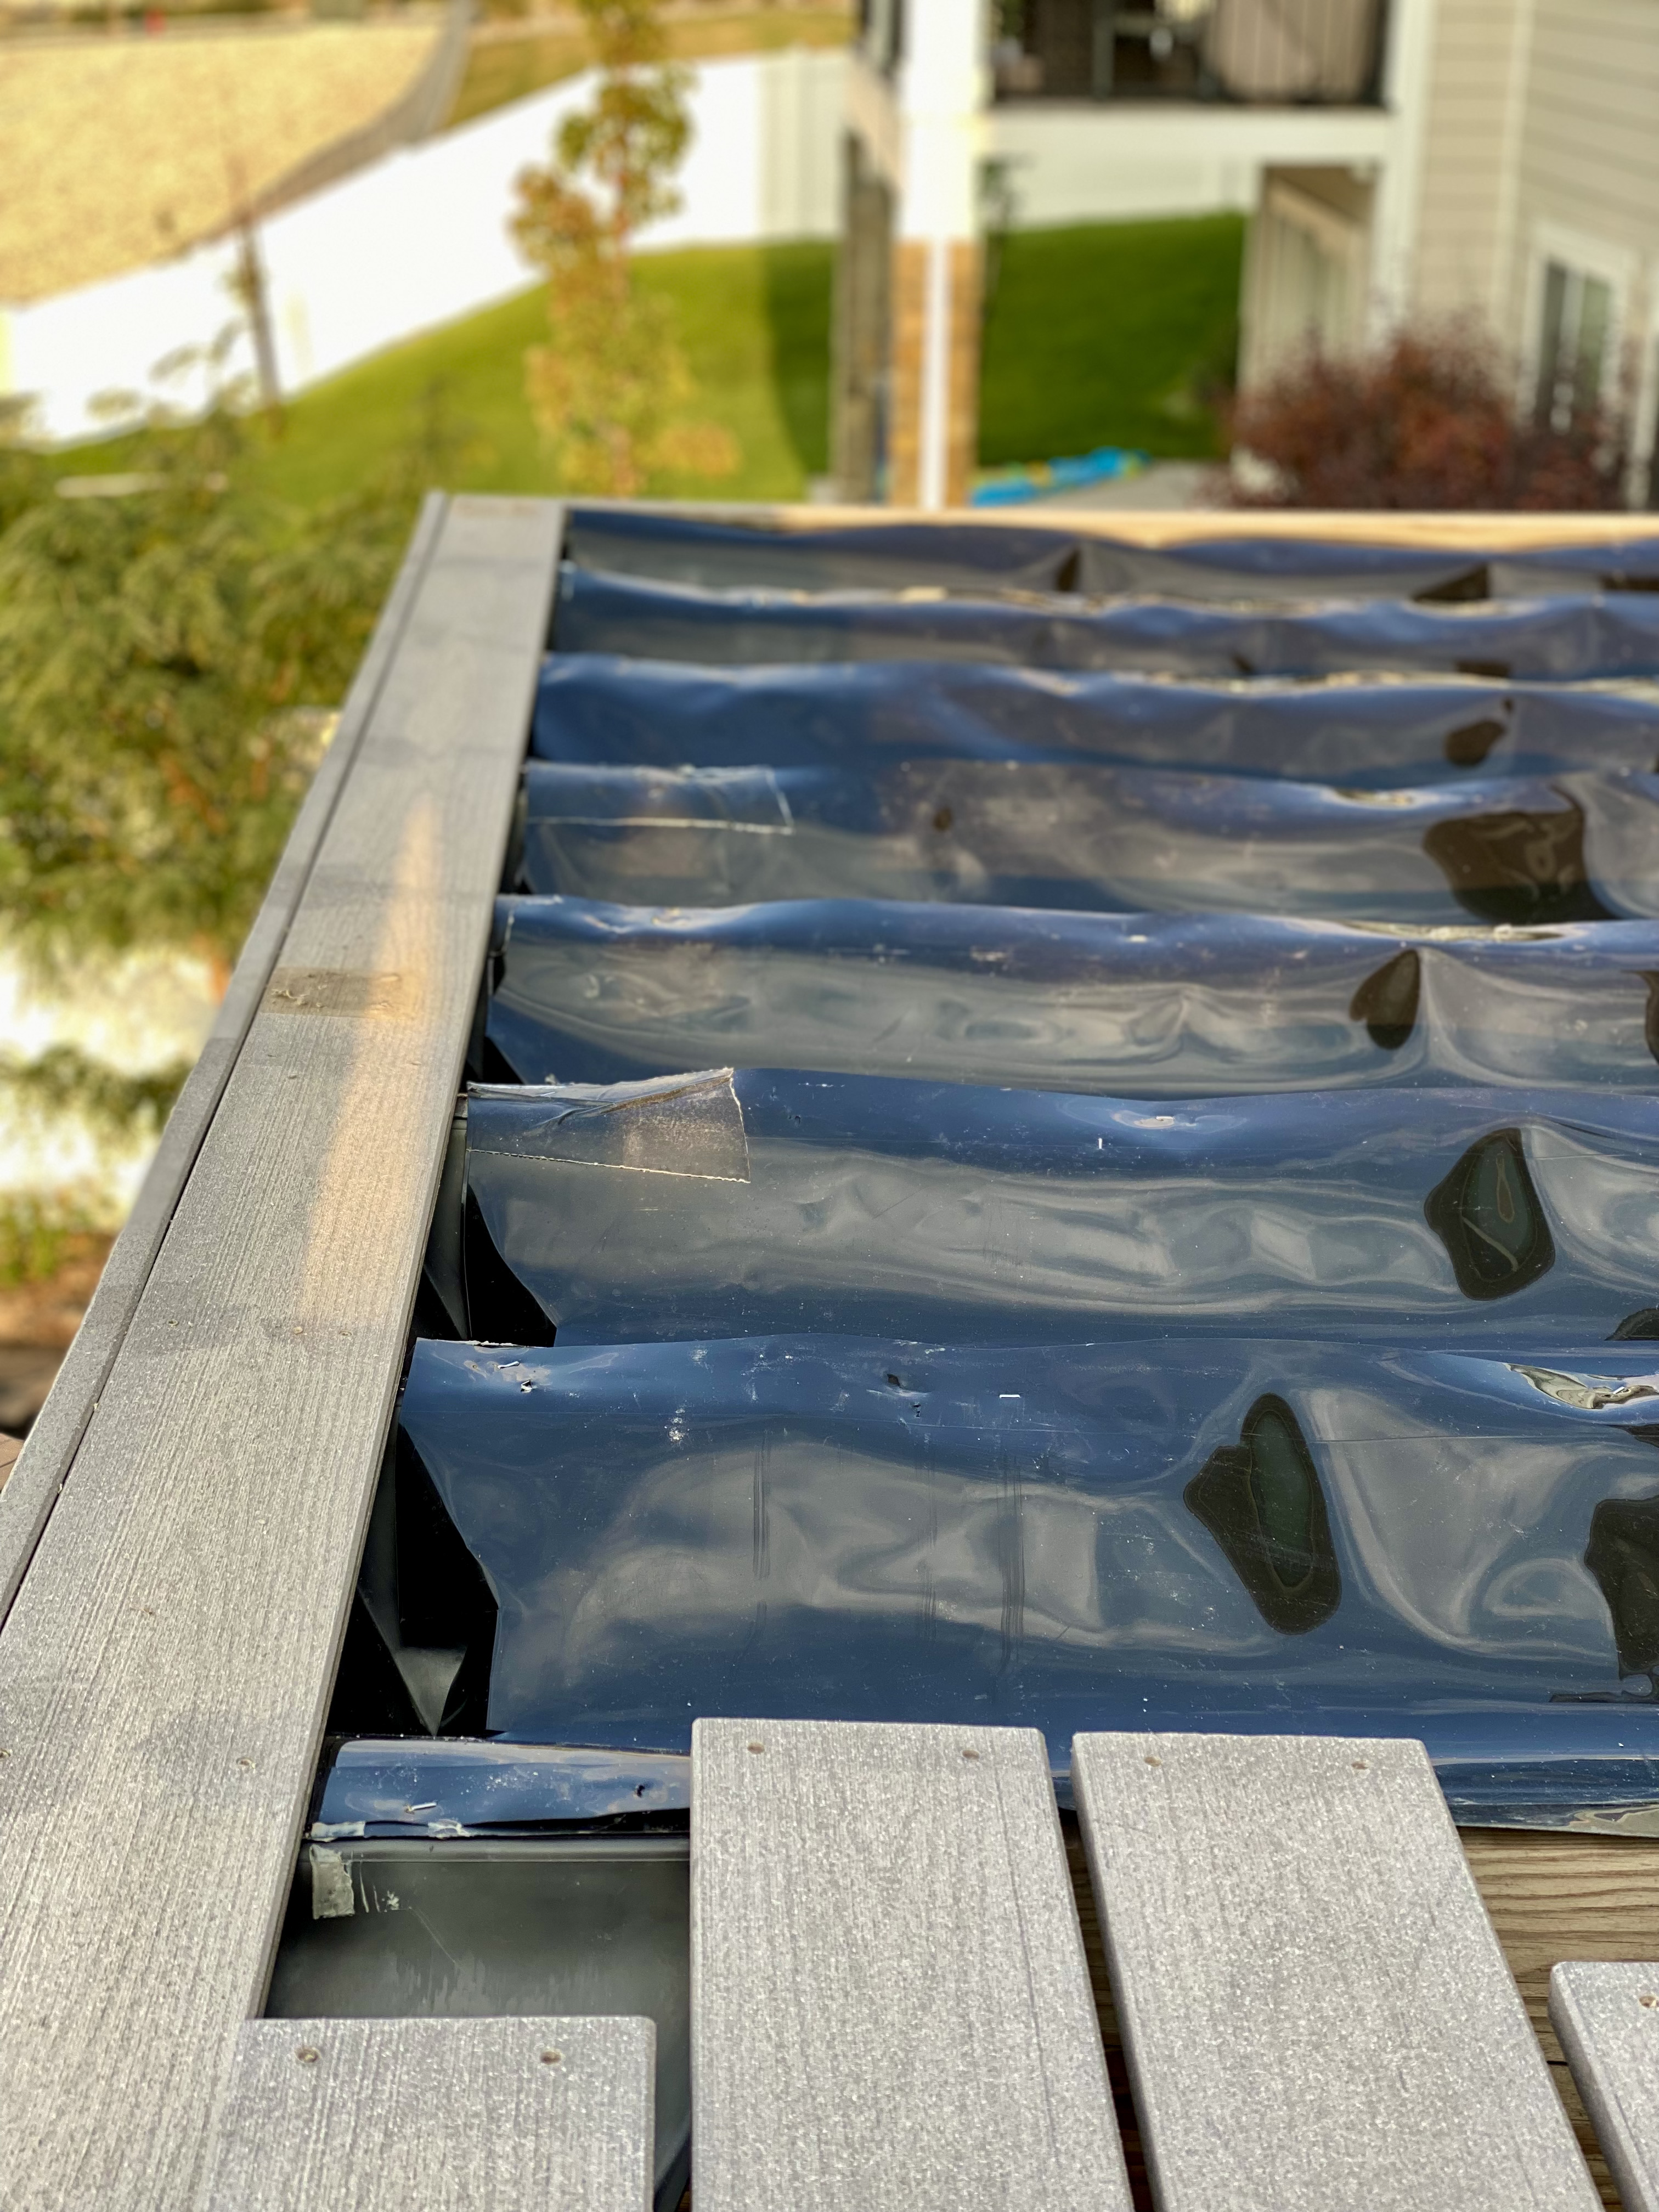
Step 3: Install the Gutters
After a little trial and error, we figured out that the best way to install the gutters was to expose the entire length of the deck joists (you lay the gutter in between joists) to create a nice smooth gutter. Take the end of the black plastic sheet and tuck it under the metal piece that should be installed next to the house, staple in place. Then roll out the sheeting until it reaches the end where your drain is. This is much more easily done with two people, but not impossible to do alone. Pull it taut and then carefully staple it every 12-16 inches into the joist, just on one side. Trim the end of the sheet so it goes over the top of the drain.
In the photo below, you are looking at the incredibly dirty metal sheet that was part of the original deck. Obviously we didn’t bother to clean this out since it’s going to be covered up again. This is where we tucked the end of the plastic sheeting (underneath.)
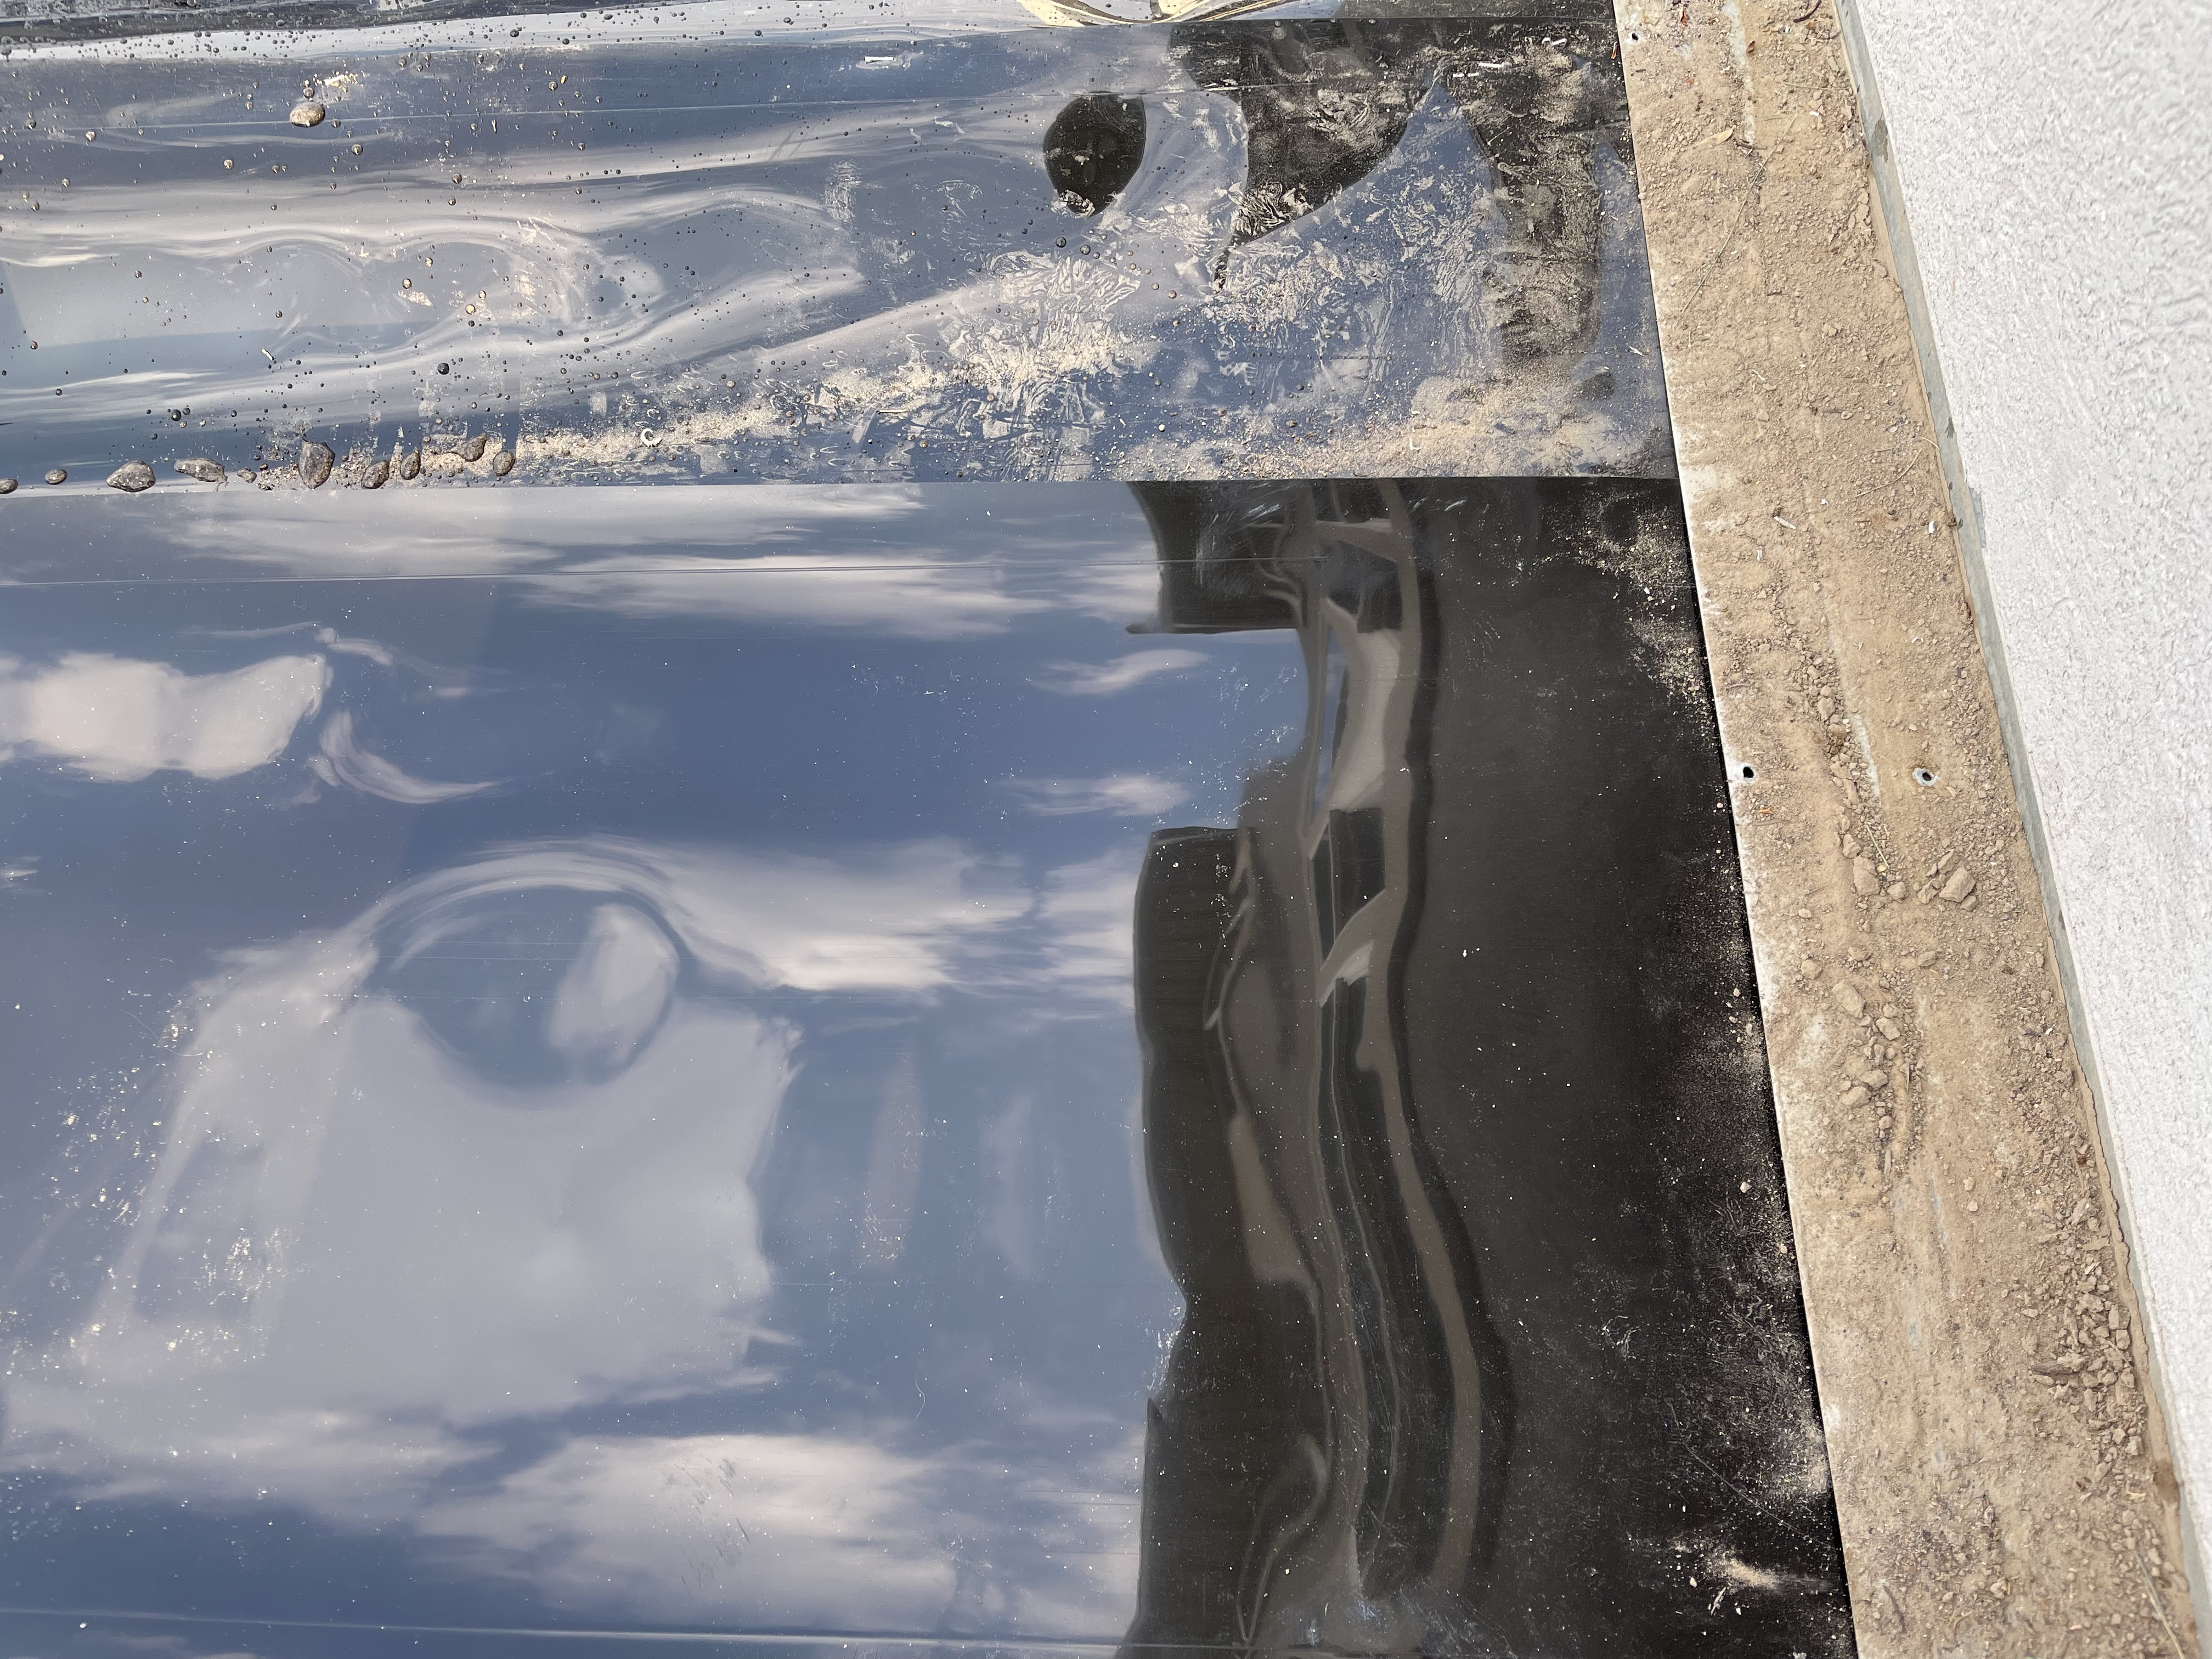
Once one side is secure, you then push the sheet down in the middle to create a spot for water to run down. This is where the sheet will fit into that half-moon shape you cut into the drain. Pull up the other edge of the sheet to lie on top of the opposite joist and staple into place.
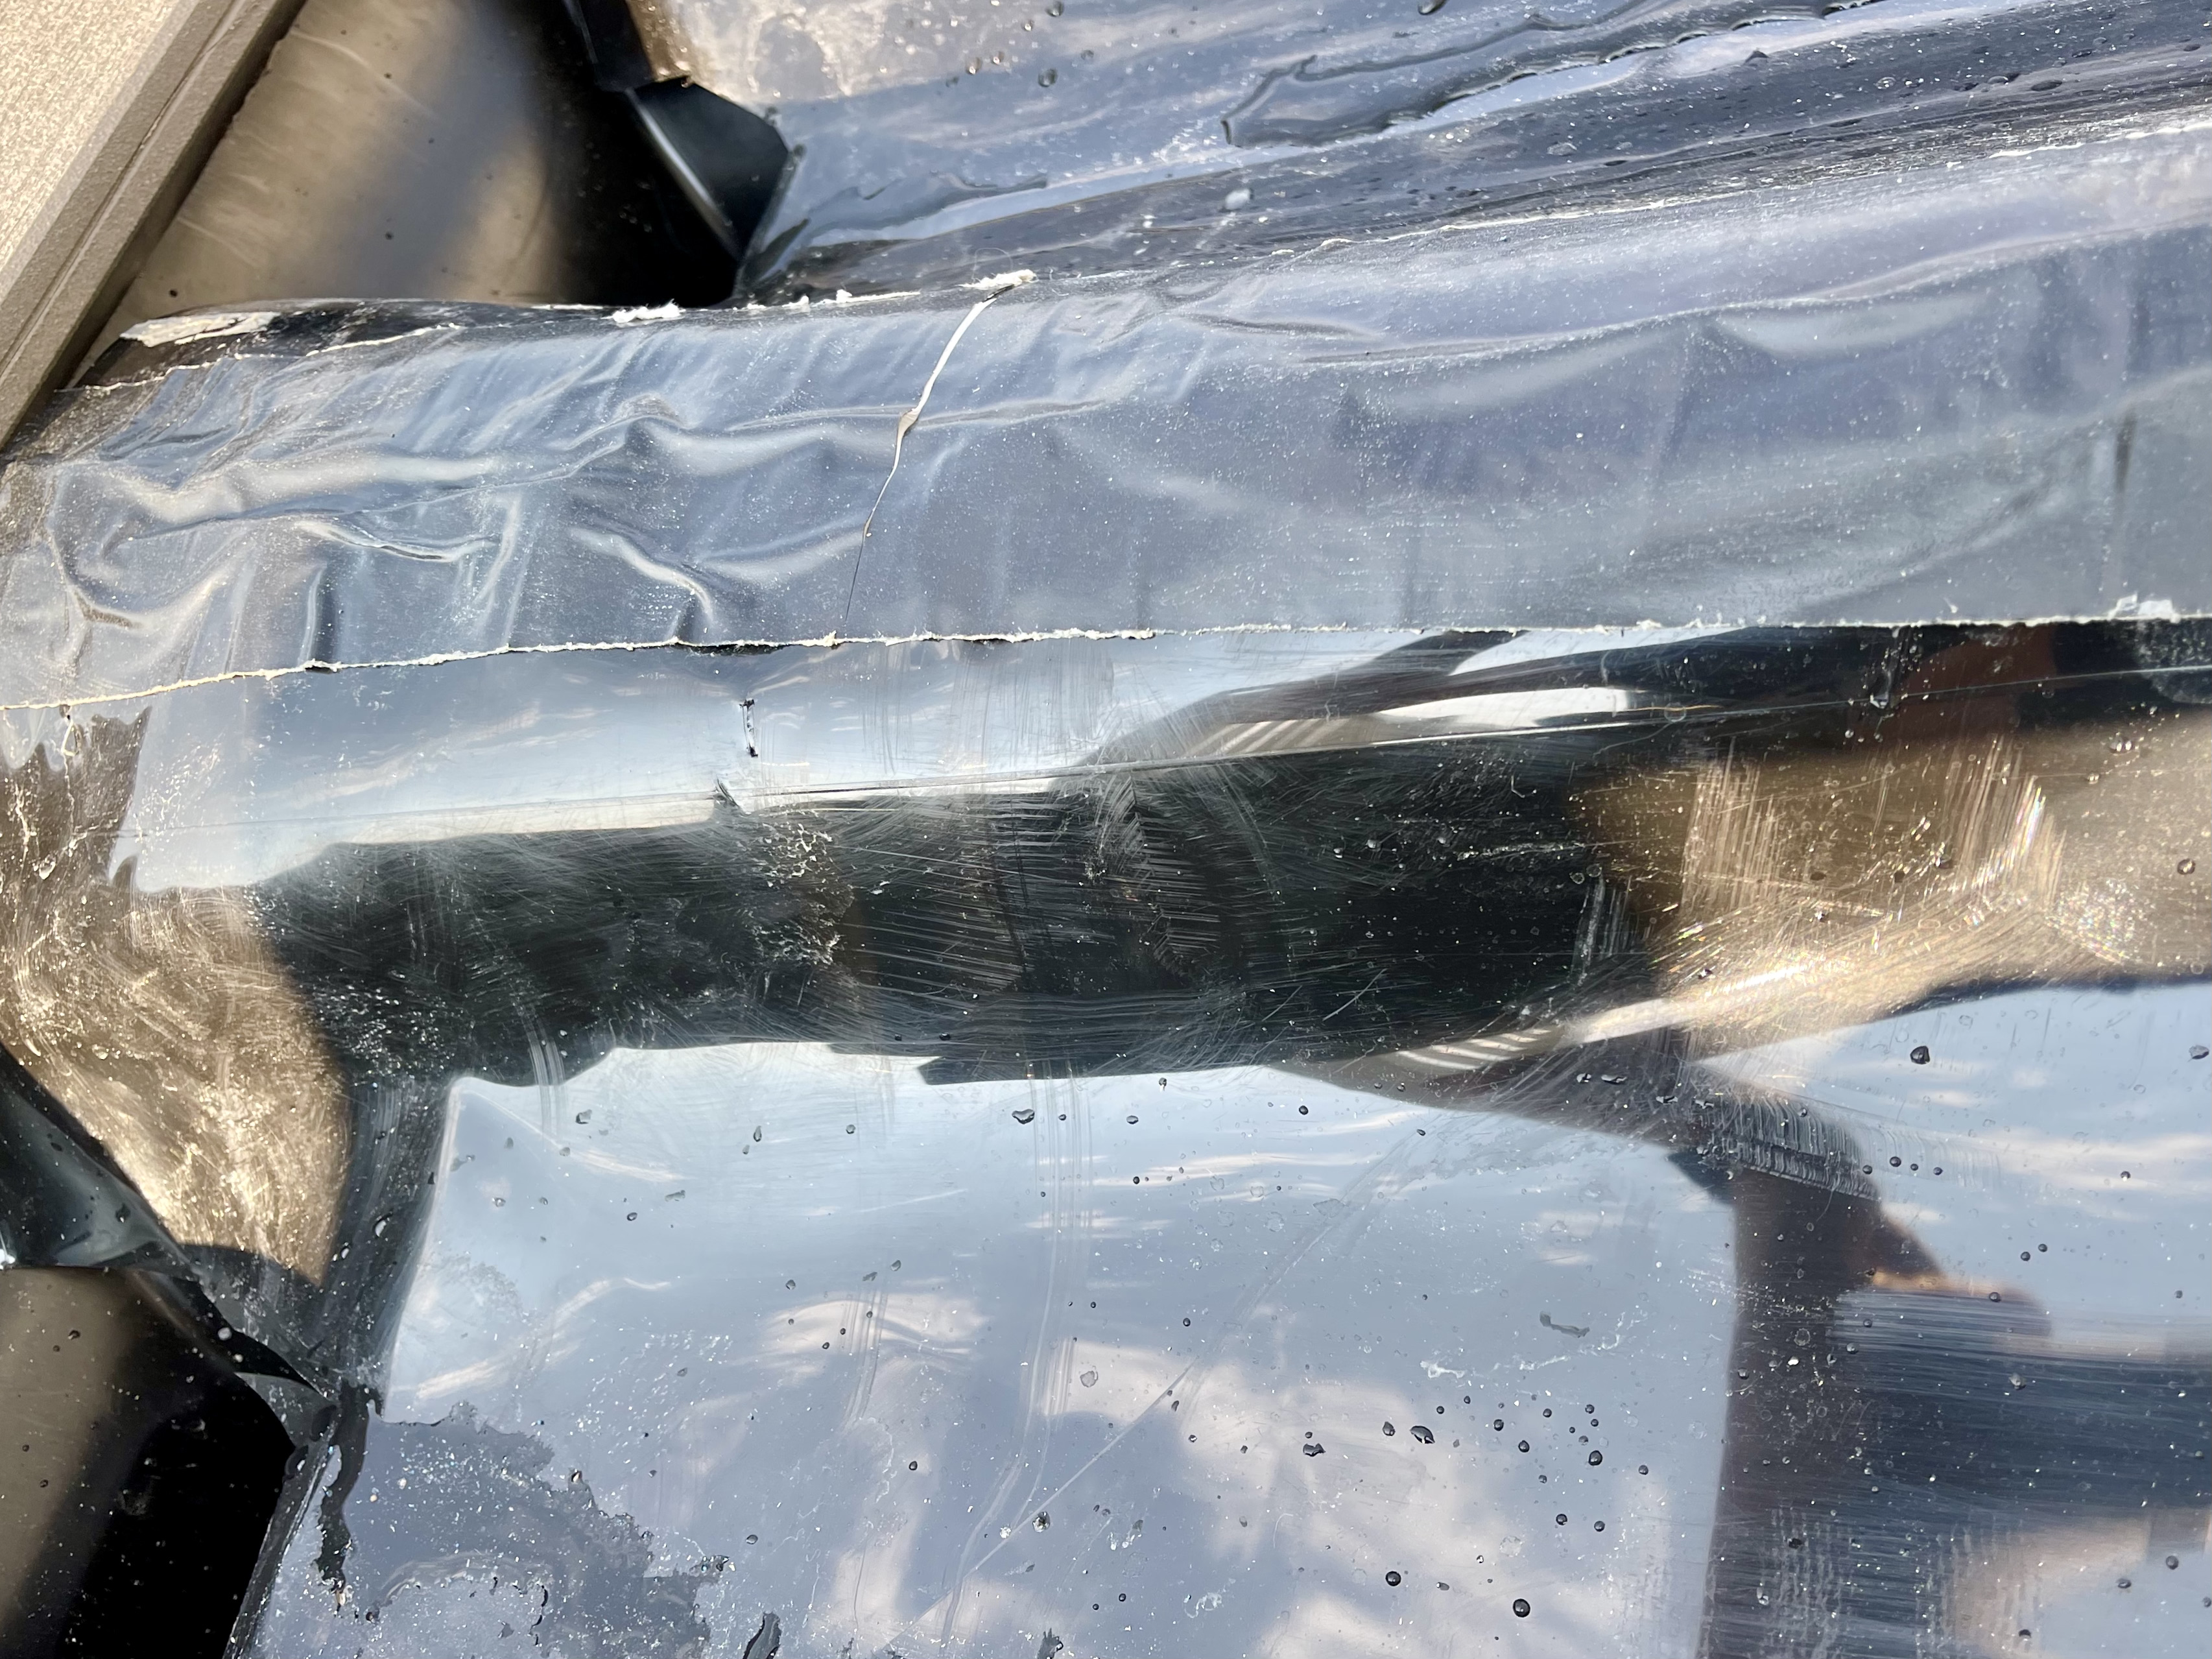
In the photo below, you can see how the sheeting is pushed down into the drain half-moon we cut. Then we used the razor blade to cut a small notch out of the end of the plastic sheeting and pushed it down. This further helps the water go down the gutter into the drain.
This part is important for drainage: As you staple the other edge to the opposite joist, make sure you are pulling a little more sheeting over the edge as you move towards the house to create a downhill slant in the sheeting. This is so the water will go down the drain and not just sit in the gutter. You can test each gutter to see if it is draining properly by pouring a little water in it. If it drains, you’re good. Otherwise you need to adjust it by pulling it out and re-stapling.
Repeat this process for each joist, moving the deck boards back to expose a new area each time. This is a safer way than just standing on the joists.
Step 4: Tape the Joists
The last step before putting the deck back together is to put the special RainEscape tape on top of each joist. This gives extra protection to the joist, helping the sheeting stay put and the staples to not rust. It’s really easy, just like taping any crease in paper, like wrapping on a present.
Step 5: Put the Deck Back Together
Now that you’re done with installing the RainEscape deck drainage system, just reverse the process of taking the deck apart. Make sure you use the same spacing in between deck boards so you can use the same drilled holes for the screws. Since we had labeled the deck boards, it was easy to put them back in the original spot. This also made it easier to assemble the railing.
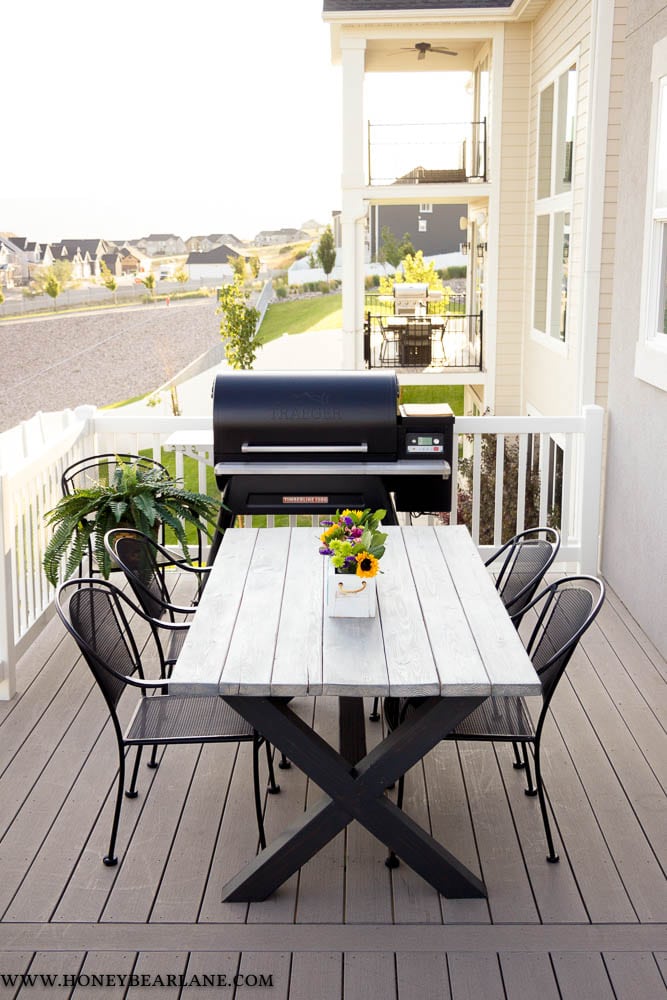
We are so glad we got this project done. This will help extend the life of our deck a little longer and also make it much easier to use the hot tub below no matter the weather. Make sure you do this to your deck before the winter comes along with all the snow and rain! Thanks again to Trex RainEscape for helping to make the process of installing a drainage system to our deck so much easier. This post details our experience with it. If you want really detailed installation tips, visit their website under Installation.
Be sure to pin this post for later!

Brillantly done! Quite helpful in making my own deck drainage system. I have gone through many of others work but your work really inspired me!