Plaid Crafts Simply Silk Screen Kit Review
Hello!! Super grateful for all the guest posters during my maternity leave, aren’t they great? But today you get to hear from me.
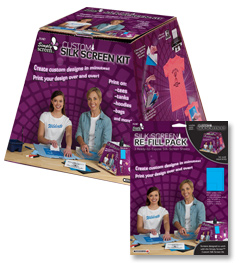
I got the exciting opportunity this week to review a brand-new crafting product: The Simply Silk Screen Kit from Plaid Crafts. I was super excited and a little nervous to try this product out, since I’ve always been curious about silk screening. I wanted to buy a Yudu–another silk screening kit–but they start at $300. This kit, available only at Hobby Lobby, is only $40!
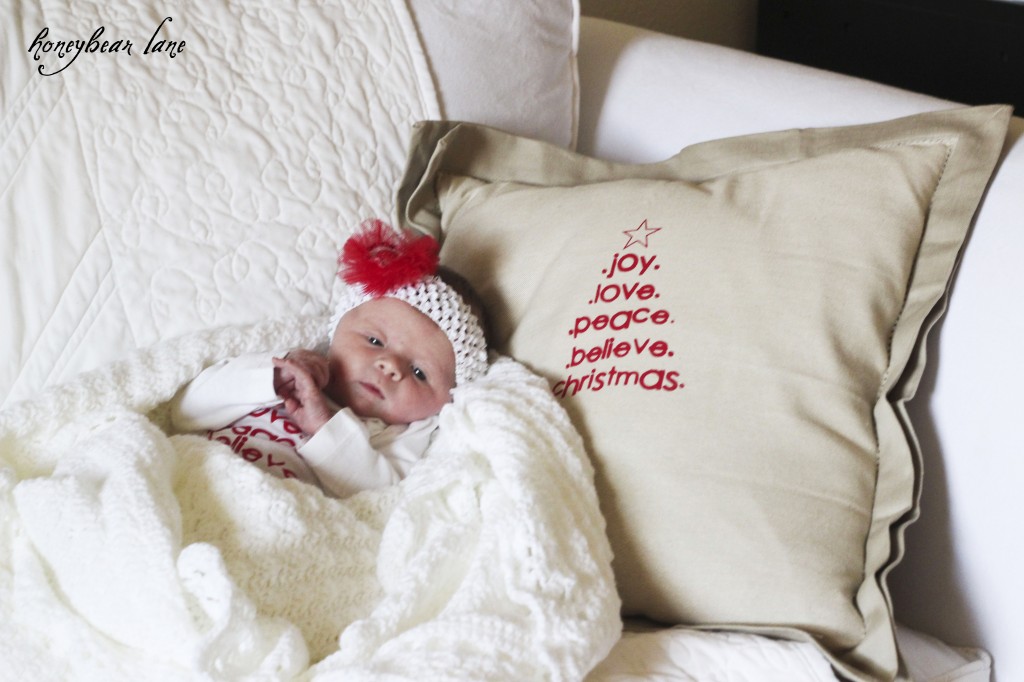
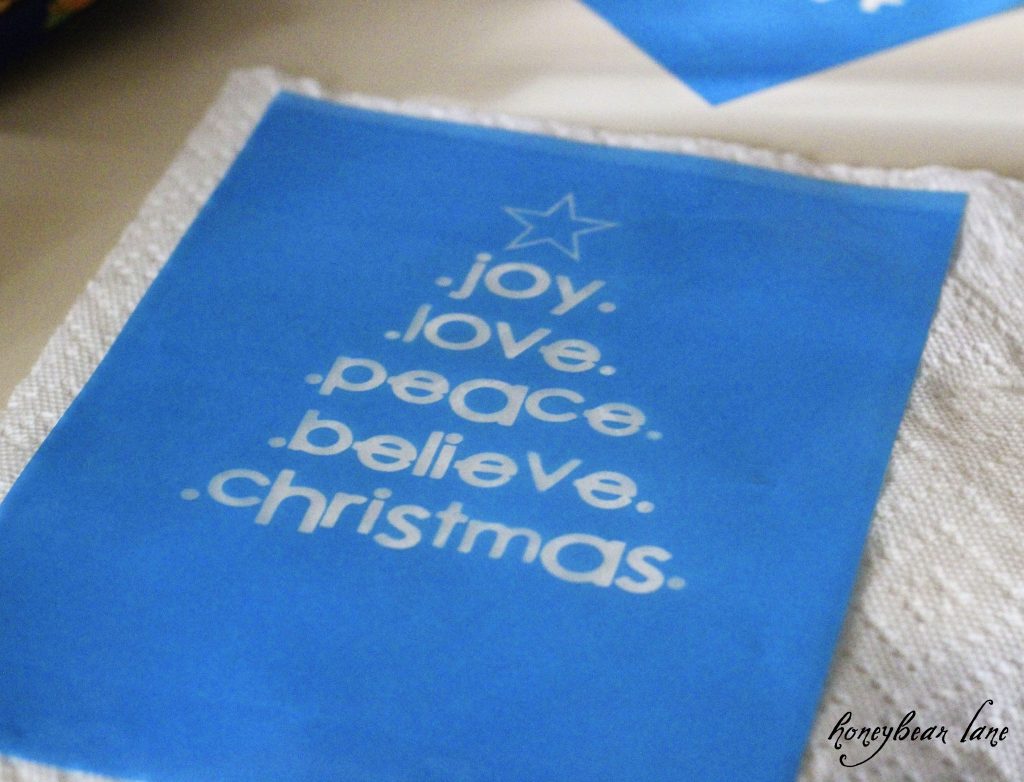
After only one practice test, I got it just right. How cute is this?! Oh, and I guess the pillow is cute too. 🙂
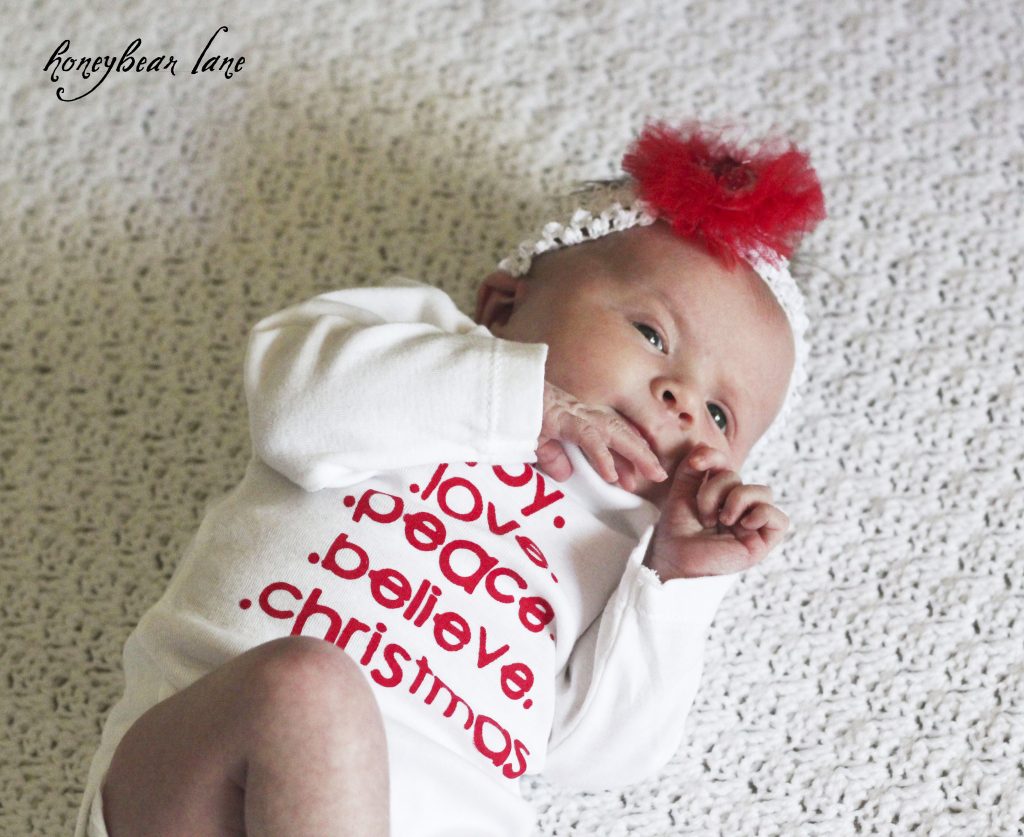
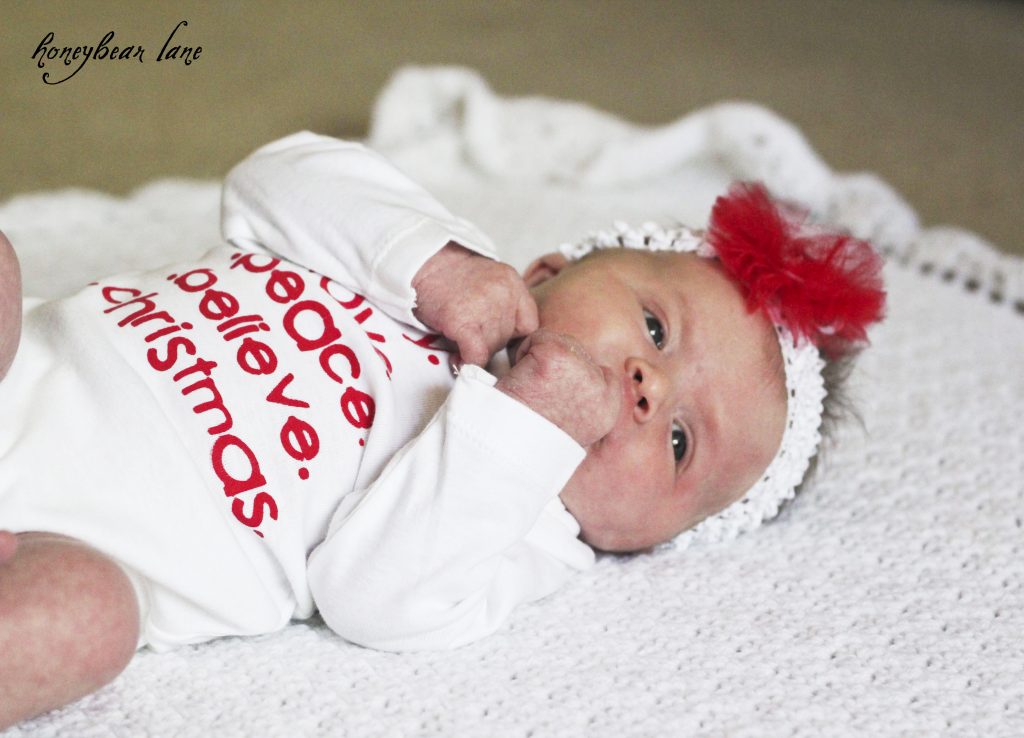
And I couldn’t resist making a little Christmas onesie for my Christmas baby.
Several other bloggers reviewing this kit didn’t have such an easy time with it. They had to really work and test out the kit and they offered their suggestions in this amazing Craft Blogger group I’m a part of. So I benefited by all their suggestions.
How does this process work? Seems intimidating but it seriously could not be easier.
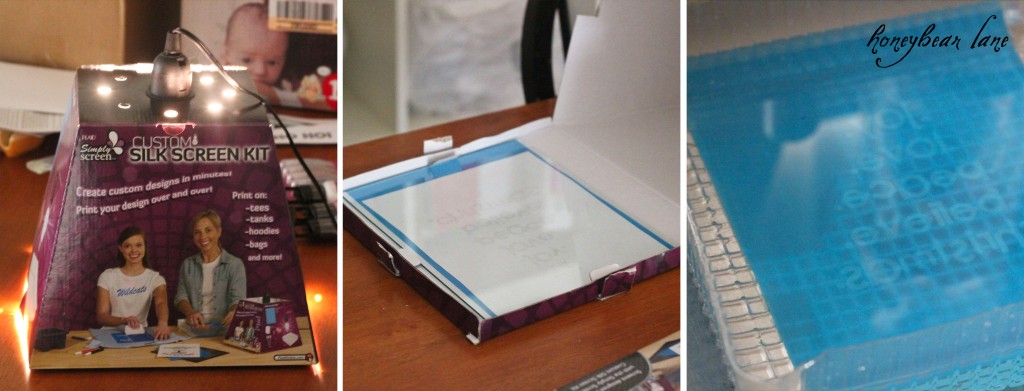
The kit comes with this weird shaped box, a light bulb and casing, some silk screen paint, a water tray, sponge, squeegee, and screens. This kit is meant to last a long time and all you need to do is purchase refill screen packs.
Step One: Make a design on your computer (or free-hand draw it with a Sharpie.) I first did a test by drawing a pathetic looking snowflake with a Sharpie. I suggest doing a test first of a small and simple image. My second design I copied from Summer’s Glitter Sign she showed you earlier this week. I love that there is no need to reverse the image.
Step Two: Open up the kit by opening the bottom of the funky shaped box (do NOT throw the box away!) and following all the instructions exactly. You will place your printed image face down on the “sticky” side of the screen (only get one screen out at a time so you don’t expose the other screens.) The first time I taped my image down to the box. It worked great, but I don’t think this method would work great for more detailed designs. The BEST thing you should absolutely do is get some glass to put over the whole design and screen. The key to getting a great screen is not letting ANY light get through the underside of your design. The glass weighs it all down and is not affected by the heat of the light bulb. I just used some glass from an 8×10 frame and it worked perfectly.
Step Three: Put your box in a dimly lit room and turn on the light bulb. Set the timer for 25 minutes and don’t let it burn any longer. I used 20 lb weight paper but it is suggested to use 10 lb. But I didn’t have any issues with 20 lbs and burning it for 25 mins.
Step Four: After the timer goes off, fill your water tray 1/3 full of tepid water. Soak your screen (just the screen) for about 30 seconds and then use the sponge to gently scrub both sides of the screen. The blue stuff (the emulsion) will come off where your design was burned in. Don’t scrub too hard or you’ll scrub off more than the design. I only had to scrub for a few minutes. Lay your finished screen on a towel to dry.
Step Five: To transfer it to fabric, I squeezed a line of Silk Screen paint above my design (which I taped in place.) Then I used the squeegee to pull the paint down over the screen. Use gentle but firm pressure to get it through and I even went over it a couple times. Then pull the screen off and let it dry. All done! You can heat seal it with an iron.
The whole process takes about 2-3 hours, which includes 25 minutes of burning and waiting for the screen to dry. So it’s definitely a project you can do while you do other stuff. I think this is a great activity for older kids and it would be a fun way to make family shirts for a reunion or something. I’m super happy with the results and had a fun time doing it. I’m planning on using it again and again!
P.S. I used some $3 napkins to make my pillow case. You can follow this tutorial by Kim @ Sand and Sisal to make a super easy pillow case from napkins.
And yes, this is my beautiful, beautiful baby girl. I am planning on writing all about her and the birth once I can sit down and do the post proper justice. 🙂
Read my Disclosure statement here.


Wow! She is super cute!
She is beautiful! The screen kit looks fun. 🙂
Lol. Great minds think alike! 🙂 Our screens are really similar. I LOVE where you put yours! The onesie is adorable and especially so on that darling baby girl! And, I LOVE the pillow!! Think I need to do that with mine! 🙂
This is soo sweet!! I love both projects – the kit looks really cool.
But I am so in love with your little one!! She is just beautiful Heidi!!
OMG your little girl is so precious! I can’t wait to hear the birth story!
Natalie
http://www.projectdowhatyoulove.wordpress.com
This turned out amazing, Heidi!! 🙂 I love this!
what a precious little bundle of joy! i’ve been wondering 🙂
Congratulations. Your baby girl is adorable! Love this tutorial, I will have to check out HL and see if I can get this with their coupon!
thank you so much for sharing your experience with this kit. I am doing it right now : – ) Lots of luck with your bundle of joy : – )
I agree with everyone, what a little doll. I have one question, how many prints can you get off that one screen? My family sings in a gospel group and want to make our own t shirts, and some extras to sell at our singings.