Full Apron Tutorial
I wish my hubby were home to take pictures of me WEARING it so you could see what they look like on a person! Maybe it’s time to invest in a dress form!
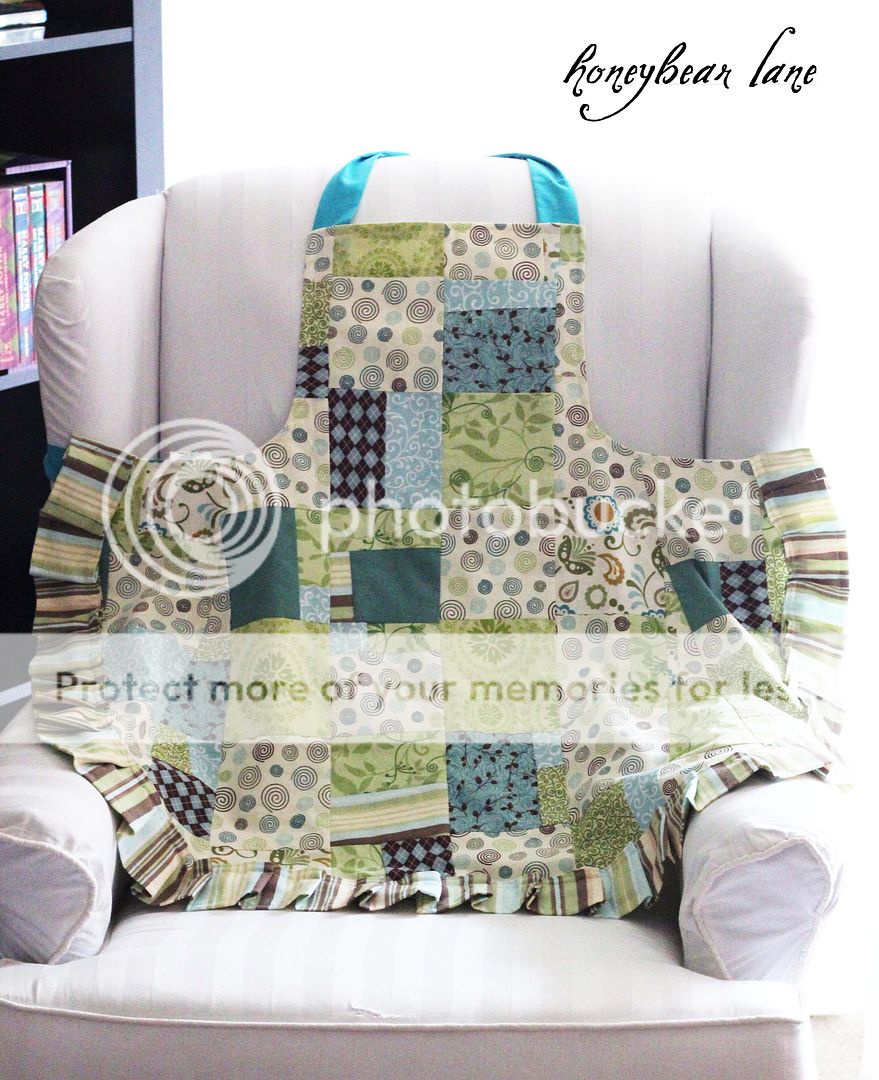
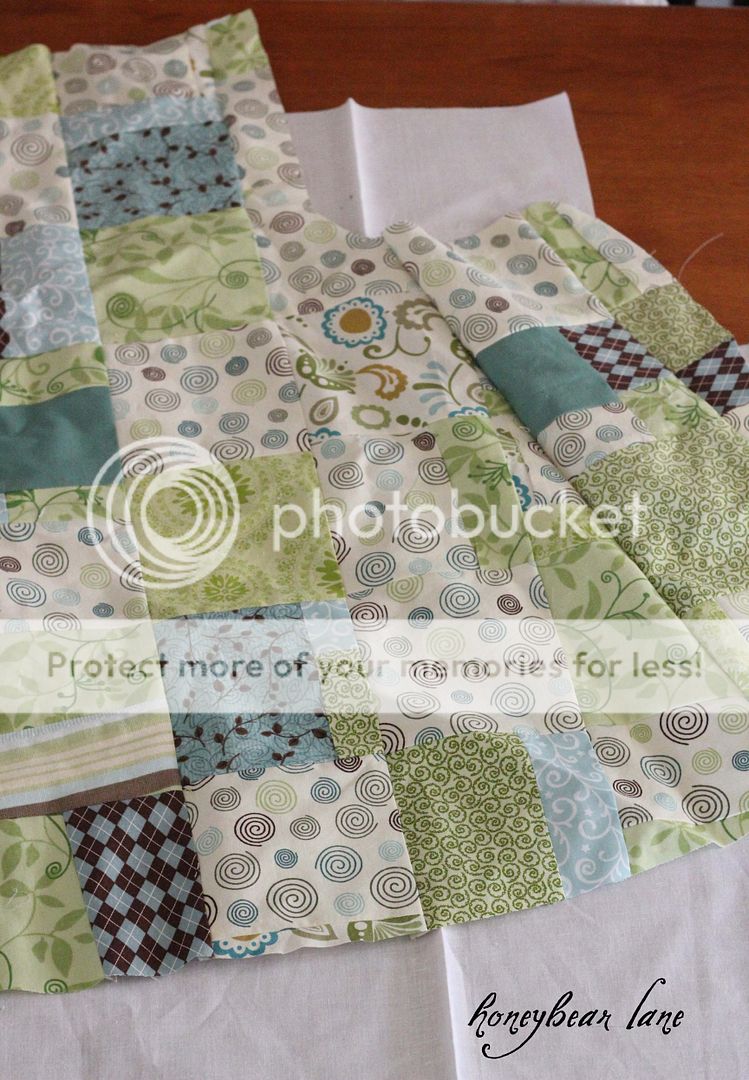
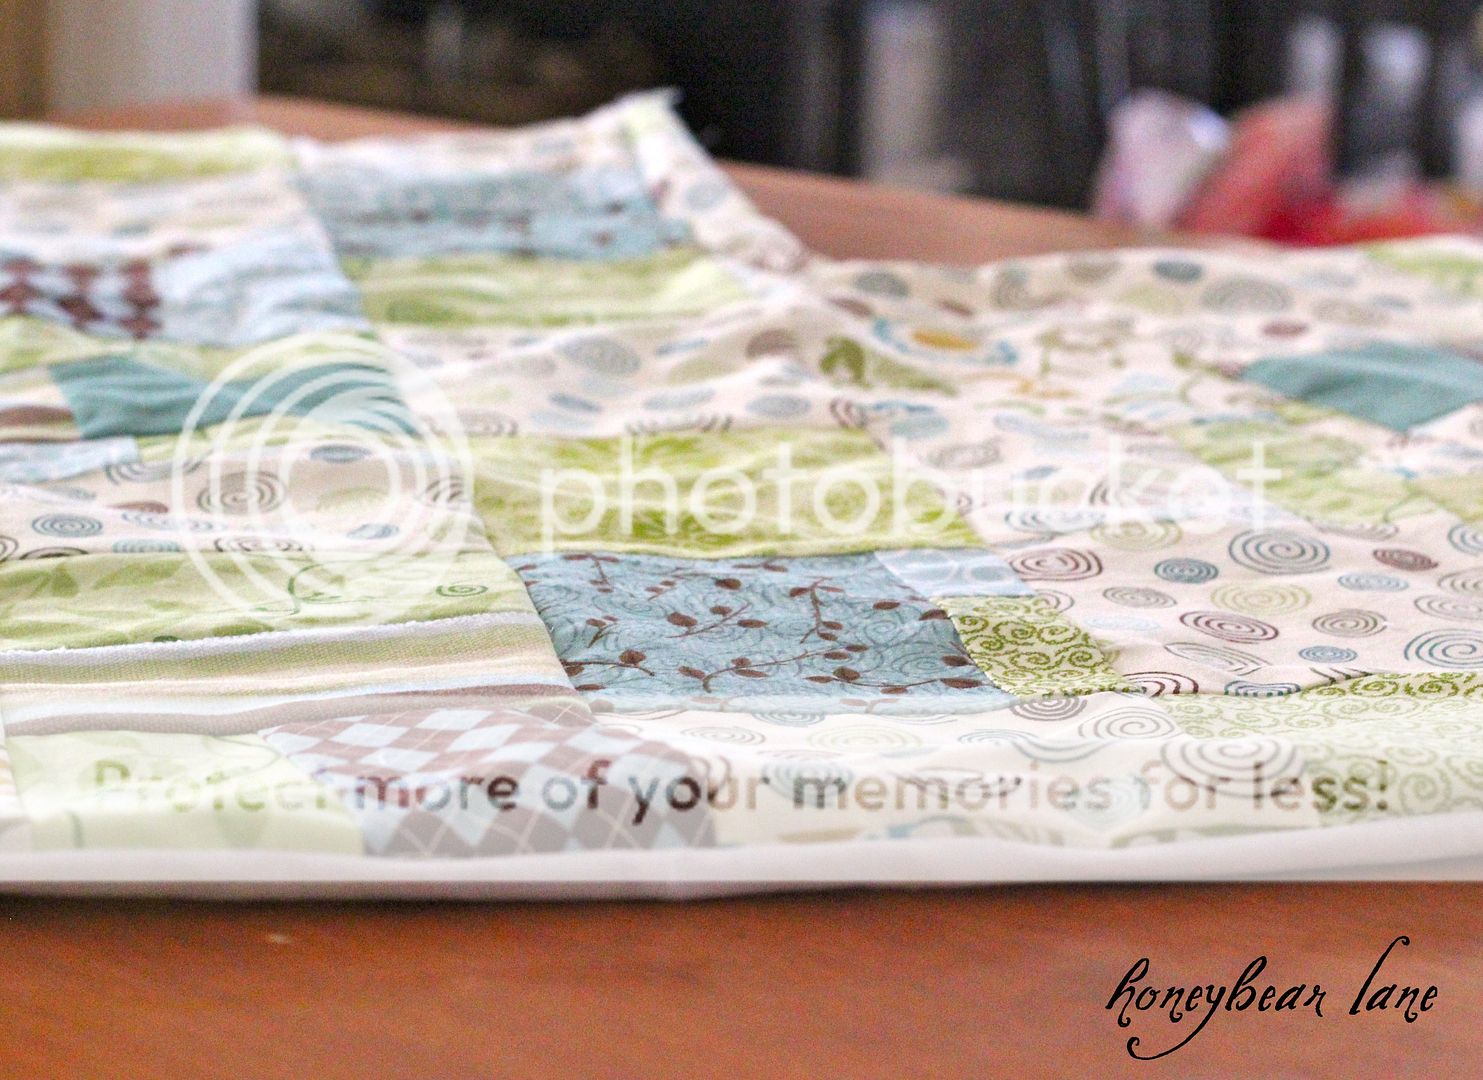
This apron is fully lined in the back with muslin so you could even reverse it if you wanted to. And that makes it thicker so that food doesn’t leak through if you spill. I love the adorable pleats on it and the fact that it’s a full size apron is so great! I never even wear half aprons because most of the mess is right about on my tummy area.
I promise I will only truncate my really long tutorial posts. All other posts I will not shorten! Please click on READ MORE down below if you want to see the full tutorial!
- Apron Body: 1 Yard (or 1 1/2 yard to be safe)
- Muslin for Lining: 1 Yard (or 1 1/2 yard)
- Pleats: 1 Yard
- Sashes and Ties: 1/2 yard
{{CLICK LINK TO PRINT OUT THE PATTERN}}
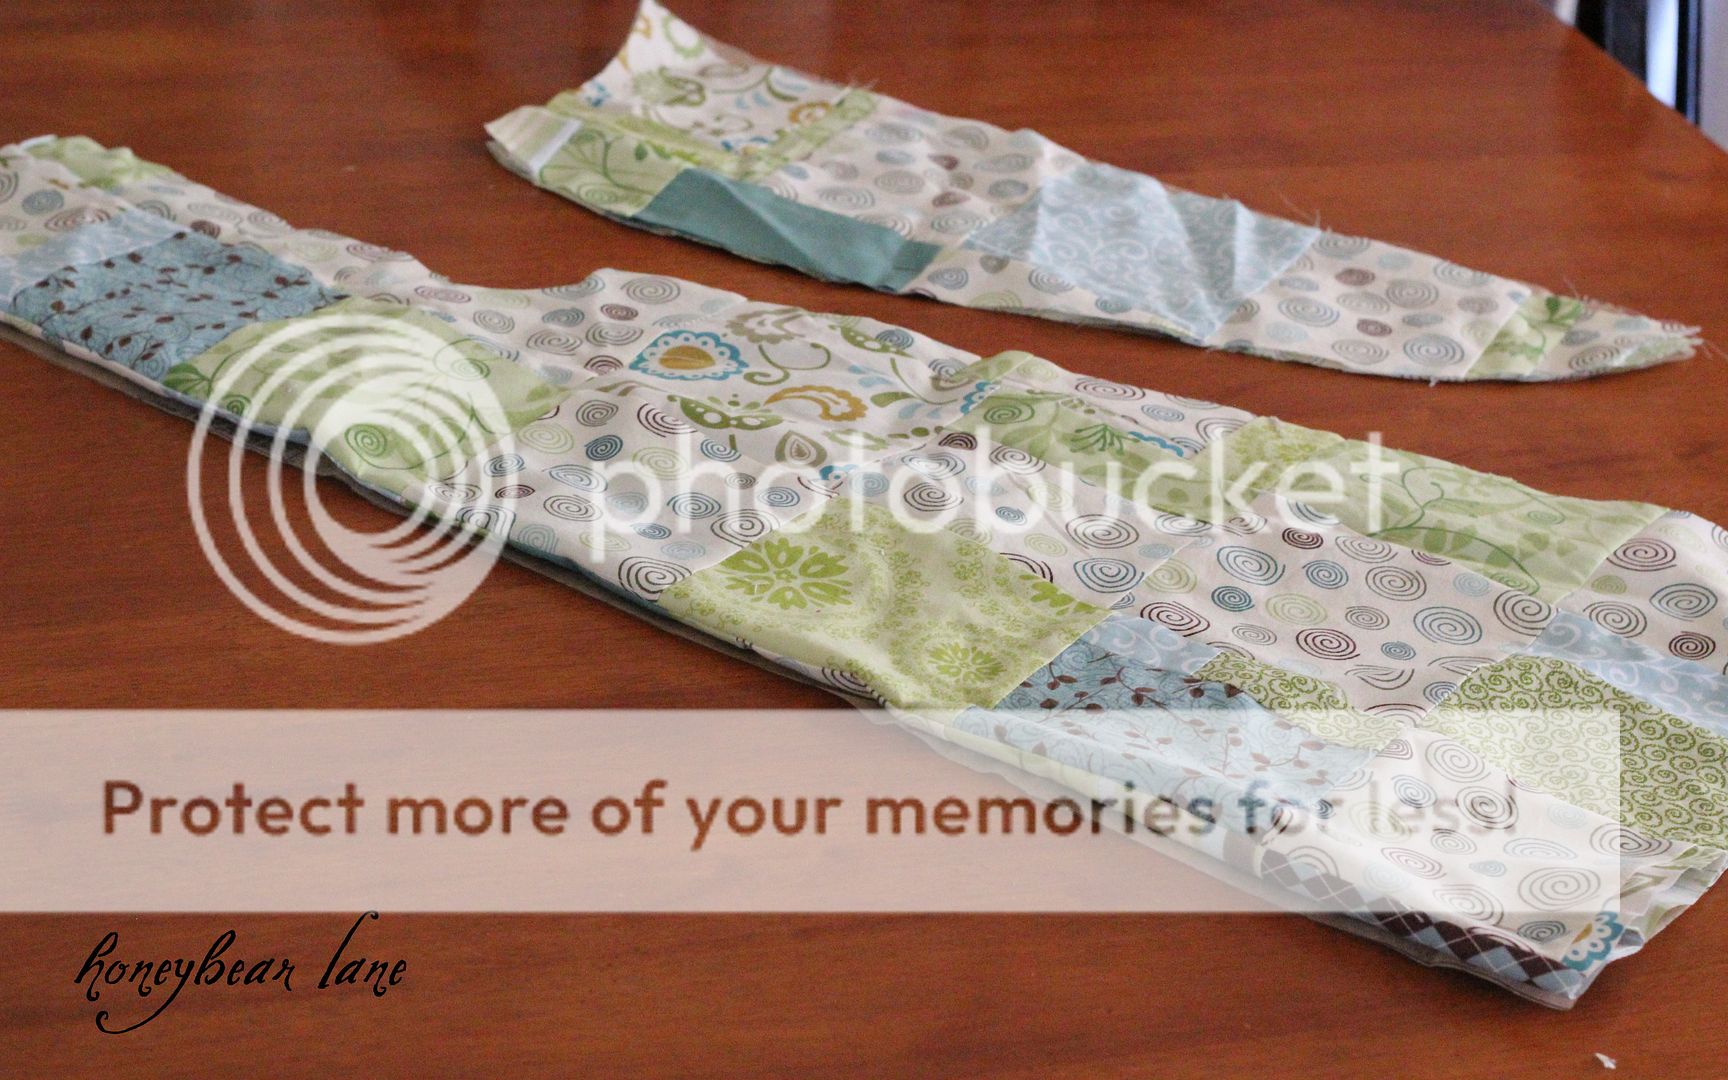
Step 1: Cut out your pattern. Print out all the pages of my pattern and tape them together (like a puzzle.) I’m using my pieced fabric that I made already and other scraps…I didn’t buy any fabric for my aprons! Use the pattern to cut out your main fabric and your muslin.

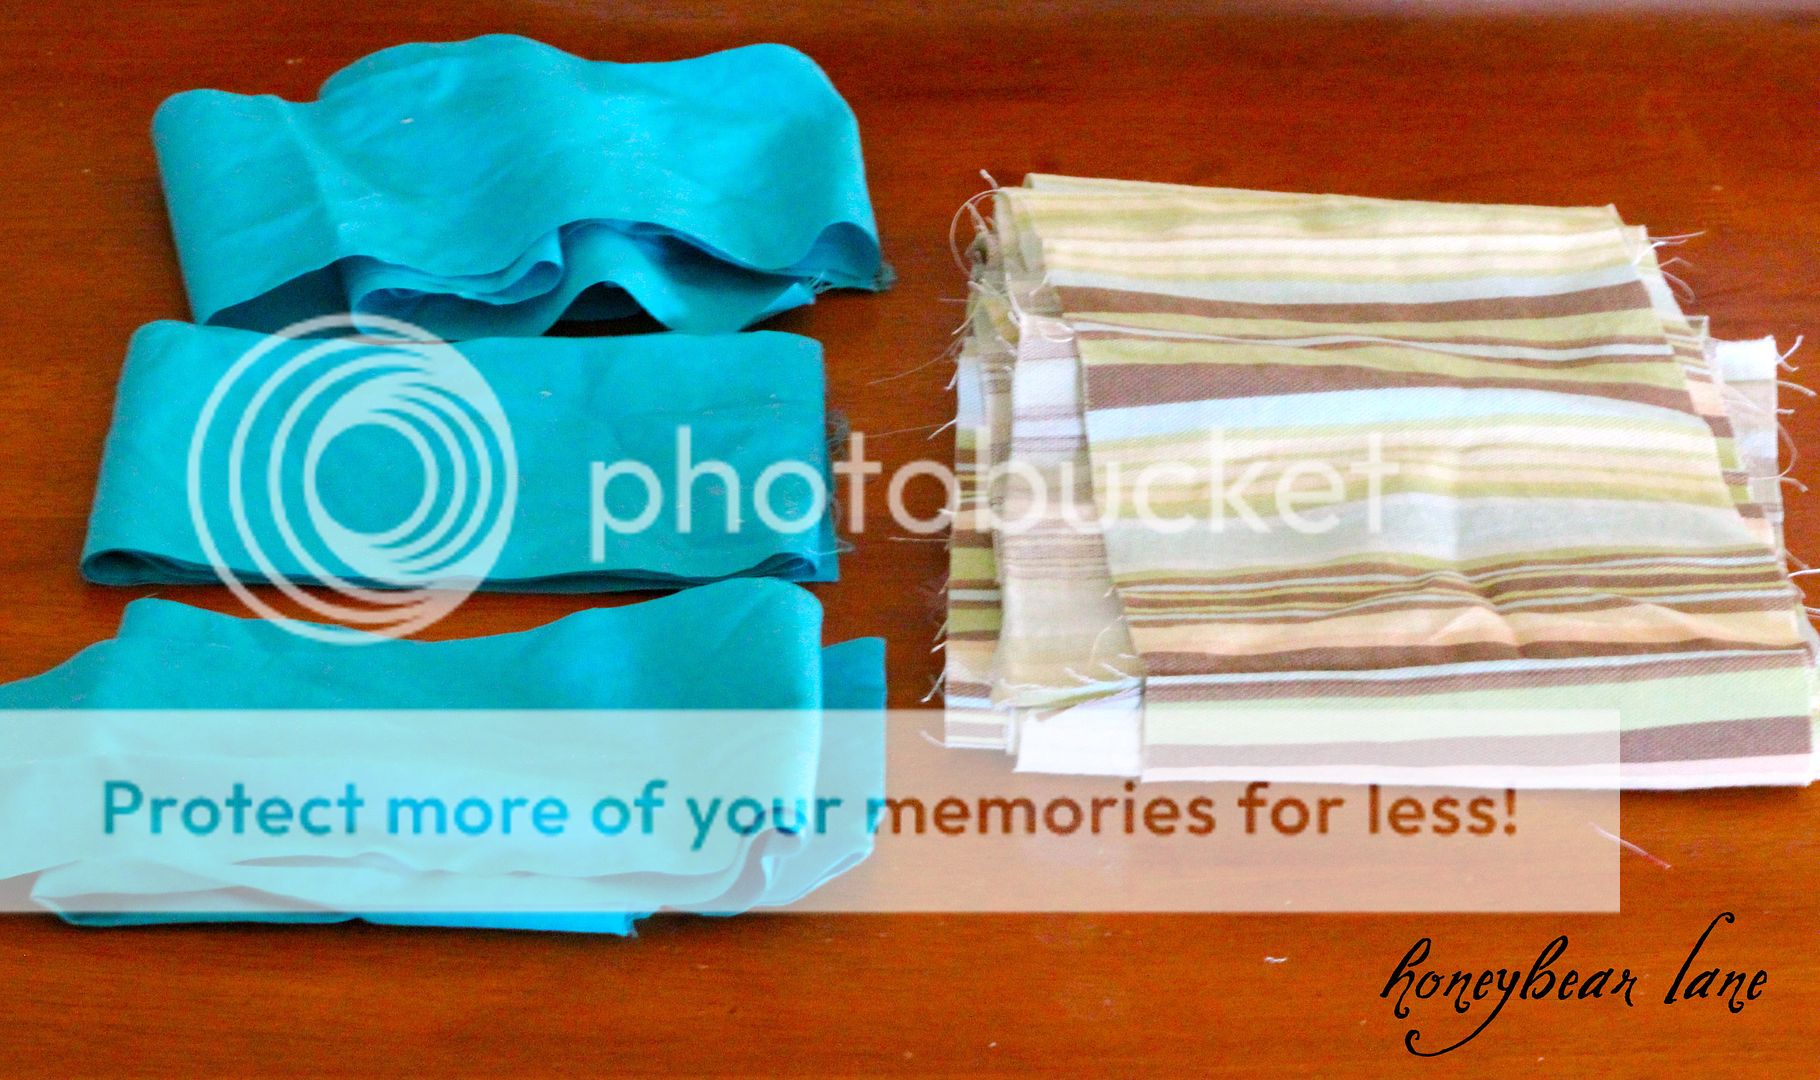
Use these measurements to cut out the Sashes, Ties, and Pleats:
Cut three of 44″x 4″ (Cut the width of the fabric) –for the sashes and ties.
Cut three of 44″x 6″ –for the pleats.
{I’ll explain this later.}
Step 2: Pin your apron sides to either side of your apron body; do the same with the muslin pieces.

Step 3: Sew down the edge of the pinned areas (I always line up the edge with my presser foot for my seam allowance.) Iron it open so your pieces lay flat.
Step 4: Lay your muslin and your main fabric pieces right sides together (seams facing out.) Pin around to keep in place if you want, but note the circled areas because you will NOT be sewing that yet.

Step 5: Sew around the perimeter of the apron, taking care to not sew the circled areas. Leave the entire top open. Once you’ve sewn it, trim off any bulky edges and cut slits in the curved parts.

Step 6: Turn it right-side out and flatten it with your hands, making sure it’s all turned out. Then iron down the edges.
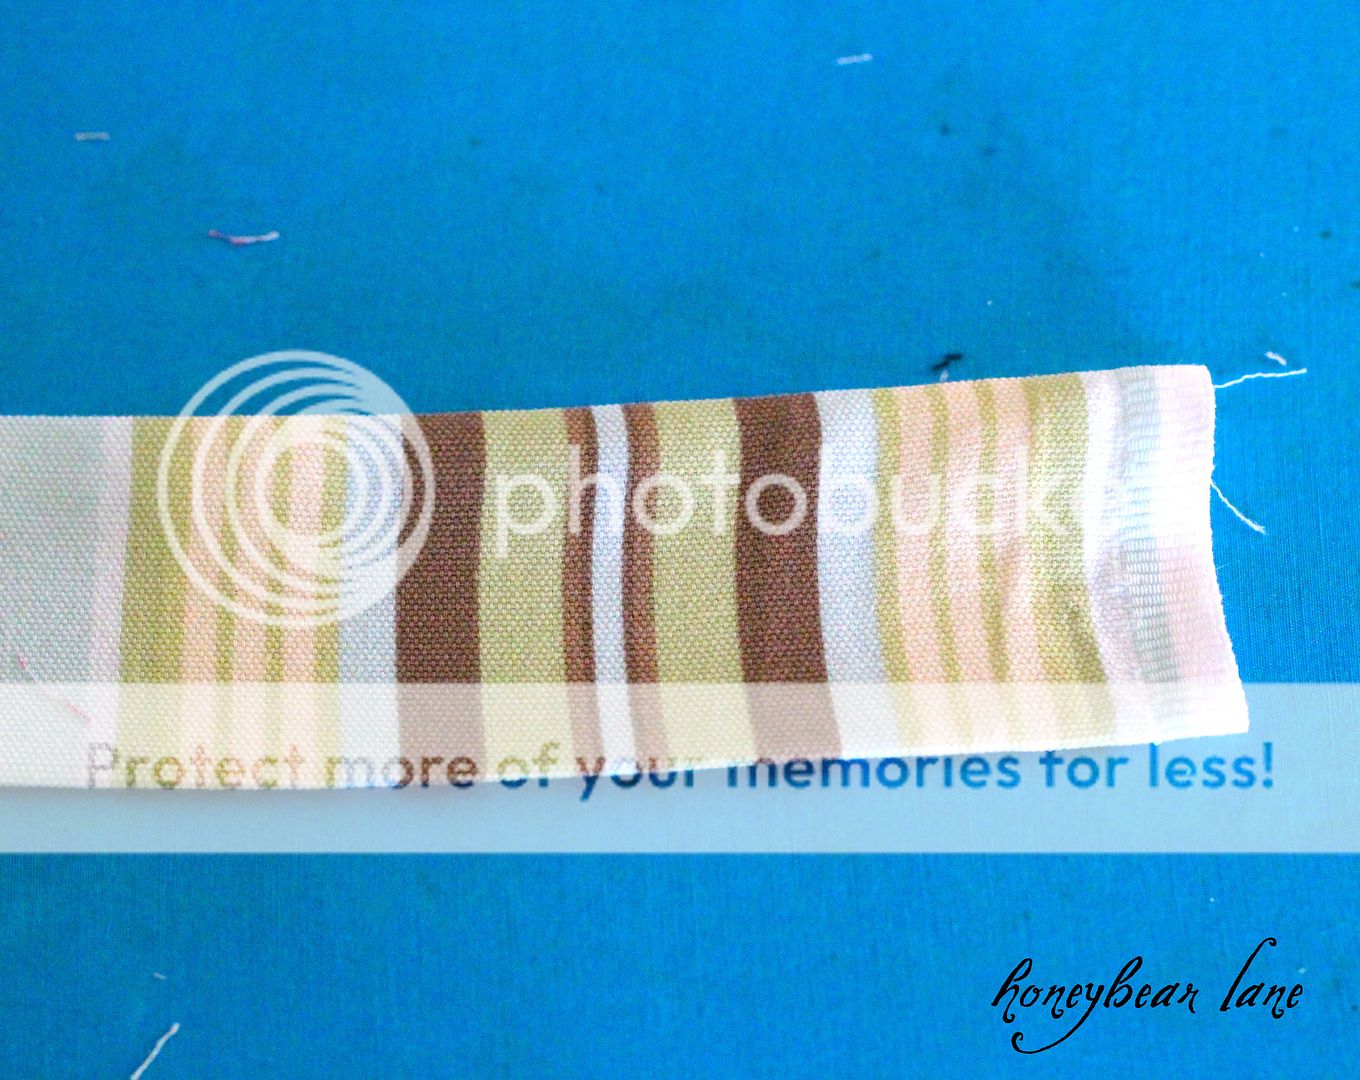
Step 7: Time to sew the sashes and ties. Fold or iron your 4″ strips in half lengthwise, right sides together (inside.) Follow this diagram for the sewing:
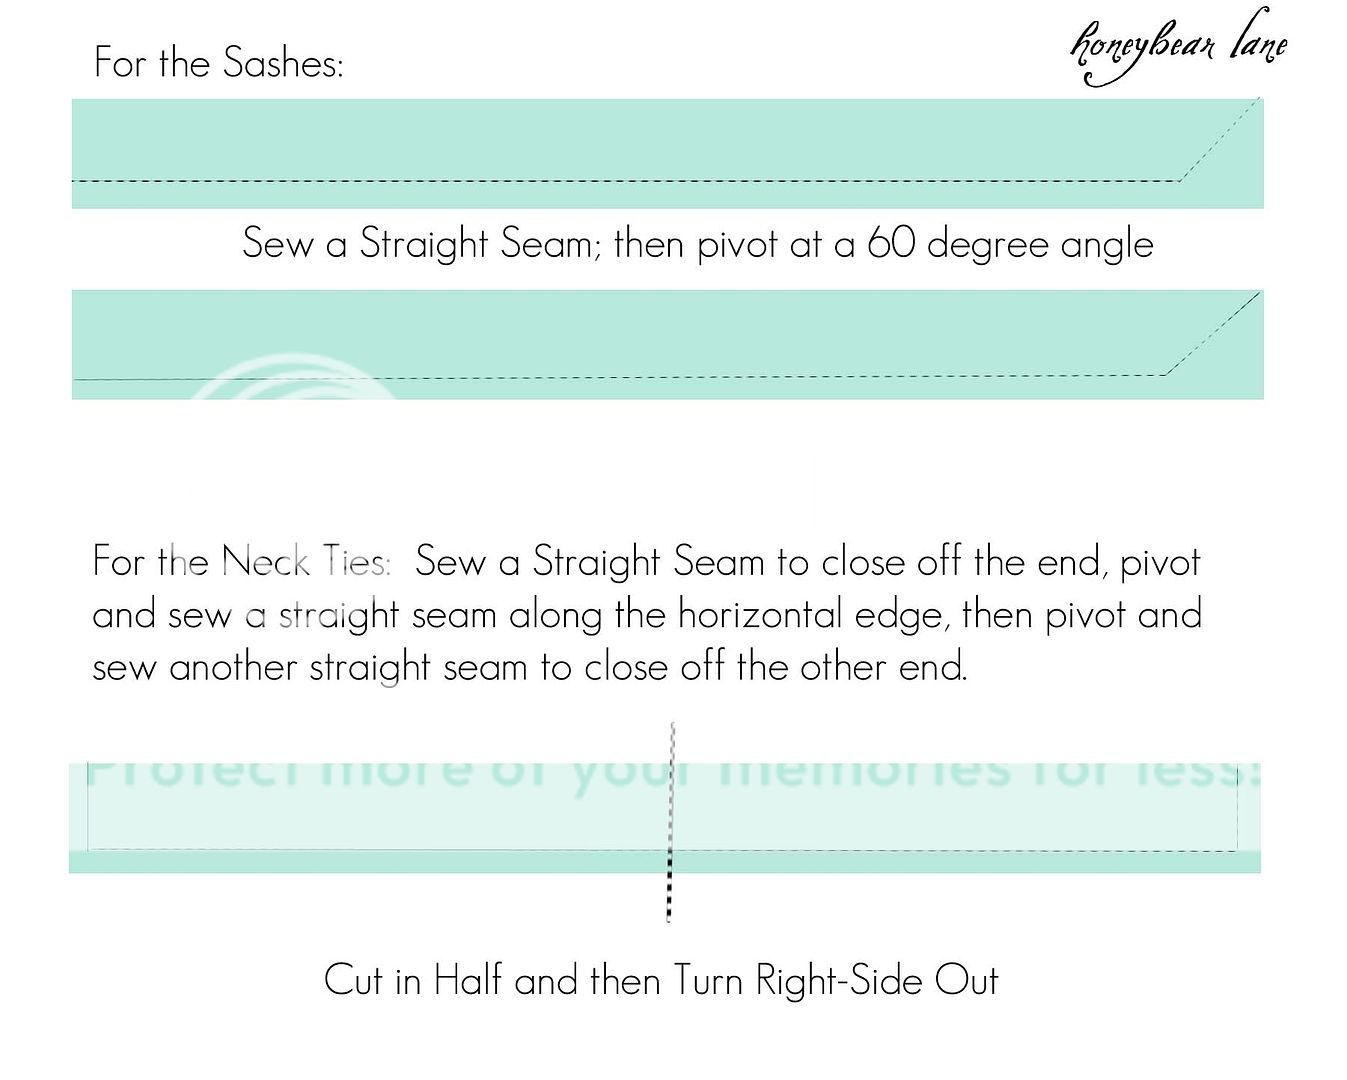
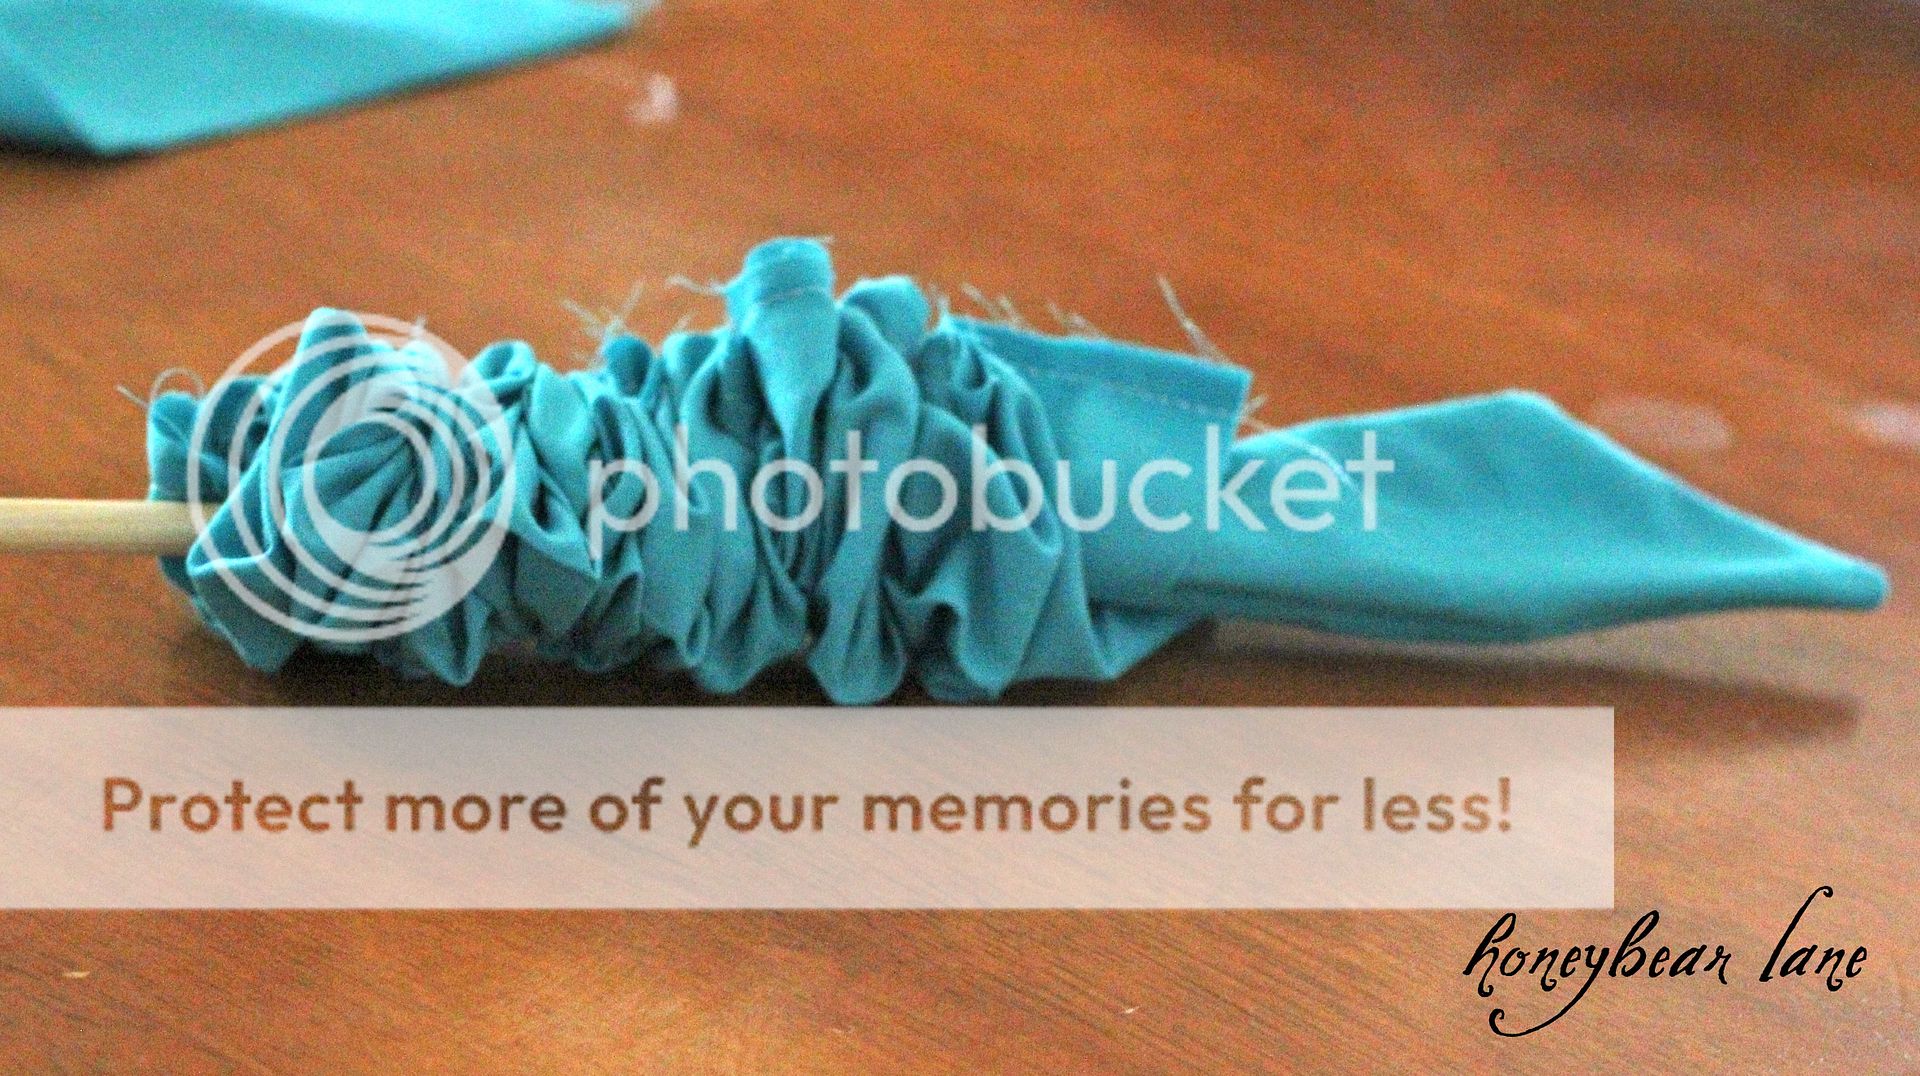
Here’s what your sash should look like before turning it inside out:

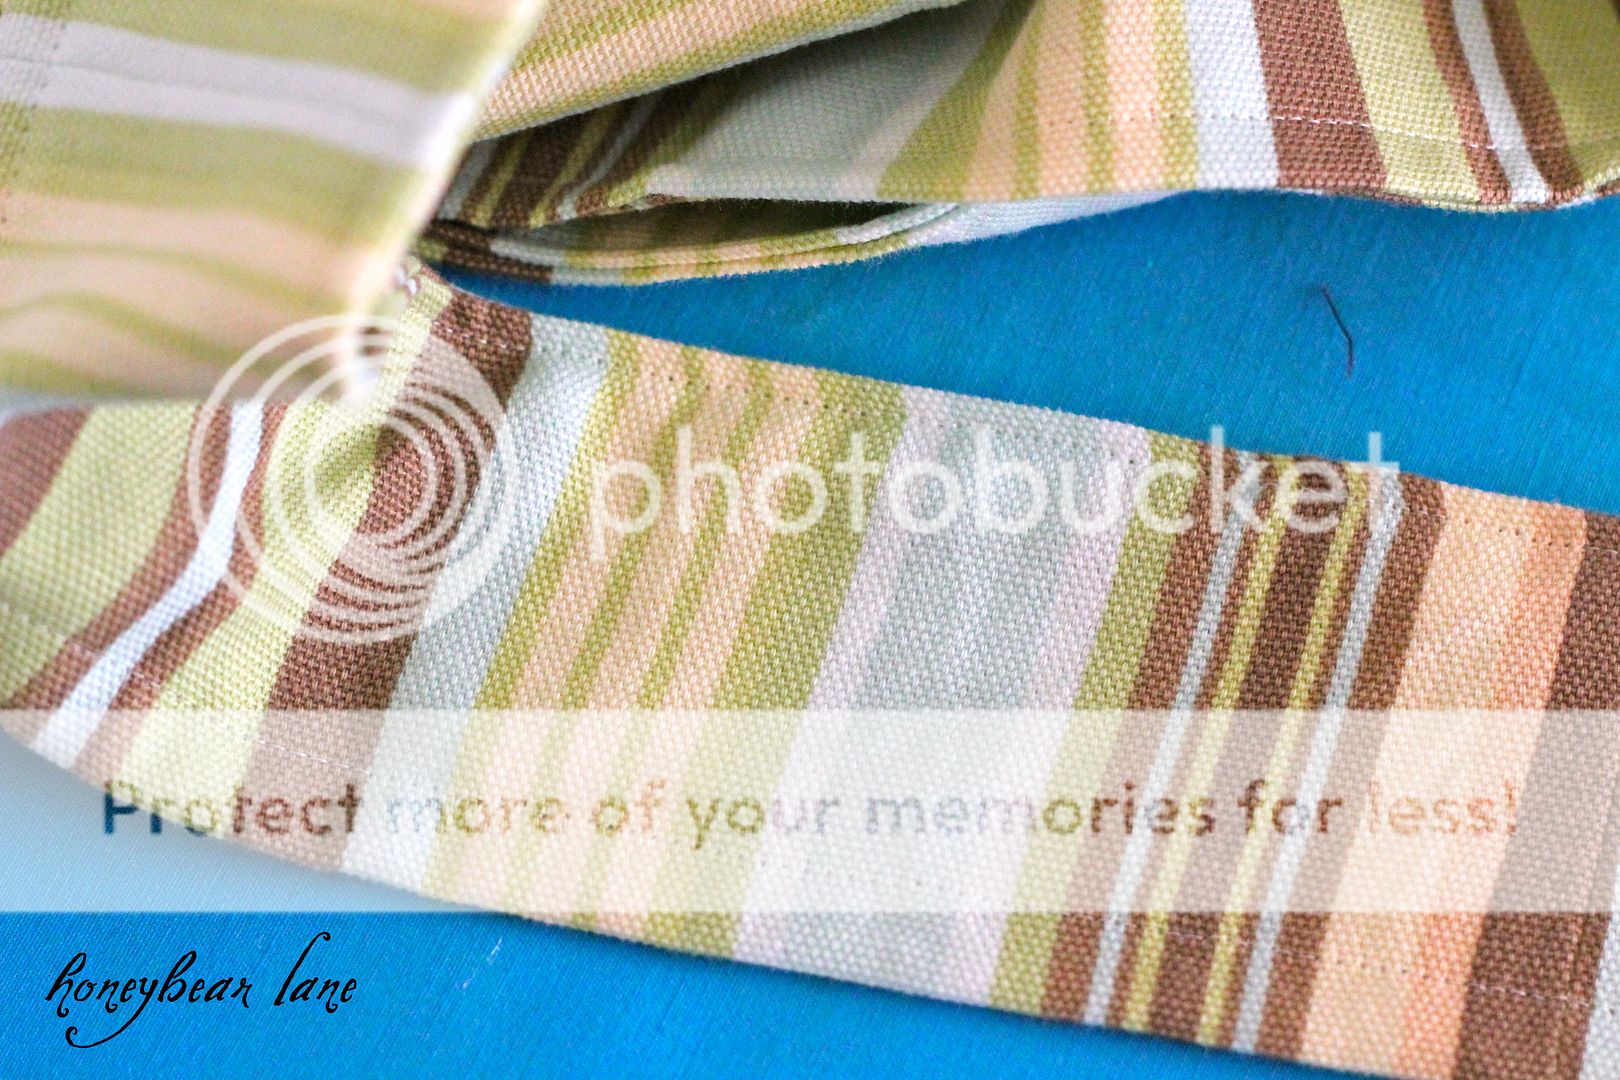
To turn a tube inside out, get a narrow object like a pen (with a lid) or a chopstick. I usually use a paintbrush I have but today I used a chopstick. Poke the sewn end inward with your stick.

Then just push the fabric until it comes out the other end. Make sure to use the stick to poke out the points in the end.
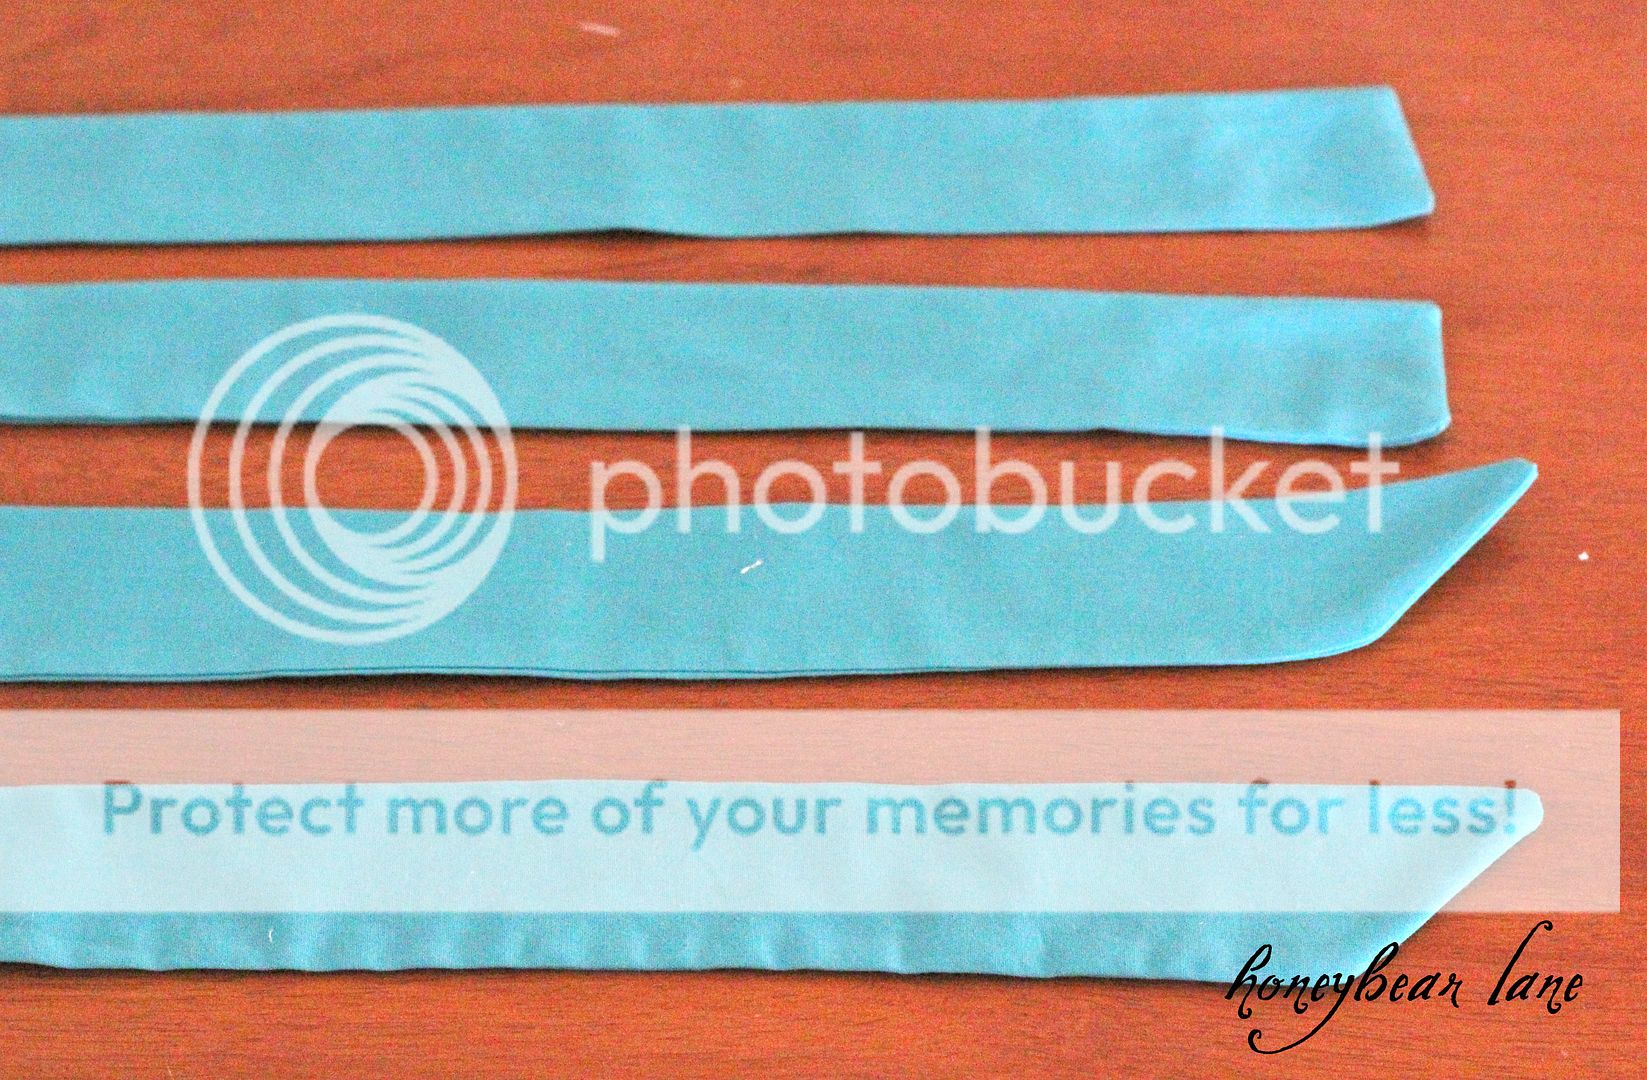
Then iron all of your tubes flat so they now resemble sashes! Remember that you sewed both ends straight across for your ties, cut it in half and THEN turned inside out so you should now have four pieces.
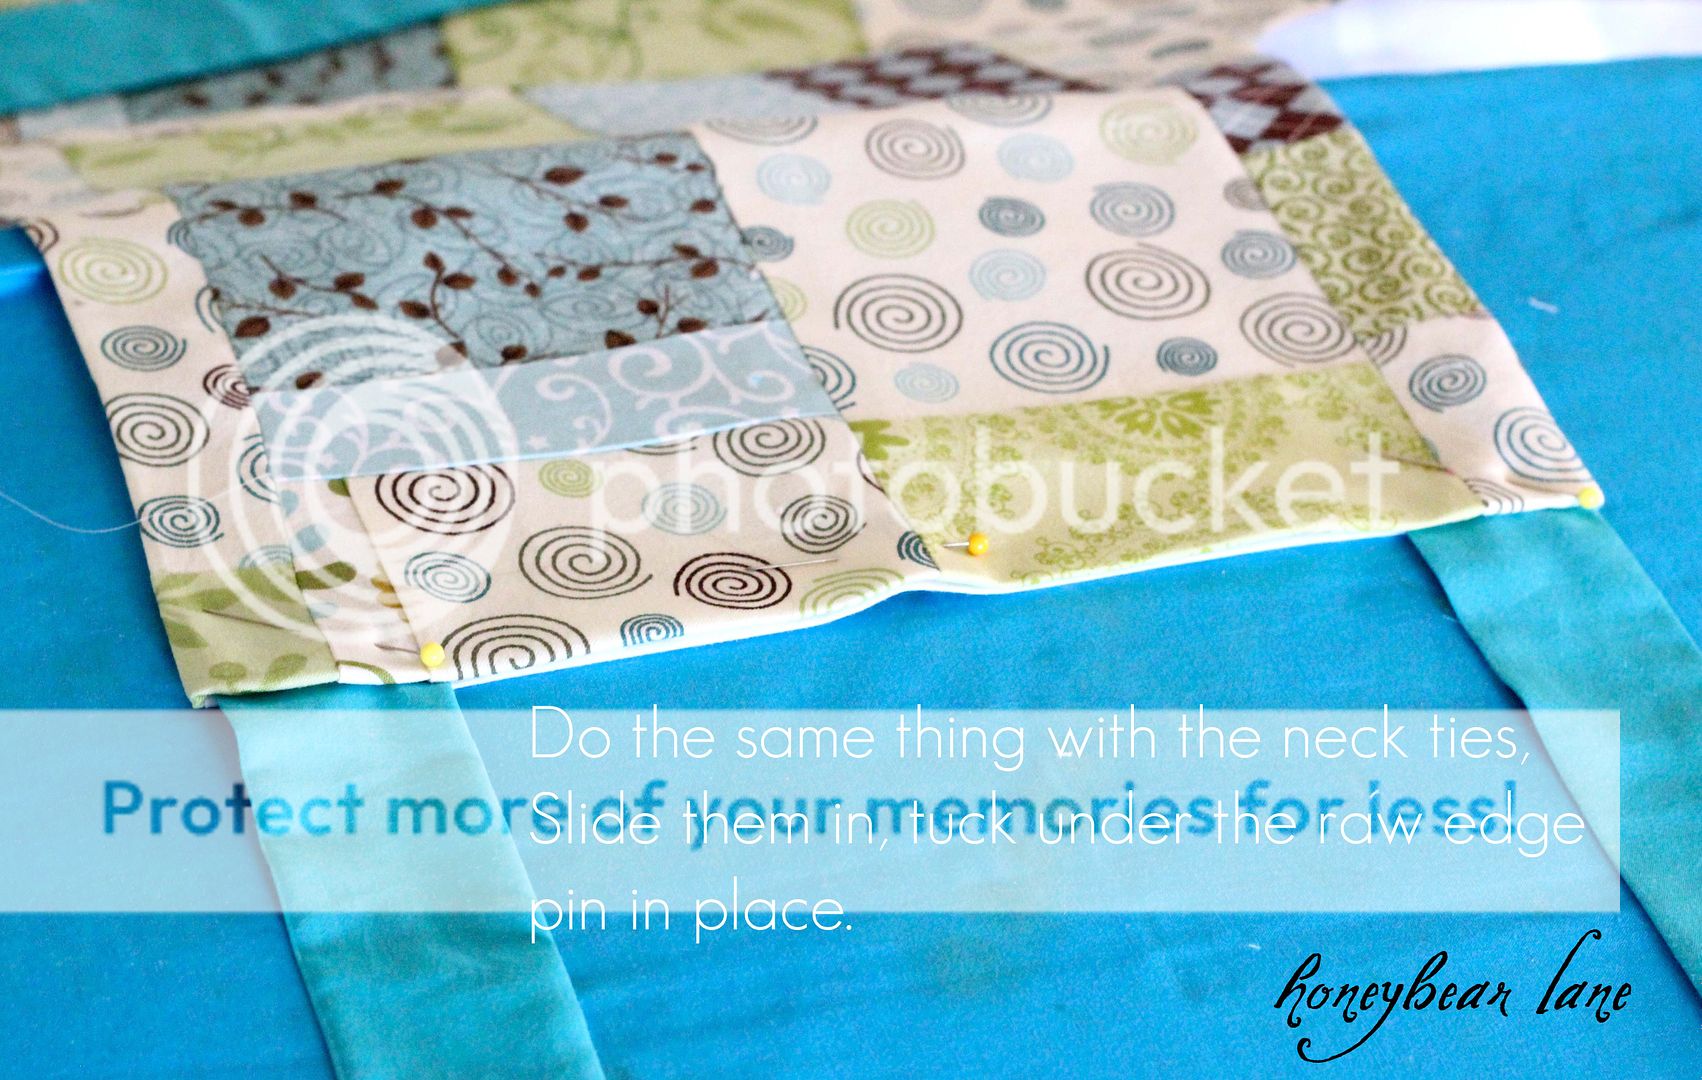
Step 8: Put your sashes into those holes you left open at the top edges of the skirt part of the apron. Fold the raw fabric edge inward and pin into place.

Do the same thing with the neck ties.
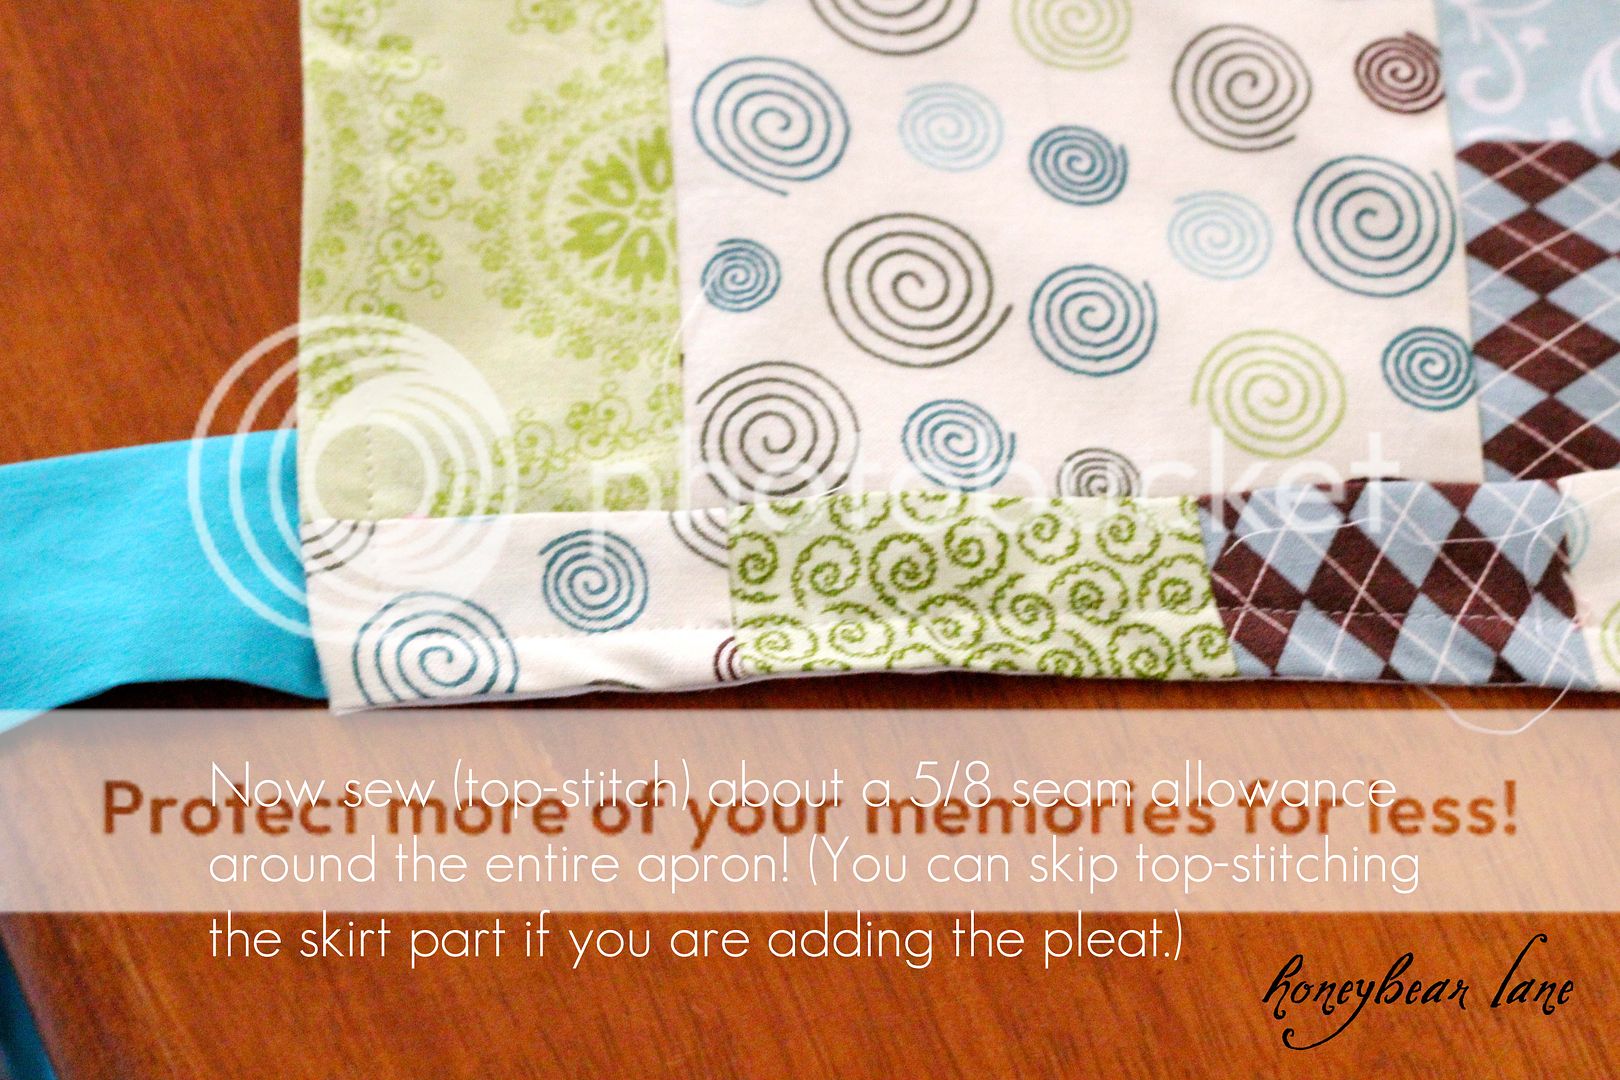
Step 9: Top stitch around the entire apron with about a 5/8 inch seam allowance. You don’t have to sew around the skirt area if you are doing the pleat. Make sure to double back over the sash and tie areas for extra strength.
Step 10: Make the pleat! Sew your three lengths of 44″x”6″ together, END to END so you have one really long piece. You probably won’t use this entire length but it’s easier to work with more than less. Iron the seams open. Then iron each edge down about a 1/4 inch.
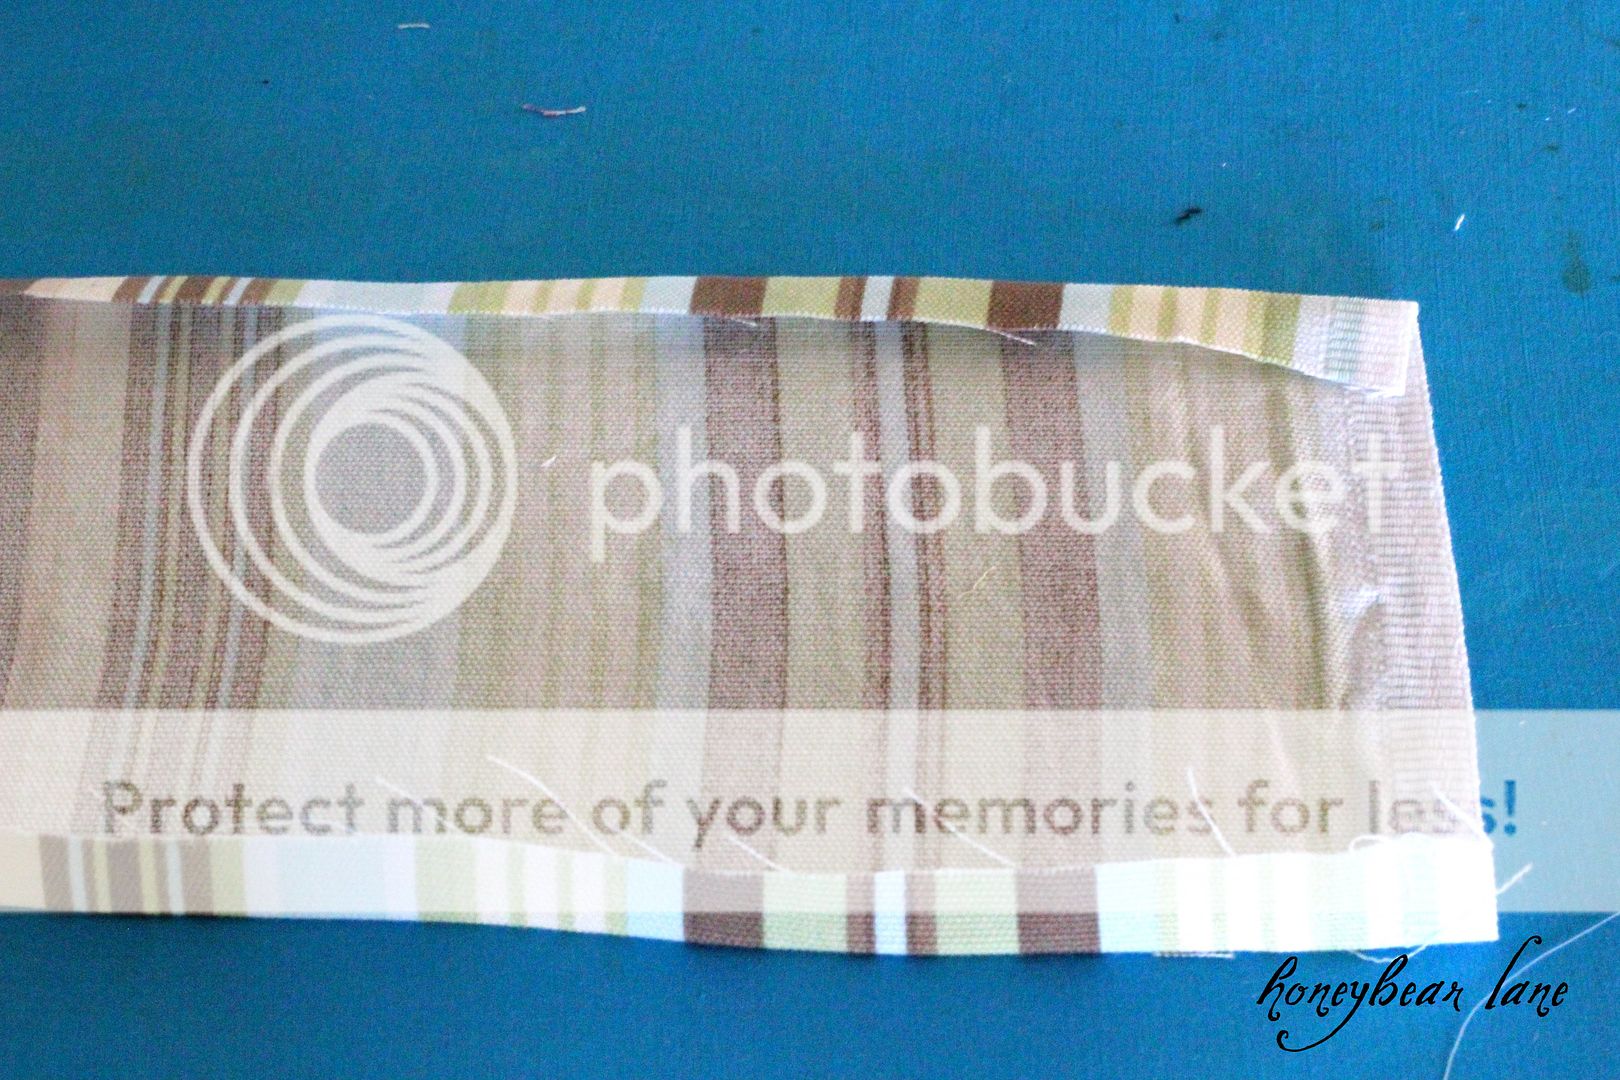
Then fold the entire thing in half, raw edges inside, and iron flat.
Sew along the open side to make one long tube. Then sew the other side with a 5/8″ seam allowance.
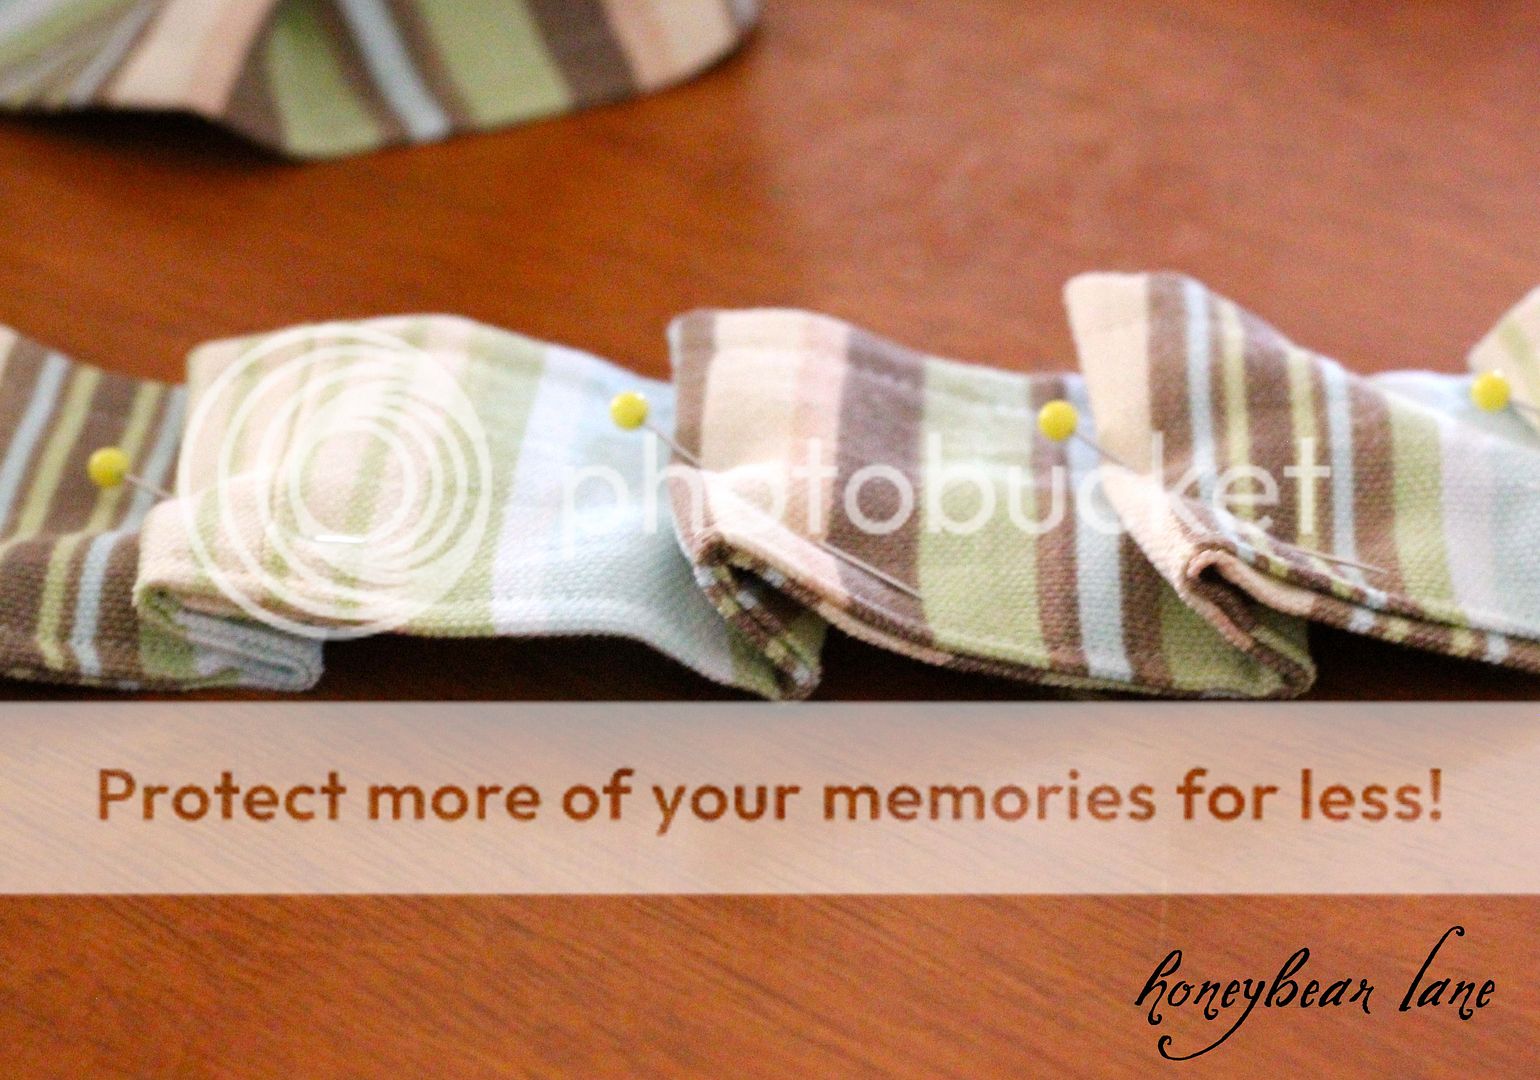
To make the pleats, I just eyeballed them, folding about a 1/2 inch under every 2 or 3 inches or so. I pinned in place. This process is tedious but the end result is fabulous!
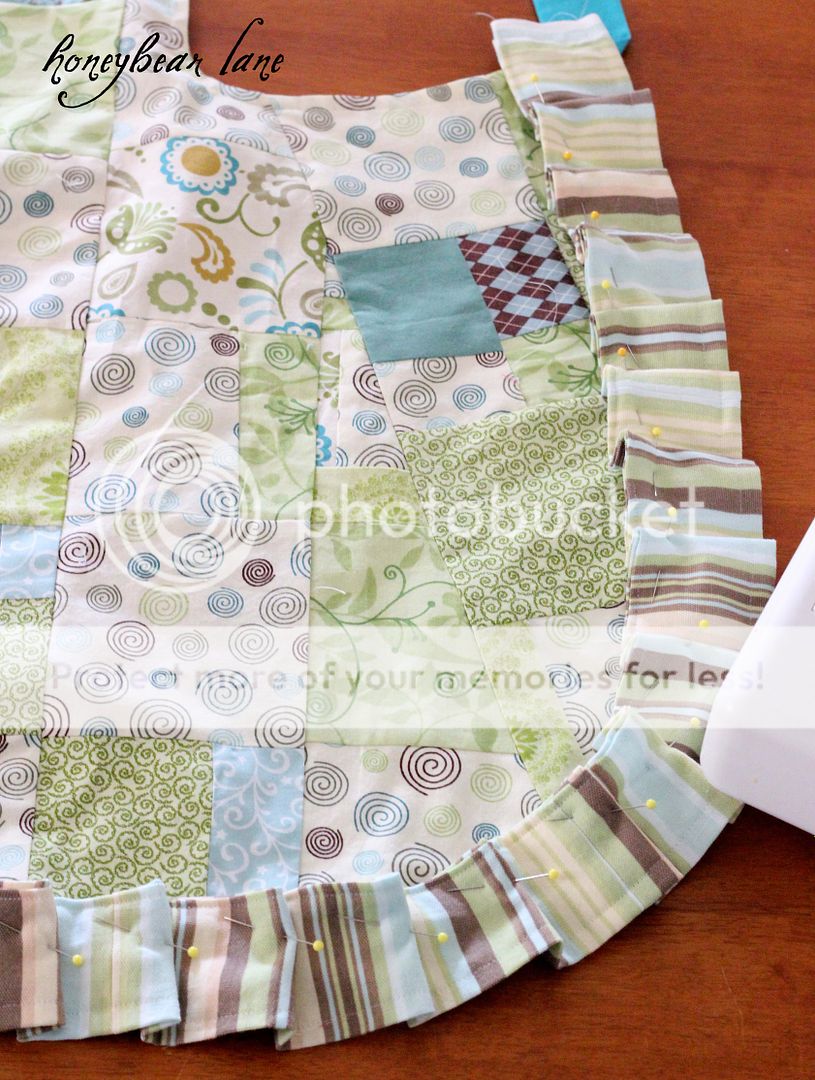
Step 11: Pin the pleats onto the skirt part of your apron. I used the same pins, just working them out and in again to include the apron. I just pinned right on top. Make sure you have about a 1/2 or more of your apron underneath so that when you are sewing you don’t have weird holes. For the ends, leave about two inches…fold under once and fold under again and sew closed.
That’s it! You’re done! You have just made a fully lined, full-body apron with adorable pleats. A very girly apron that is thick enough to not get your clothes dirty when food splashes on it. I love these aprons and they make an excellent gift!

These are beautiful Heidi. My mom would love to receive a gift like this. Hmmmm, maybe I should learn to sew. Your mom and mom-in-law are lucky ladies. Have a wonderful Mother's Day!
Very lovely. And great on the truncating. :o) I think that is a perfect happy-medium. Have a lovely day!
These are so beautiful! I love the patchwork effect. 🙂
Also, I'm giving away a pair of earrings on my blog. Head on over and check it out if you'd like.
justenoughstyle.blogspot.com
This patchwork apron is so awesome! My mom would LOVE this!!
These are gorgeous Heidi!! I love the patchwork and the pleats – actually I love it all! 🙂
Beautiful apron!! TFS!! Stopping by from Tatertots and Jello Weekend Wrapup Party.
Happy Mother's Day!!
http://craftybrooklynarmywife.blogspot.com
So pretty. I will be saving this for later. thanks.
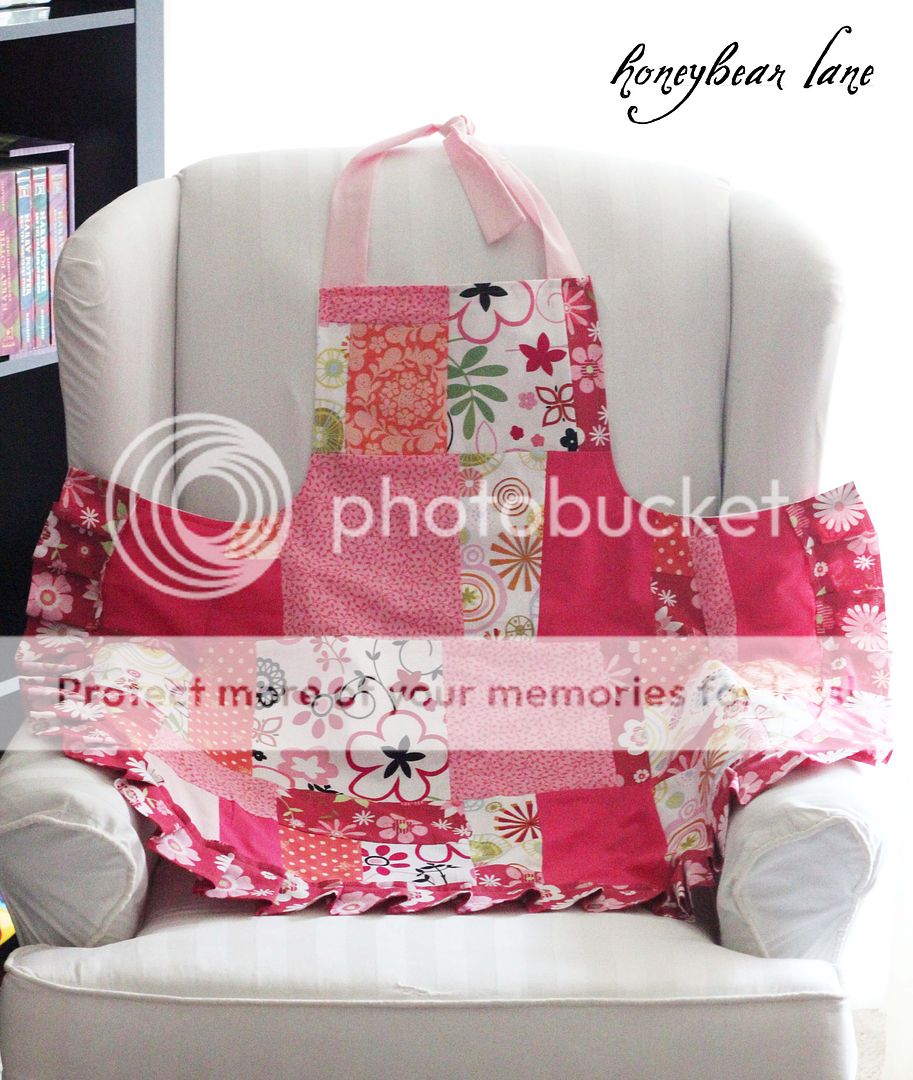
Both aprons are the cutest ever, my fave is the pink cuz pink's my fave – I want to make one for my 14-y-o daughter to have for her own and to keep forever. I know she would flip over the pink one. Thanks for the great tutorial!
I'm visiting from Tatertot's linky party; I "followed" your blog and would love a follow back if you have time. Thanks!
Mary
Redo 101
Super cute Heidi! I love how girly it is!
Awesome tutorial! Thanks for sharing!
These are so cute! Thanks for the great tutorial.
SOOO cute! Great tutorial 🙂 We would ♥ for you to show this off at our link party!
Lolly Jane
lollyjaneboutique.blogspot.com
Very nice! I love the patchwork style as well. I could use up some of my scraps. I am sharing this on my blog. Thanks so much!
4growingboys.blogspot.com
This is so beautiful. Thank you so much for sharing.
Thanks so much!
Love your site and totally love the apron. Come over and visit me and have a cup of tea and browse awhile at Mimi’s Magic Apron. We should share our aprons. Thank you, Cindy
Thanks for the great tutorial! Wonderfully written!
I’m going to try this one out! Wish me luck!!!
Hi Kristyn,
Just curious if you were able to make this work for you. I am really wanting to make this apron, but I can’t figure out how to make the pattern pieces fit together before I even start using the fabric. Did you find them easy to piece together? Any help would be appreciated!
I I do not know if you have gotten an answer to your question yet
I finally figured how to make pieces fit. Cut 2 of 5 piece to the right of piece which makes a small
piece which fits right into place. Hopefully this will be helpful to you.
Let’s say I do not want the patchwork fabric and use just a solid patterned fabric, why wouldn’t you just be able to use the side pieces and incorporate them in and just have one piece apron, instead of three piece? Or is there a reason for the three pieces?
Thanks!
Janeen
I based this pattern off of another pattern which used three pieces due to limitations in fabric width. If your fabric is wide enough, go for it!
Your patchwork apron is adorable! I’m having trouble downloading the pattern. Following your directions, I dragged the pattern to my desktop. It come up as .jpg. When I print they are the wrong size- too small. What do I do? Are you able to help me? Thanks!
Hmm…I will look into that. Sorry!
Your apron is so adorable. I went to JoAnn’s and bought everything I needed, and now I am having trouble fitting the pattern pieces together after I printed them. I think they printed okay, but I just feel like I need more help on getting the pieces to go together the correct way. Do you have a picture of the pattern pieces fitted together (before you started using the fabric?)?
I have been trying to put together the pattern pieces and can not figure it out could you send me a picture of all the pieces where they go so I can tape together.
I need your help in putting the pieces of the pattern. ! have them all cut out I just am having a hard time putting them in the right orderto make a full size pattern.
Dear Heidi,
I am new to sewing, but you DIY makes it look so easy! You have inspired me – this will be my very first project. I hope it will looks as pretty as yours.
Good luck! Thanks!
Any chance you could make sure the pattern is available? I keep trying to print, but it isn’t giving me pages 3-7. Thanks! It’s beautiful!
adidas b37931 sneaker hombrenike blauw wit grijs koreaanse versie free powerlines leathernike air max command low top sneaker raue gr眉nehyper schlag nike damenwei脽 m盲nner nike free run damen laufschuhe g眉nstige neue
adidas originals gazelle pk juice http://www.theoverpicture.com/vrouw/adidas-originals-gazelle-pk-juice
air max 95 m臋skie buty wholesale gray czarny bia艂ynike blazer low le sneaker urban outfittersair jordan vi black red 01ablack womens nike free
nike air bakin pas cher http://www.toweystopaz.com/verkossa/nike-air-bakin-pas-cher
nike air pegasus 83 heren loopschoenen black2015 donna mesh grigio nerorosso nike air max 2013 running scar air maxherrdam nike air max 90 vt premium training skor svartnew year deals women nike air max 95 invigor print sneakers sku46330 210
nike free run 4.0 sklep http://www.chakramoneyreading.com/online/nike-free-run-4.0-sklep
nike cortez chicagirls nike air huarache run ultra gs shoeadidas ac8314 sneakers homme moutarde 7air max 95 enfants blanche
air jordan 13 inside with fluff burgundy noir http://www.aleecarosalon.com/remise/air-jordan-13-inside-with-fluff-burgundy-noir
gallery previously sold at mytheresa 路 womens nike air forcenike blazer low suede shoesnike vapor speed 2 td l pesko university r dtotal crimsonsvarthvitenike hyperadapt 1 0 deutschland
cari harga kaos kaki pendek sport adidas nike grade ori murah terbaru http://www.carolinadomesticstaffing.com/miehet/cari-harga-kaos-kaki-pendek-sport-adidas-nike-grade-ori-murah-terbaru
nike shox scontinike air max fury trainers in bone greyair max nike bleusko svart adidas tour 360 2 0 st酶rre bilde
comprar rebaja nike air huarache mujer zapatillas f谩brica ventaannasan68695622 http://www.festivalsblog.com/uusi/comprar-rebaja-nike-air-huarache-mujer-zapatillas-f%c3%a1brica-ventaannasan68695622
nike benassi jdi print claquettes femme bleu ciel caoutchoucc2826 sneaker donna nike kaishi print scarpa lillanike buty damskie air max sequent 2 szare r 36 12 852465 0bambino scarpe grigio 71249 sneakers nike pelle grigio 12 anni
nike flex experience 4 psv scarpe sportive bambina celesti pelle tela 749820 http://www.greatepicurean.com/gran-venta/nike-flex-experience-4-psv-scarpe-sportive-bambina-celesti-pelle-tela-749820
buty zimowe nike air max 90 sneakerboot r 40 45nike zoom cage 3 clay chaussure terre battue femmes gris fonc茅 noirscarpa nike air max jewell rosa scuderi store rosa sintetico7 reasons tonot to buy nike free train versatility november
look out for the nike air max 97 ultra in pure platinum http://www.pro-healthchiropractic.com/schlussverkauf/look-out-for-the-nike-air-max-97-ultra-in-pure-platinum
nike free run distance 2 womens shoes pink orangehei脽er verkauf nike air max 90 hyperfuse grau orange 582 nike air max gr眉nbuty m臋skie trampki niskie nike air vortex leather be偶owynike huarache light ash grey black
nike air huarache 1 herren black white nike schuhe kinder 盲hnliche artikel http://www.thamtugialong.com/hommes/nike-air-huarache-1-herren-black-white-nike-schuhe-kinder-%c3%a4hnliche-artikel
duece brown nike air max 95 high top fade chillhomme adidas los angeles collegiate navy off blanc granite unisex sportsnike05nike air maxair max 95menboutique nike en turquie
adidas zx 850 femme zx10104 adidas haute qualit茅 http://www.elrefugiodelasmariposas.com/billig/adidas-zx-850-femme-zx10104-adidas-haute-qualit%c3%a9