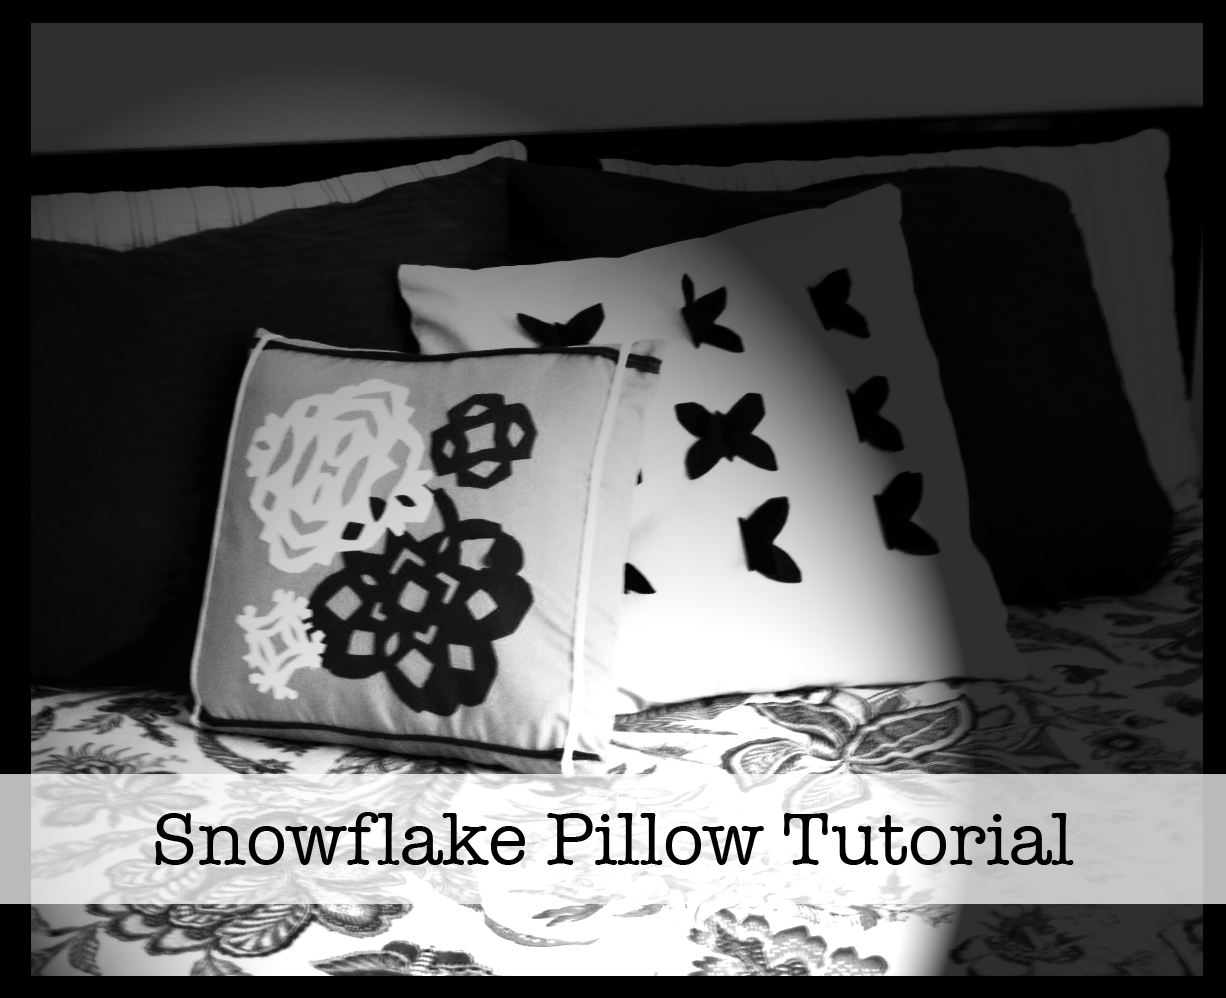
Sharing is caring!
Materials needed:
- At least two contrasting fabrics (I used old t-shirts and solid color cotton) 1 yard for case, 1/2 yard for snowflakes (or scraps…just use scraps.)
- Pillow form (I used an old pillow we already had)
- Iron-on adhesive (like Wonder Under)
 |
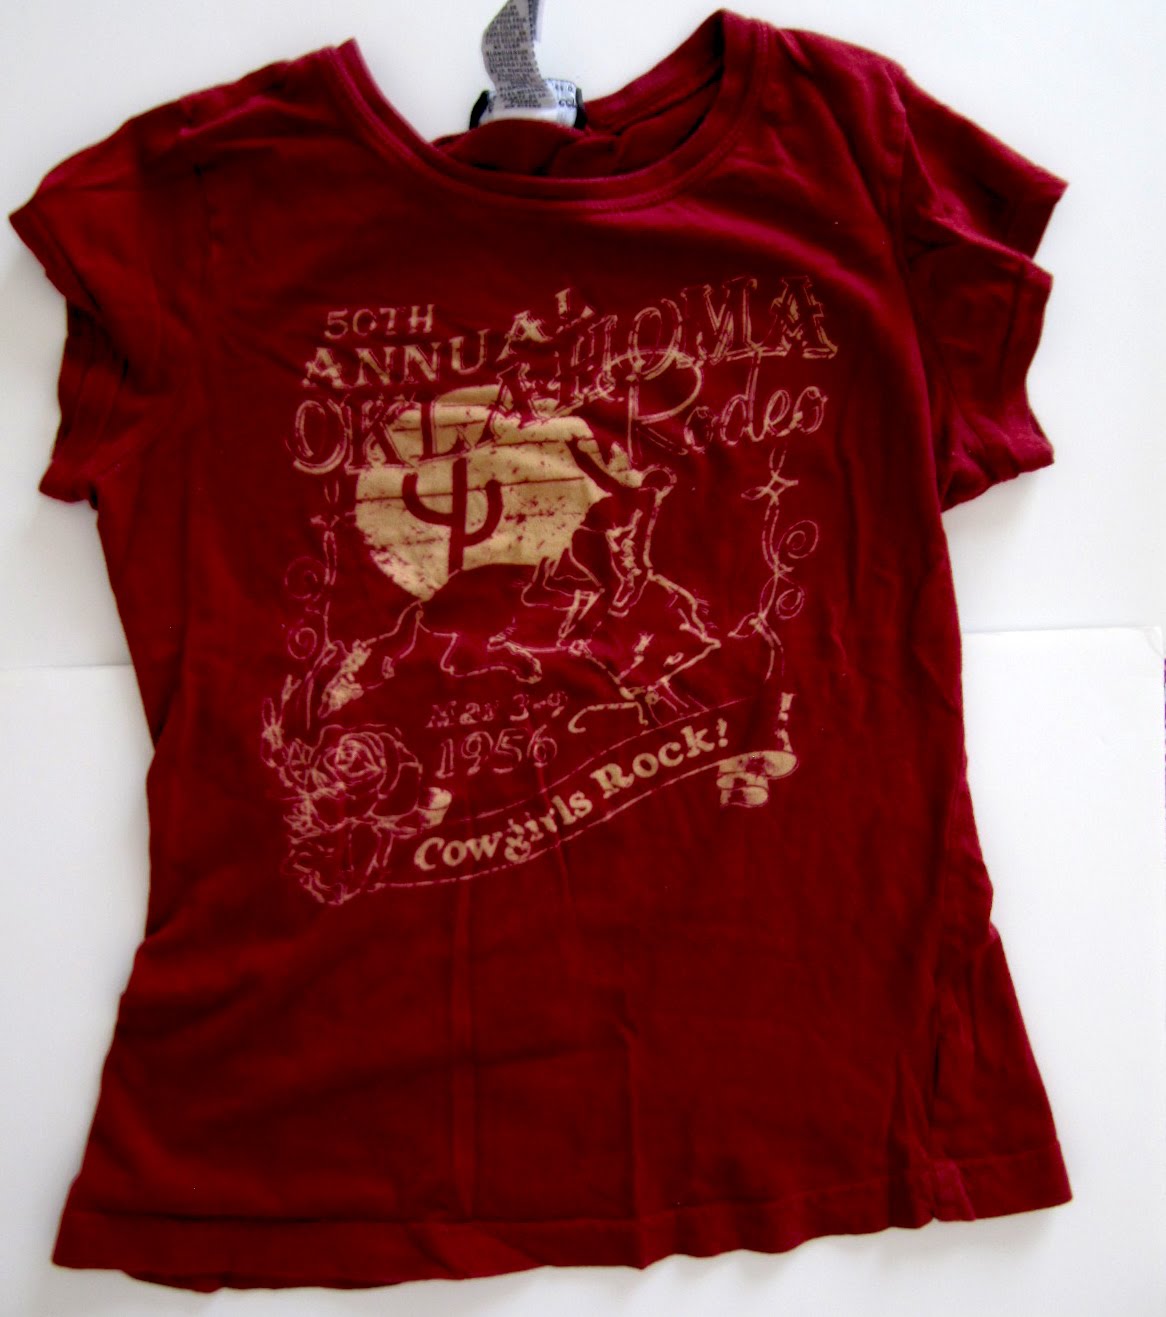
| My old t-shirt (you saw this yesterday…) I just hacked it all up and used the back, saving the graphic side for another project. I ironed the Wonder Under on one side. |
 |
| Step 1: Using your pillow as a guide, cut one piece of fabric (the case part) for the front of the pillow. |
 |
| Step 2: Using that piece as a guide, cut a second piece about four inches longer. |
|
 |
| Step 3: Cut that piece in half |
 |
| Step 4: Using the two back pieces, fold one long edge over 1/4 inch, then a half inch (approximately, I don’t measure. Just make sure the two pieces end up as the same size as the front piece.) Iron the folds down. |
 |
| Moving onto the snowflake part. Here is my pile ‘o’ scraps with Wonder Under on one side. |
 |
| Step 5: Cut your pieces into small squares |
 |
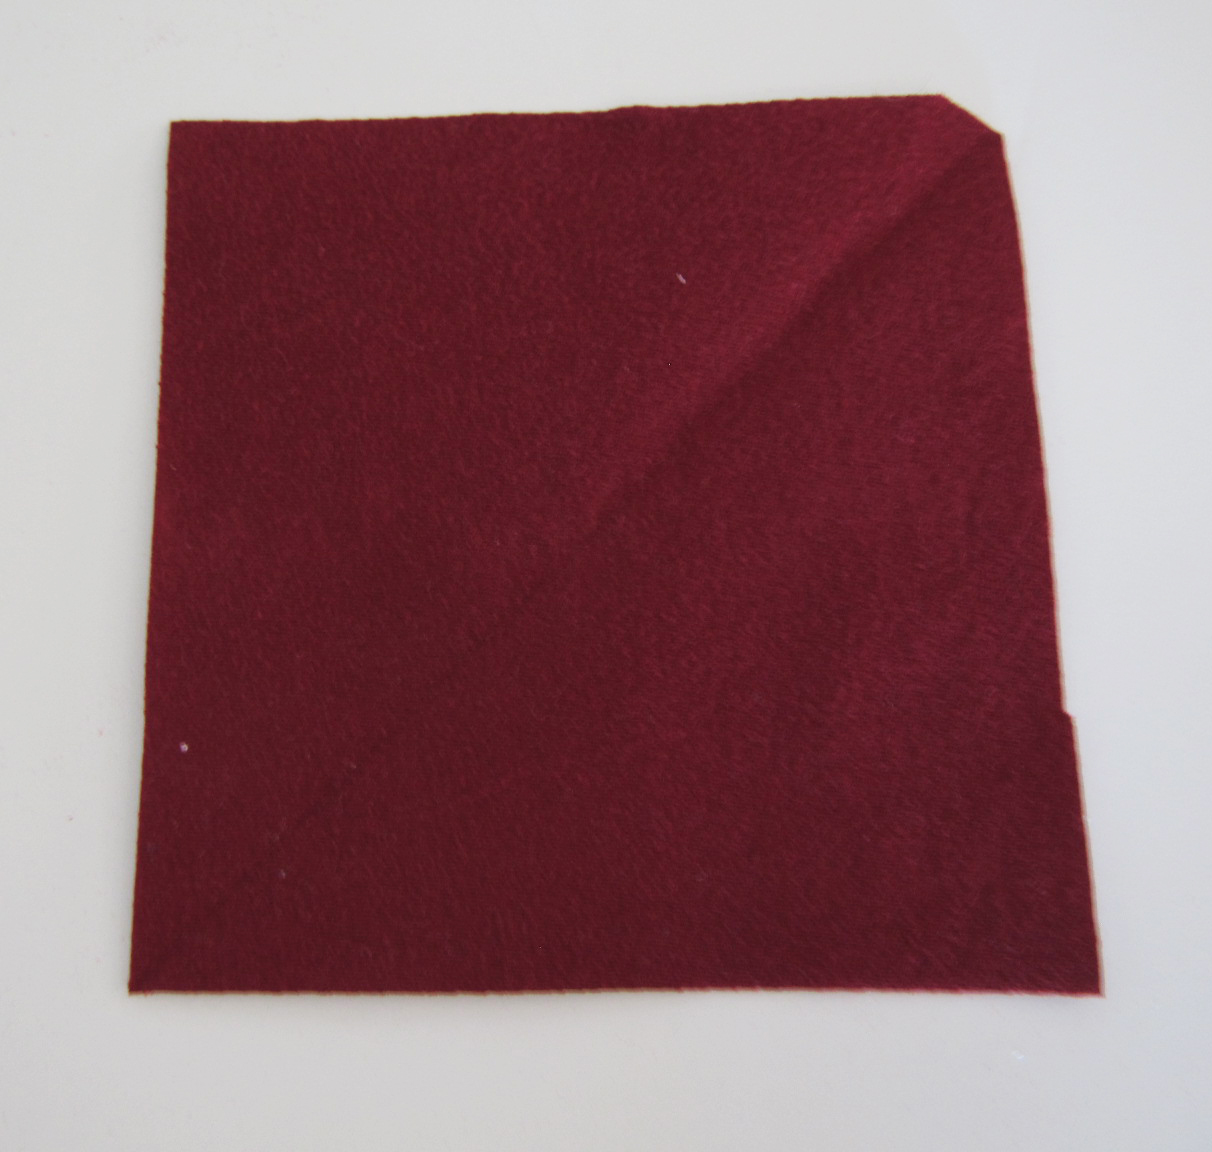
| Step 6: Fold in half, right sides together |
 |
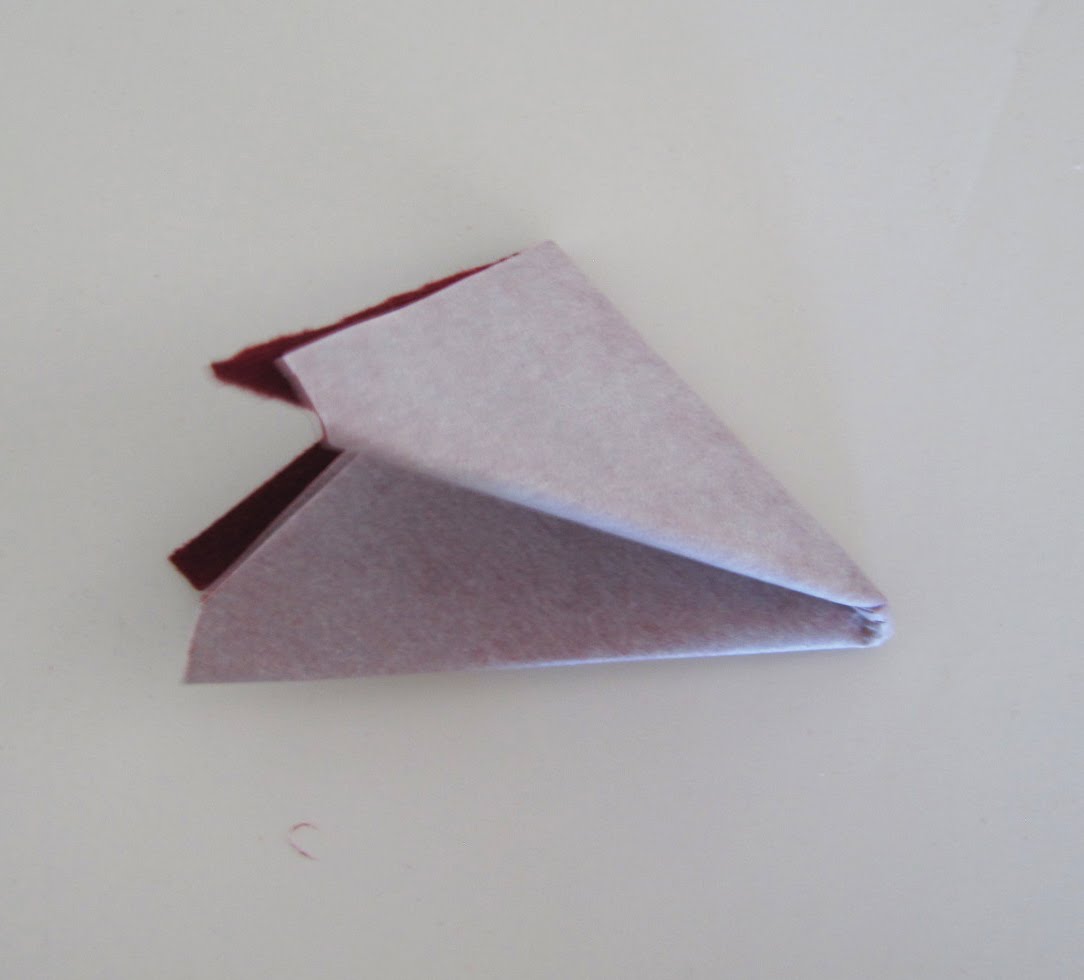
| Step 7: Fold in half again (you know where this is going…) |
 |
| Step 8: ….aaaaand again…. |
 |
| Step 9: Start cutting, like you did back in kindergarten, making snowflakes. Make sure to clip the top of the folds to create some interest. |
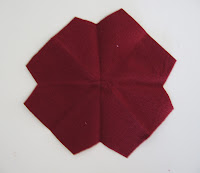 |
| This is what it looks like when you clip it like that. You can also round it out. Heck, do what you want…I’m no snowflake expert. I had to practice on paper first to make sure it didn’t look completely awful. |
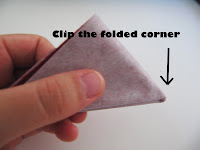 |
| Step 10: Cut in the folded sides, even the unfolded sides. Also clip the folded corner. It looks much better this way. |
 |
| Here is my snowflake. I actually changed it a little after unfolding it. Whatever…I do what I want! |
 |
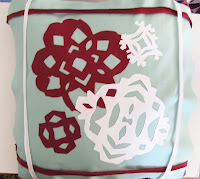
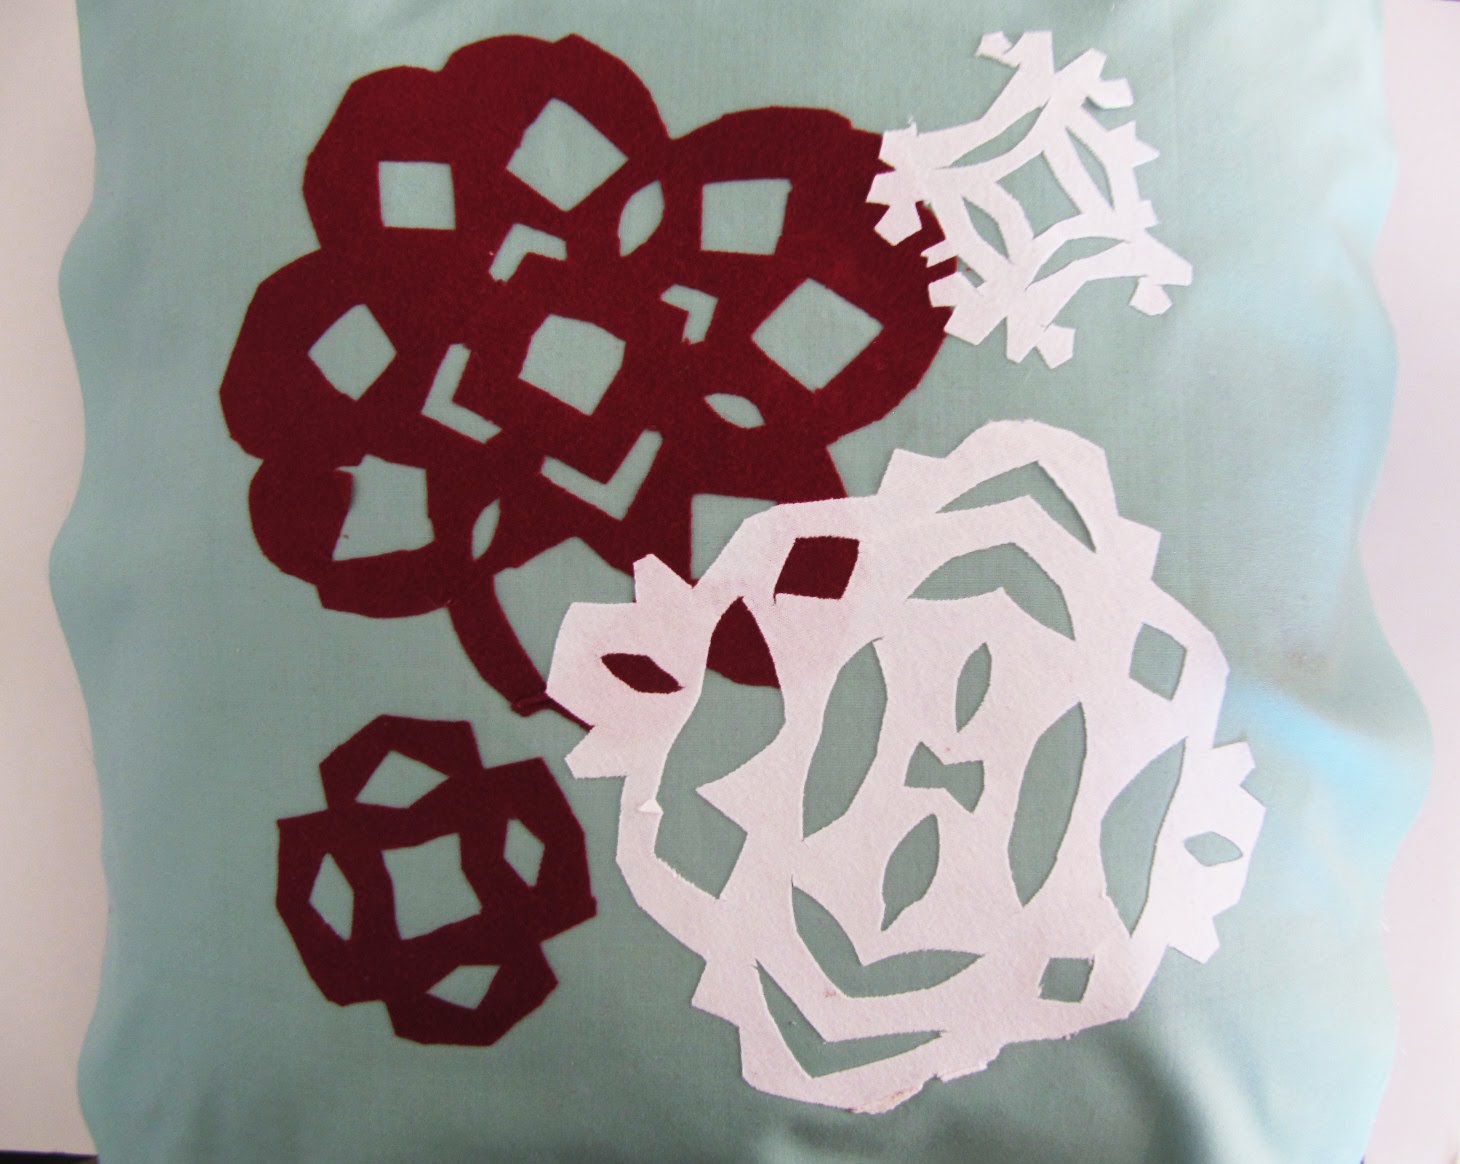
| Step 11: Finish cutting out the rest of your snowflakes, then lay them out on the pillow top to see how you want them arranged. Make sure to do it on the pillow so you can really center them. And then iron them on…ironing one at a time, leaving the iron on the fabric for about 3-5 seconds so it can bond. |
 |
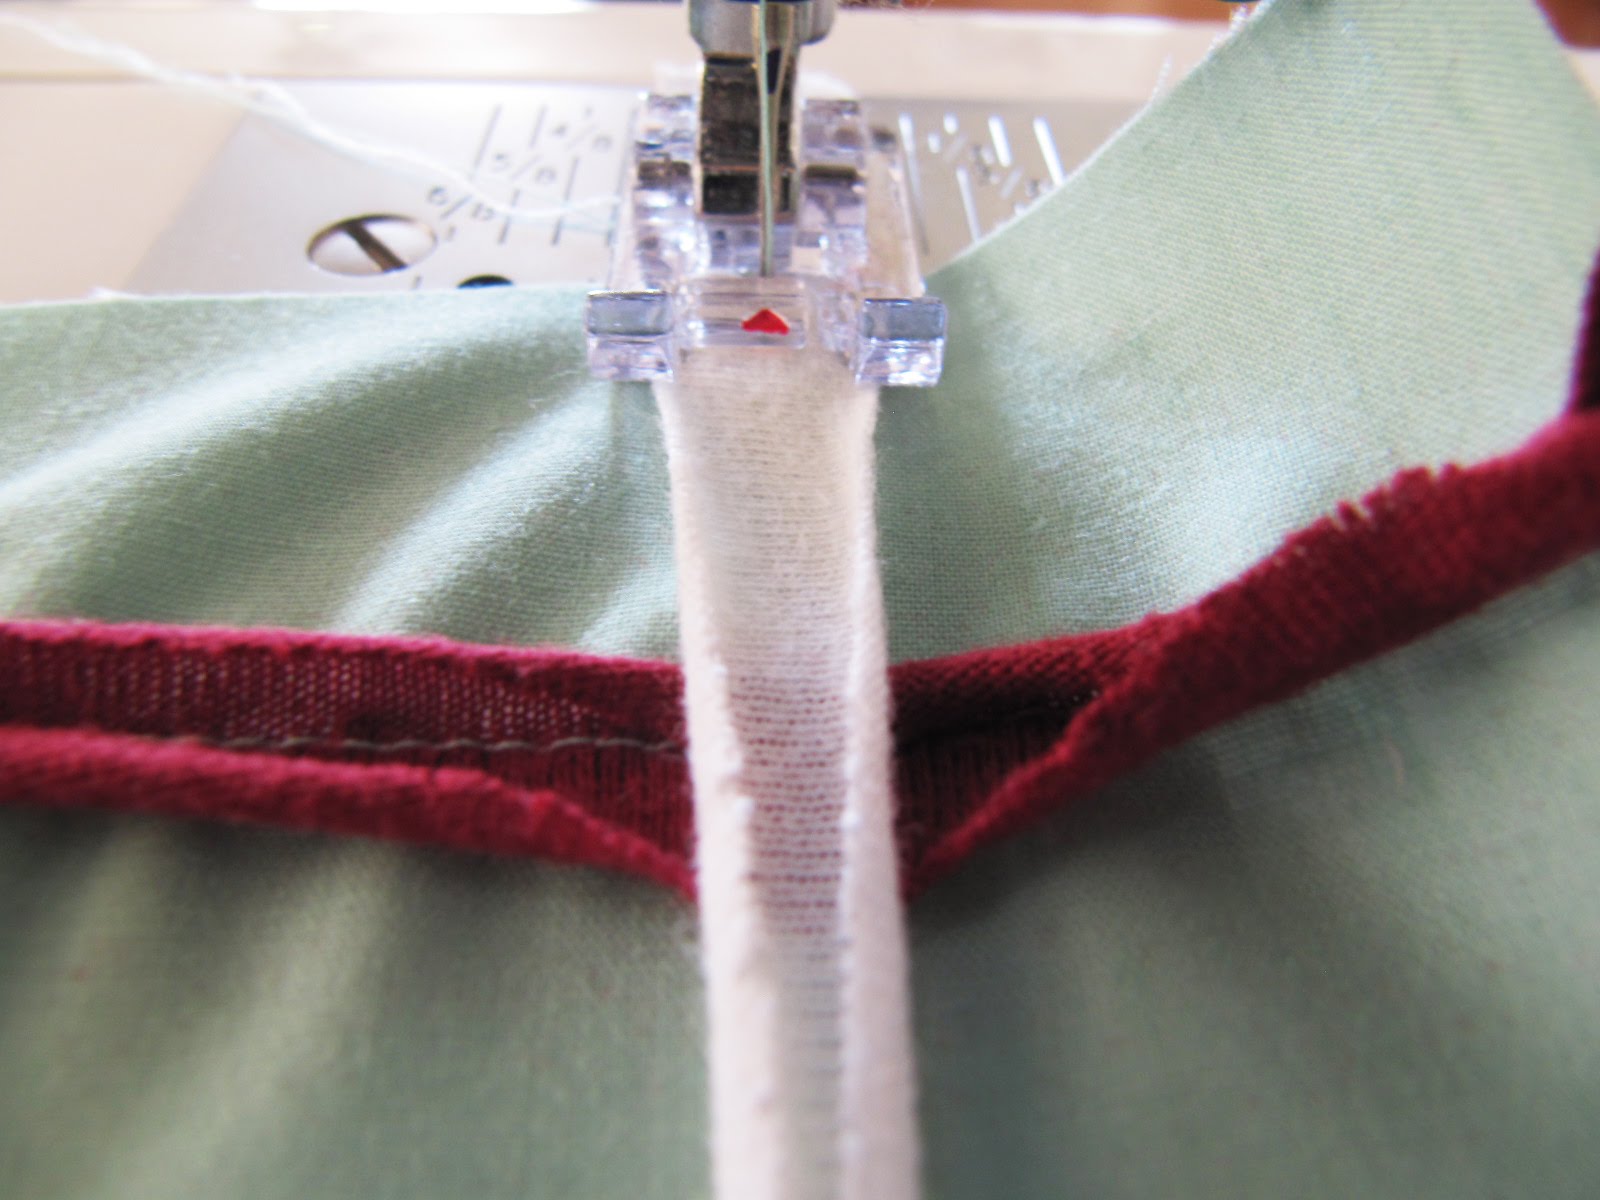
| Step 12: You can leave it like that. But since I was using a knit fabric, I wanted to do this step. It doesn’t work the same with cotton. If you like the border, cut some 1/2 inch wide strips from a knit fabric. Stretch the strips so they curl. The arrange the strips on the pillows how you like, curl side up. |
 |
| Step 13: Sew the strips down, pulling the fabric as you go so that it stays curled up. |
 |
| Step 14: Lay right sides of your pillowcase together. Since the back side is two separate pieces, lay the hemmed sides one on top of the other. Pin in place. Sew around the entire square, with a 1/2 inch seam allowance (approx.) |
 |
| Step 15: Turn inside out by the natural slit you made in back. |
 |
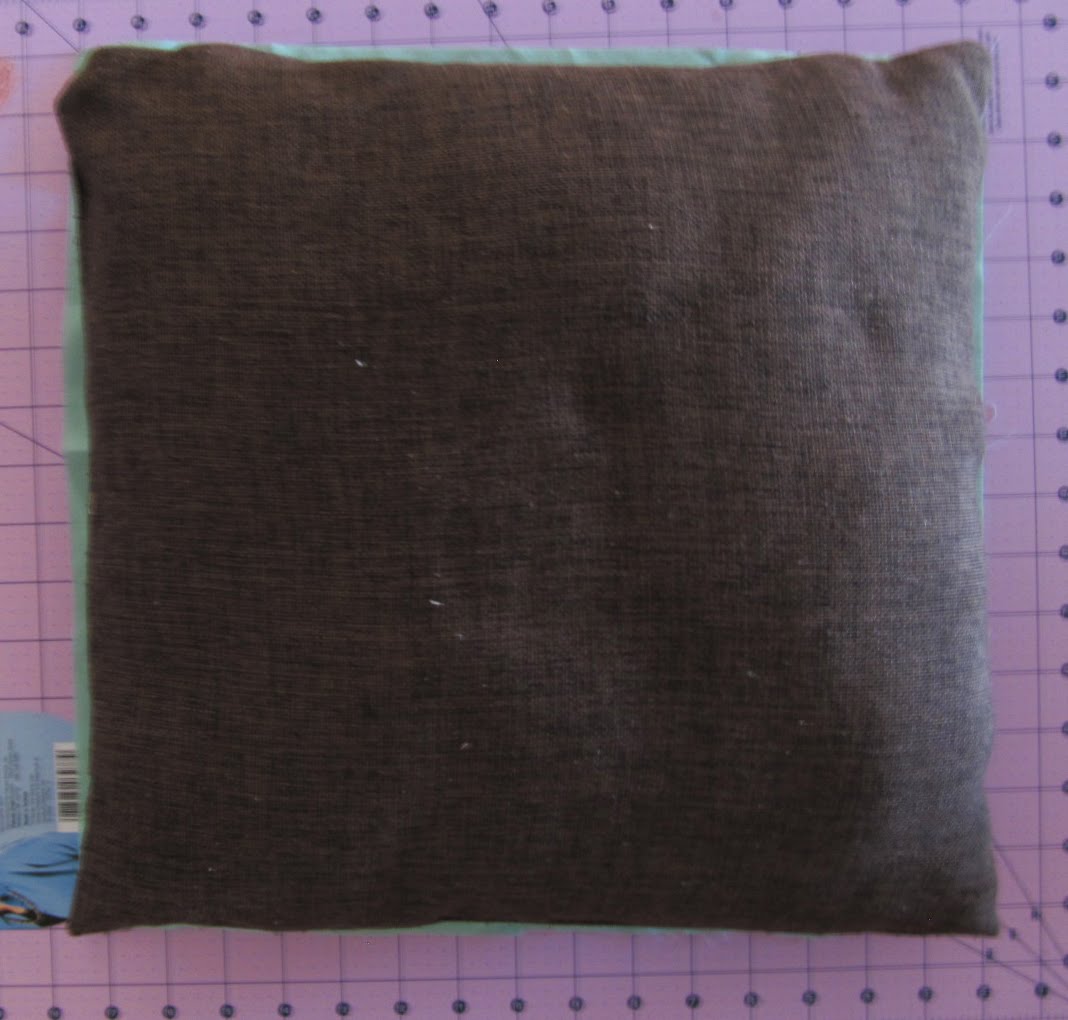
| Step 16: Put your pillow insert in the case. Aw, so cute. Go put it on your bed and admire. Or, if you’re like me, go make your bed and THEN put it on your bed and admire. |
|
Who wants to make this and post it to the Honeybear Lane Flickr? You, you, and YOU!


Wow, this is such a great use of some old tshirts! Thanks for the creative idea! I might have to try something like that soon. I love the snowflakes!
That is so adorable! I love it! Thank you so much for the tutorial!