Sharing is caring!
Enter the Mama Stellato Giveaway HERE
***************
So…there’s something I need to tell you. You were bound to put it together anyway. I’m poor. Hopefully that won’t last forever, but my husband is going to grad school which costs a fortune, so that’s our story. Anyway, since we’re poor, we don’t own a house. No house translates to smallish apartment + 2 kids & a whole lotta crap = always finding ways to utilize space! Whew, that was a mouthful.
Every room in our apartment serves a dual (sometimes triple) purpose. The master bathroom is doubling as the kids bathroom (this requires a whole other explanation.) So our bathroom has things like a baby tub and a kiddie potty in it. Long story short, this was our laundry solution:
We needed that space to put the tub/potty so I came up with an idea to make some laundry bags that hang on the wall above. Creativity wins again! Now onto the tut, sheesh!
(“When will she just shut up?”)
Supplies
(makes one bag)
- 1 yard of fabric of your choosing
- 1 yard of muslin, equal width (you can get shorter width but you’ll have to use more yardage.)
- Drawstring and clippy thingy…not sure what it’s called. Something to hold the two strings together.
- Scraps of muslin
- Hooks to hang bags on wall
 |
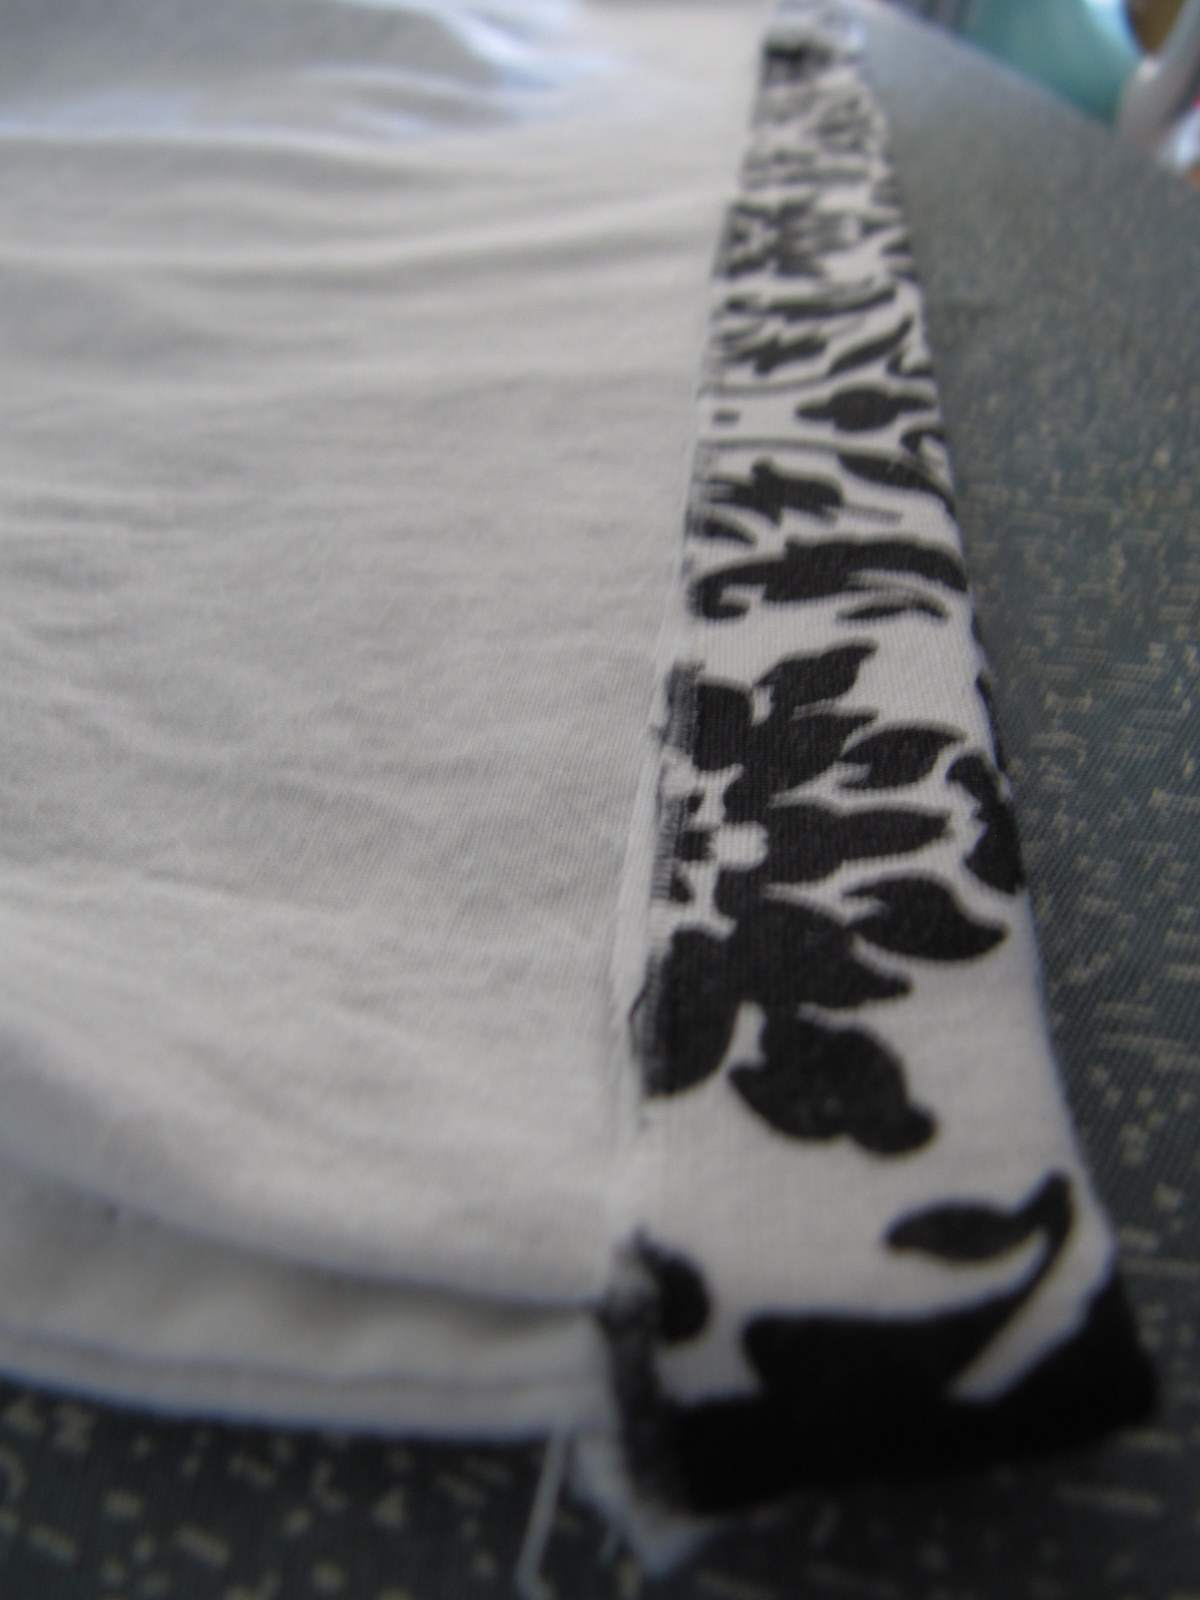
| Cut your two fabrics in half, lengthwise. You will have four pieces of fabric. Put the fabric and muslin together, like this. We are creating one piece of fabric essentially. Now you should have two ‘pieces.’ Put those pieces right sides together. Sew three sides (two long sides and one short side.) |
 |
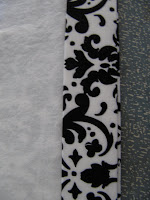
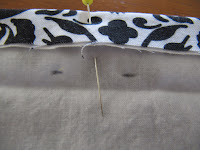
| It should be looking like this. Clip the seam allowance fairly close to the seam. This doesn’t ‘seam’ right? We are going to create a French seam, which is one of my favorite ways to finish seams. |
 |
| Turn your bag inside out, so the finished seam appears on the muslin. Iron it flat. |
 |
| Now sew about 1/4-1/2 inch seam allowance around the edge of the finished seam. You can feel where the raw seam is on the inside, just make sure your new seam is enveloping the raw edge. If you make a mistake, you can always go back and sew with a little larger seam allowance. |
 |
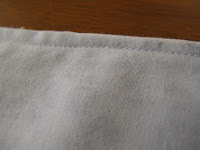
| Now this is what it will look like on the inside… |
 |
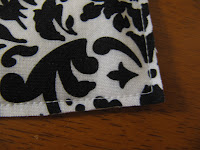
| And this is what it looks like on the outside! Yay! No need for a serger or zig-zagging. |
 |
| To finish the top, fold down the top edge 1/2 inch and iron |
 |
| Fold down again about 1 1/2 inch, iron. But don’t sew it down yet! |
 |
| Find the middle of your bag (fold it in half) and put a pin in it. |
 |
| Now unfold it and replace your pin like this. We are going to create button holes for the drawstring. Mark where you would like your buttonhole to start. |
 |
| Sew your buttonholes on the inside where you marked. The marking will be the bottom of the button hole, so put your needle right in the marking. Let your machine sew right over that 1/2 inch fold. Open up the holes with a seam ripper and fold the fabric back over. |
 |
| Get your drawstring ready. I just stole this one from my old laundry bag. I’m going to save the bag for another upcoming project! |
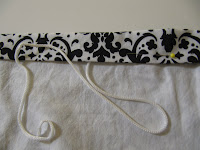 |
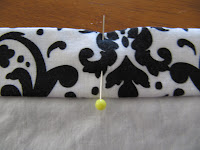
| While you have the option of sewing the fold down and then feeding the drawstring through with a safety pin, I preferred to do it this way: tuck the drawstring up in the fold and pull it through the button hole on either side. |
 |
| You can put pins in it to ensure the drawstring stays put while you sew the fold down on the bottom edge. Now sew the bottom edge! |
 |
| To create the hanging loops, take some scraps of muslin and make bias tape by ironing down all sides and then ironing in half. Sew down the fabric. |
 |
| Find the spot where you want your loops and pin the loop in place. |
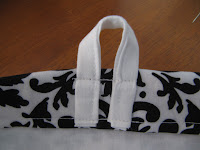 |
| Stitch below and above |
 |
| You can be done at this step, or you can go on to the next optional step. |
 |
| Turn your bag inside out and fold down the corner with the seam going down the middle |
|
|
 |
| Find the spot where it measures about 6 inches across. |
 |
| Stitch a seam and do the same thing to the other side. This will make it so your bag ‘rests’ and has a flat bottom. |
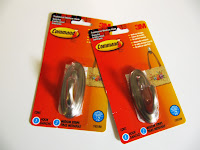 |
| Get your hooks and put them in the wall. I just used these sticky Command hooks. We’ll see if they hold up. |
 |
| These pictures are terribly washed up because our bathroom has no natural light in it. |
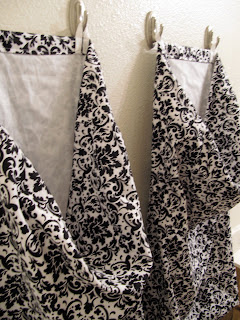 |
| These are SOOOO much better than those ugly mesh bags. Plus they free up the space below! I’m planning on putting some cute plaques above them to label the whites and colors. |
Who wants to go pretty up their hamper?


I love, love, love those Command hooks, too! This is a great idea – thanks for the tutorial!
I love that fabric! I have the same sorter you were using before…mine is usually jammed full of clothes. Can the bags hold a bunch?
Very cute! I've been trying to come up with a cute laundry holder for my kids room. This may be the answer.
SOOO Cute! I LOVE it! We have a same sort of area in our bathroom that I wanted to put a cabinet (where the drawers came out to expose hampers. BUT that would mean either we couldn't get into our bathroom or out of our closet..not a good option! Now I can utilize that "dead" wall and make a lovely home for our laundry! I am totally making these! Now the hunt for some amazing fabric!
Thanks for posting this tutorial! Simply amazing!
Love and Hugs, Jess
theplannertheprocrastinator.blogpsot.com
PS. I think we are all poor these days for one reason or another. But I like that we are forced to think outside of the box and come up with other solutions!
I love this! I've been trying to come up with a way to get my boys laundry baskets more compact and out of the way, this will be perfect!!!! This idea would also be great for my tiny laundry room. Thanks so much.
I really like the idea and the fabric is probably my favorite part! 🙂
I believe that the plastic piece is called a toggle.
this is exactly what i've been looking for…right down to the fabric too!!
love it! thanks!
so cute!
This idea is too cute, I’m gonna have to try it. I have the same sorter you started out with and it’s too big for my laundry room and now it’s breaking so thank you, thank you, thank you for a great idea.
Stacy @ CreatingSweetSmiles.com
I also have the same sorter and the bags are all stretched out and falling apart. I’m wondering, though, how the command hooks have held up. I wasn’t very happy a little while ago when I used the hook and loop command tape to hold up a picture frame (following the instructions carefully), and it fell off the wall, breaking the picture frame and ripping paint off the wall that I had JUST painted! So, I’m hoping you had a better experience and it’ll work better for us. Thanks!
The Command hooks I’ve used have worked great…never had a problem. Sorry about yours! I used the ‘fancy’ ones that are silver and supposed to look like real metal hooks.
Love this idea for a small bathroom!! I bought an extra shower curtain and made a laundry bag from it so it matches the girls bathroom… plus there are holes at the top for you to thread the drawstring through!