CWTS Round 1 Tutorial!
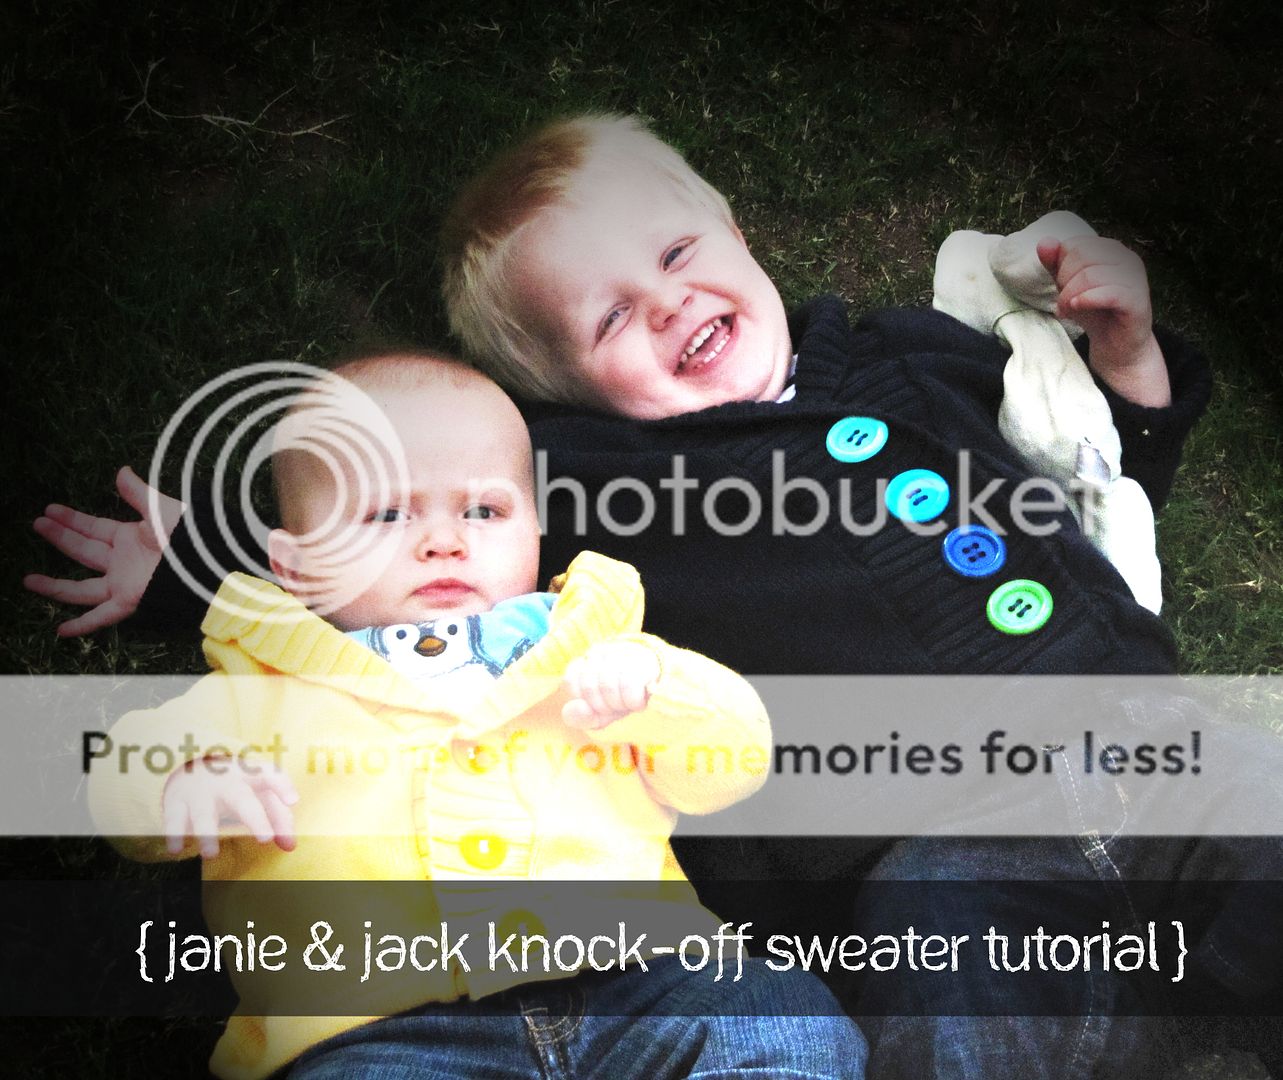
First off, I just want to say that I’ve been having a blast being a competitor on Crafting with the Stars. After seeing the other entries for Round 1, I was convinced I was out! But fortunately I am continuing on, so thanks for your votes! And now here is the tutorial for my entry: Janie & Jack Knock-Off Sweaters.
For this project I used:
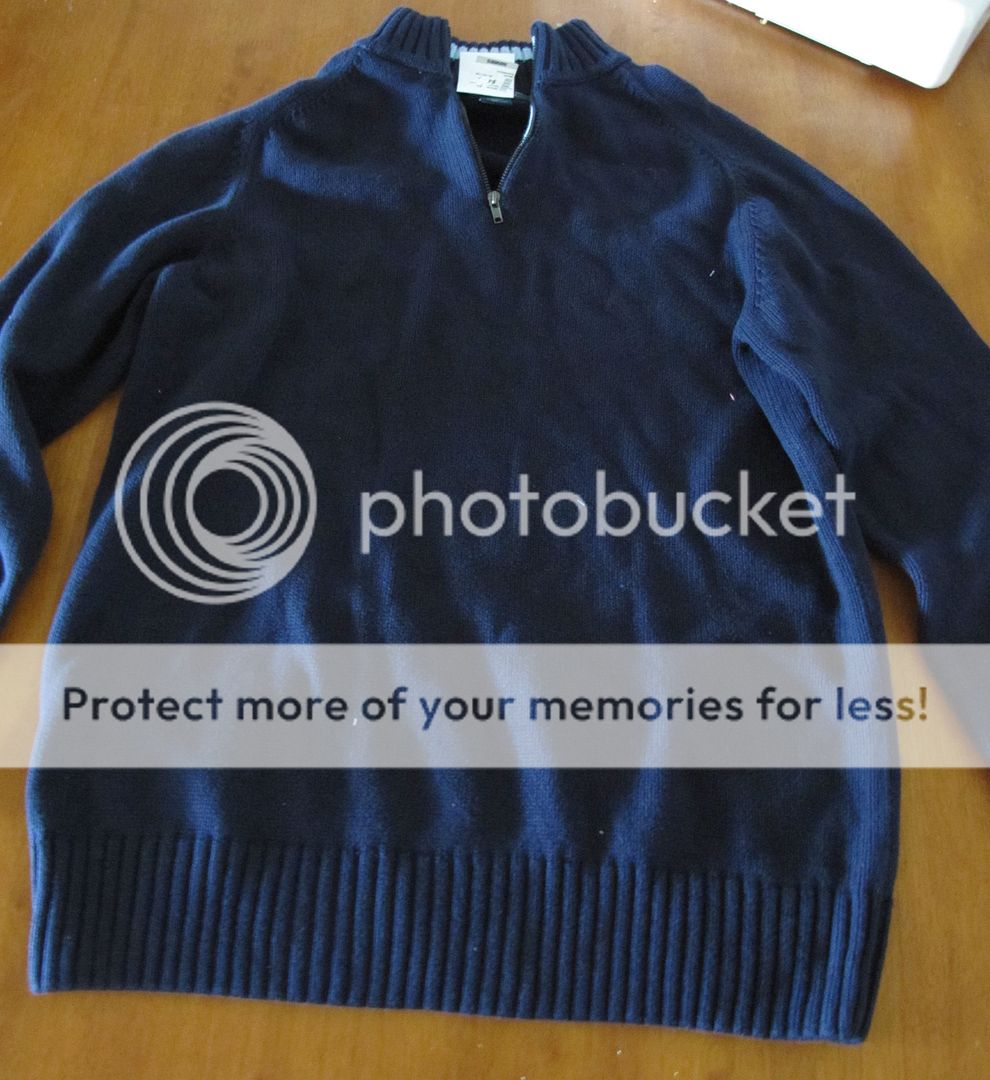
An extra large old men’s sweater from Savers (my husband is very attached to all his sweaters he never wears and wouldn’t let me cut them up.)
Buttons! I love buttons.
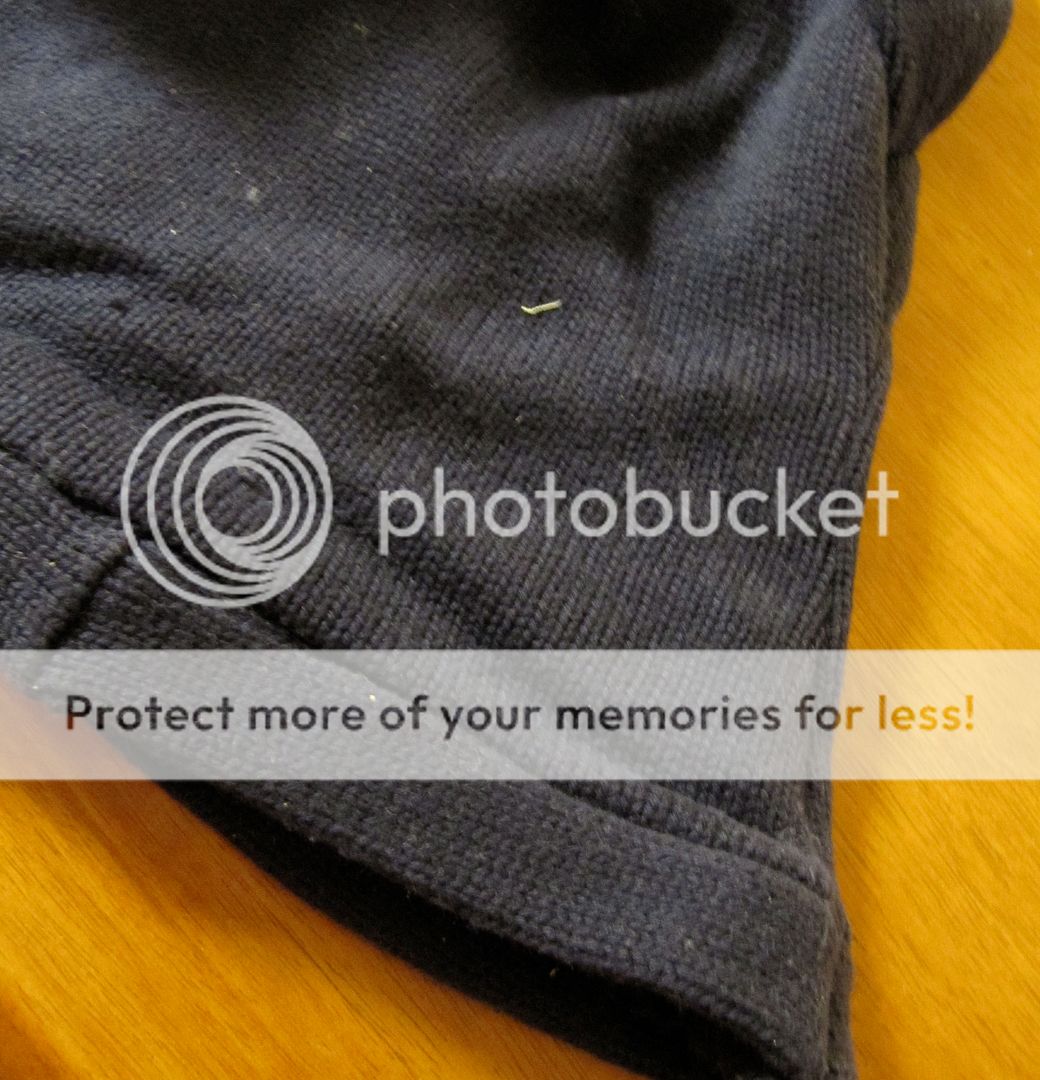
Here is the sweater I used…
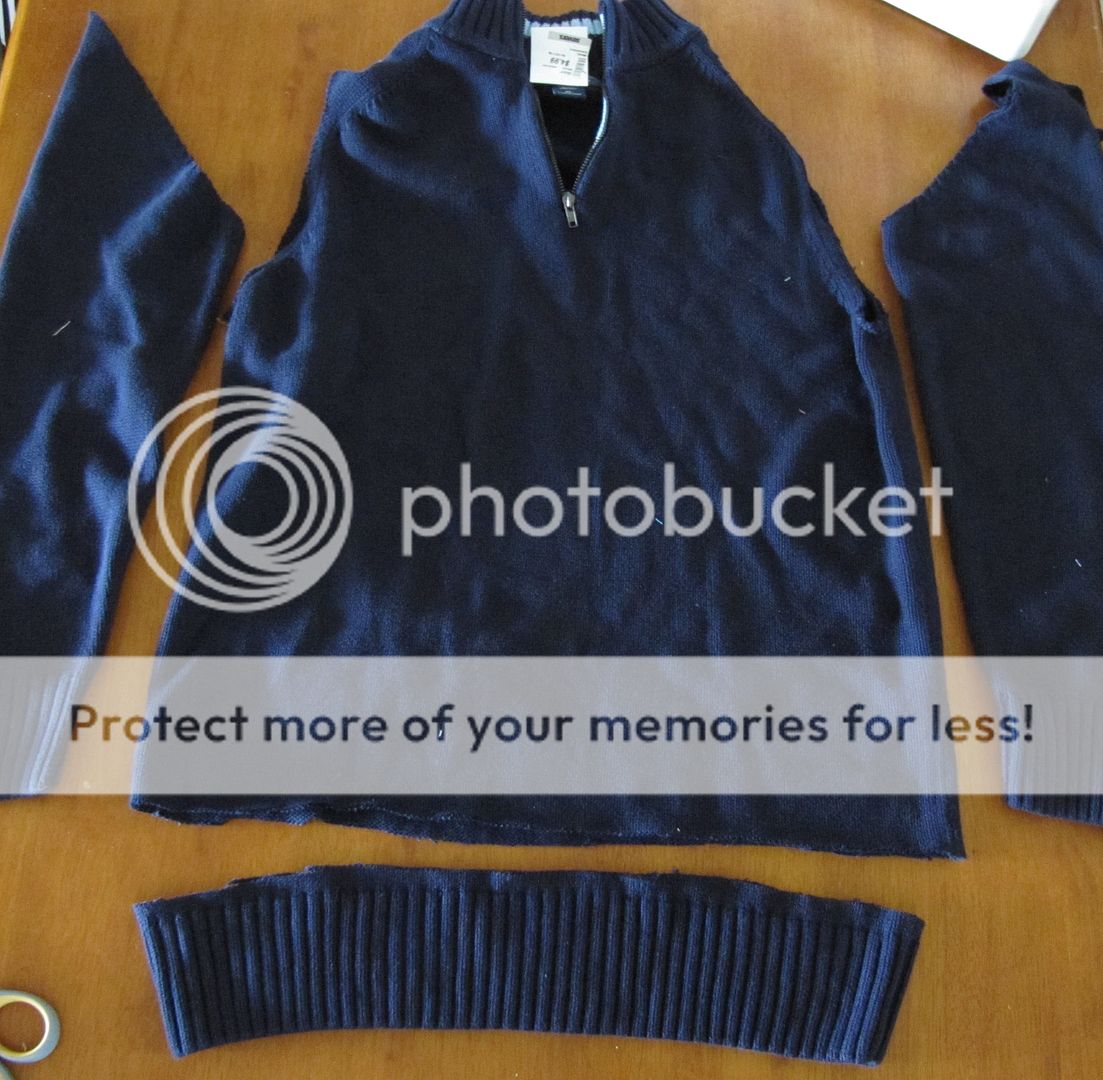
Make your cuts like so…
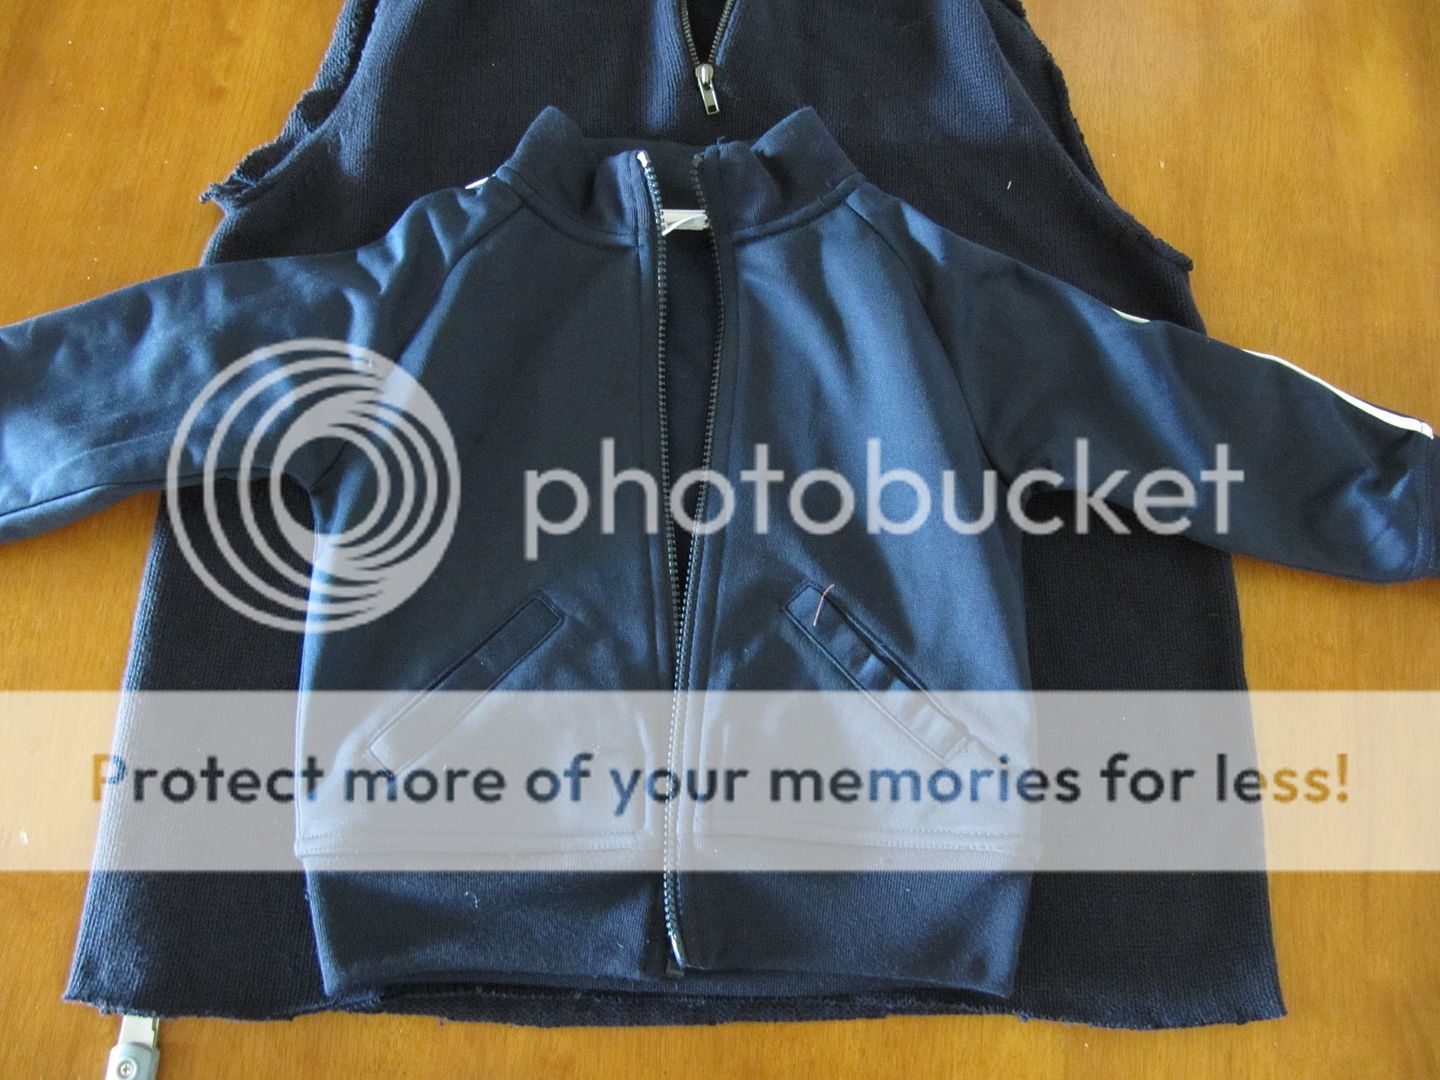
I used a jacket my son had as a basic sizing/fitting guide
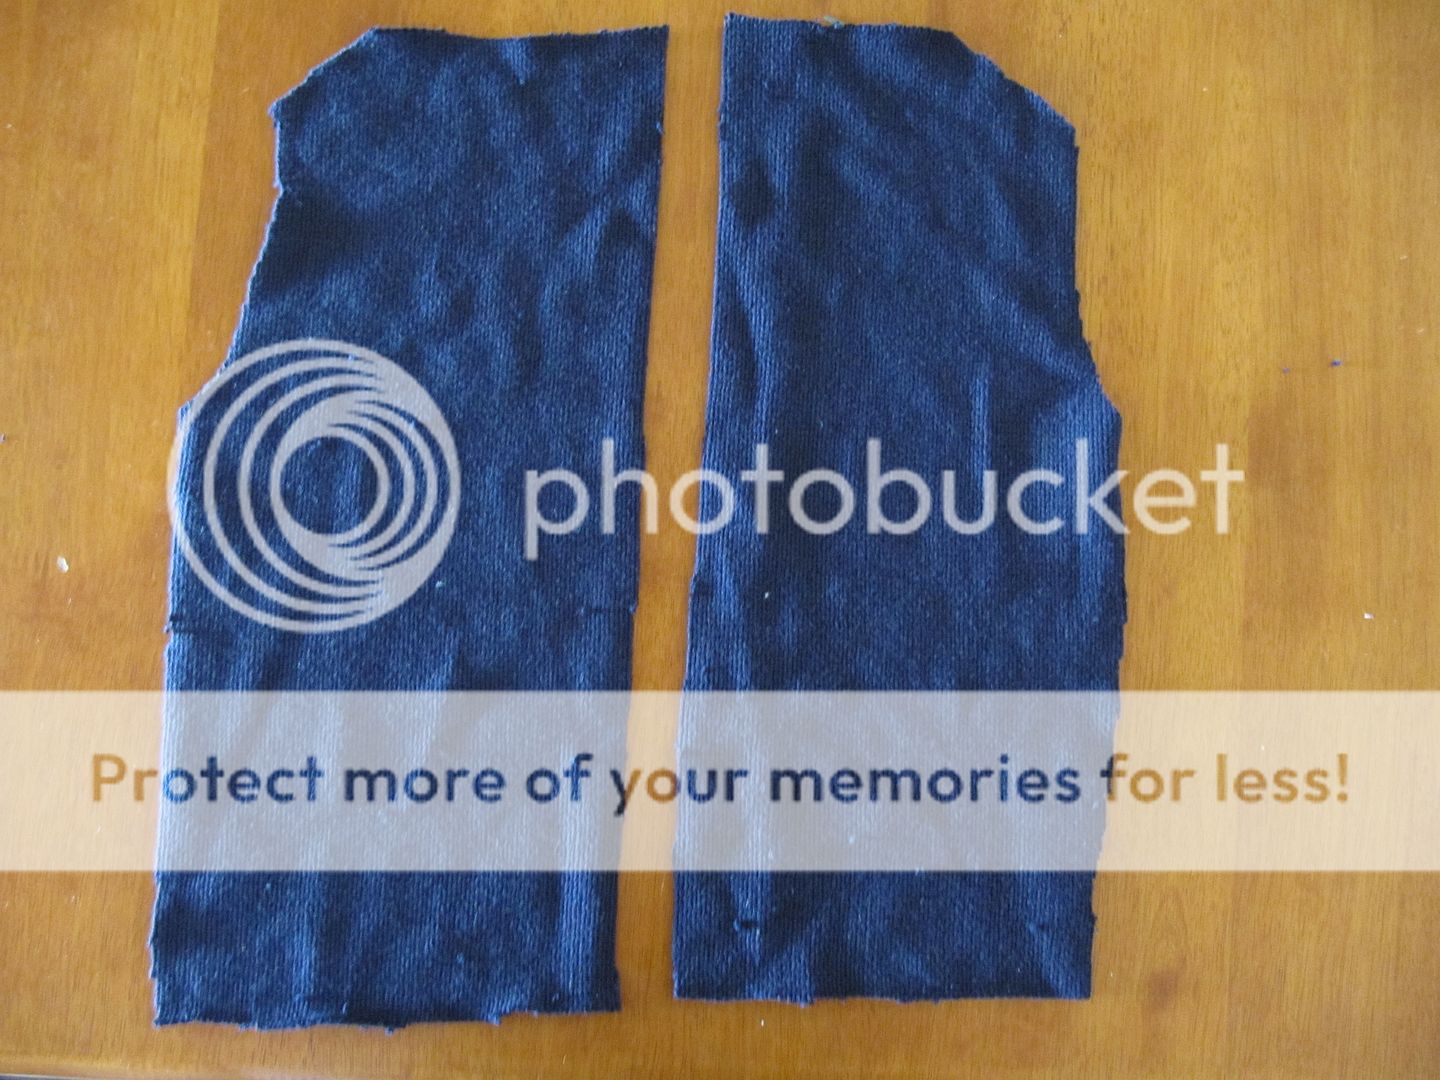
I cut out two layers in the big middle part for the front and back of the sweater
Cut ONE of the layers in half like this
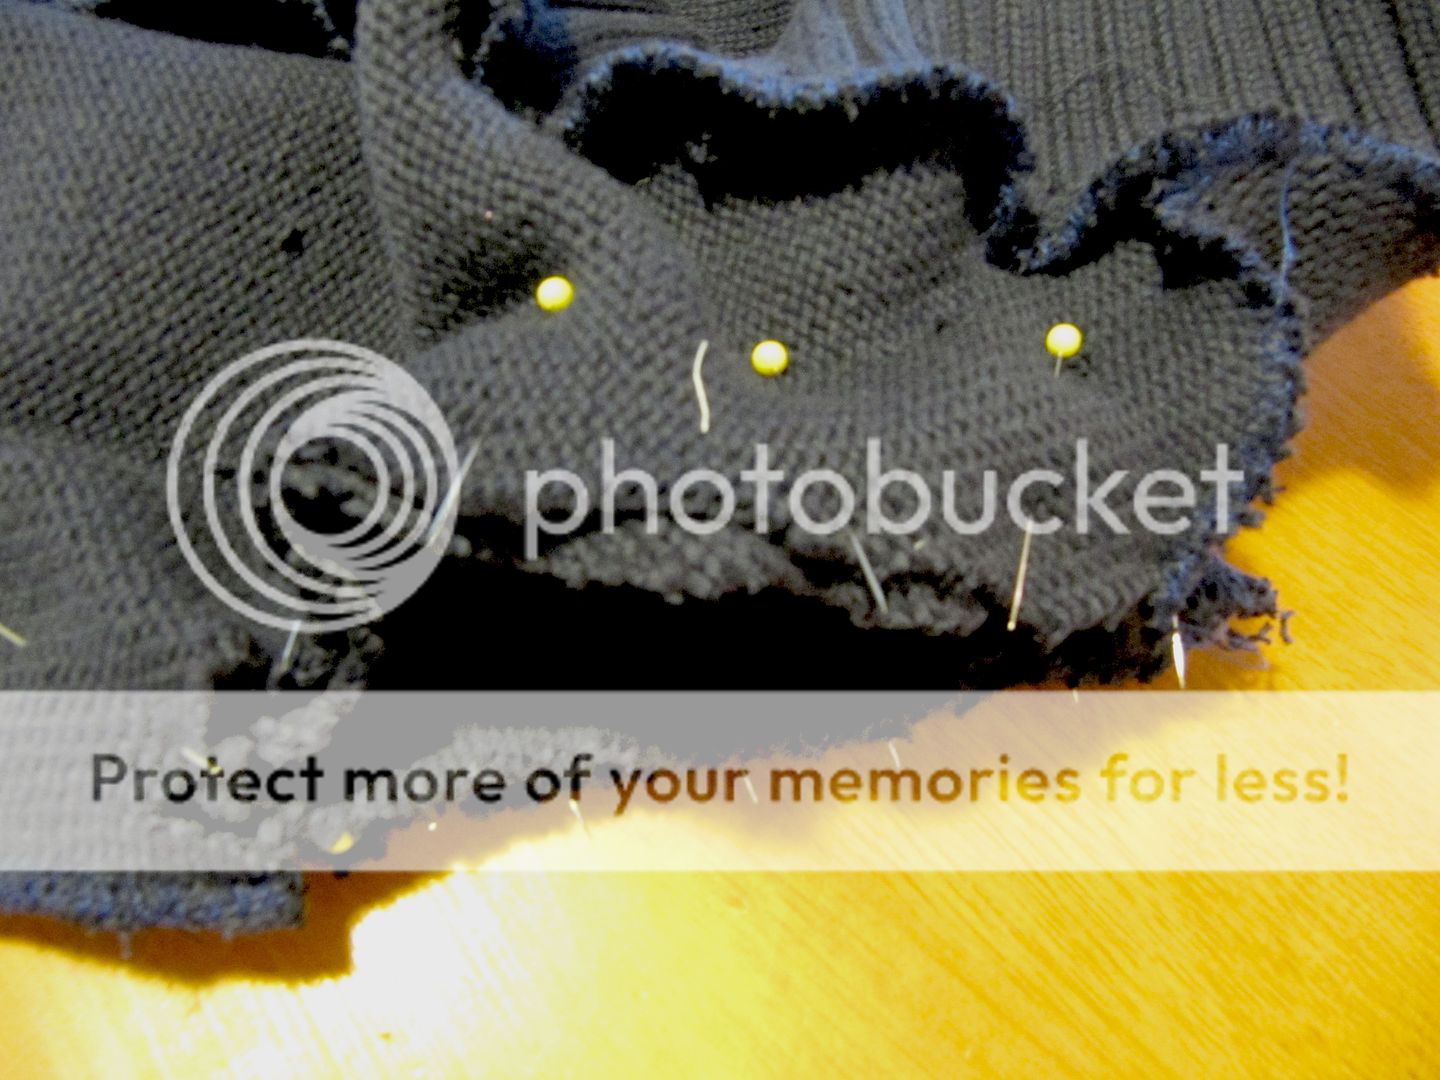
Then pin the sides and shoulders, right sides together. The sew where you pinned. Don’t sew the armholes or neck hole closed! I also strongly recommend finishing the seam since sweaters fray like crazy when cut in certain directions.
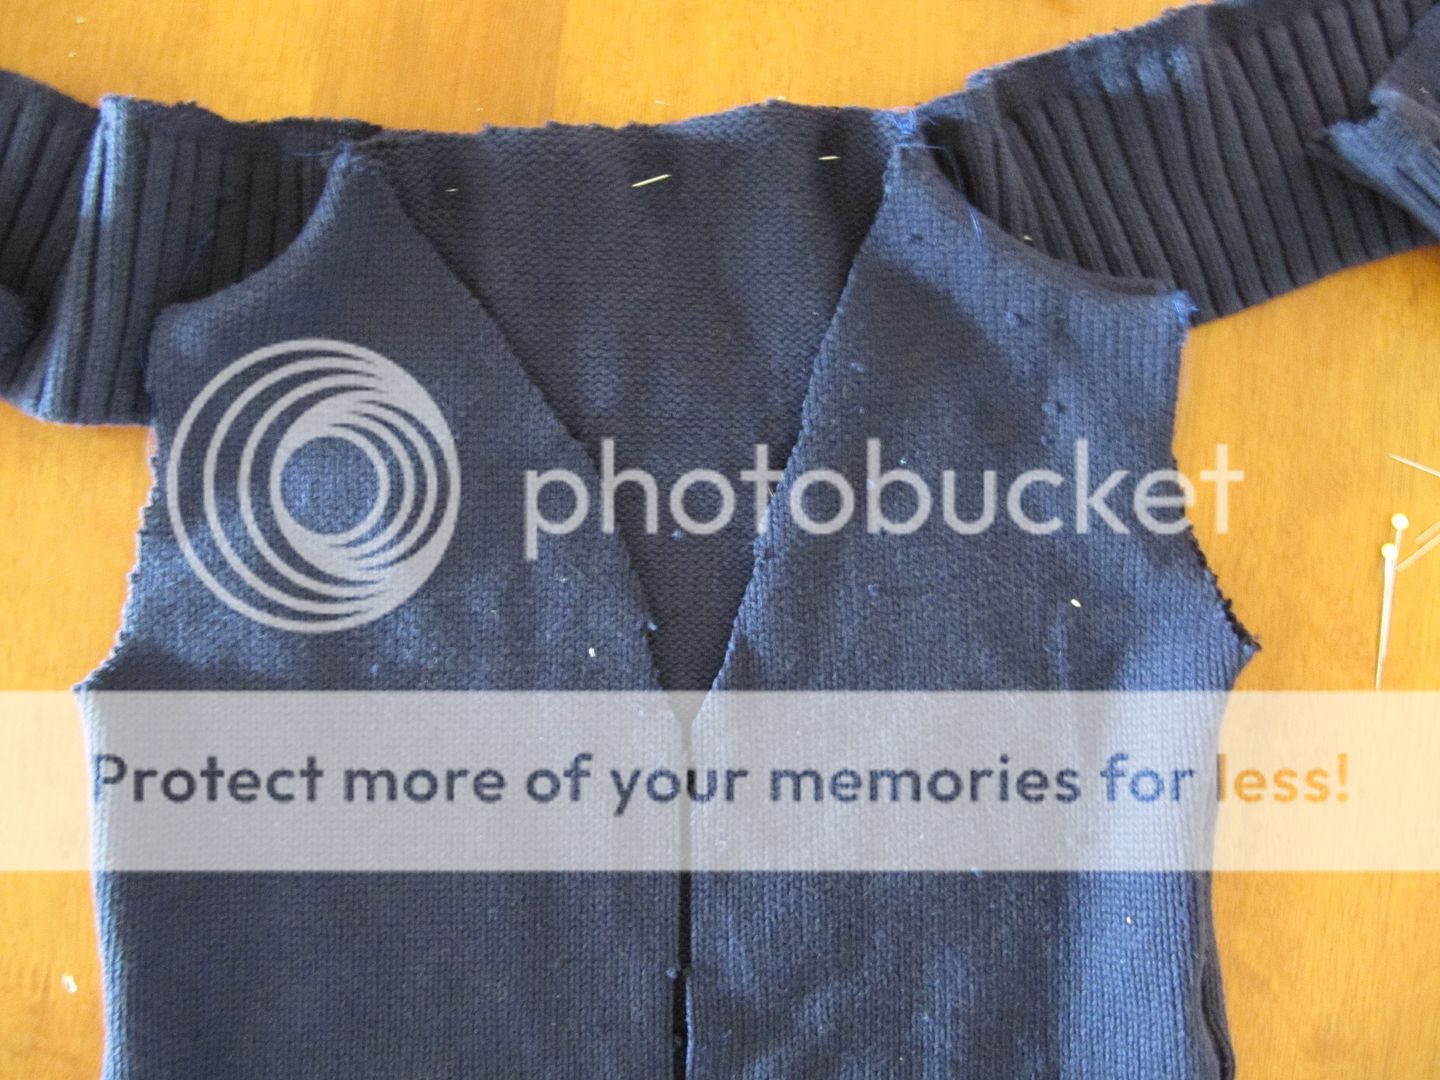
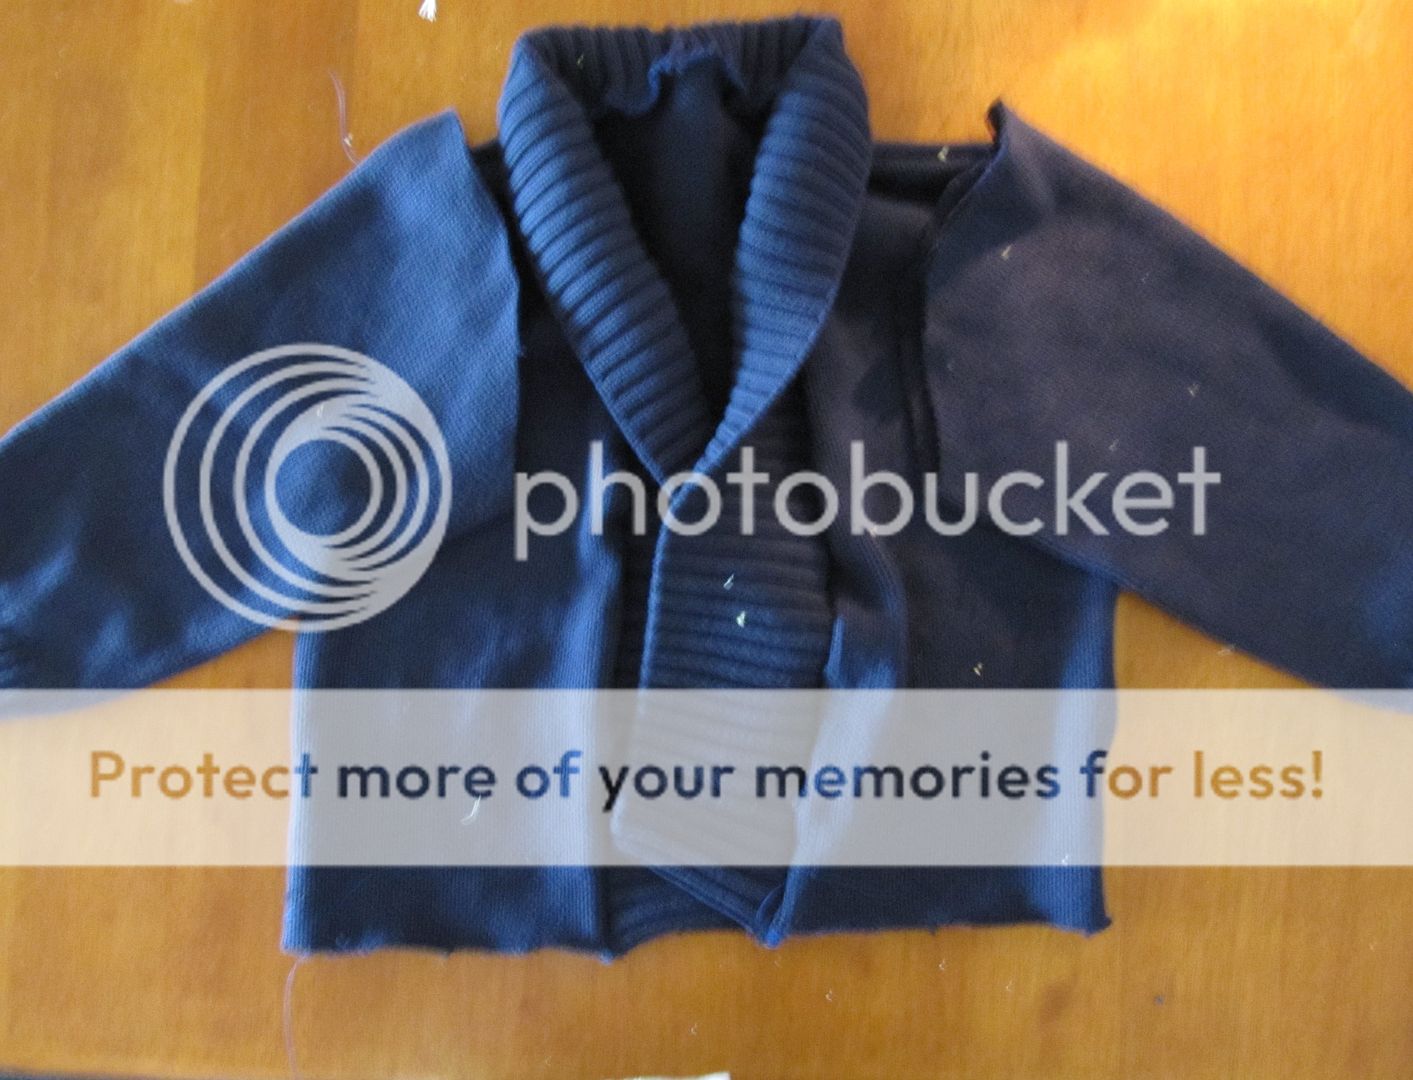
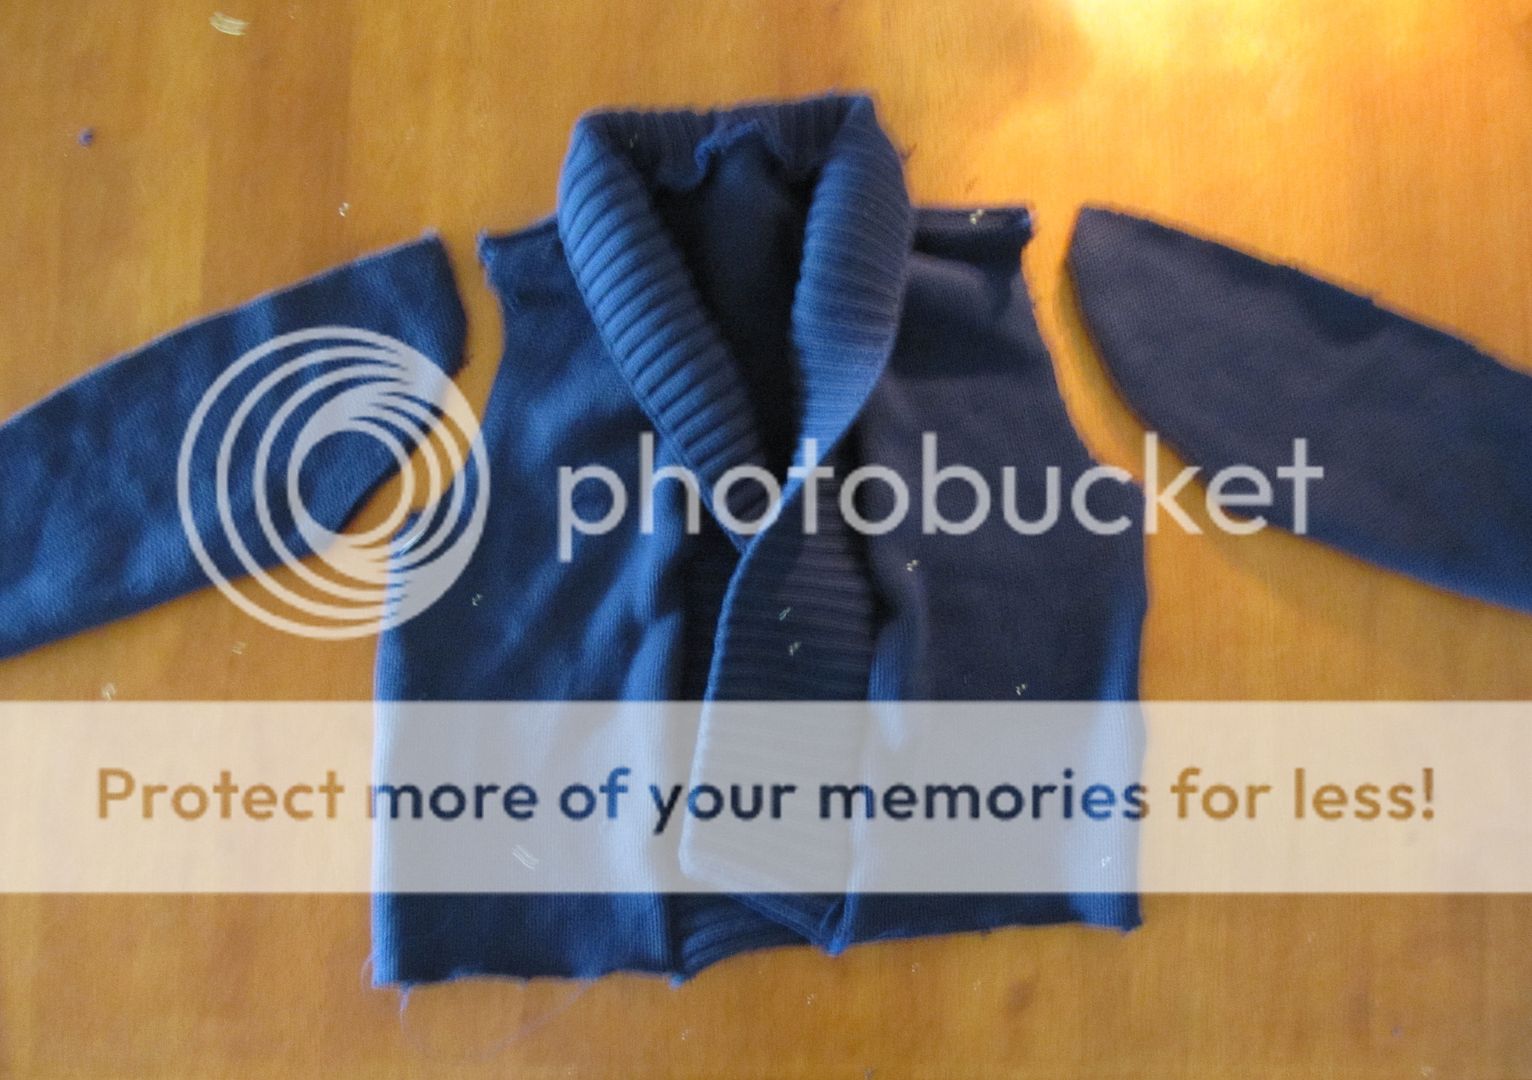
Turn it right side out, this is what it should look like basically.
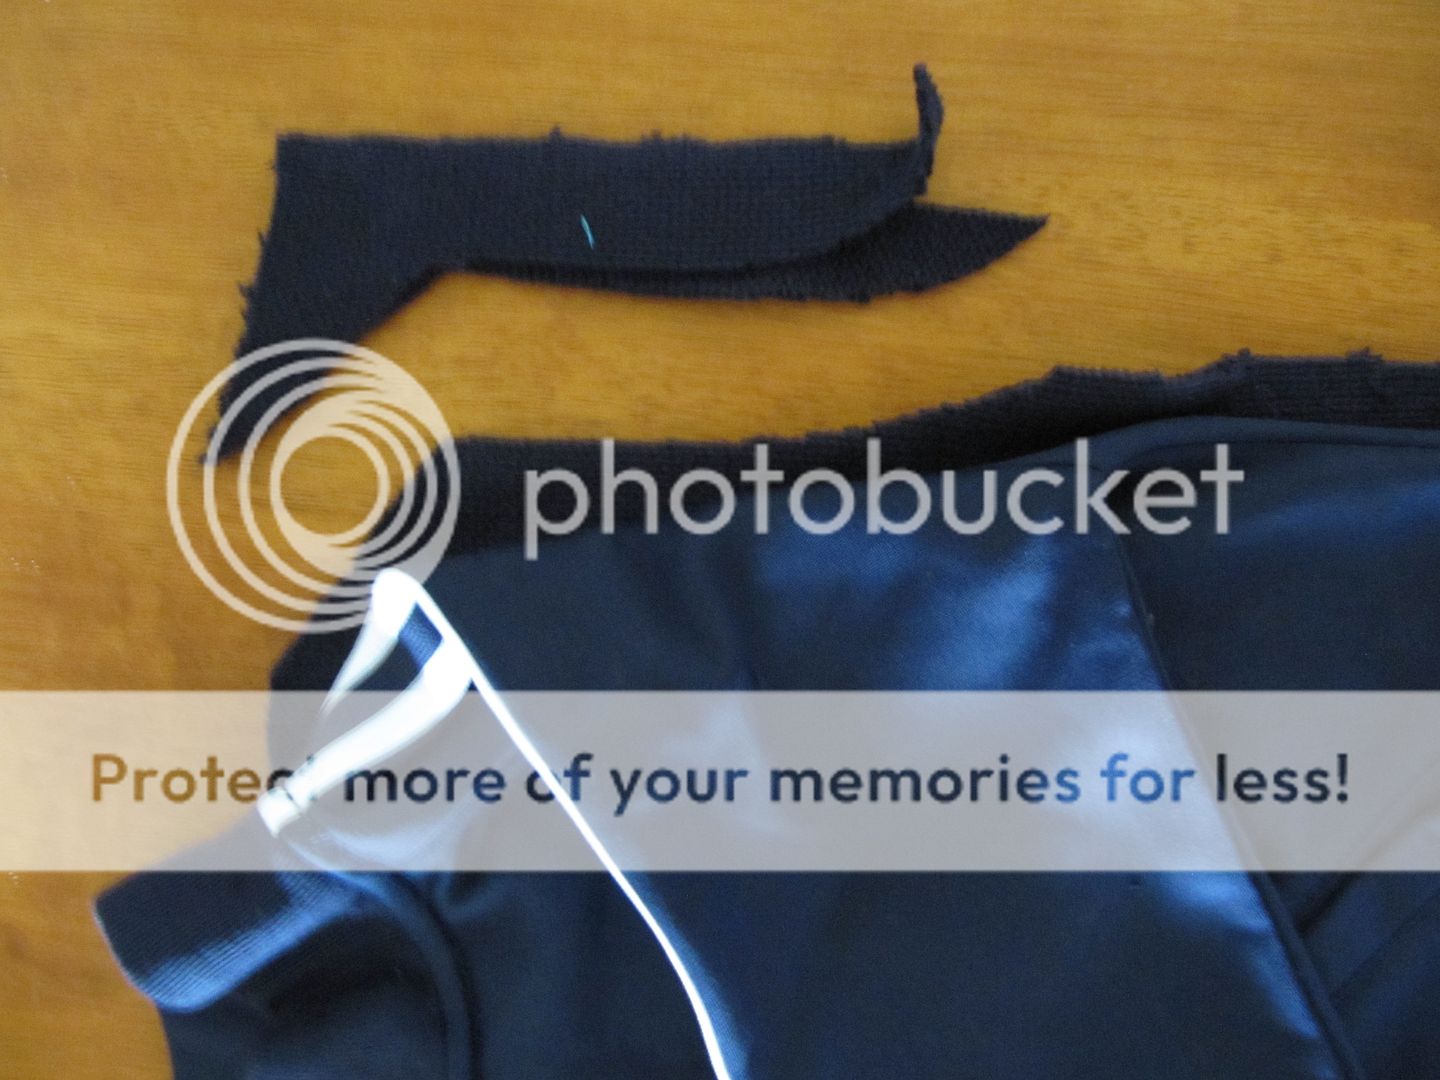
Fold the top of the front pieces back, like shown. Situate it how much of an opening you want and then cut off the flaps.
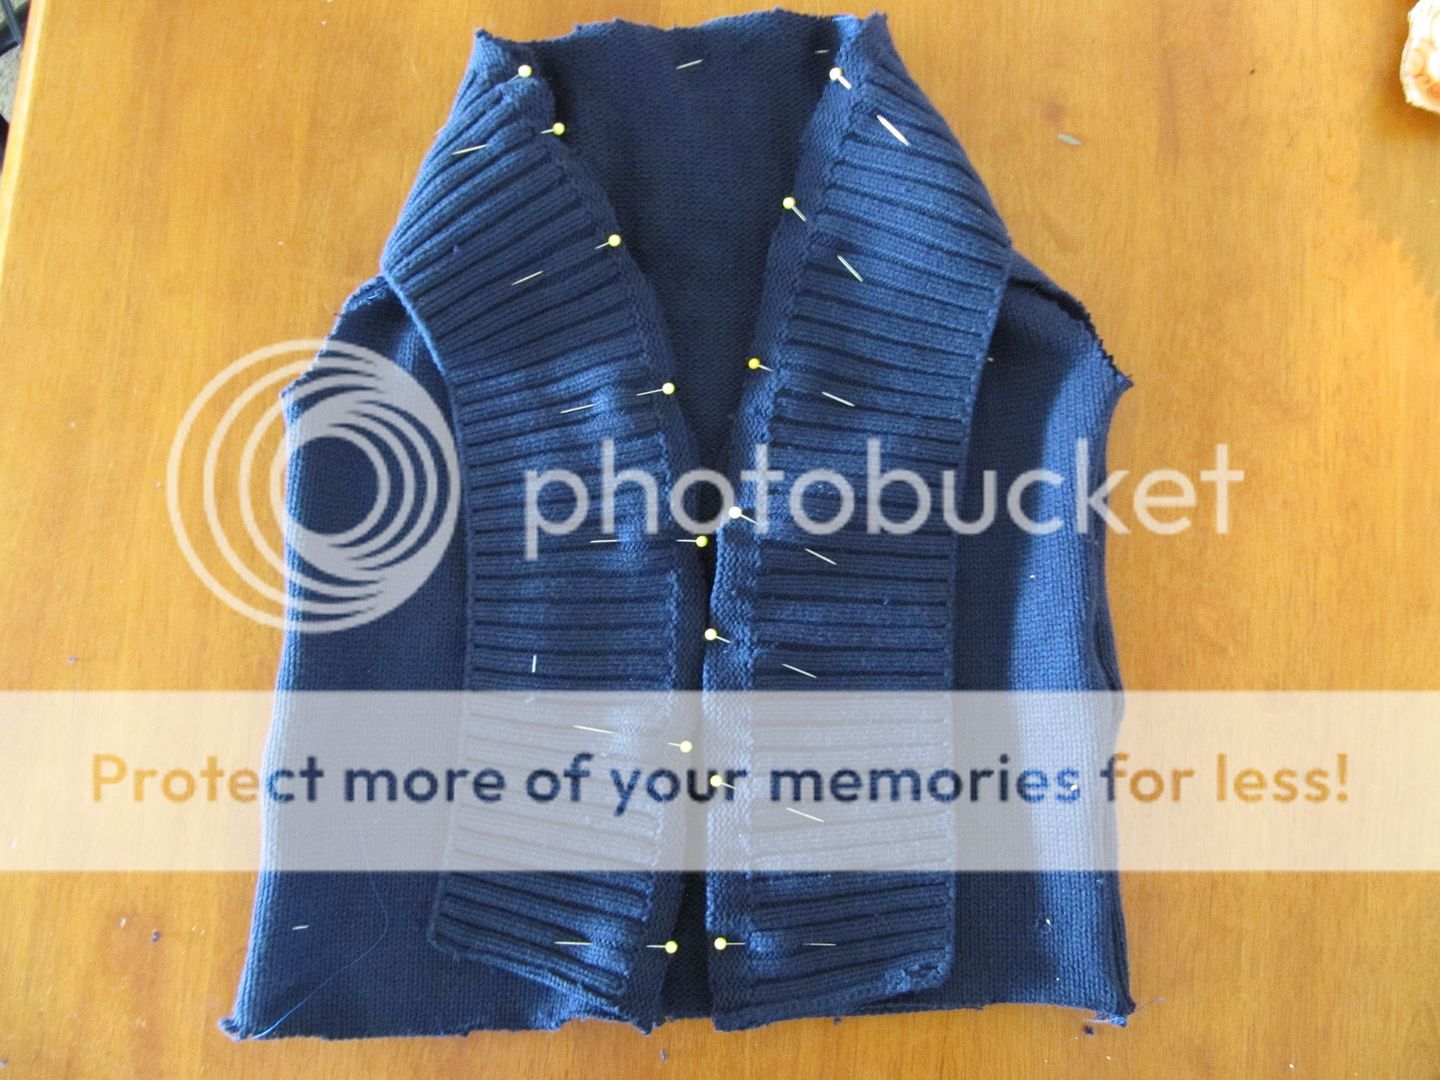
We are going to sew on the front embellishment now. It can be tricky to figure out so play with it for a bit until you get it how you want it. You also might have to stretch it a bit to get it to be long enough (to all the way down to the bottom.)
This is what I ended up doing. And ps, I love it! I pinned the rough edge (where I cut) matching up with the edge of the front openings (right sides together.) Now sew where you pinned, but you might want to do a large basting stitch first because you may find you don’t like it…(believe me, it took me a couple of tries and a lot of unpicking!)
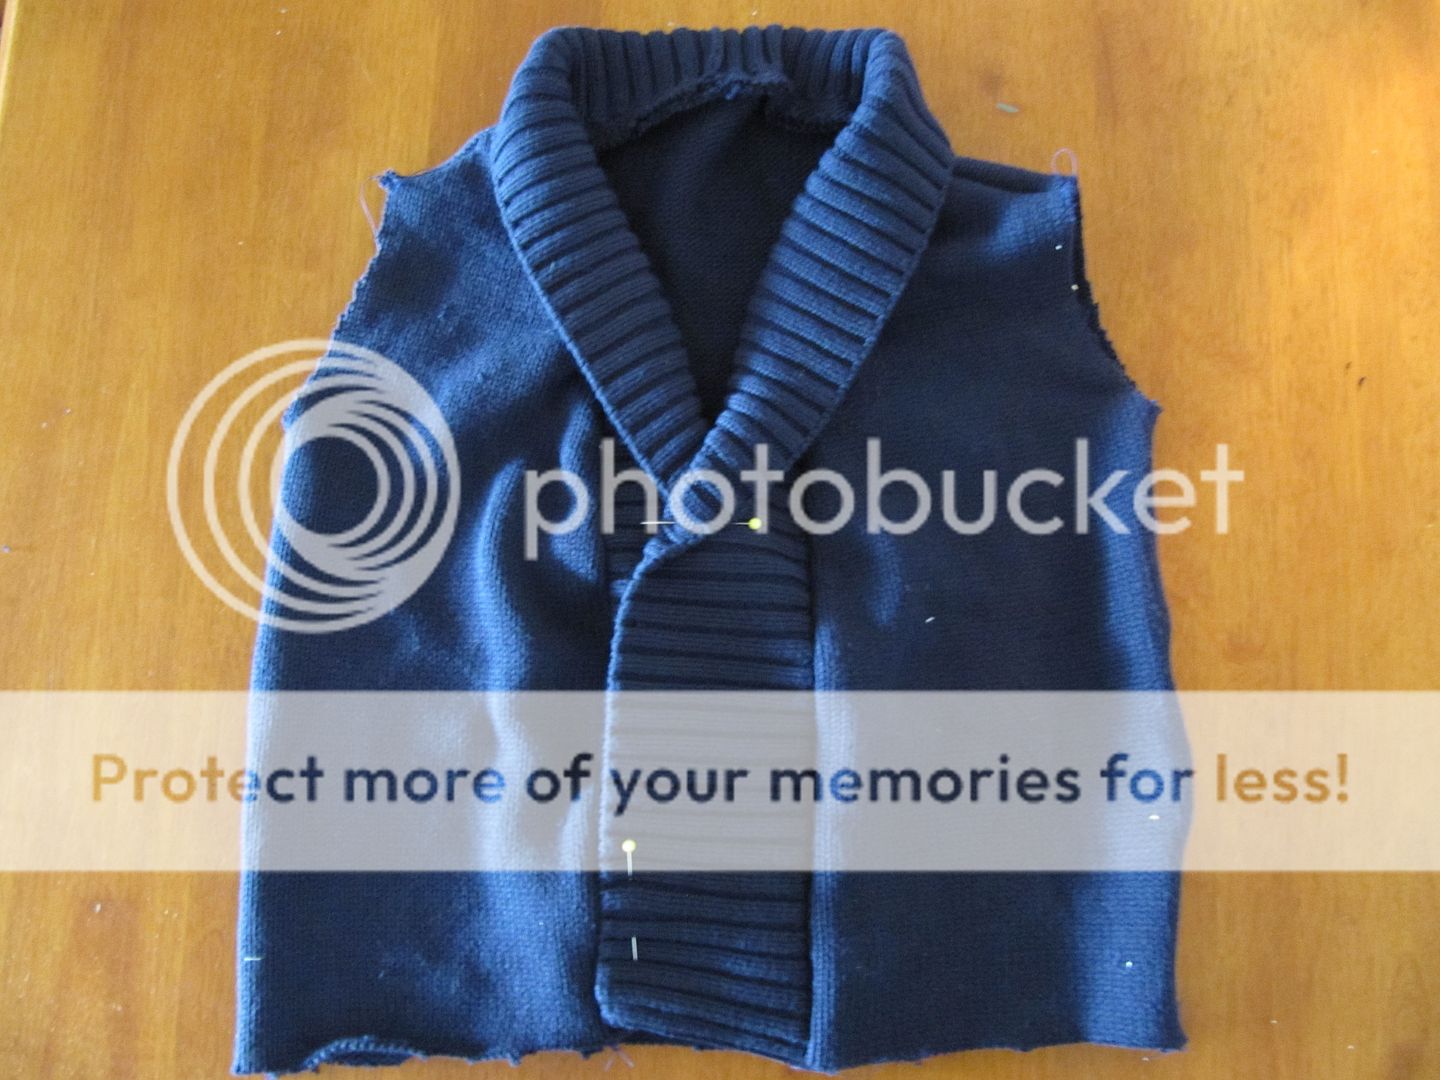
After you sew on the collar, it will NOT look like this. It will look, well, funky. So situate and arrange your collar til you get it how you want it. Iron it down, pin it down, whatever.
Sleeves! These sleeves are incredibly easy to do, as far as sleeves go. Obviously these XL man sleeves are way too big for my little boy’s sweater. So I used his jacket as a guide and cut them to size.
I turned it inside out and sewed up the side I just cut. Repeat other side.
I also used his jacket to see how big to make the armholes. Then I cut the armholes with an arc to fit neatly into the armhole.
If you get confused, just piece it together to see where to cut.
To sew the sleeve, keep the sleeve right side out and slip it inside the sweater, lining up the seams to pin in place.
Here’s another picture in case you aren’t quite getting it. To sew the sleeve, just slip the pinned area under your needle and slowly turn the sleeve around as you sew.
And finish the seam!
You’re mostly done now, just hem it up. You can fold twice like normal hemming, but in this case I actually didn’t have enough fabric. So I just cut another piece, folded it in half and sewed it on.
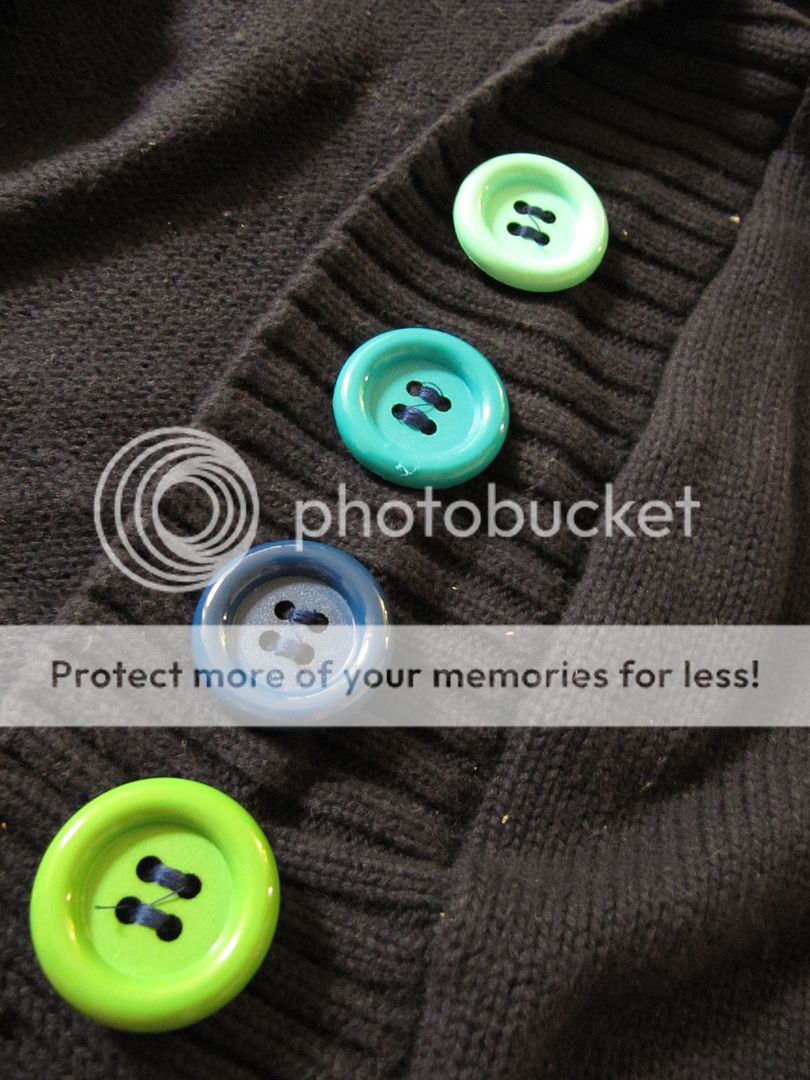
Add some cool buttons, just make sure they are evenly spaced out.
Here’s where you laugh at me. I tried to use my buttonholer foot and um…FAIL. It didn’t work with the thickness. So since I was trying to get the project done quickly, I just took my seam ripper and ripped myself some button holes! But here’s what YOU can do for button holes on thick material. Sew a tight zigzag seam, then another one right next to it. Drop your feed dog and tack each end of the zigzags (in between) so you get a small little rectangle. Then take your seam ripper and carefully rip the inside of the rectangle.
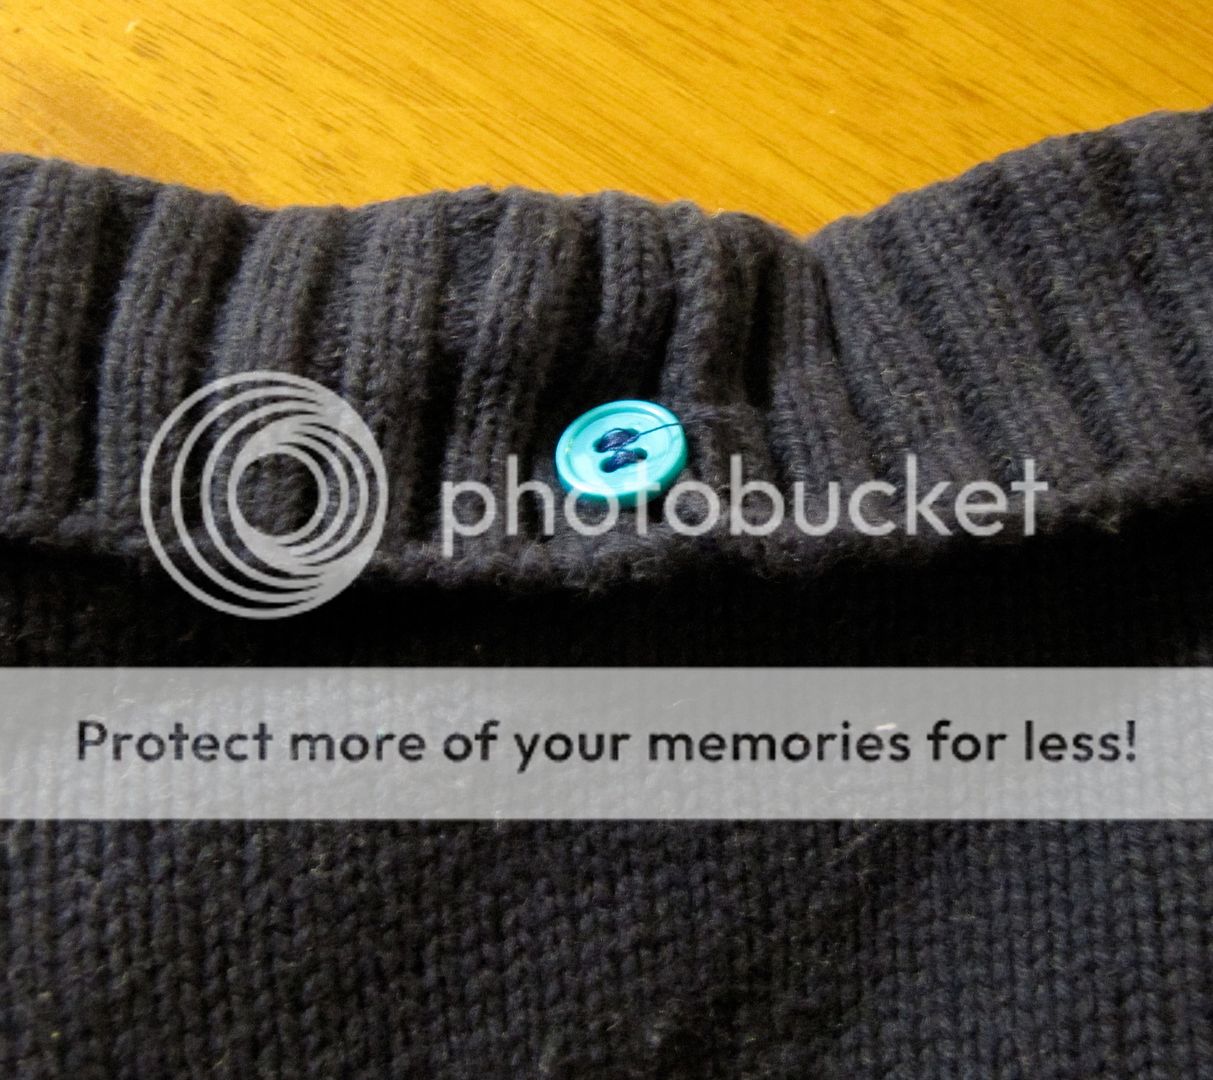
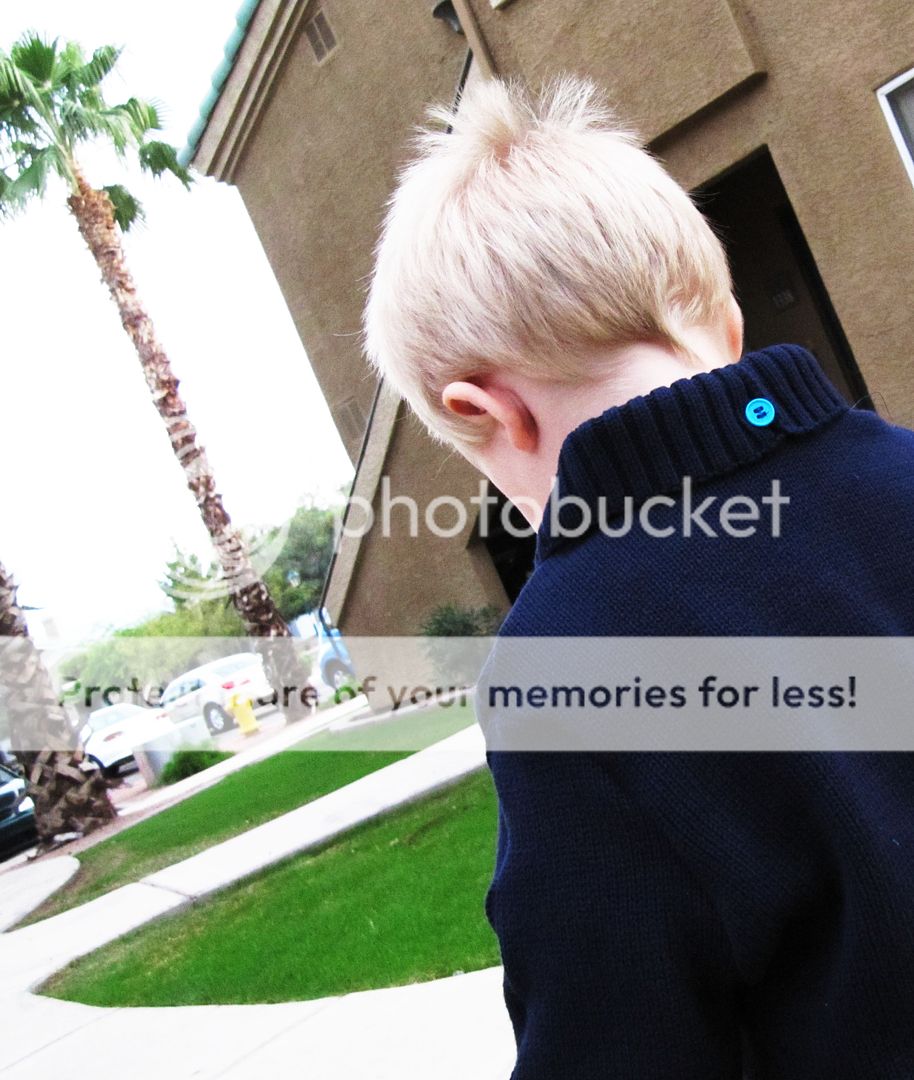
One more thing I did was add a little button at the back of the collar to help it lie down. Plus it was cute!
Or maybe it was the kid wearing it..
That froggy never leaves his hand!
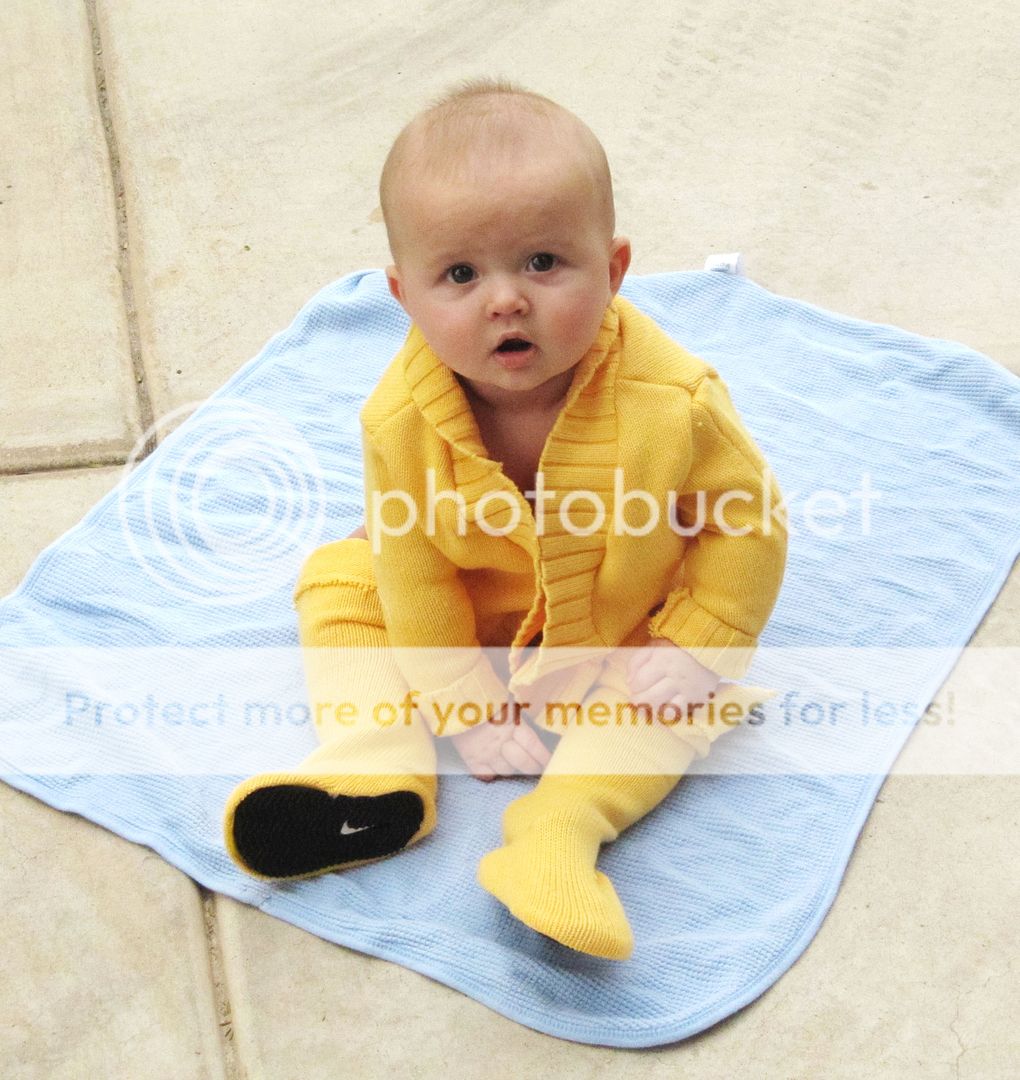
And here’s the yellow version. I decided to do plain yellow buttons for a more classic look. Still love it. LOVE the baby too!
And how stinking cute are these little boots too! Sweater boots are a snap to make. I’ll have to show you sometime.
Can’t wait to show you what I have for Round 2…













You have got some MAD sewing skills girls!!! I'm envious!
I loved your entry in the contest! You did great! Thanks for sharing!
How fun!! I voted for you and didn't even know it was you, so glad to see the tutorial!! Congrats on making it through to the next round, can't wait to see what's next!
Erin
congrats on round 1! you are a genius seamstress. I love the last picture on this post too. So cute!
Yay! Great tutorial and cute models too! Great job! Can't wait for round 2.
So awesome!!! I linked to your tutorial over at Craft Gossip Sewing:
http://sewing.craftgossip.com/tutorial-kids-cardigan-from-an-adult-sweater/2010/10/30/
–Anne
I love these! Your kids are SUPER cute!
I like the button on the back collar of your son's jacket and the way you sewed the buttons on with horizontal lines instead of x's.
stinkin cute! love them
Luke looks a ton like Ed. I don't know if I could tell them apart if I saw them together.
LOVED this tutorial, thanks so much!! Here's my copycat version:
http://janthony-garrett.blogspot.com/2010/11/baby-grandpa-sweater.html
I just wanted to stop by and let you know that I linked to this post today from Copycat Crafts. 🙂 Copycat Crafts features all sorts of great knock projects just like this one and we wanted to say thanks for the great post! Your feature can be seen from our home page and you can get to it directly here
http://www.copycatcrafts.com/make-janie-jack-no-knit-knock-off-sweaters/
If you would like a "featured by" button, you can grab one from our right side bar. Thanks!
http://www.copycatcrafts.com/