Wecome to Home Ec (Sew-Along!)


Getting Started
- 1 yard of white cotton fabric
- About 20 red buttons
- Thread color of your choice (I used turquoise)
- Self-healing mat
- Quilting Ruler
- Rotary Cutter
- Scissors
- Sewing Marker
- Bobbin
Before we start…
Using Your Machine
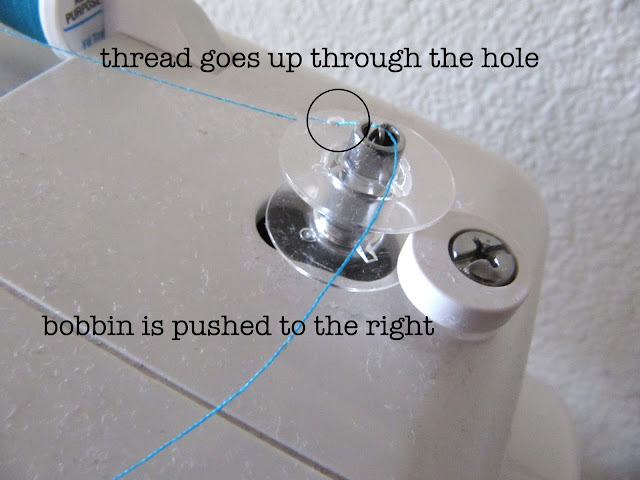
Okay, let’s get started. First we need to wind the bobbin.
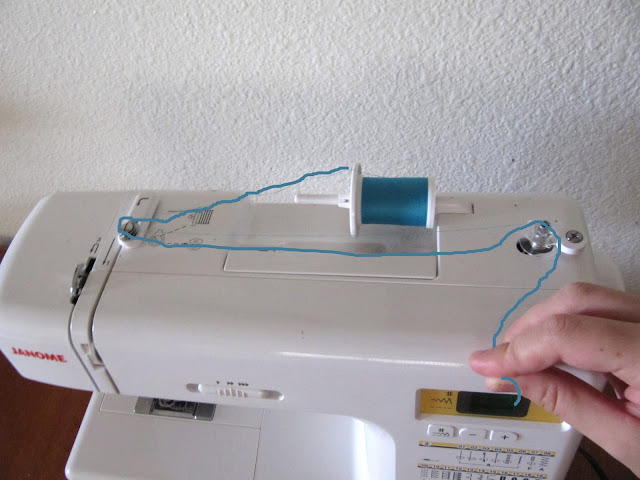 |
| On my machine (a Janome), this is how you do it. (I drew that freaky cartoon thread, by the way.) |
 |
| And I run my machine on top speed. I like to fill lots of bobbins at one time (of white cuz I use tons of white.) |
Okay now the bobbin is full. You should fill bobbins for each color of thread you are using (or you can just do white…if the thread won’t be seen.)
Moving onto the machine. My wonderful little machine. It’s nothing fancy, but it has worked like a dream for me. Here are the basics of my sewing machine:
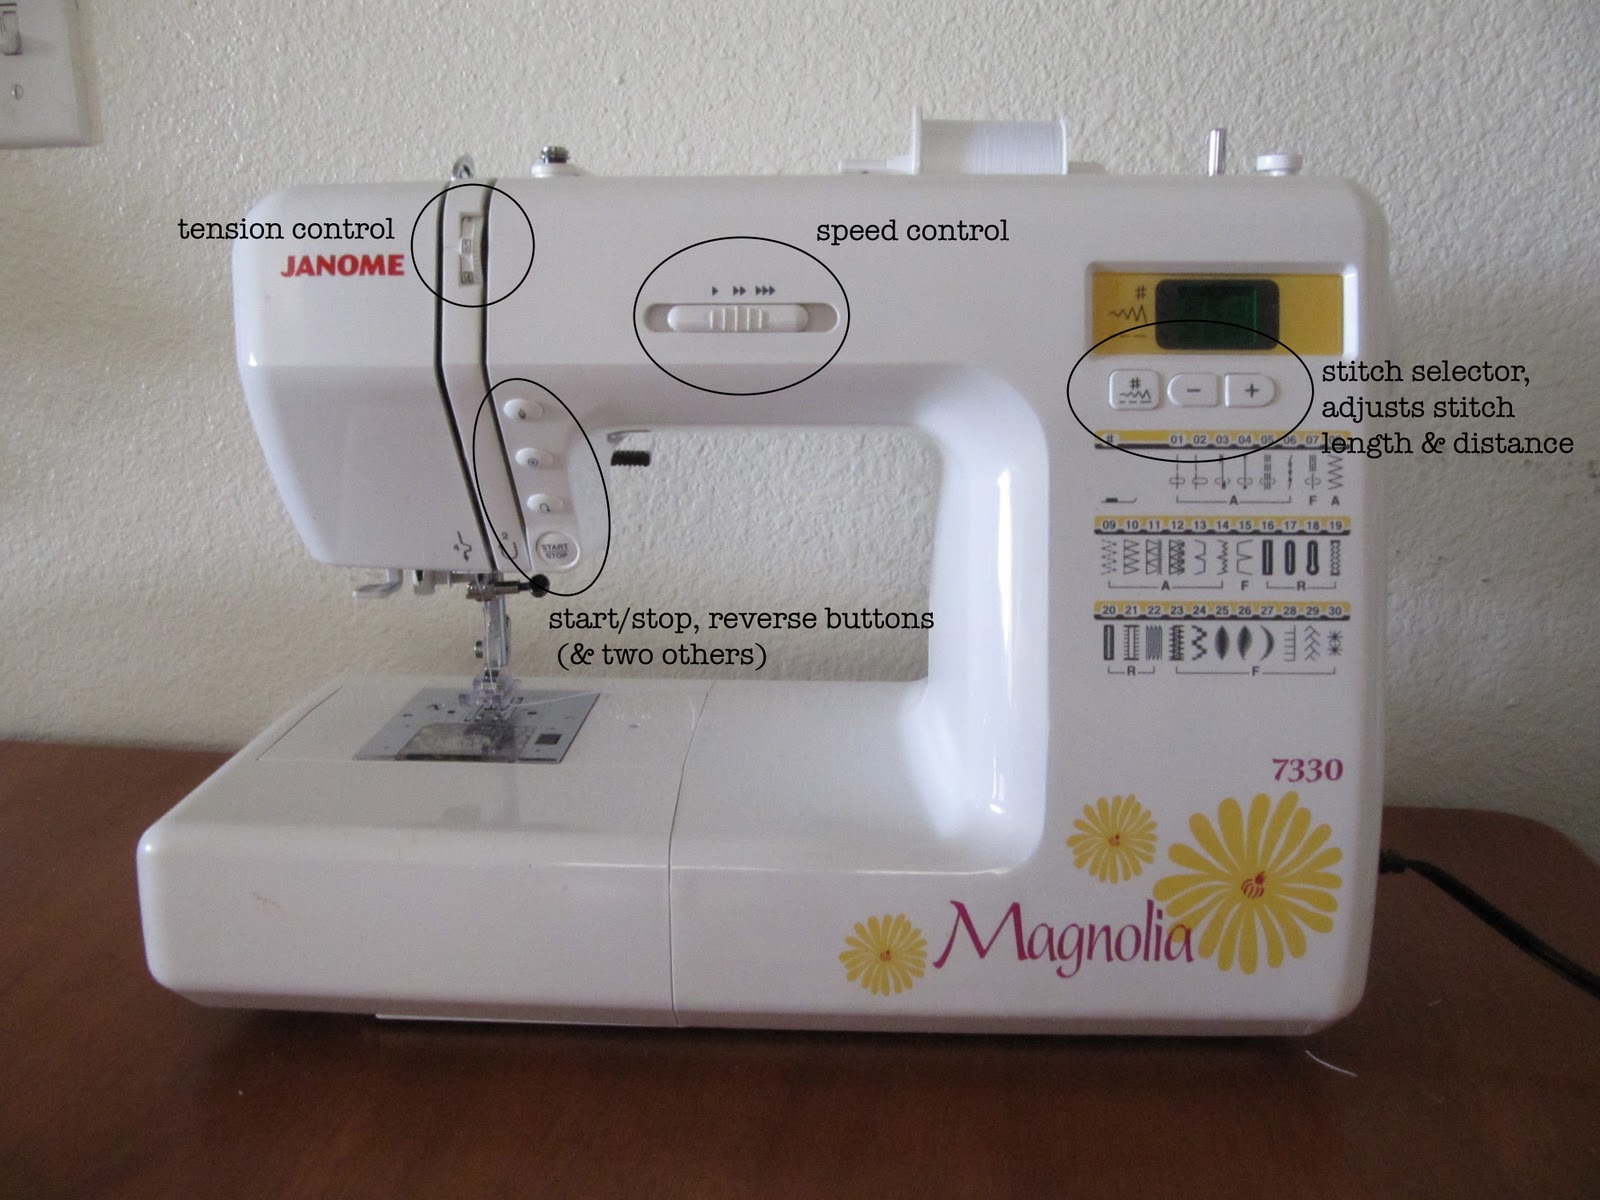
Mine actually is useable without the foot pedal. I love this feature and I never use the foot pedal.
Here is how I thread my machine and bobbin:
 |
| Is that confusing? Sorry, it was hard to draw the line. |
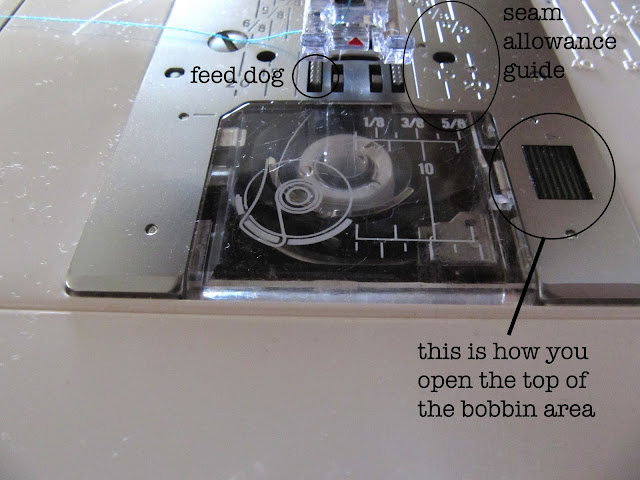 |
| To bring the bobbin thread up through the feed dog, Use your handwheel (the big wheel on the side.) Hold onto your top thread as you wind the handwheel. |
Moving along…
Cutting Your Fabric
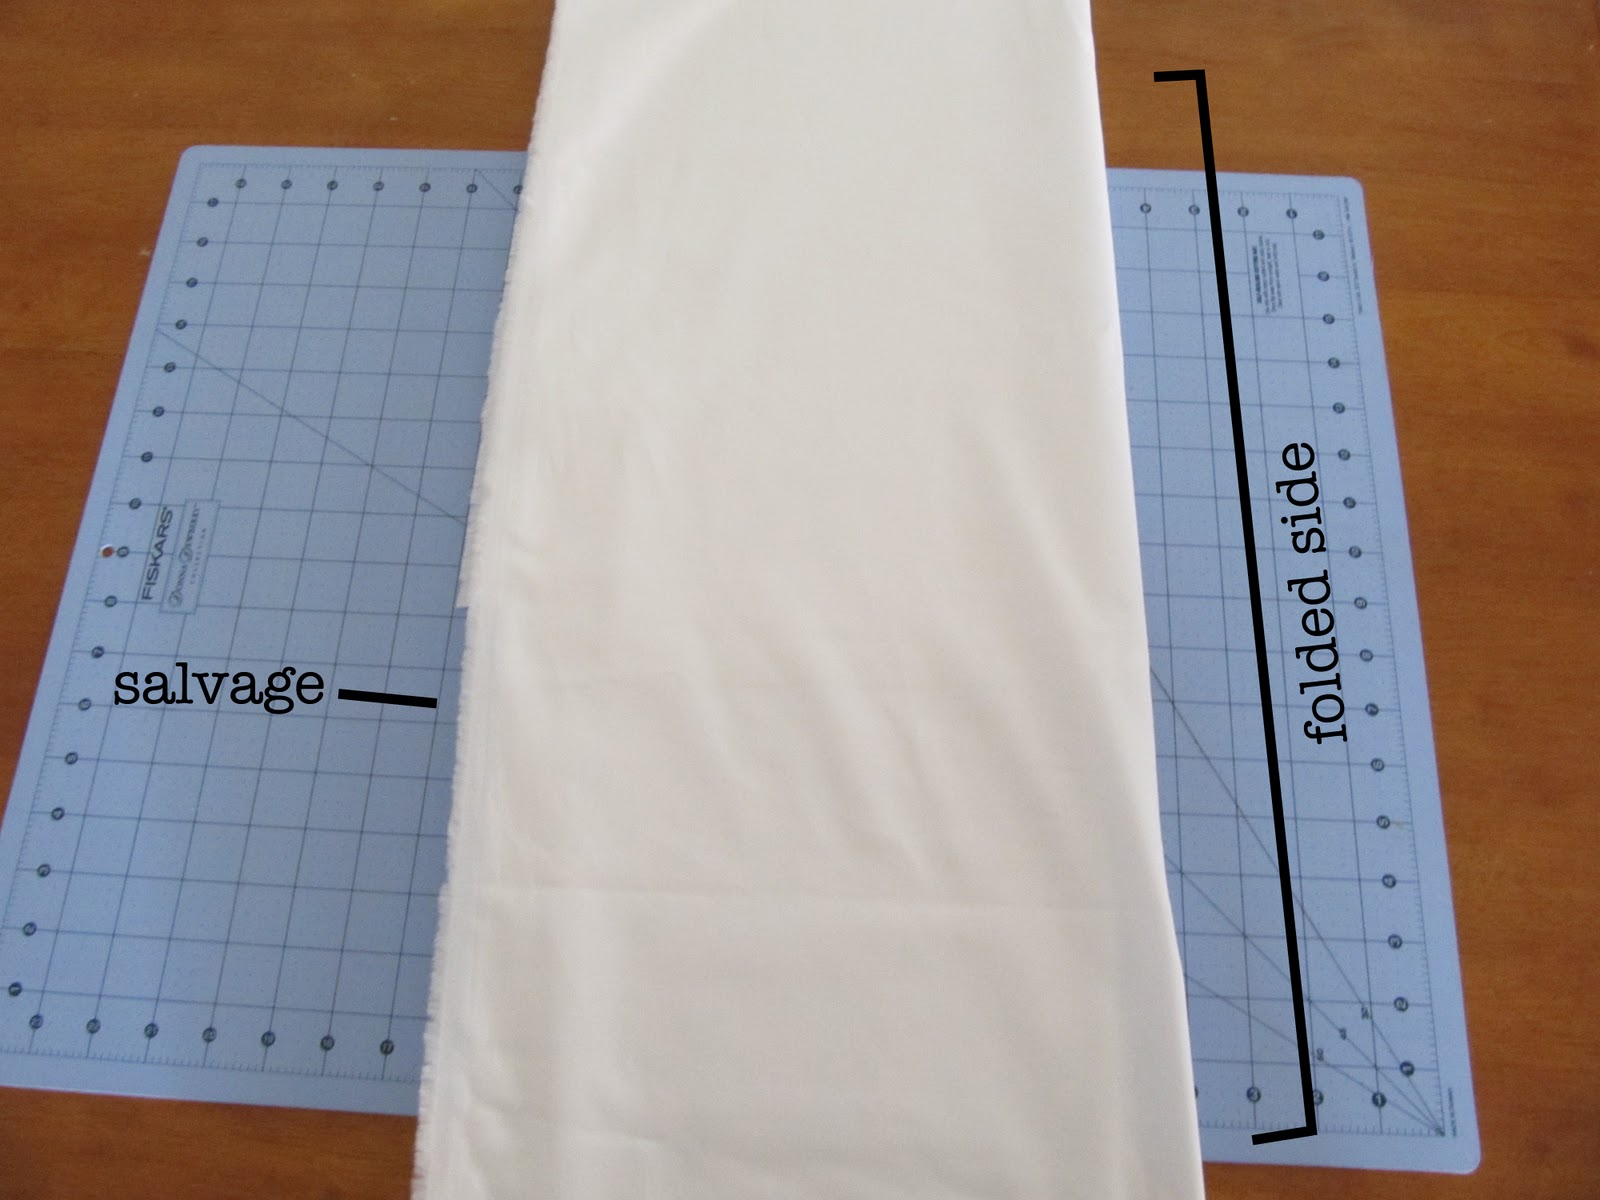
To cut your fabric to a skirt size, measure the width of your waist (not the circumference) and add about two inches to each side. If you want it more full, add more inches, depending on how full you want it. The height will be the height measurement from your waist to your knee (or wherever you want it to stop) plus about four inches. The extra four inches are for the elastic casing and the bottom hem.
 |
| It is sometimes overwhelming to work with a large piece of fabric, so I fold the fabric before cutting. And I love to cut with a rotary cutter. The salvage is the side of the fabric that is sealed by the manufacturer. |
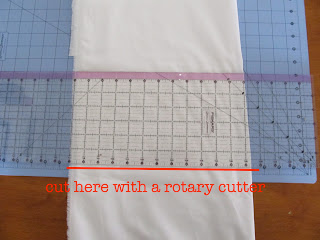 |
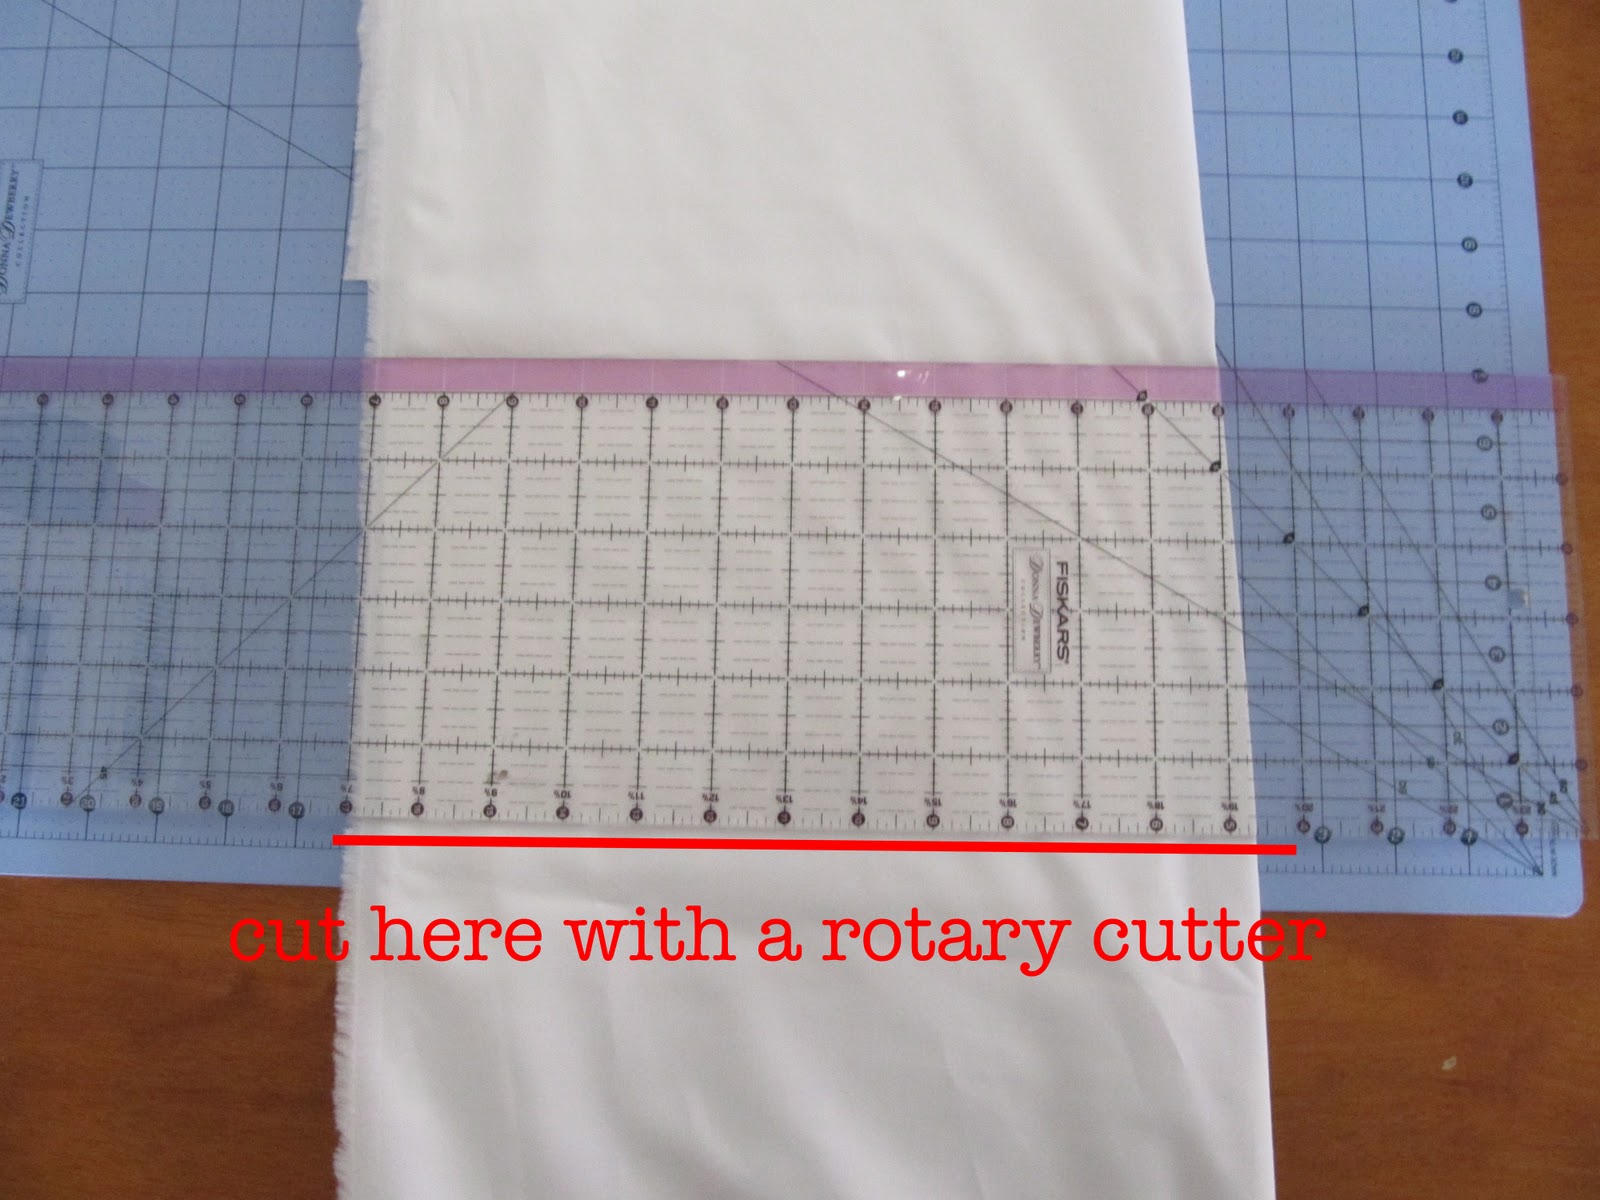
| First I measure the height and cut it there, using the quilting ruler and rotary cutter |
 |
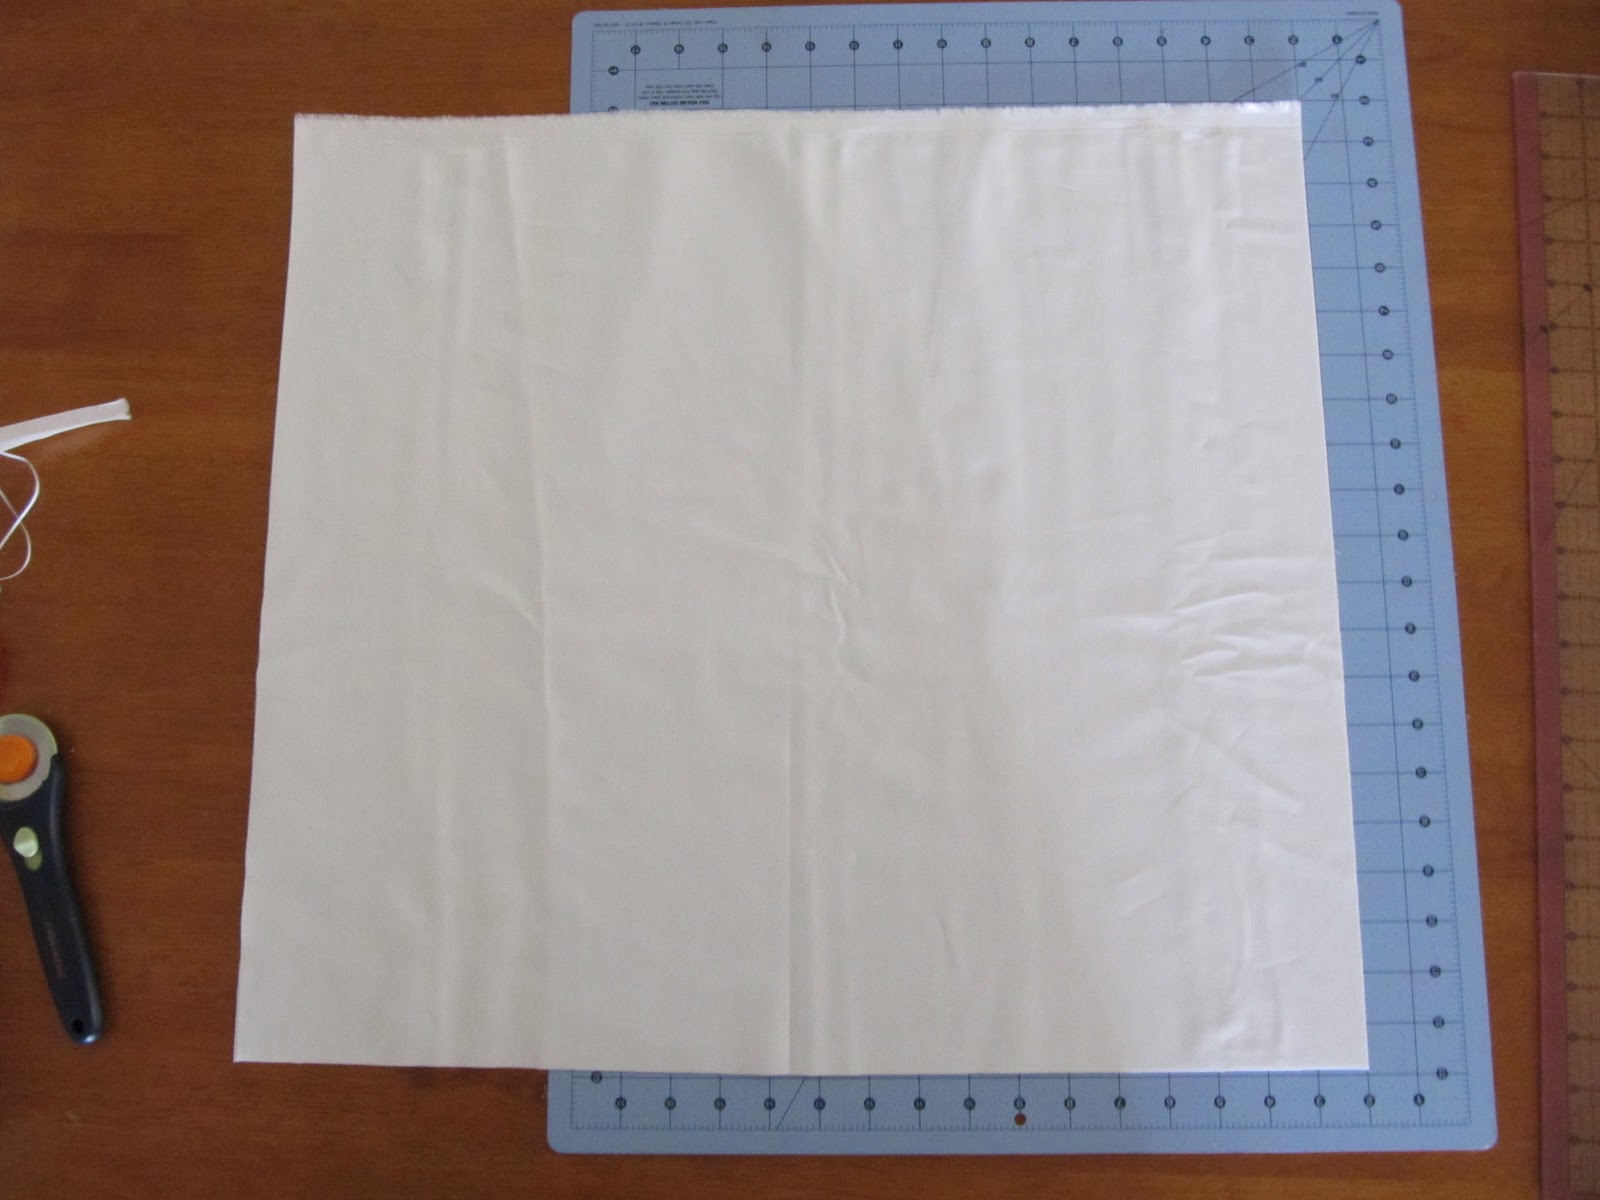
| Then I measure out the width and cut. Here is my finished cut (there are two pieces, one on top of another). |
 |
|
| To make the poppy stems, use the quilting ruler (it’s great to use because it’s so tall) on the mat to draw straight lines 2 inches apart, alternating heights. Use a sewing marker to draw the lines (a sewing marker will disappear with water.) |
Sewing a Straight Line
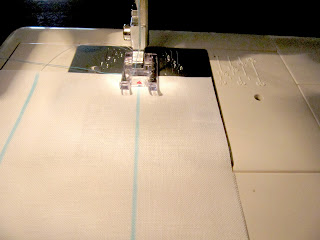 |
| Time to sew! Your machine and bobbins are threaded. Your tension is set to 4-5, your machine is on straight stitch. Line your needle up with the line. Slowly start sewing, reversing your stitch for the beginning and end (this secures your stitch.) |
 |
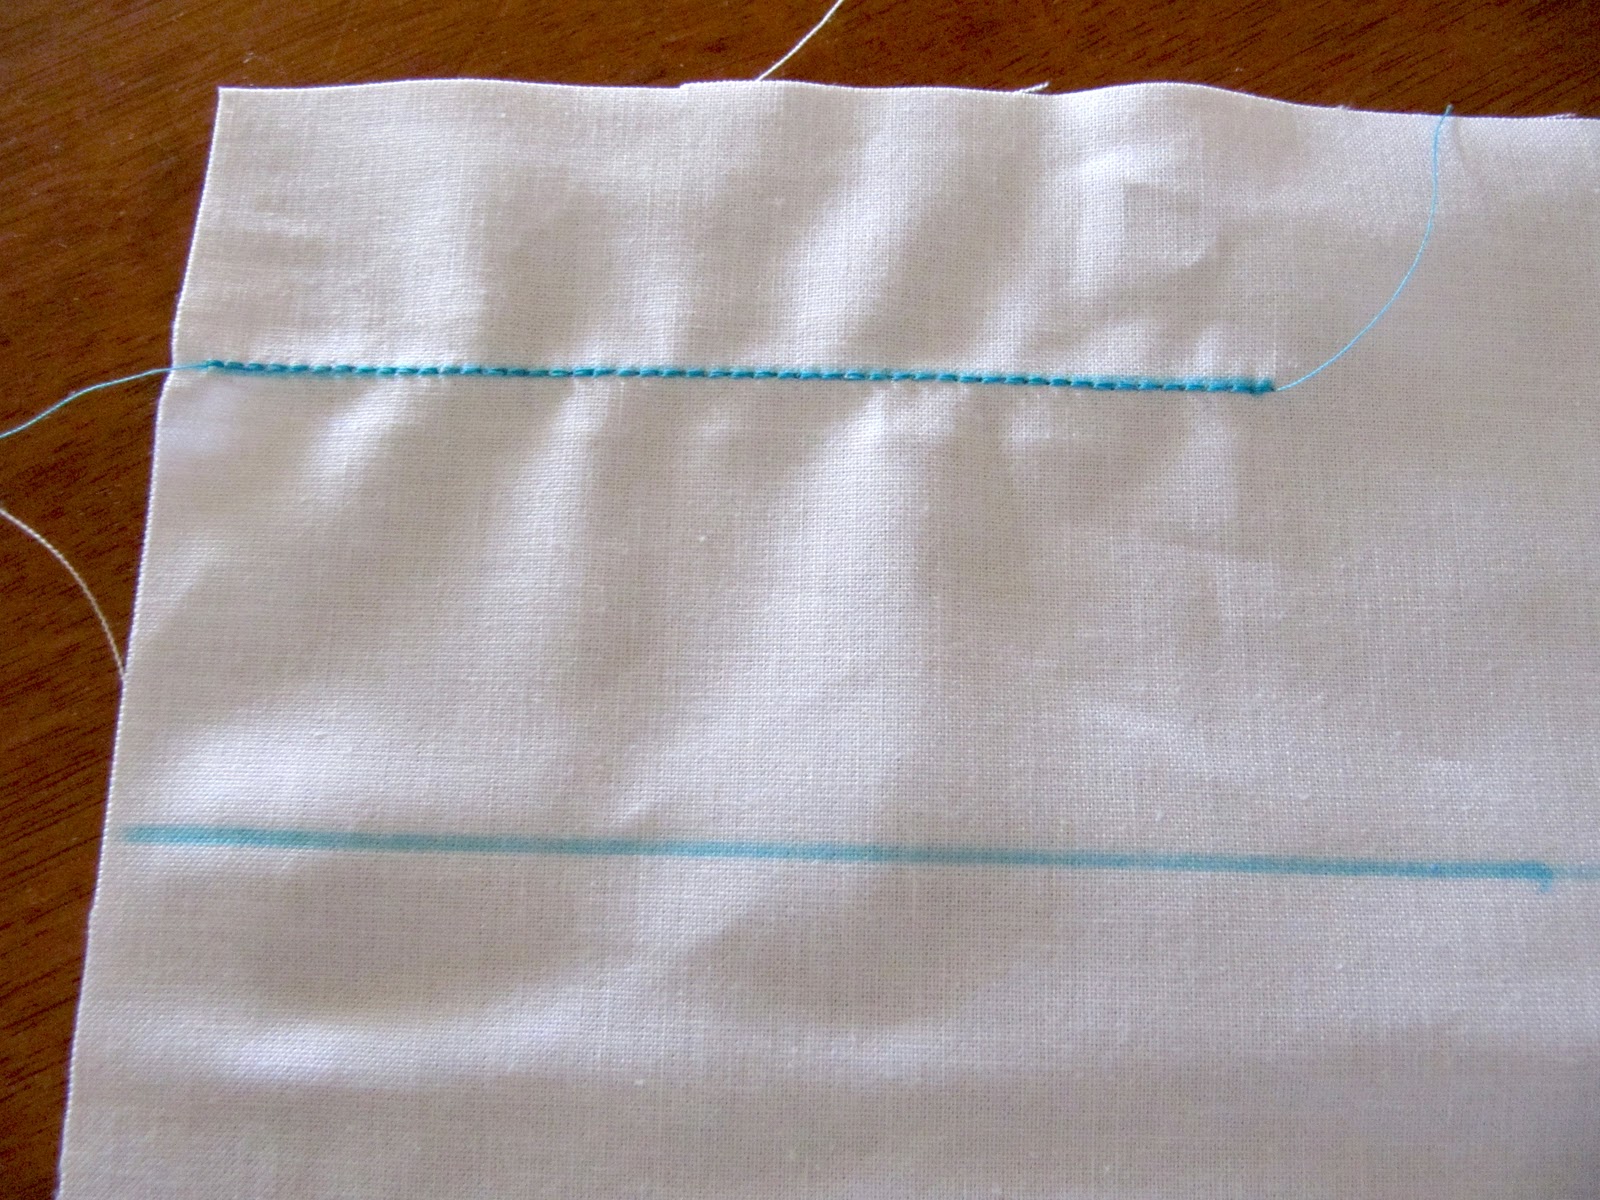
| It should look kind of like this. I actually used a thicker straight stitch (the one with three lines). If you feel comfortable with a basic stitch, feel free to do a different stitch if you want! Repeat your straight stitches on all the lines. Practice makes perfect! |
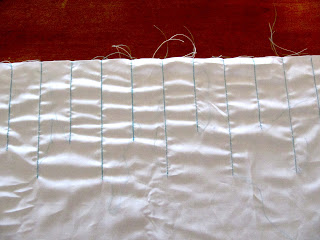 |
| All done! (You can iron it here.) |

What a great tutorial! I will definitely have to run out and get some fabric to make myself or Evangelina one of these adorably fun skirts!!
Thank you so much for sharing!
Love the skirt!!!! I will definitely have to make one of my own. Thanks sharing your idea
Thank you so much for doing this! It gives me confidence to unbox my sewing machine!!