Catablog · embellishment · sewing · tutorial
Ruffled Top Onesie Tutorial

Let me finally put something on a onesie other than an applique! How about an adorable ruffle?
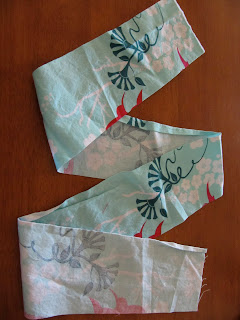 |
| Cut a long strip of fabric, about 4 inches wide |
 |
| Fold it in half, right sides together to make a tube. |
 |
| And sew one end closed. |
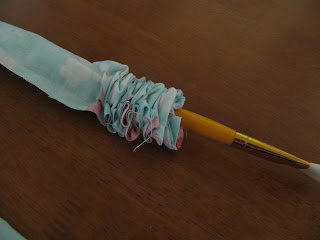 |
| Poke a long skinny object (I always use this paintbrush) into the sewn end and start pushing through to turn the tube inside out. |
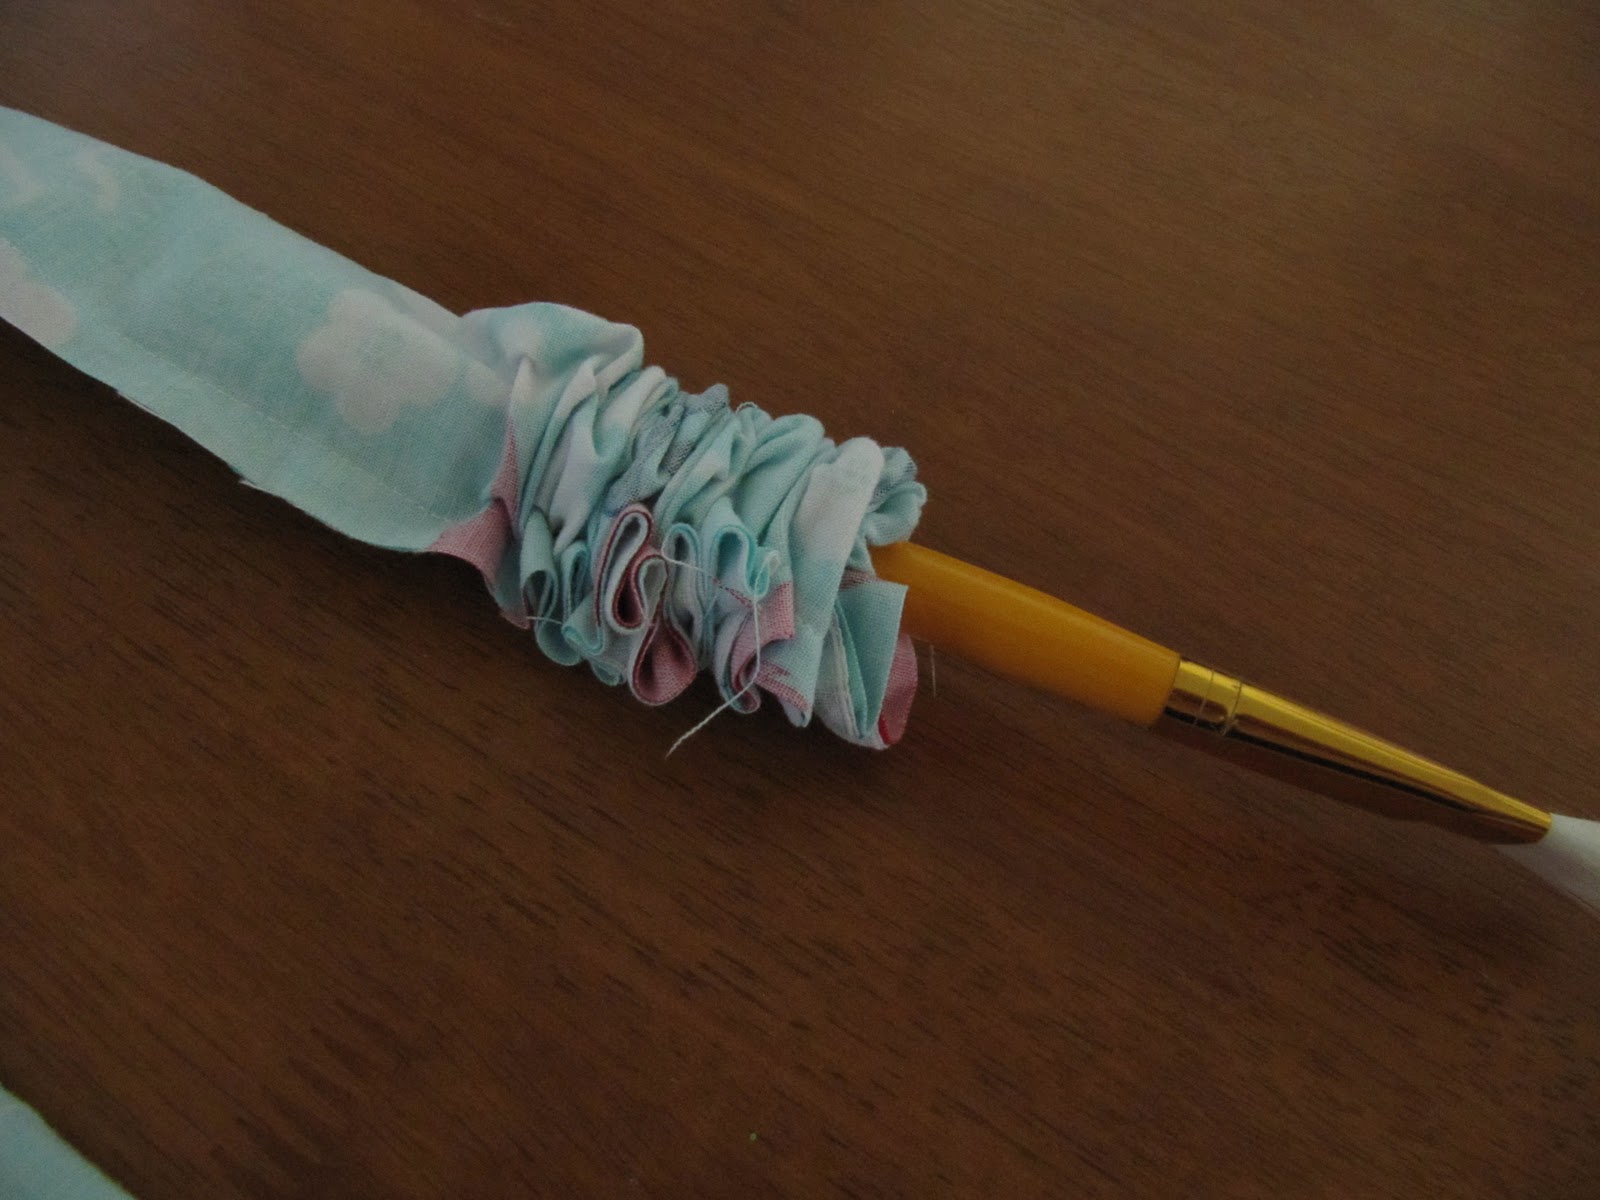
 |
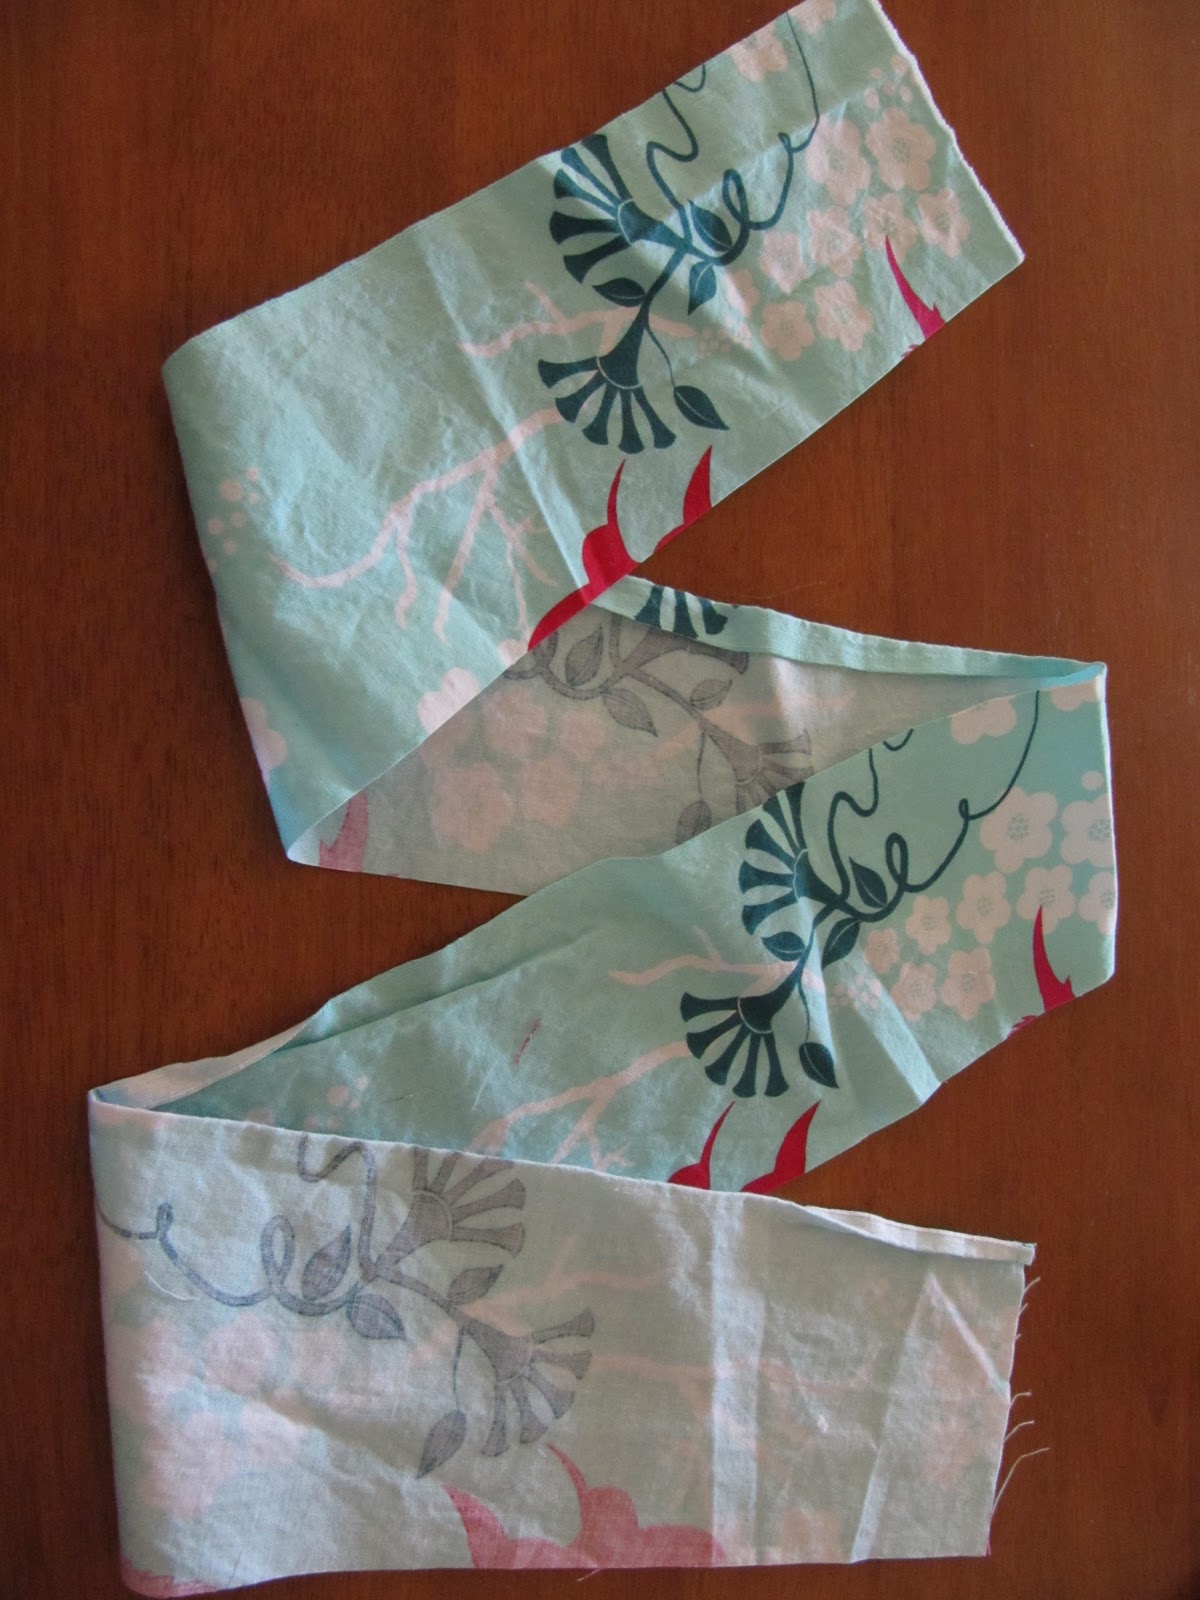
| All turned out! |
 |
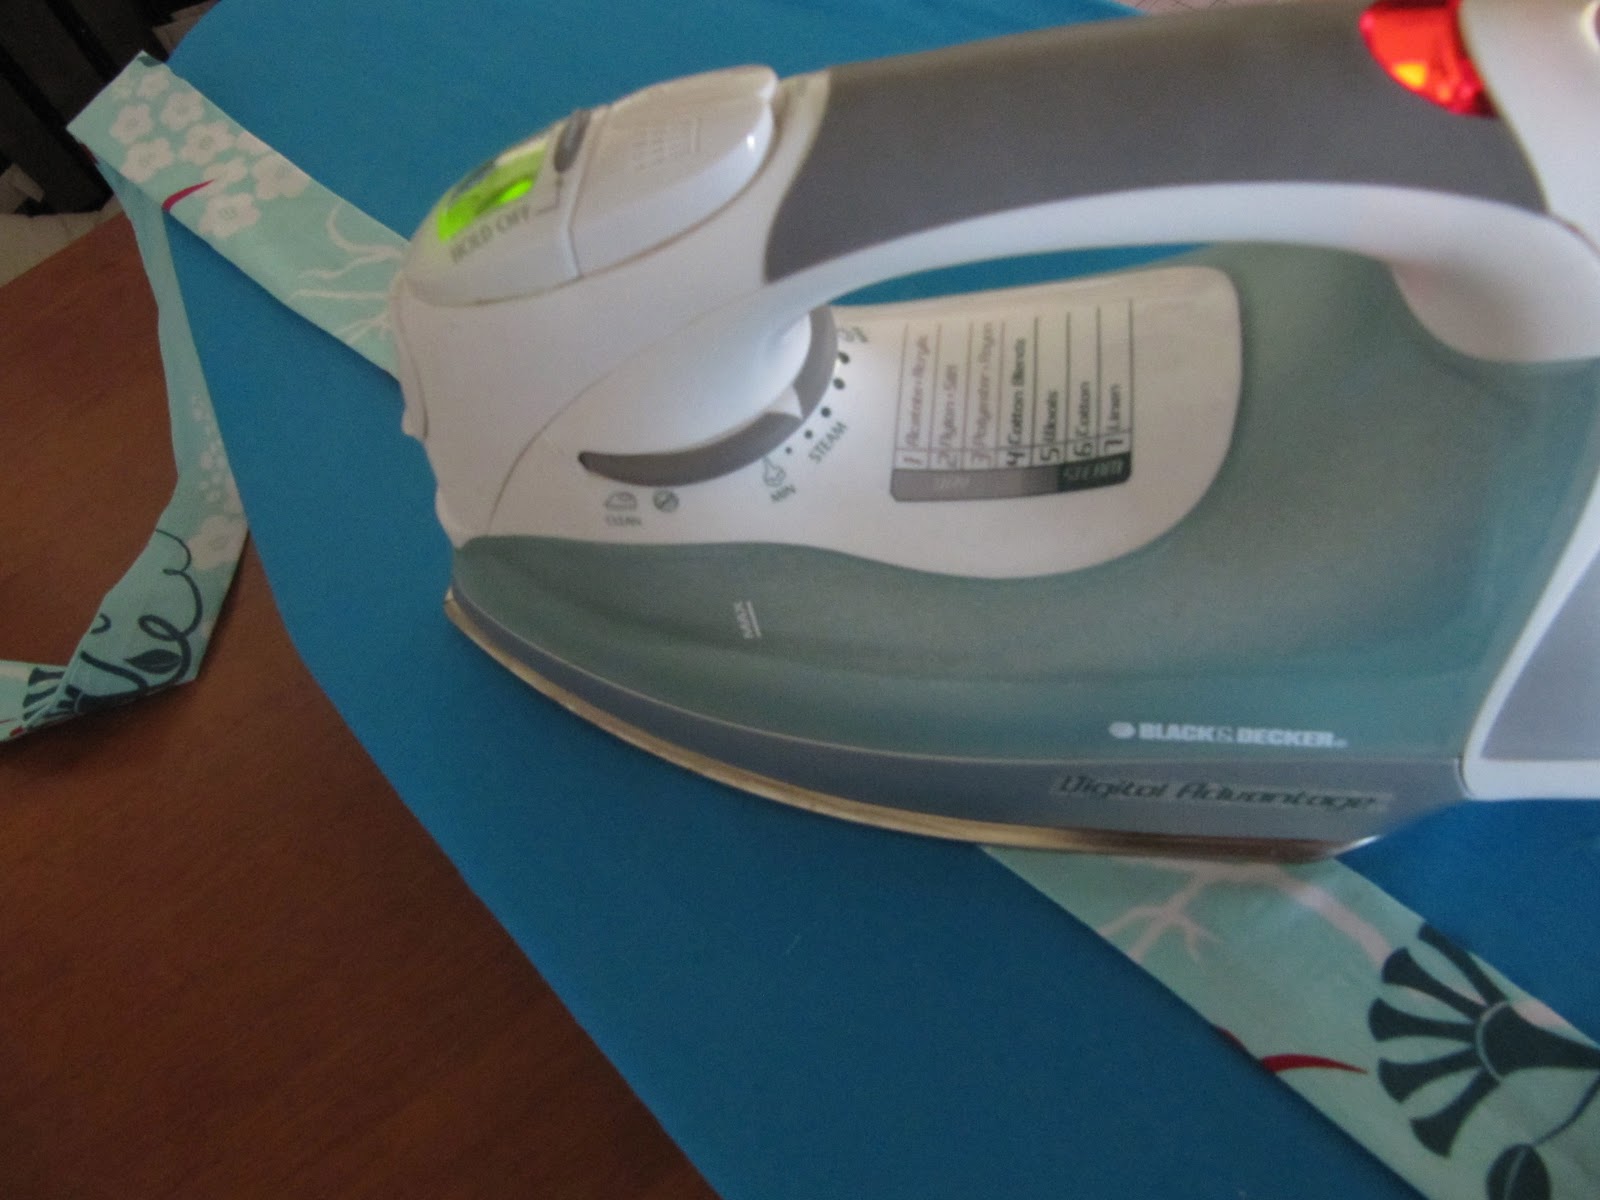
| Iron it flat, making sure that the seam is on on one side. |
 |
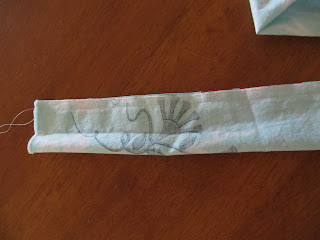
| To ruffle it, adjust the tension to the highest setting and make your stitch length the longest it can go. Pull the threads out several inches long and sew a seam along the edge with about a 1/4 inch seam allowance. |
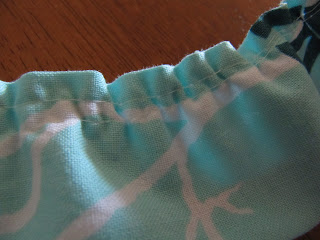 |
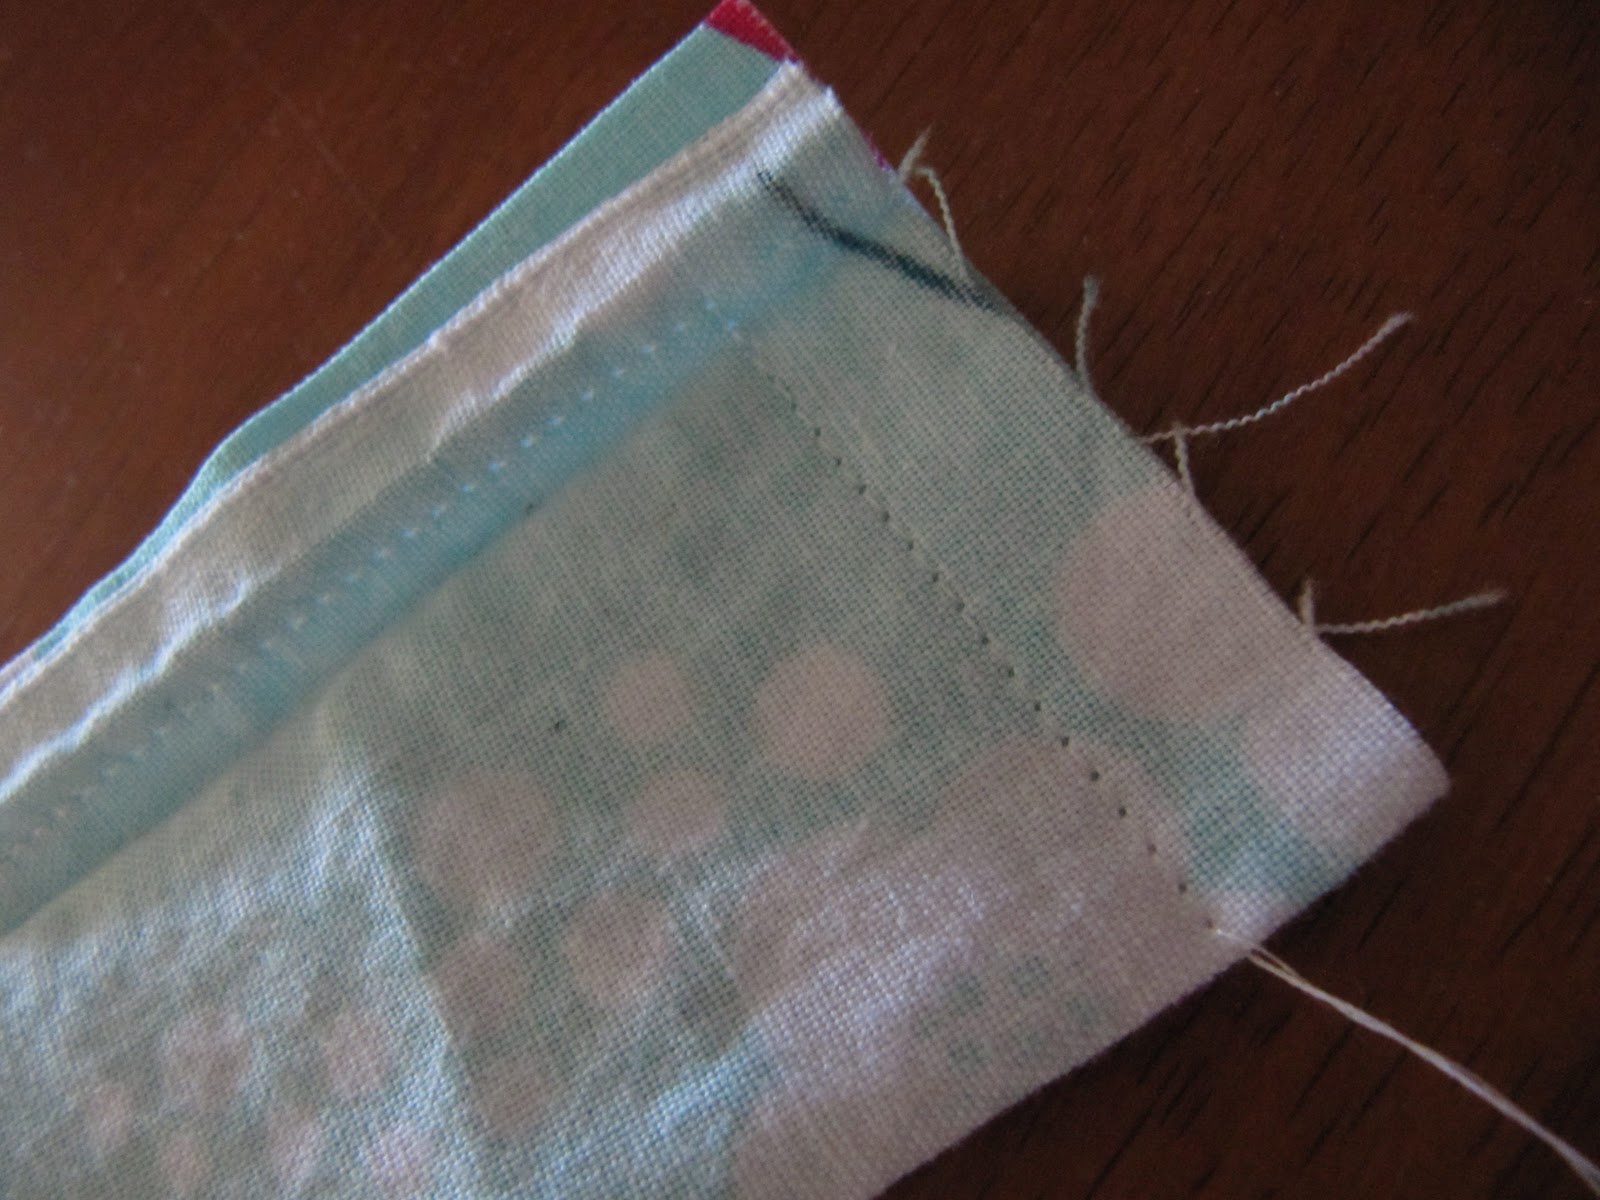
| It will ruffle a little bit. To help it ruffle a little more, sew another seam right next to it. |
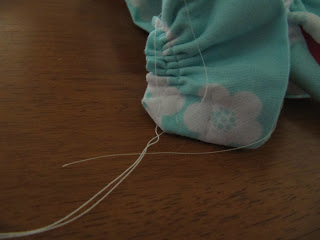 |
| Take the bobbin threads and pull, gathering the fabric much more tightly. This is probably the hardest step. |
 |
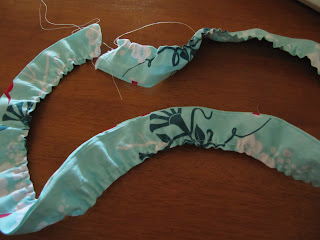
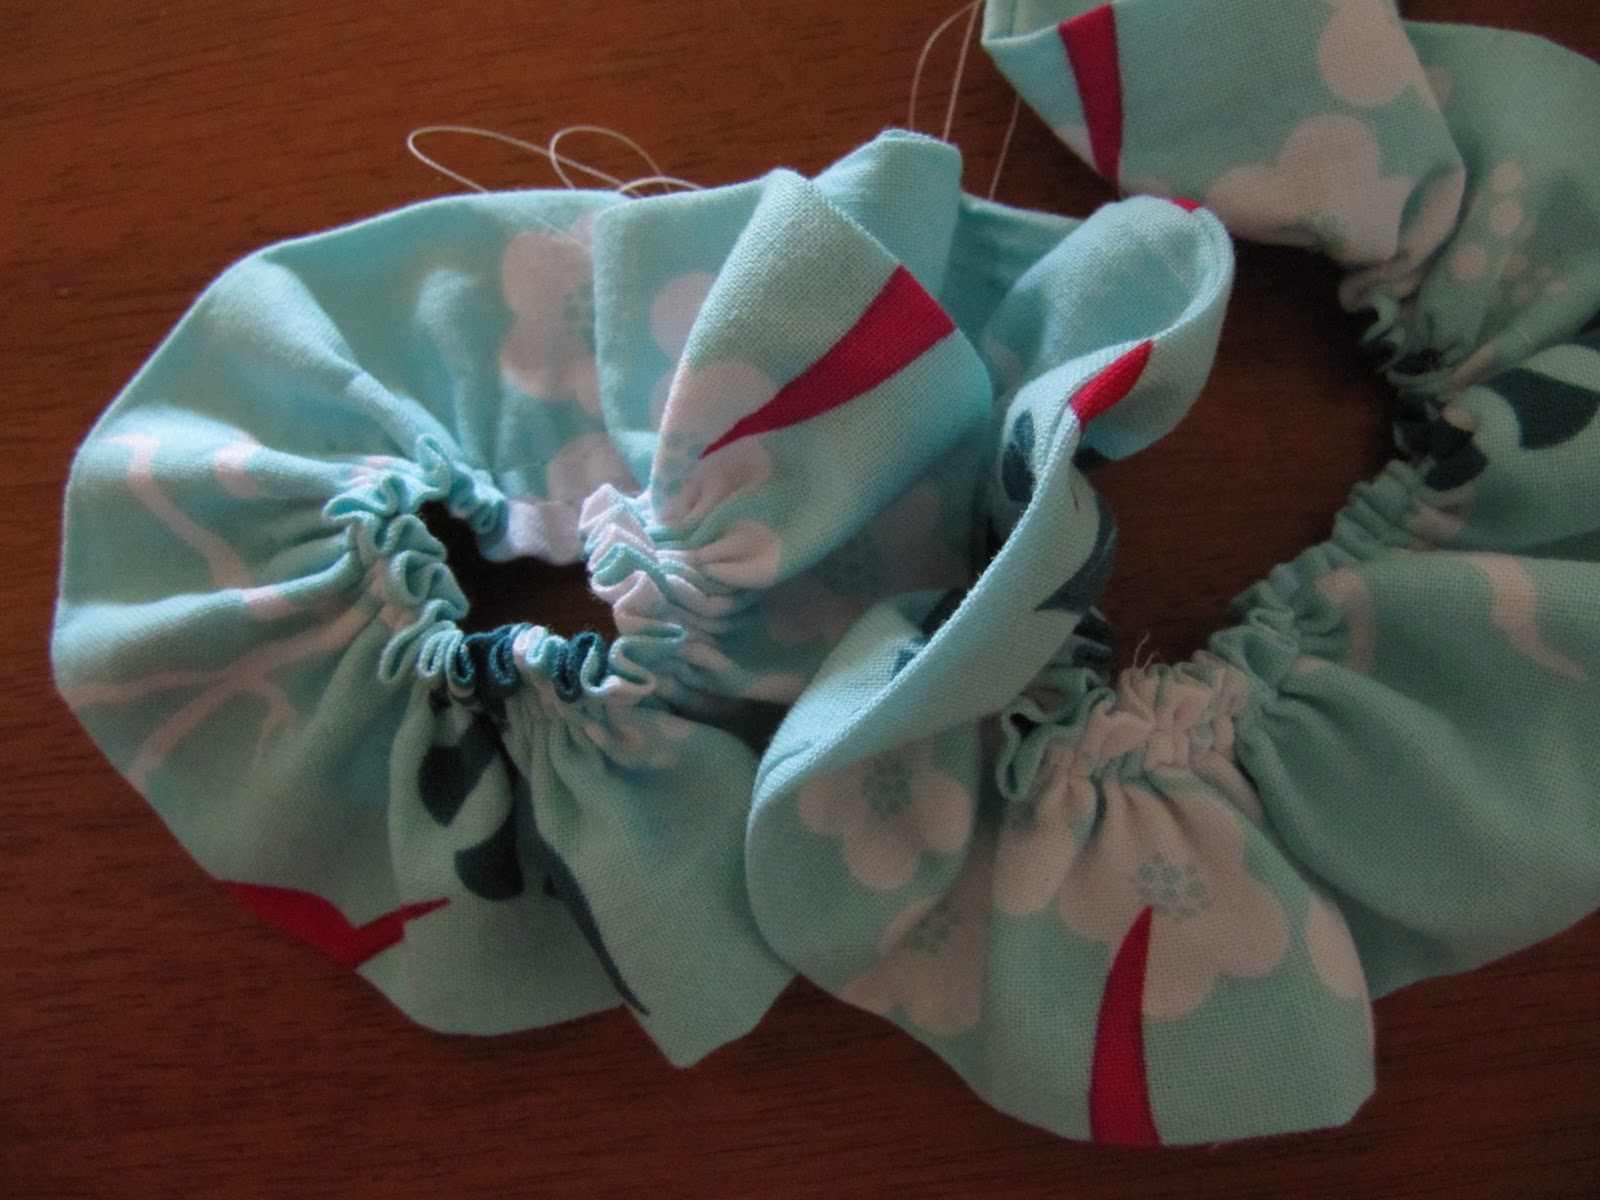
| This is what it should look like. |
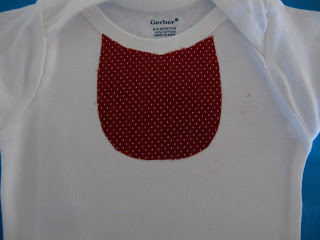 |
| Fuse some fabric onto your onesie in this approximate shape. Basically an oval without the top. |
 |
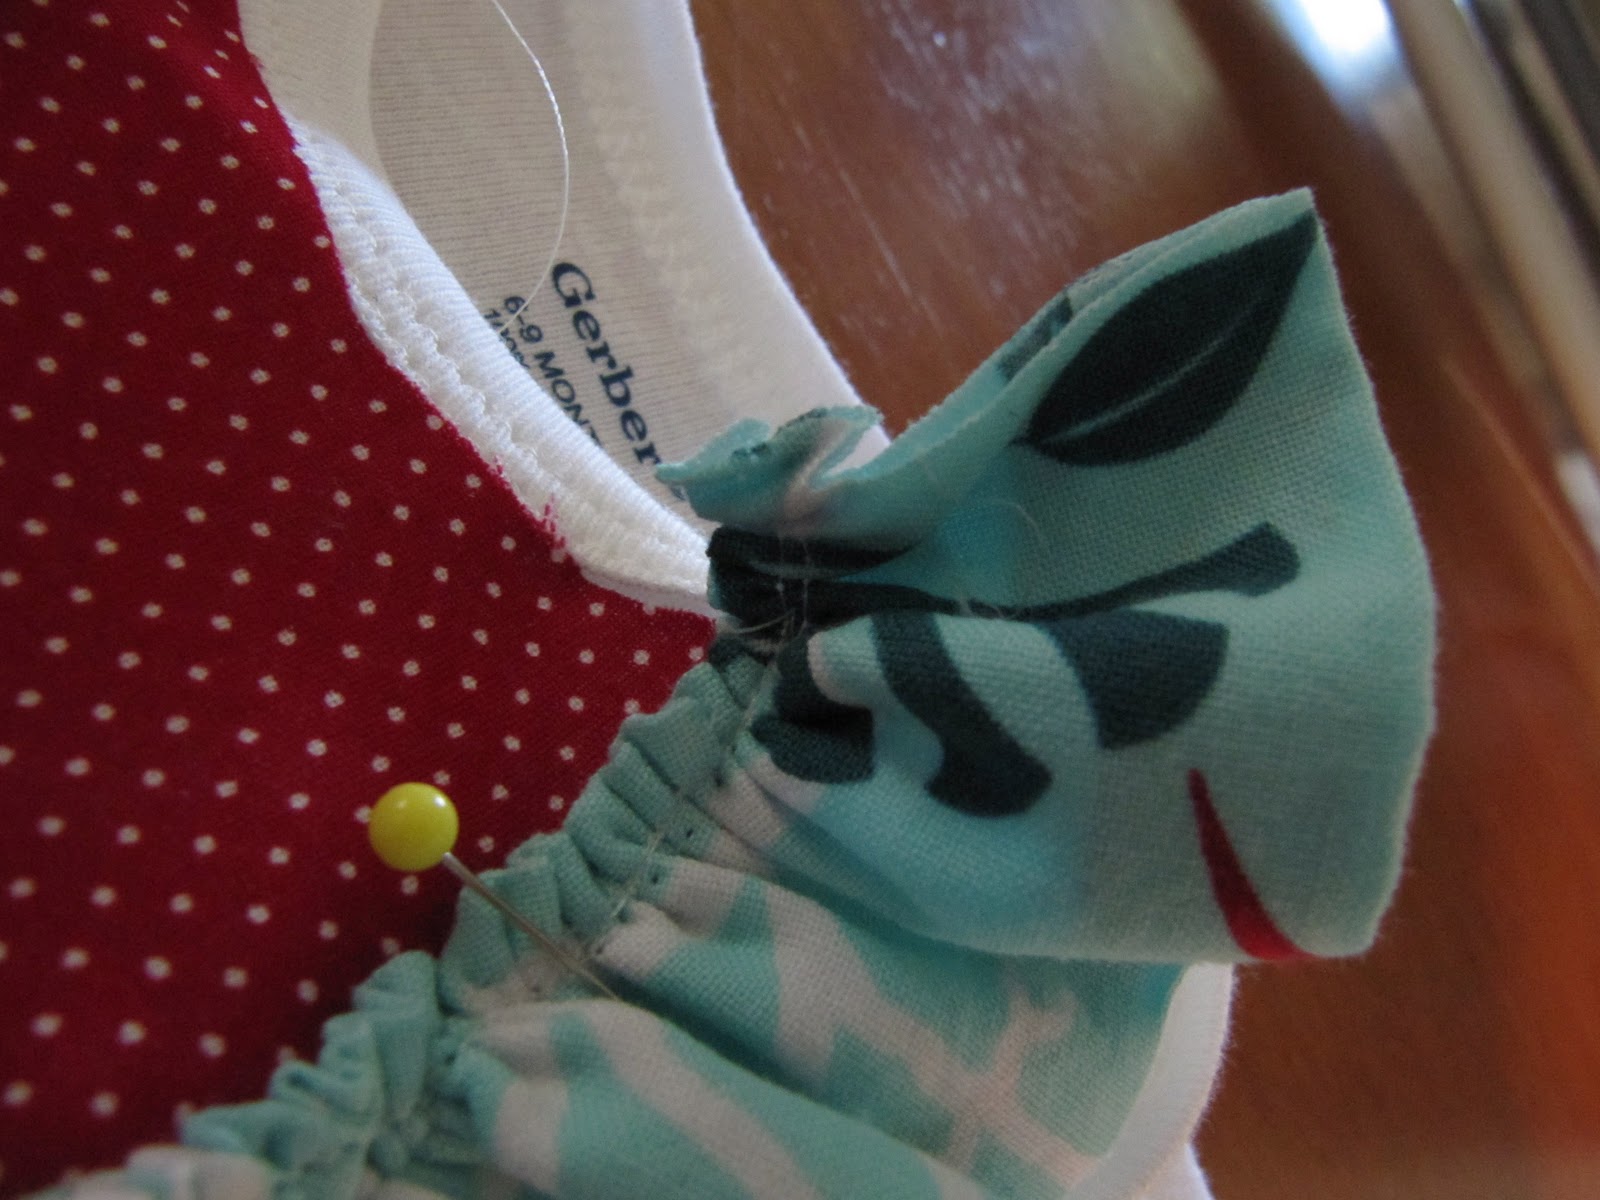
| Pin your ruffle on, like so. Start with your finished end. Then baste around your ruffle. |
 |
| Cut off the excess and save it…you can make a cute little headband! |
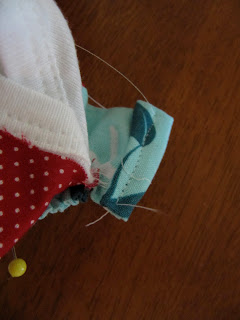 |
| Fold over your raw edge twice and hem it up. |
 |
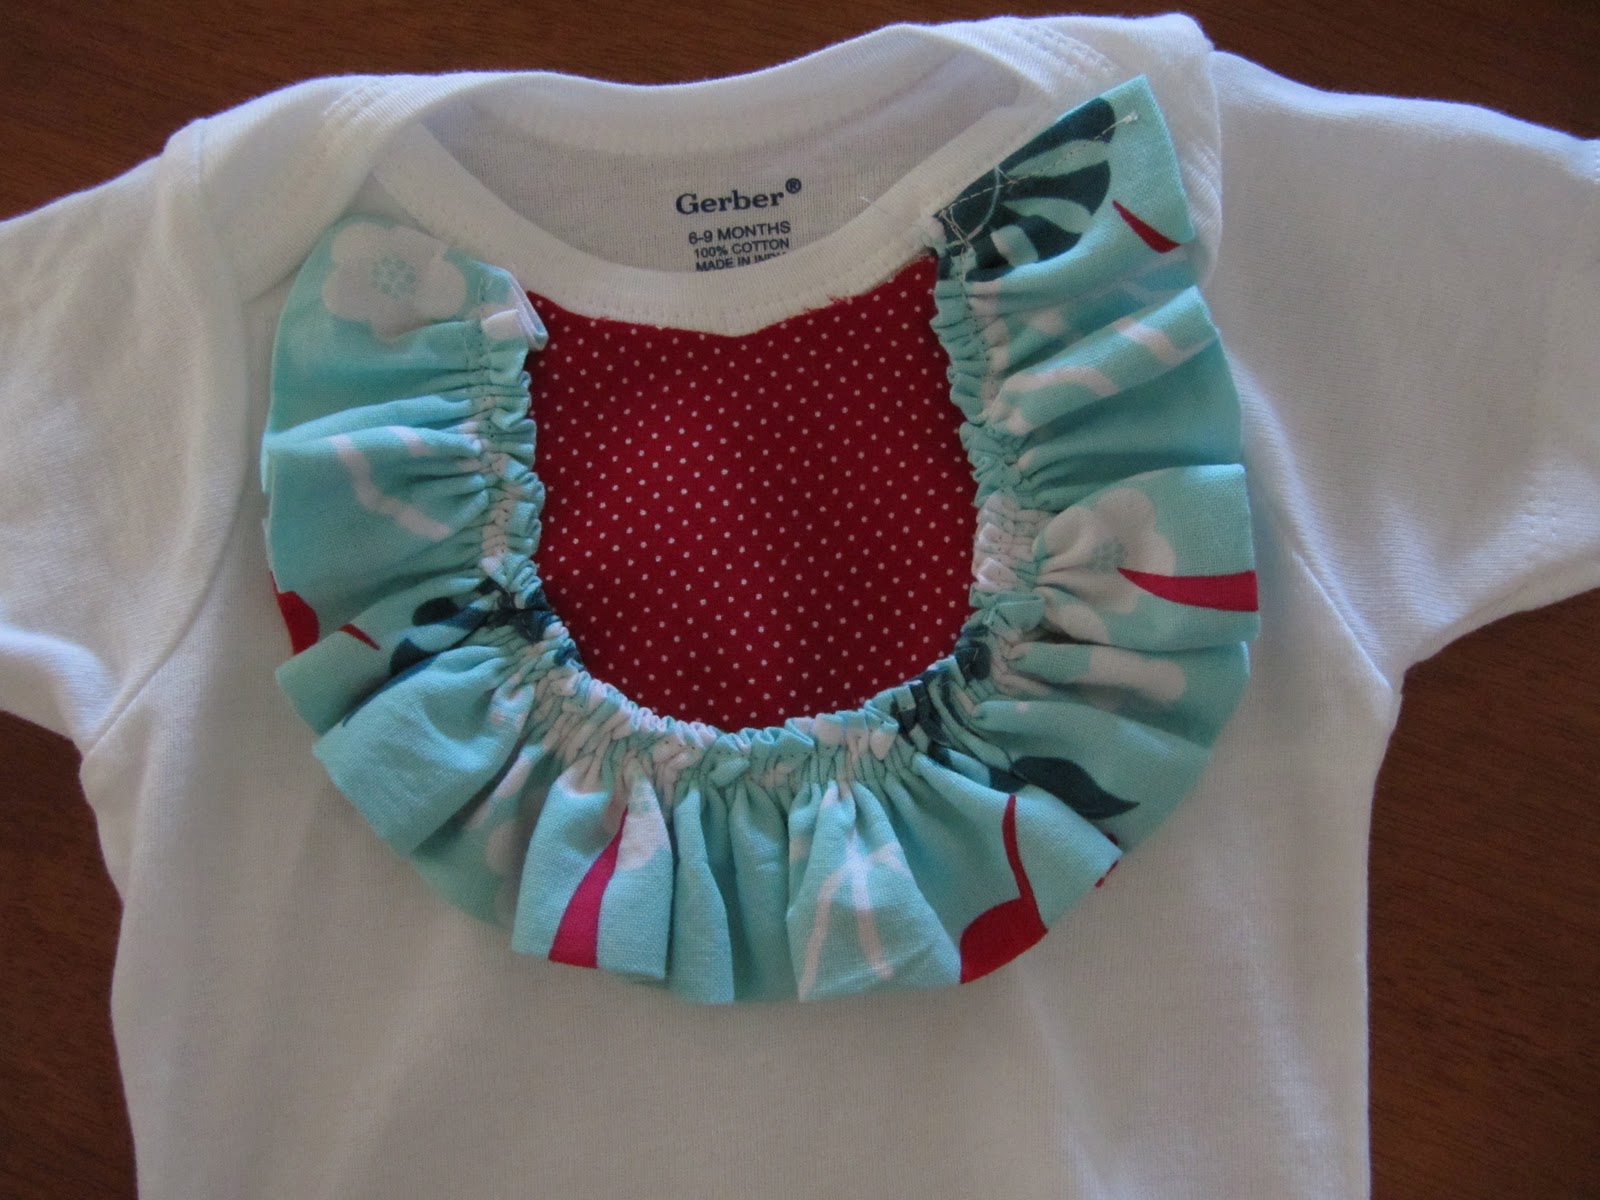
| Sew another seam around the ruffle to secure everything. And sew a little line across that top edge of your fused fabric. |
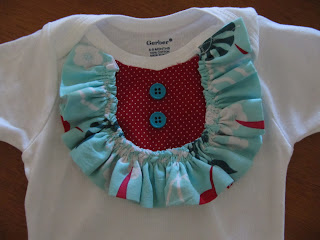 |
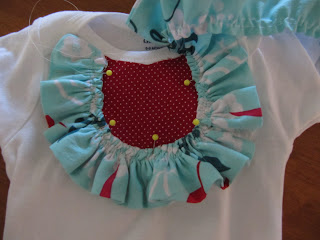
| Add a few buttons and you’re done! |
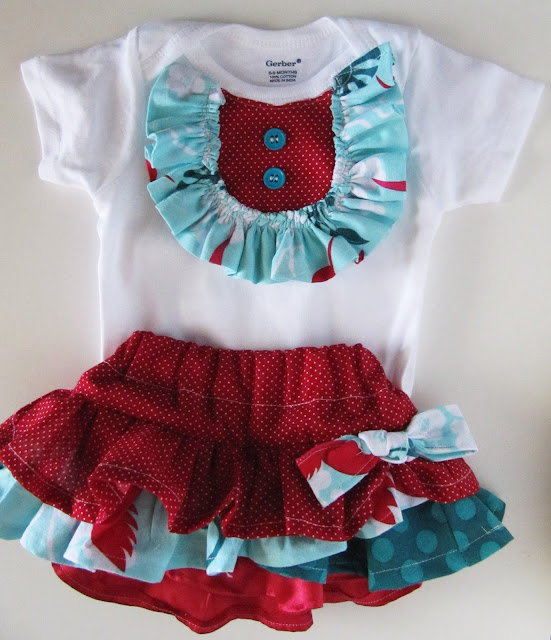 |
| Don’t forget to pair it with a cute skirt! |

OH MY GOSH – I LOVE THIS!!!! I'm obsessed with that color combination anyway… and that SKIRT!!!!! ahhhhhh 🙂 You are incredible!
ps- PLEASE tell me you'll do a tutorial on how to make that skirt, too?? (or at least email me your secrets) 😉
Oh that is too cute! Love the skirt too.
Yes- please do a tutorial on the skirt too! So cute!!
Super cute! Thanks for a great tute.
I would love a tutorial on how to do the skirt! That onesie paired with that skirt it the cutest! I makes the whole outfit flow!
Okay I just fell in love with this !!!!! Amazing! So what about the skirt?????
Maybe someday I will post a tutorial about the skirt but it took quite a bit of figuring out so I’m not quite at tutorial point yet. 🙂