Sharing is caring!
So since I’ve started my new blog,
The Mom Uniform, I’ve kinda
spent a little too much of my monthly clothes budget on clothes.
The solution?
Back to making stuff!
I saw a cute bib necklace at Downeast and I thought ‘how freaking easy would that be to make!’ So I sat down and made one.
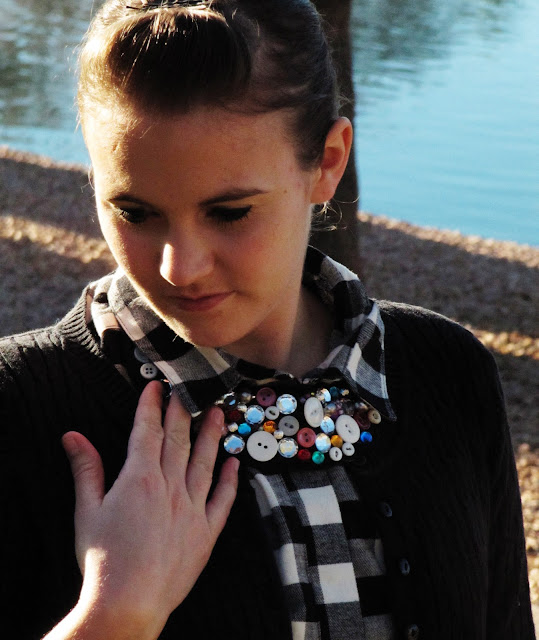 |
| Yes ma dears, those are real jewels… |
Do you want to make one?
I promise, it’s a show-stopping accessory that is the perfect item to pop a punch into a black t-shirt and jeans. You can stay in your MOM UNIFORM without actually changing a thing! Just add the necklace.
And PS, it’s totally baby-grab proof.
Tried and tested.
Buttons
Fake jewels (flat back, you can find them in the jewelry section of craft stores)
Metal or seed beeds (I used both)
Black felt
Black ribbon (I used satin but grosgrain would be ideal so as to not slip)
Hot glue gun
Needle and thread
 |
| To make your ‘bib’, draw a semi-circle on the piece of felt. Fold it in half when you do this so it’s symmetrical. (Unless you wanna go asymmetrical, that’s cool too.) Cut out your semi-circle and then cut out another semi-circle within it. |
 |
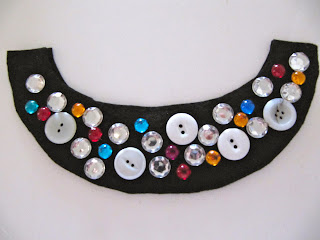
| So you get something like this! Make sure to cut TWO of these. And make sure you look at it on your neck in a mirror so you can see if it’s too big or too small. |
 |
| After you’ve cut your felt, place the big buttons and jewels first |
 |
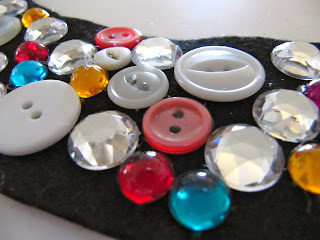
| Then start adding stuff… |
 |
| More and more stuff… |
 |
| Until you finally get it to where you like it. The hot glue each piece down. Remember, we only put down the buttons and the flat-back jewels. |
 |
| Remove all those spidery-threads. |
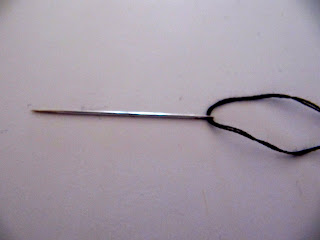 |
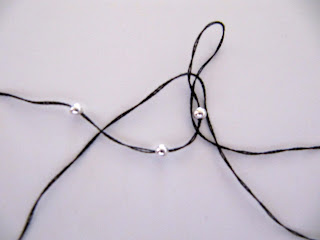
| Now thread your needle. I used half a thickness of embroidery floss so it would be nice and strong. Make a knot at the end. |
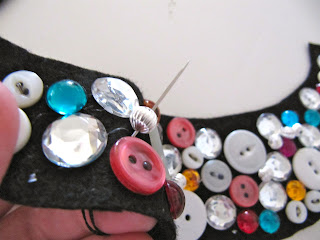 |
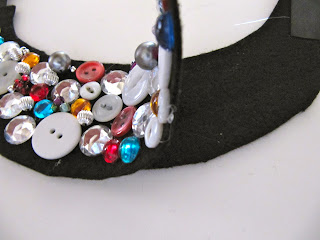
| Going up from the bottom, poke your needle through, slide a bead on, and pull the thread through. Then poke the needle into the top going down and pull tight. |
 |
| To add on a bead cluster, make sure you POKE YOUR NEEDLE UP FROM THE BOTTOM before you thread on three or more seed beads. Believe me, I messed up like four times by not poking the needle back through first. Once your beads are on, you can decide if you want the beads all clustered together or straight in a line. To cluster together like a flower, poke the need back down close to where you came up through. Then secure your flower with another stitch. |
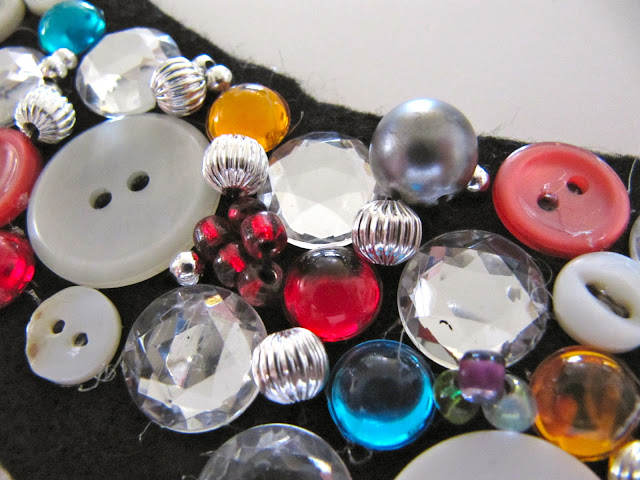 |
| You see my flower bead clusters? |
 |
| Once you’ve sewn on as many beads as you’d like, finish off by making sure the needle is poked through to the underside and tie in a knot, clipping the thread after. |
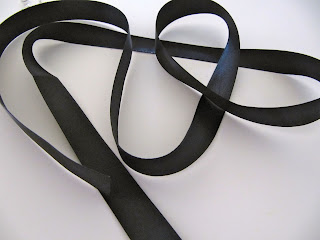 |
| Here’s my ribbon for the next step… |
 |
| I measured out a good long length so I knew I could have enough to tie a bow. Then I glued down each side to the BLANK piece of felt I’d cut. |
 |
| I then put the top piece on top of the bottom piece and glued the whole thing together. |
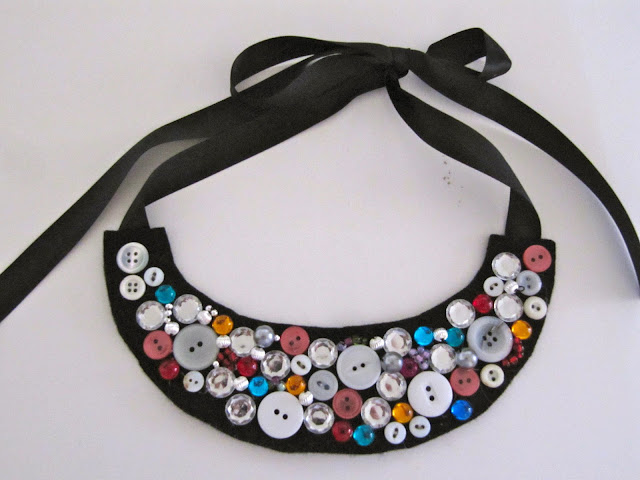 |
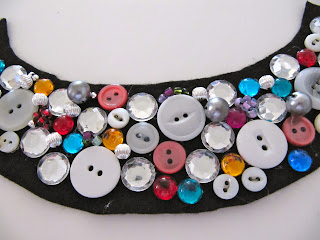
| Cut the ribbon in half (unless you already did that) and you have yourself a bib necklace! |


Easy, but lovely. The simplest things are the best.
I LOVE this, and how easy it is, but I am worried that you stated it was baby grab-proof. It may be grab proof in the fact that its not a fragile necklace a baby can break, but since the buttons and jewels are only glued on, it is possible that they could be torn off and choked on.
Marie- What I meant is that my baby grabbed it a lot while I was wearing and it didn't come off or break. I'm sure that if you let your baby play with it unsupervised then that is a possibility. Definitely make sure that doesn't happen! 🙂
Love this! So simple, but effective
I like how it looks on you, but i would not wear it. it just too ‘buttony’