Knock-Off Crate and Barrel Clock
Normally the reason we DIYers create Knock-Offs is because of price. But one of the biggest things I love about it is that you can make it exactly like you want! Remember my Living Room Plans? Well things are slowly coming together! I’m super excited.
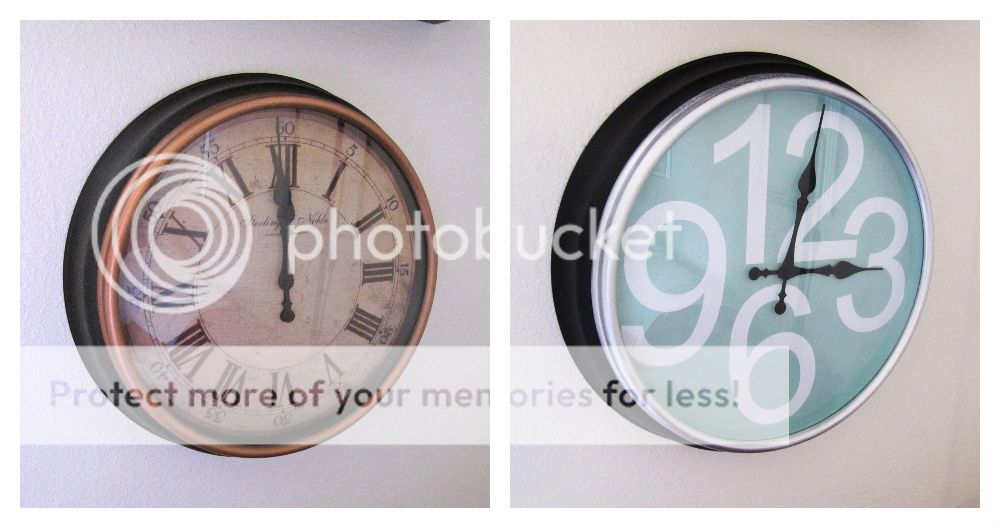
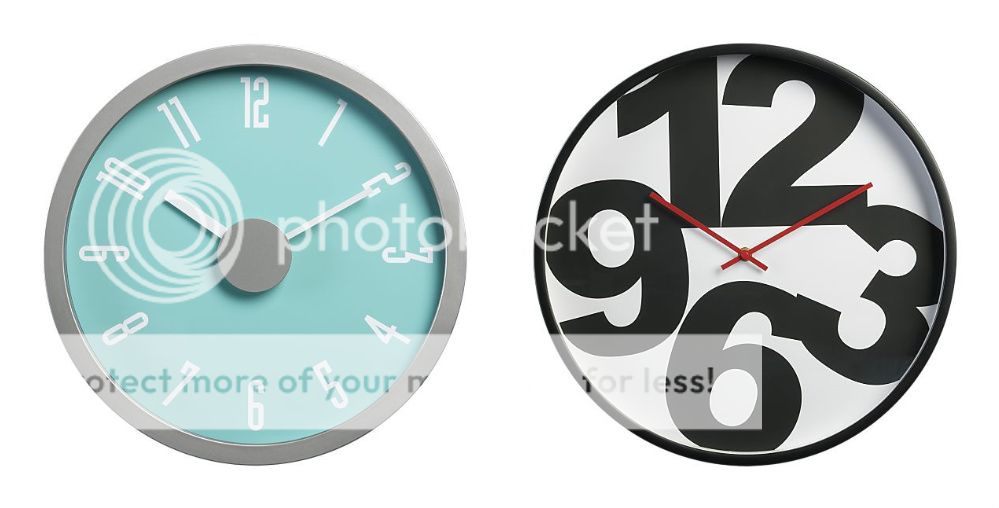
But I had this old clock that was a great size (20 inch diameter) but I was so tired of the way it looked. And it didn’t match my new plans at ALL. So I looked around for some inspiration, and these two Crate & Barrel clocks really struck me.
So I decided to combine the look to get what I wanted!
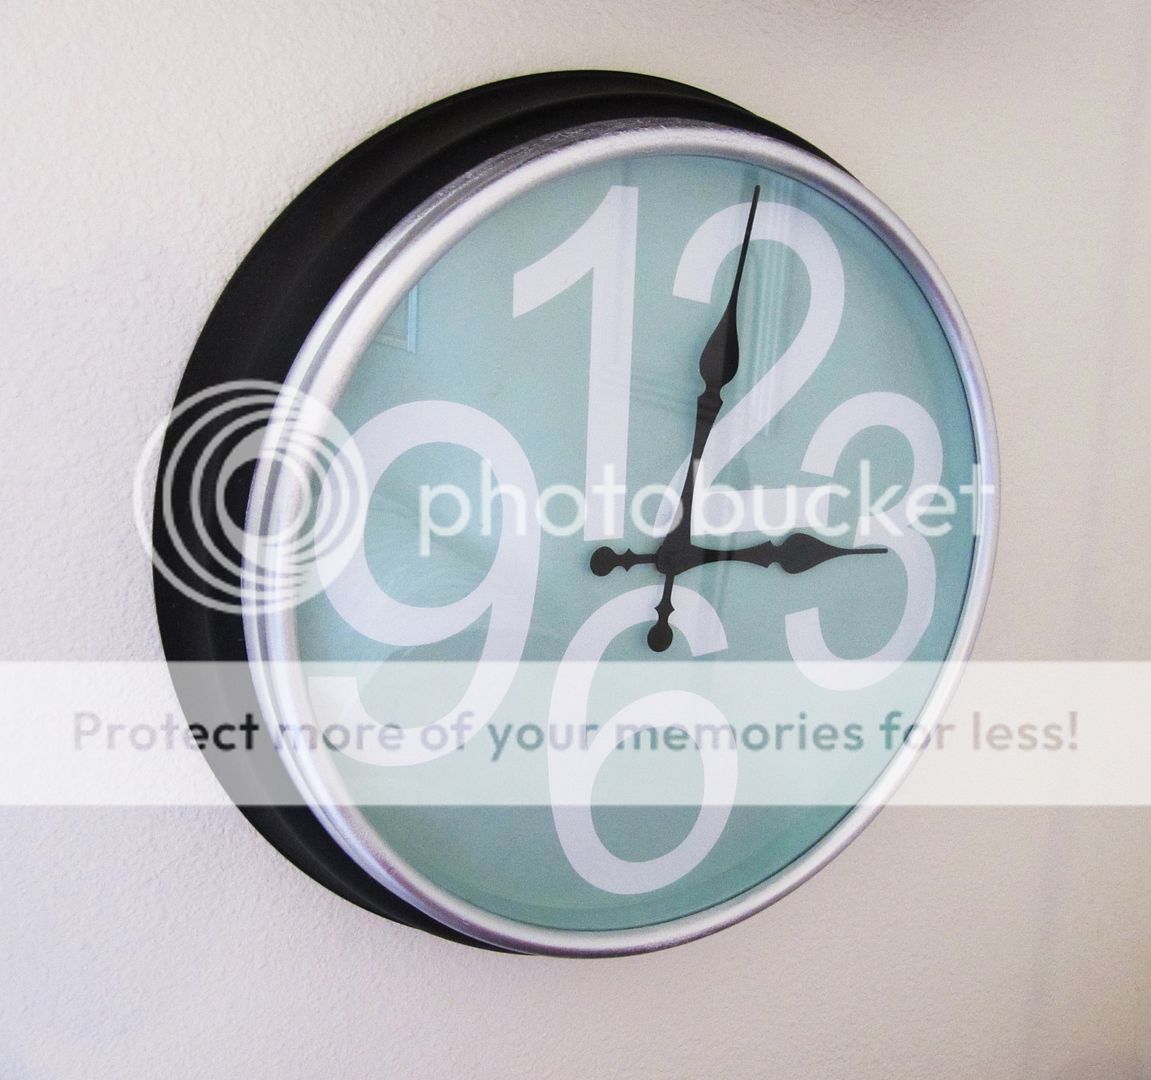
And can I say that I just LOVE my new clock!!
 |
| Left: Old clock; Right: New awesome clock! |
How I did it:
1. I took apart my original clock. I just looked for any screw that seemed like it was holding the thing together and unscrewed. I removed the back which allowed me to remove the copper ring around the front, which allowed me to pry the glass off and get to the clockface. I wanted to remove the paper that was the current clockface, but it was glued on really well so I just decided to paint it right there.
2. I didn’t have aqua paint, so I just mixed some baby blue with spring green and it made the perfect color. I used masking tape to cover the clock’s hands and then I started painting the face. I waited until each coat was completely dry before painting over the previous coat and it took me 4 or 5 coats. {{Except that I sprayed on some old glossy sealer that I had and it left RUST on it! So then I had to paint another three coats. Dumb me.}}
3. Using my Silhouette, I cut out very large (like 700 pt font!) numbers on white vinyl. I used the pink tip on heavy cardstock setting. The program suggests using the yellow tip and their vinyl setting, but it didn’t work for me…the numbers weren’t cut all the way through. I used vinyl purchased from Expressions Vinyl, awesome company! (And of course if you don’t have a cutting machine you can just free hand cut or use and exacto-knife, all the while cursing yourself for not having a Silhouette yet.)
4. I put the clock back together! I had used my trusty metallic silver Krylon spray paint to spray the copper ring silver. I love Krylon. I thought the Rustoleum white that I had would be fine but it left a bunch of weird bubbles on it and looked bad. Not sure why this happened, but my Krylon spray paints have never disappointed.
This was a pretty easy project that makes a HUGE statement in my living room now. I lub it so much.
PS. I did try to make the numbers a little wonky but when I put them on crooked they ended up straight (except for the 6). Isn’t that absurd?


I lub your new clock to!!! You just inspired me to break out the old frames in my basement and make them into a collage for our Disney pictures 🙂
i think it's cute. it's been difficult for me to find a cheap clock that i like, and now i know i can just find a cheap clock and change it!
Wow! It really is fabulous!!! I would just never think of doing that, I really need to change my mentality.
I love that! Totally inspiring. And isn't it funny that the one time you're trying to make things wonky they turn out straight?
LOVE.. the colour is great!
This is a awesome clock redo.
Love this!! Super cute…great idea!
Love this clock! Super cute! 🙂
Holy Cow!
It's beautiful!
I am sooo excited to see the completed room. This will look lovely with your shelves!
I LOVE IT! I have that same clock…you have just inspired me to redo it!
P.S. The paint bubbles if it is to cold…I love that paint to, but it is temp picky for sure :)!
Great job!
That looks so great … I love the huge numbers.
love love love!
I'm partial to yours over Crate and barrel's too!
thanks for sharing!
Love that clock! It's so very cool I Stumbled it. 🙂
I definitely love your combination of the two. Better than the black and white with big numbers!!!! I am featuring this at somedaycrafts.blogspot.com.
See now that clock would look fantastic in my kitchen too! I was posting about clocks today and linked up your project to it – well done!
this is seriously awesome!!
Oh I love this!! Great job!
featured this on my blog today!
http://www.kimboscrafts.blogspot.com
You absolutely NAILED this project. Not that you don't always of course, but I really think you kicked Crate and Barrel's butt on this one.
LOVE this! Gotta try it soooon!
xo
Robin
All Things Heart and Home
(I stumbled it!)
ROCK On Girl! You did such an amazing job.
This does not look like a DIY project! It's gorgeous! I love the silver ring- even though it was your second choice I think it's a better one!
Amazing!
Great transformation! I would love for you to stop by and link up to my Ten Buck Tuesday link party (they last all week)!
Heidi!! This is amazing. I love how it is so simple but makes a huge impact! Great job!
Adorable and so resourceful!!!
I.love.this. My mom has this fugly kitchen clock – plastic – and I knew I could do something w/it but didn’t know what. Now I know! ‘Cept I don’t have a cutter. Too bad . . . I’ll come up w/something! This is just too cute!
Love that you combined 2 clock-spirations! It came out great!
Thanks so much Caroline! I still love this clock even though I made it in March (that says a lot because I get sick of stuff fast!) Thanks for your nice comment.
This came out great! I don’t know why anyone has a plain old clock anymore! I rehabbed my clock too (also blue)…you can check it out here if you want: http://wp.me/p1VAkT-eH
You have some great projects…I’m following you now! 🙂
jamie @ sewrockin.com
Hi Hiedi! What a great project! Hi, my name is Melissa and I’m the managing editor for FaveCrafts.com. I was wondering if you’d be interested in allowing us to publish this project on our site. I have a newsletter of “knock off projects” coming up and I’d love to feature it! You can contact me at mconner@primecp.com for more information. Thanks and I look forward to hearing from you! Best, Melissa 🙂
A truly spectacular clock redo. Like many others out there, I also have the Big Clock in my LR. When I first got it I though it looked cutting edge but now it just seems dated, too yellow and old-school plankalicious. I love what you did!!!!
Love your blog and this project – so creative and fun! Just wanted to let you know I featured it in my roundup of clock re-dos and makeovers here. Feel free to check it out if you want and hope you like it! : )
-Mel the Crafty Scientist