Adding a Strap to an Ipad Case
No Chevron or ruffles today. Here’s what I like to call a Man Project: it’s a Man Purse.
From time to time my hubby likes me to create something for him that will make his life more convenient. One time I sewed him a wallet that would fit a cell phone, credit cards, and an ipod. This time its an ipad case with a strap.
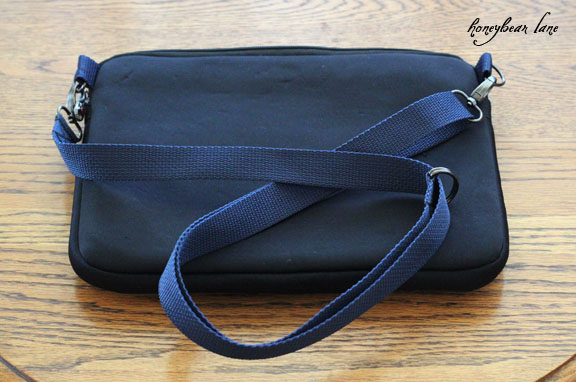
Okay, confession. I didn’t sew the case. I COULD have, if I was a super good wife. But I think I was a little busy with doing a couch slipcover at the time. So this time around we just added some straps. And this is what we got:
Here’s how you can do it:
Supplies:
Ipad Case
Polyester Nylon Strap material (look in the ribbon section)
4 D rings
2 clips
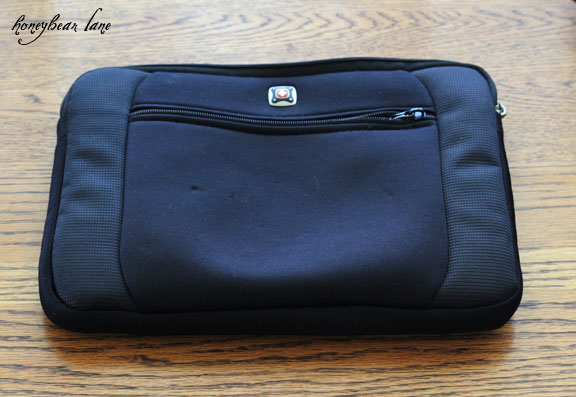
Here is the ipad case I bought. Then I used my trusty seam ripper to rip open holes in the sides. I had to rip through the side seams and an inner binding.
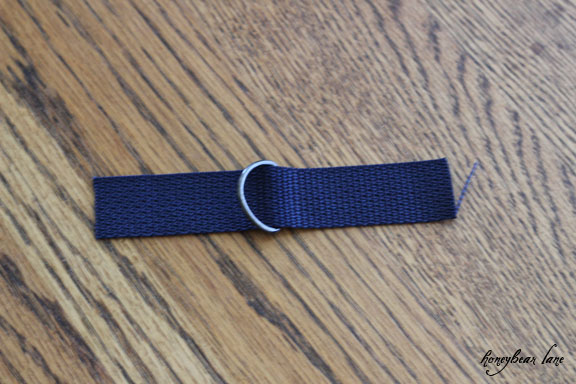
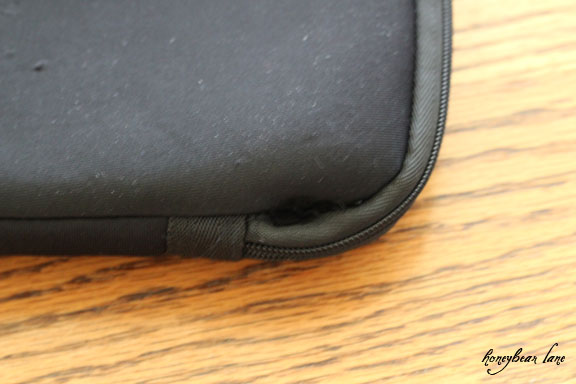 Then I cut a bit of the strap stuff and slid a ring into it.
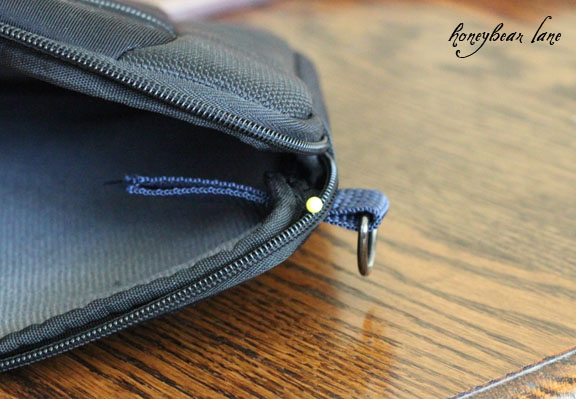
And I folded it over and slid it in the hole, pinning it.
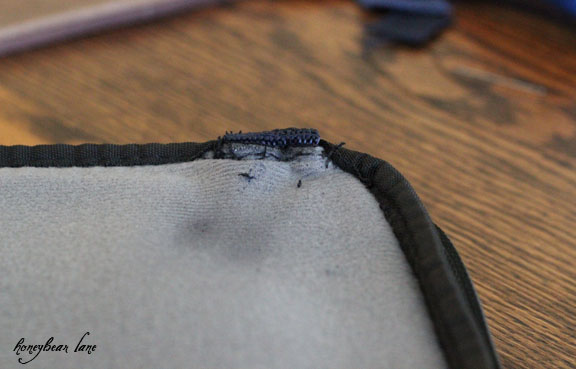
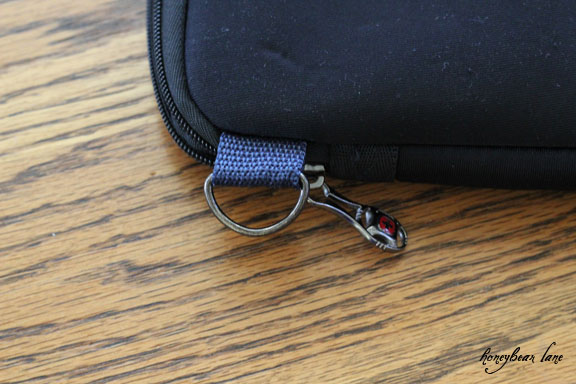
For the next part I flipped it inside out. Then I actually handstitched it in place, but you could do it with a machine. I would probably still handstitch it first (I’m without my sewing machine power cord right now…so sad!)
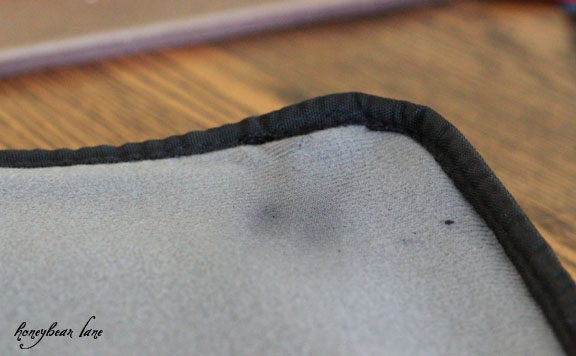
After I stitched it really well, I cut it short and heat sealed the ends. Then I put the inside binding over the raw edge and stitched it over again. This is where I would probably go over it with a sewing machine.
See how good that looks? Can’t even see it.
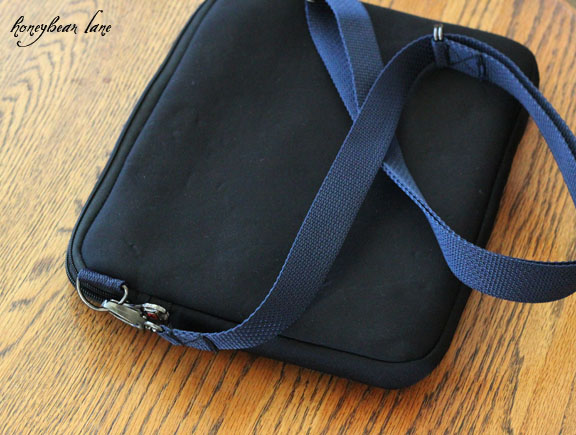
And here’s what it looks like on the outside. (By the way my hubby wanted the blue. I would have chosen gray.)
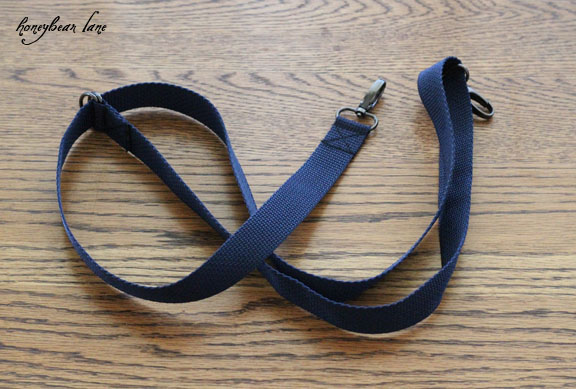
Making the strap is a piece. Of. Cake.
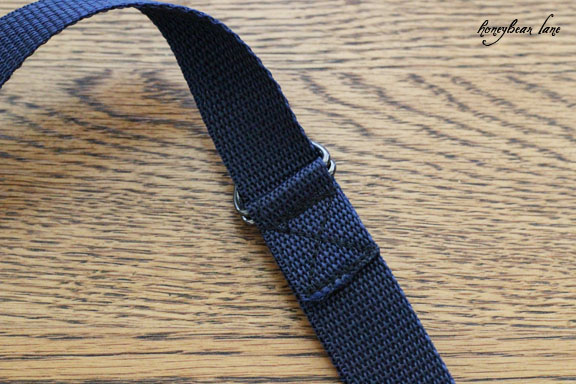
To make it adjustable, you take two D rings and sew a loop around both.
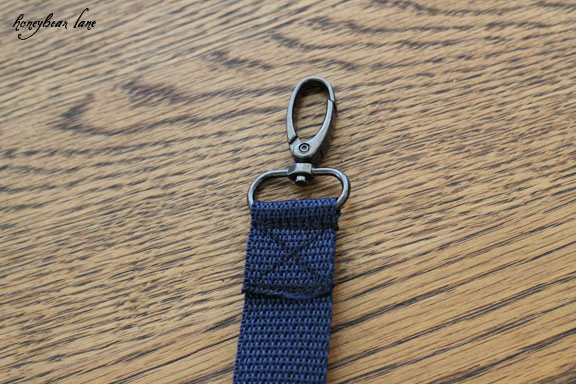
Then you loop one of the clips through and the other end you will sew the other clip. To sew these, I just fold it over, use a zipper foot to get close, and sew an X and a box to make sure it’s down well. And of course heat seal the end. To heat seal, you just wave a flame close to the edge and melt it a bit.
Ta da!!
This is an easy fix for any sort of case that doesn’t have a strap. The most important thing is to be sure to sew those D rings in the side REALLY well. I didn’t do the best job the first time and they both came out. Another reason to secure it with the sewing machine!
And my man loves his man bag.

Brilliant! I linked to your tutorial on Craft Gossip Sewing:
http://sewing.craftgossip.com/tutorial-add-a-strap-to-an-ipad-case/2011/07/16/
–Anne
Thanks so much Anne!