How to Make a Pinwheel Quilt
I’m finally having a baby girl.
And I knew I wanted to make my baby girl’s quilt a pinwheel with adorable fabrics.
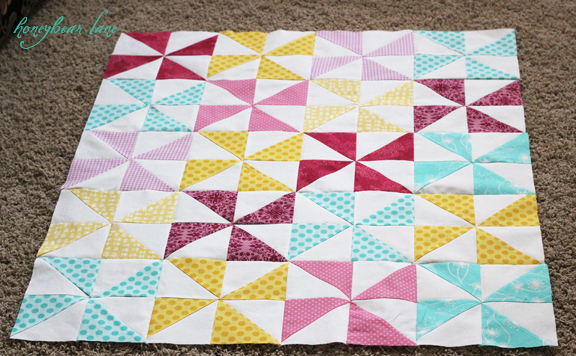
Here’s the quilt top (without the outer sashing). I can’t wait to quilt and bind this baby and see it finished!
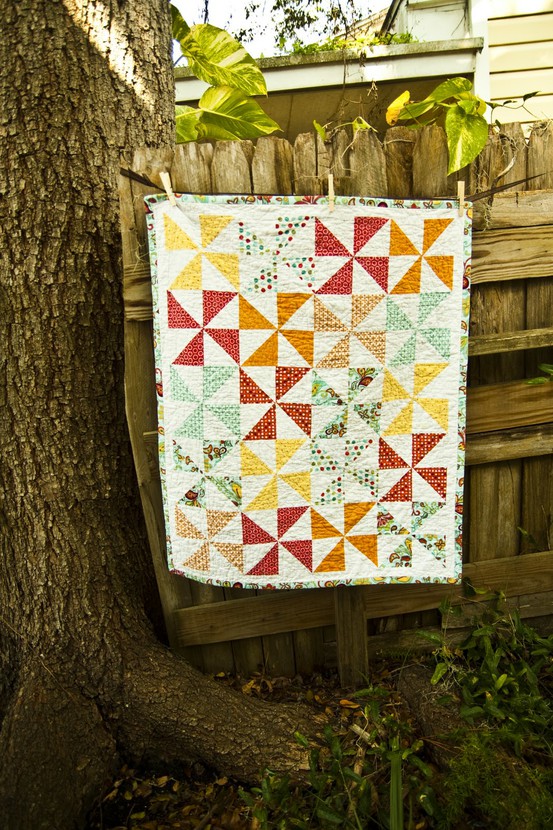
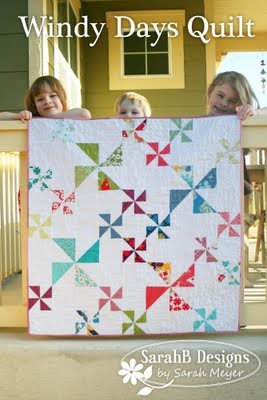
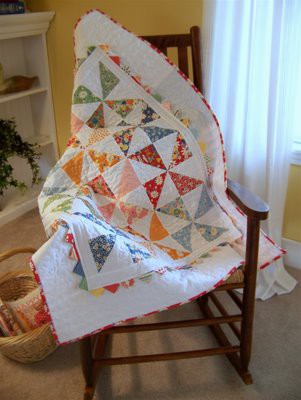
I was inspired by these quilts that I found on Pinterest
Making triangles is a very simple technique that gives you SO many options for quilt designs. This is also how you create zig zags.
To see the tutorial, follow me after the jump!
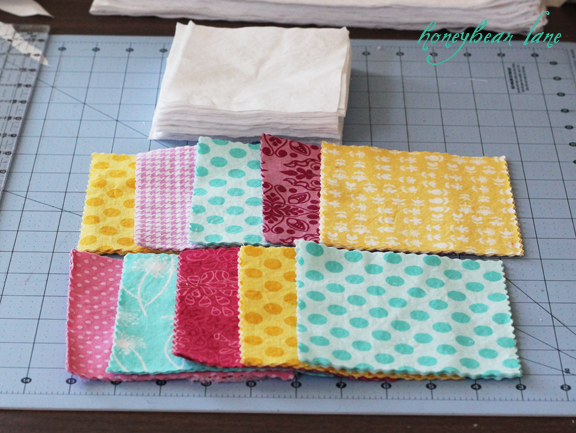
First you start out with your selection of fabrics. For this quilt top I used 40 colored patterned fabrics and 40 plain white cotton. They are all 5×5 squares.
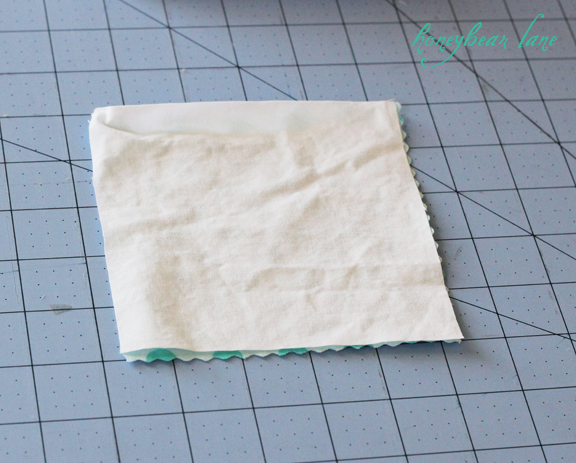
Place one patterned and one white on top of each other, right sides together.
The fold the two squares in half on the diagonal. I usually iron them in half so there is a very distinct line to follow and I do a whole bunch at once.
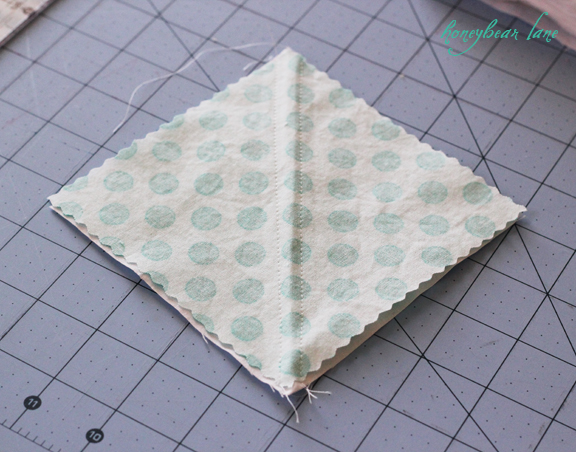
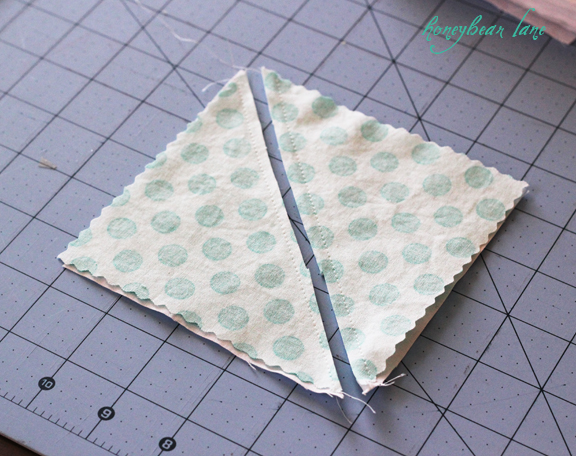
After you have your crease, open it back up and you will sew a stitch 1/4″ on one side of the crease. (I have heard a 1/4″ foot comes in very handy here but I don’t have one so I just line it up with a certain spot on my presser foot.) The sew another seam on the other side of the crease, 1/4″ away again.
After that you clip along the crease.
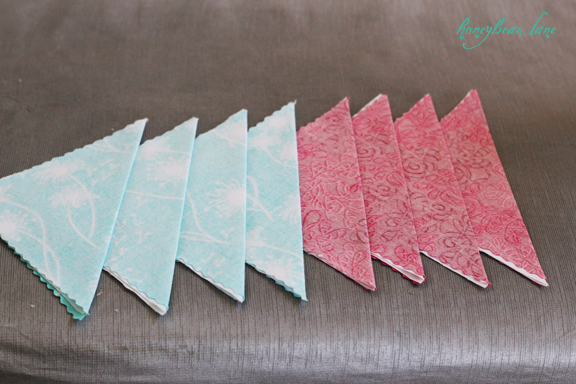
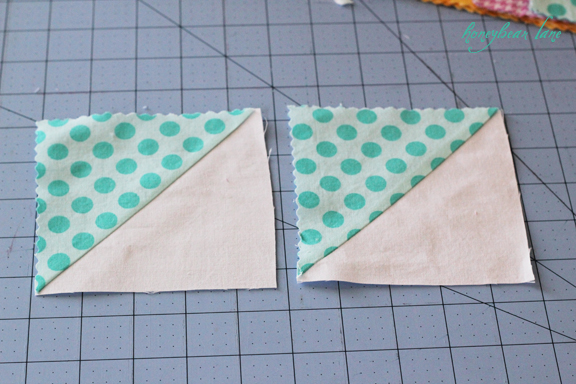
Now when you flip them open you will have two squares made up of four triangles. Iron the seam flat (I always push it to the side of the printed fabric so you can’t see it as easily.)
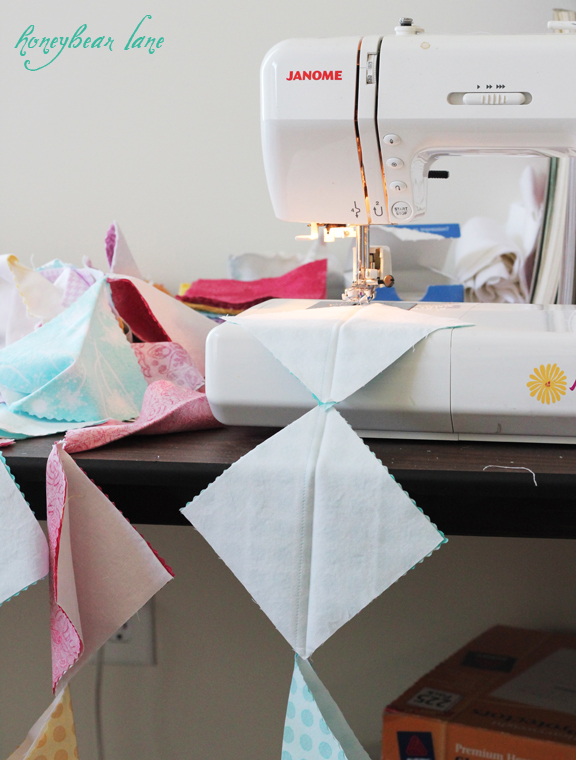
To make this whole process go a LOT faster, I do chain stitching. I will sew the seam on one side of the crease along tons of squares, one right after the other without cutting them off.
Then you can just flip the whole thing over and sew the other side of the seam. Then you got a lot of cutting and ironing to do. But after all that monotonous part, you can do the fun part of piecing!
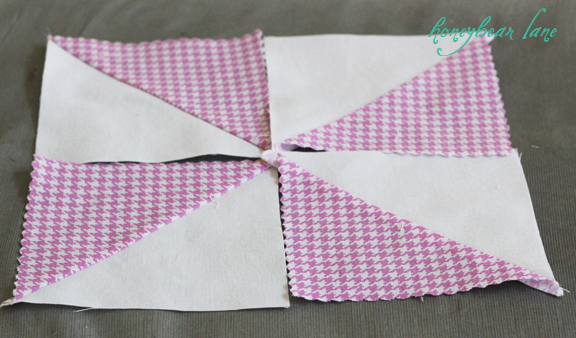
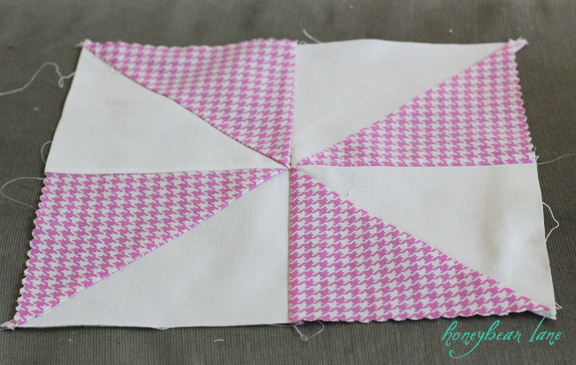
So here is how you arrange your triangle-squares to be a pinwheel. To do a zigzag you can just make a point at the top with the bottom two flanking out at the bottom.
Sew them together and press the seams down. Doesn’t that look nice? Now just make about 19 more pinwheels and then you can lay them out how you want.
And you have a pinwheel top!
Hopefully later this week I will have time to quilt this in a new free-motion pattern I’ve been wanting to try (also inspired by Pinterest!)

That’s so cool! I have never made a quilt before but it’s on my list of things to sew. I’m hoping to make one before Winter, the pinwheel is a very nice design!
Happy Monday!
I saw some of your Puff Quilt Gorgeousness on Lemon Tree Creations!! Hope I win!! And I’m so glad I found your blog! 🙂
Beth
I am loving those colors, Heidi! Too cute! One thing I always do for the triangle blocks is use a ruler to draw a diagonal line instead of ironing it. Just makes it easier to see. I absolutely cannot wait to see how great it will look when it’s finished!
Thanks for sharing this tutorial, your quilt is so cute!! Your blog is inspiring.
Hoping to win your puff quilt pattern on Lemon Tree Creations, I’ve been wanting to make one for a long time! 🙂
Oh I love this! You definitely inspire me and make quilting seem not quite so scary!
ps: I saw your puff quilts over at Lemon Tree Creations, and am hoping to win a tutorial!
-Michelle
This quilt is going to be sooo adorable!!
I saw some of your Puff Quilt Gorgeousness on Lemon Tree Creations! I’m hoping I win one of those patterns. <3
Wow – I fell in love with your puff quilts when I saw them featured on Lemon Tree Creations! They are just adorable and would make such a sweet gift for a new mom. I’d have to make another quilt to keep too! I can see it in a pretty turquoise paired with orange. Great job!
Melissa
So cute! I found you through the giveaway at Lemon Tree Creations and I am so excited to dig into your tutorials!
Popping over from Lemon Tree Creations 😉
I saw your Puff Quilt Gorgeousness on Lemon Tree Creations but I am in love with this pinwheel quilt too might be on the “to do” list for my daughter I think!
Love the pinwheels – just saw your puff quilt on Lemon Tree Creations. My fingers are crossed that I win a copy of this quilt pattern – I am a beginner and this sounds like a good project for me.
I saw your Puff Quilt Gorgeousness on Lemon Tree Creations. Hoping I win the pattern too!
I LOVE quilts! I saw your puff quilt on Lemon Tree Creations and I’m hoping to win so I can try out that awesome pattern! They are beautiful and all the pictures I’ve seen have turned out so nice. I’m excited to follow your blog and I just might have to check in to your pintrest challenges, sounds like fun!
Oh Heidi this is just beautiful! I LOVE the colors you chose!
So adorable Heidi! Can’t wait to see the final product!
I have seen your puff quilts at lemon tree creations and fell in love with them. I have seen your quilts before and have them on my to do list.
LOVE THIS! Now I want to make one for each of my kids! Ha- we’ll see if that actually happens, though. 😀
Girl, you are so talented its crazy! I just signed up to take a beginning quilting class–inspired by your mad skills! xoxo, ashley
Beautiful, you are so talented!
Also, I saw the puff quilt on Lemon Tree Creations and fell in love!
genius. I wish I’d known this 2 days ago before I cut a bunch of triangles!!
Heidi, how do you make your pinwheels so perfect in the center???? Got any tricks/tips?
Gostei bastante do modelo catavento, estou animada a fazer uma para experimentar. Quero comparar uma máquina da janome, só que em minha cidade não a encontra!!!!!!!!