• Home
  • About
  • Contact
  • Shop
    • Patterns

Honeybear Lane

DIY Decorating

  • DIY Tutorials
    • Projects
    • Building
    • Sewing
    • Quilting
    • Crafts
  • Home Decor
    • Home Decorating
    • Honeybear House
    • Organization
    • DIY home decor
  • My Home Tour
  • Recipes
  • Holiday
    • Valentines
    • St Patricks Day
    • Easter
    • Spring
    • Summer
    • July 4th
    • Fall
    • Halloween
    • Thanksgiving
    • Christmas
  • Entertaining
    • Printables
    • Parties
  • Wellness
    • Essential Oils
    • Health and Wellness
    • Weight loss
Catablog· halloween· handmade pillows· pillow· sewing

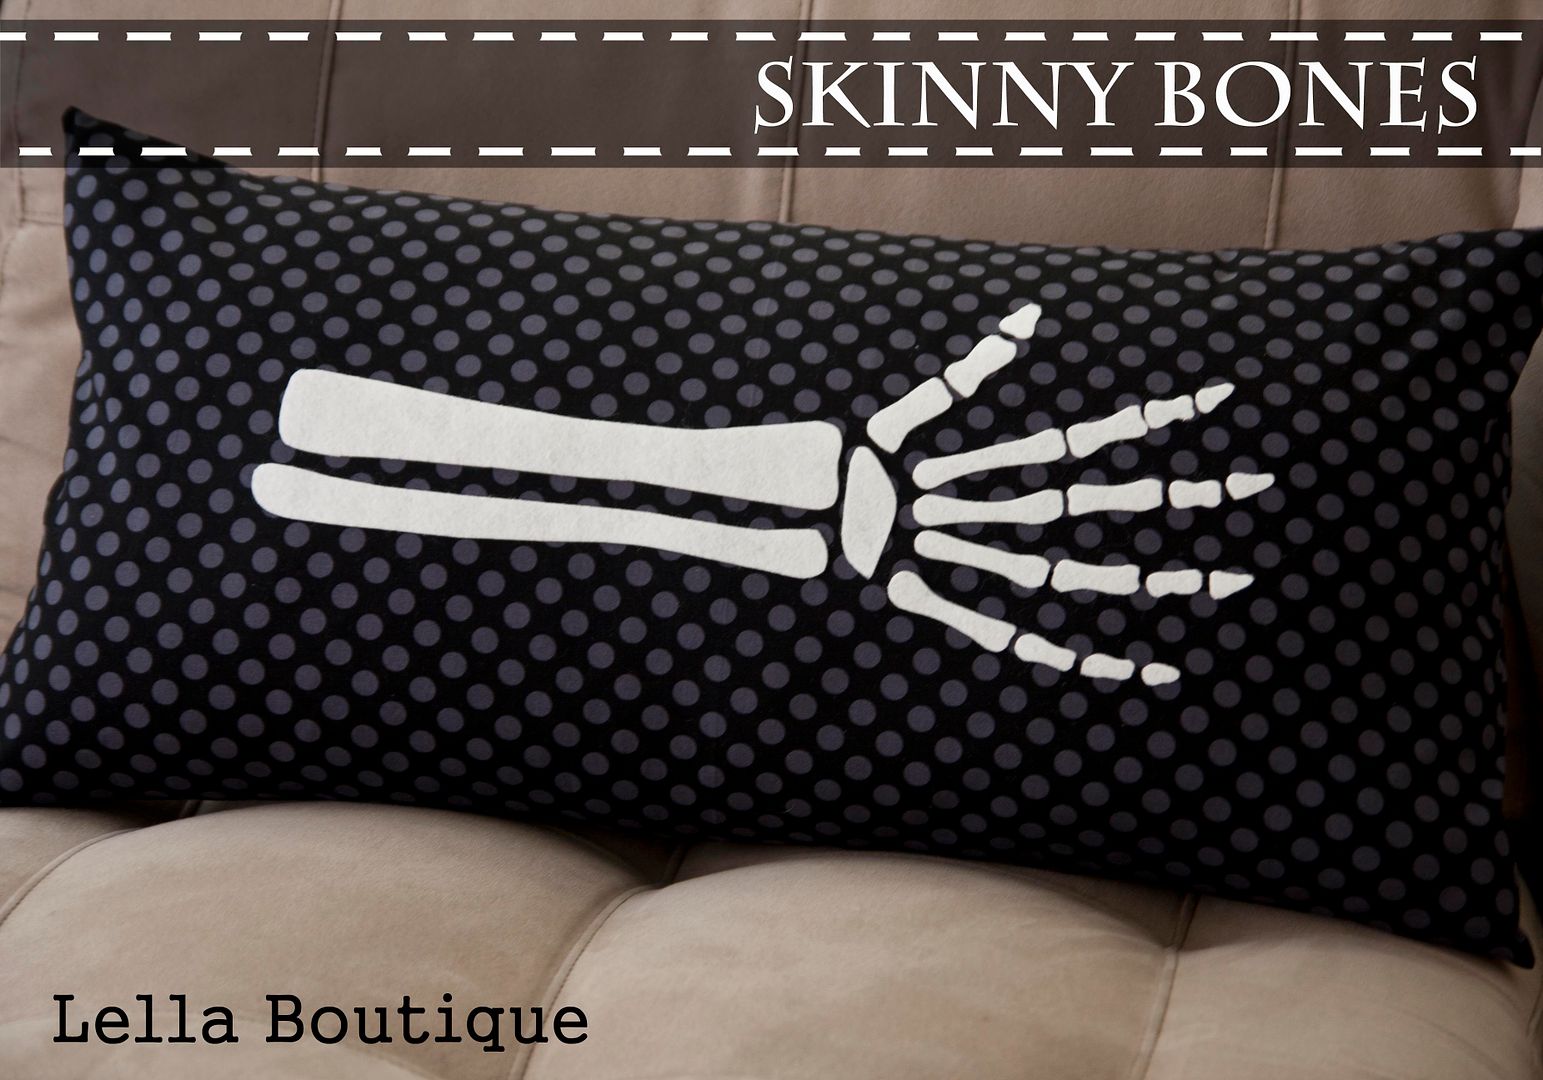
Skinny Bones Halloween Pillow

September 5, 2012

Sharing is caring!

34 shares
  • Share

Hello! This is Vanessa over at Lella Boutique. It may not be October yet, but I’m already giddy for Halloween! I’ve been busy putting together a funky little pillow over here and will be sharing the tutorial with you.

Get the full instructions after the jump!

Materials Needed:

  • 14 x 28″ pillow form
  •  1 yard fabric
  •  1 small sheet of white felt
  •  1 pkg Therm O Web’s HeatnBond Lite Iron-on Adhesive
  •  Skinny Bones Template (PDF file)

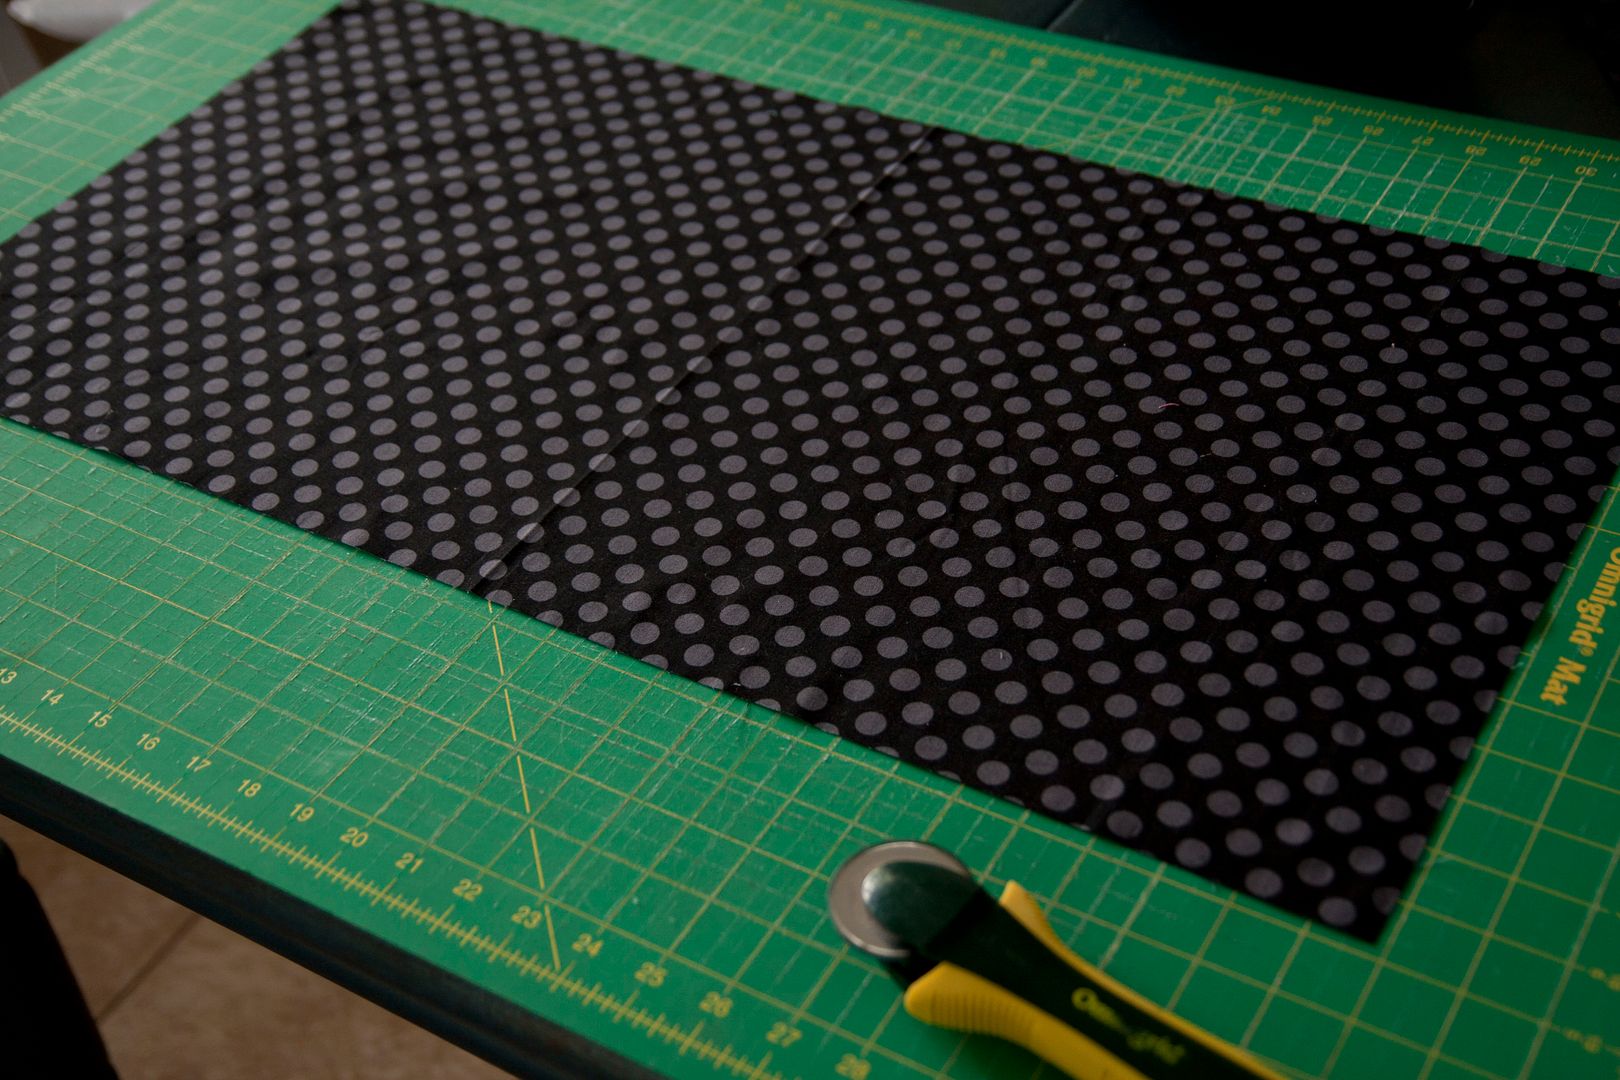
From your fabric, cut one 15 x 29″ piece for the pillow-top (shown below). Cut two 15 x 17″ pieces for the envelope-opening.

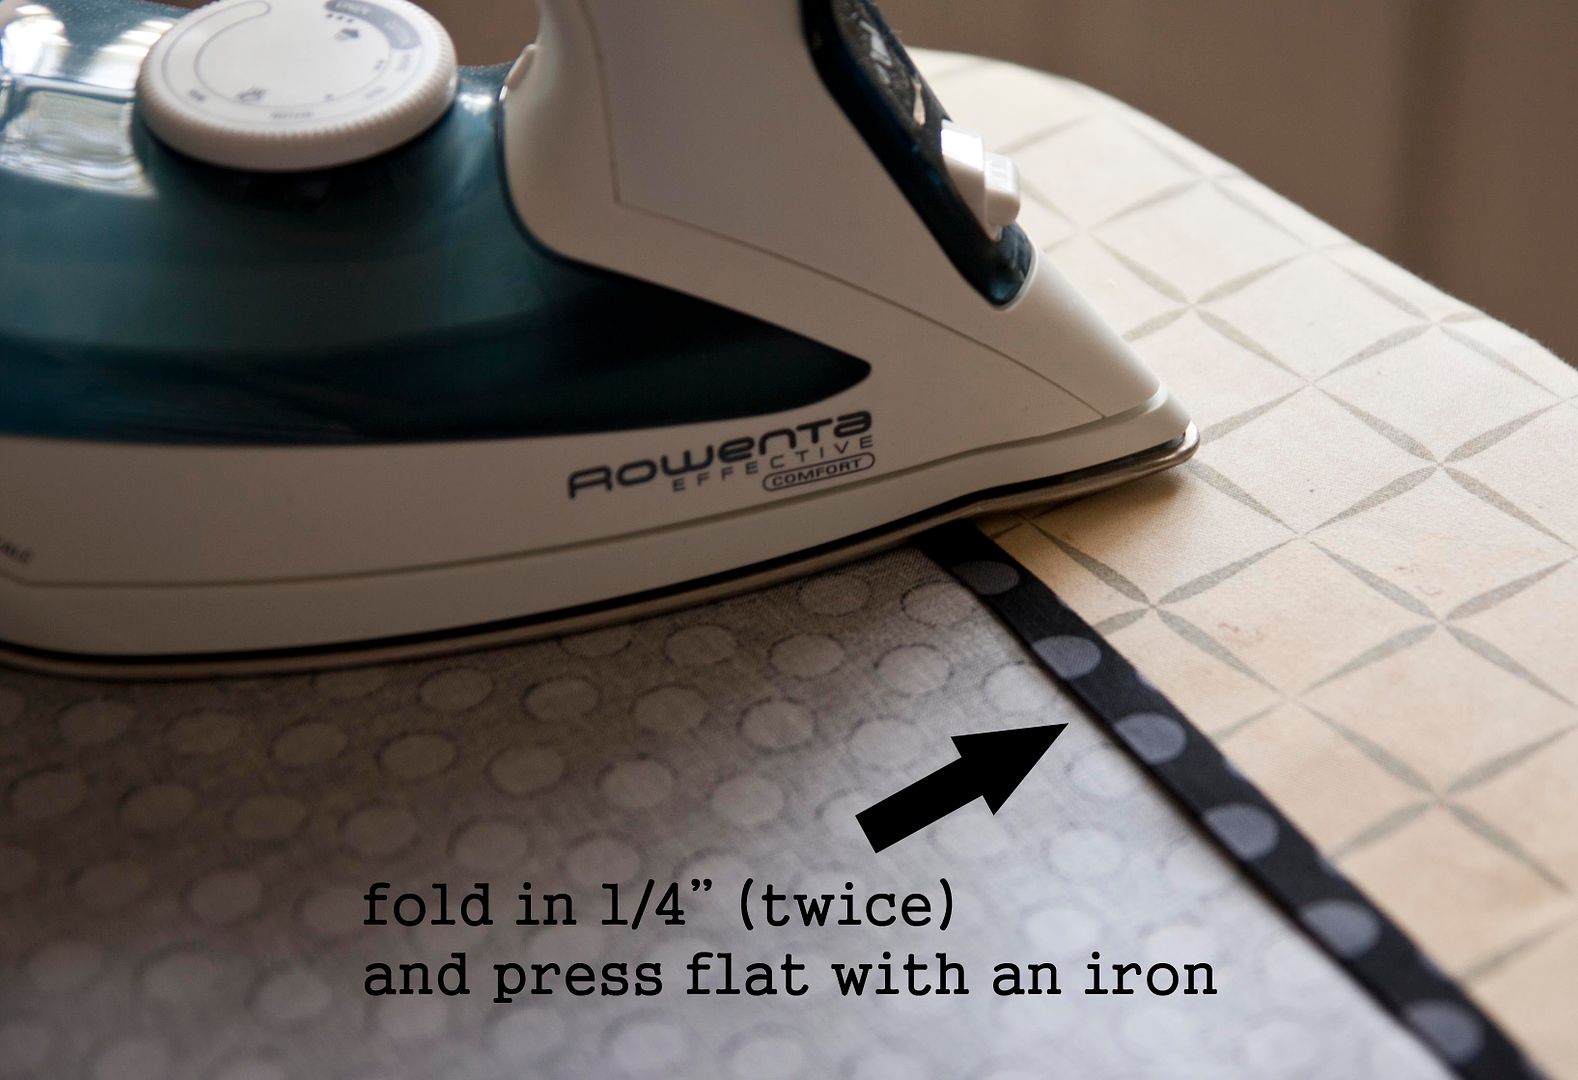
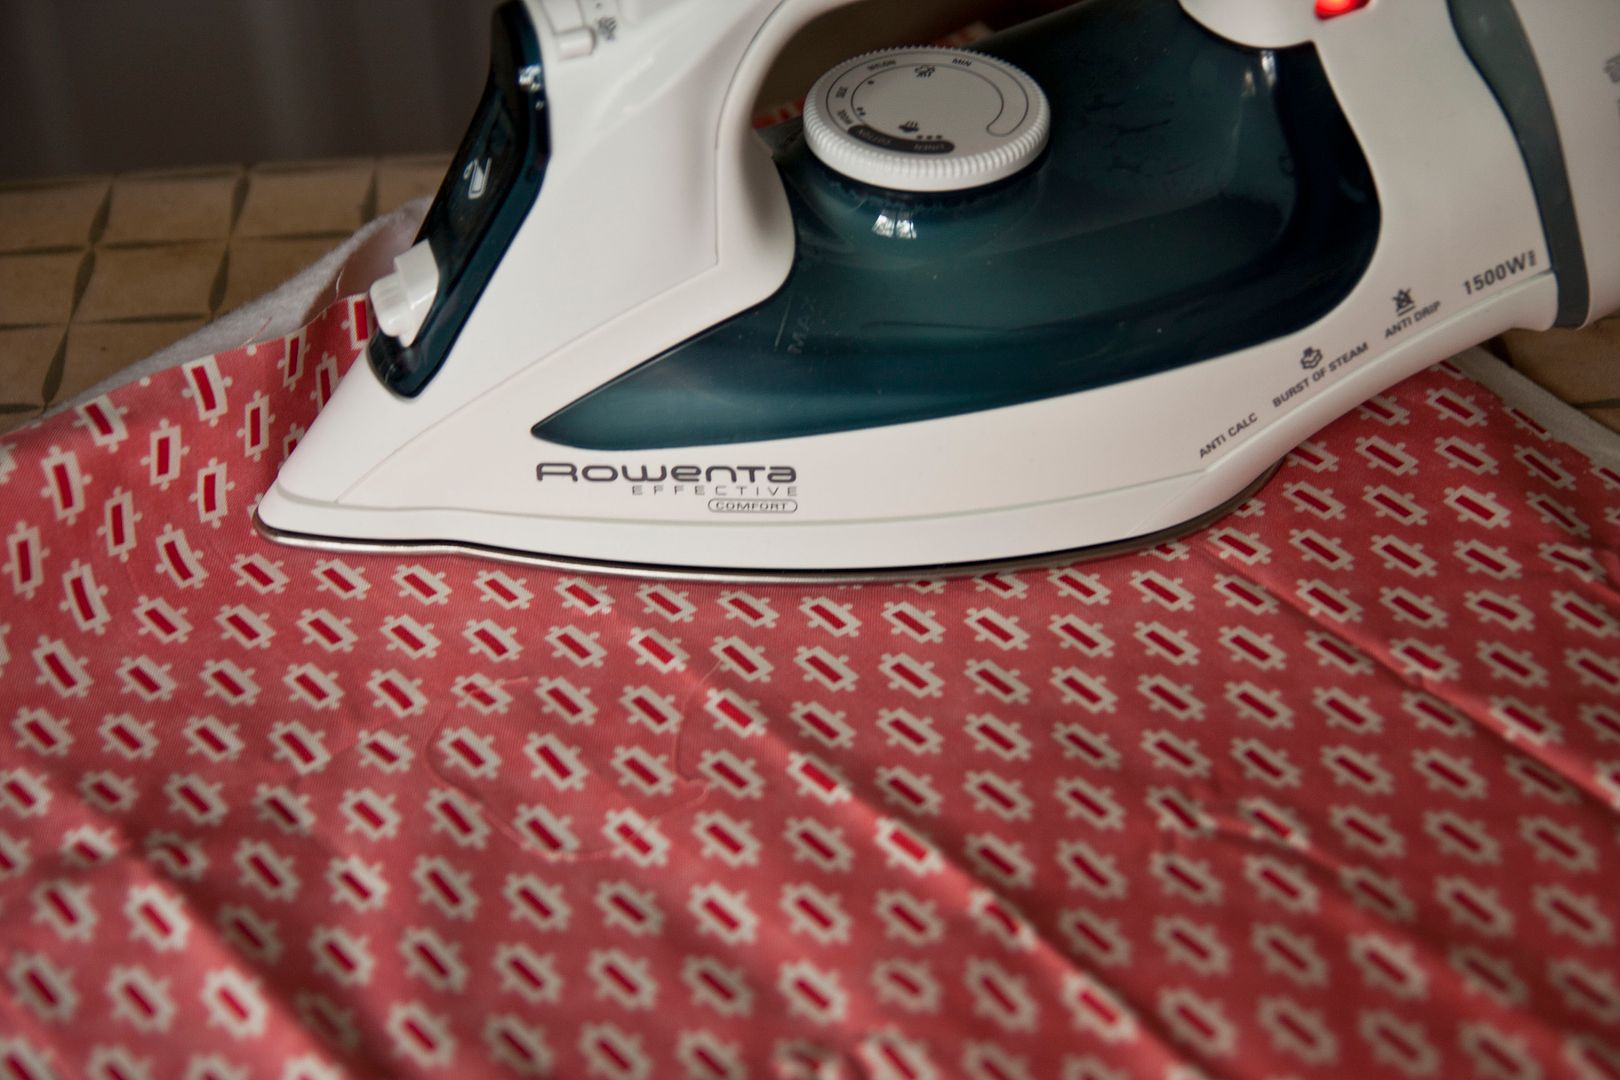
To each 15 x 17″ piece: take one of the 15″ sides and fold in the fabric 1/4″, wrong sides together, and iron in place.  Fold it in another 1/4″ and iron over the fold again.


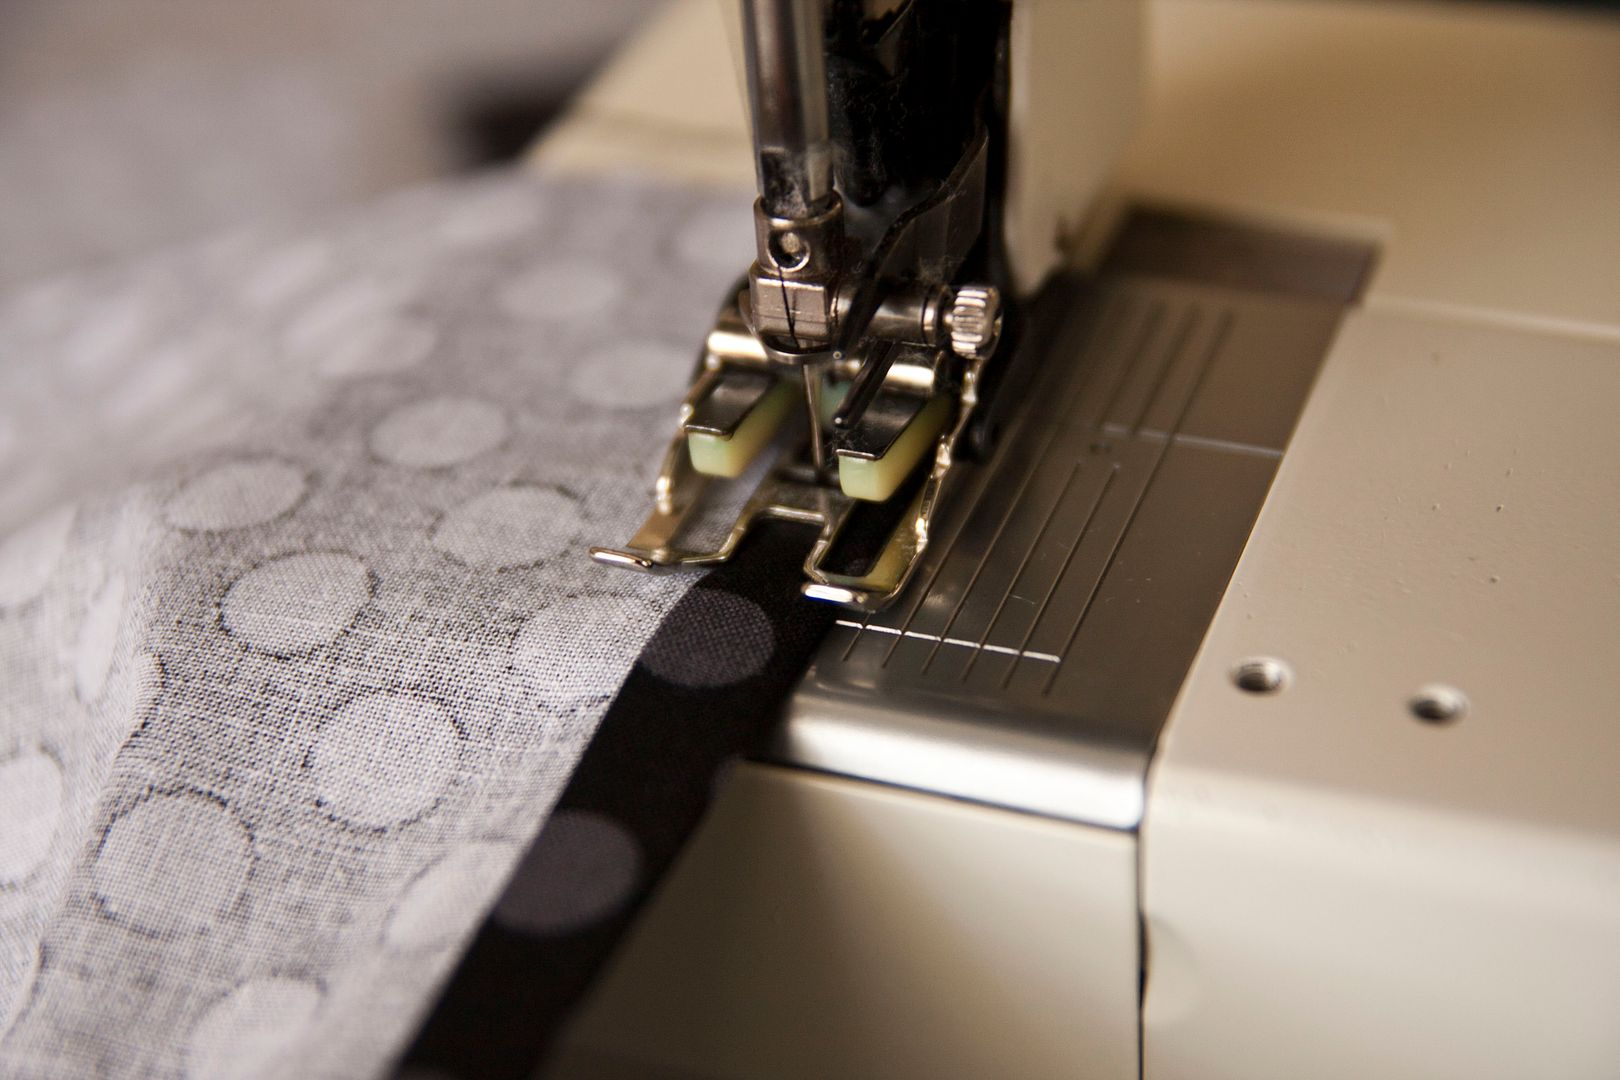
Using matching thread, sew the fold in place with 1/4″ seam allowance.


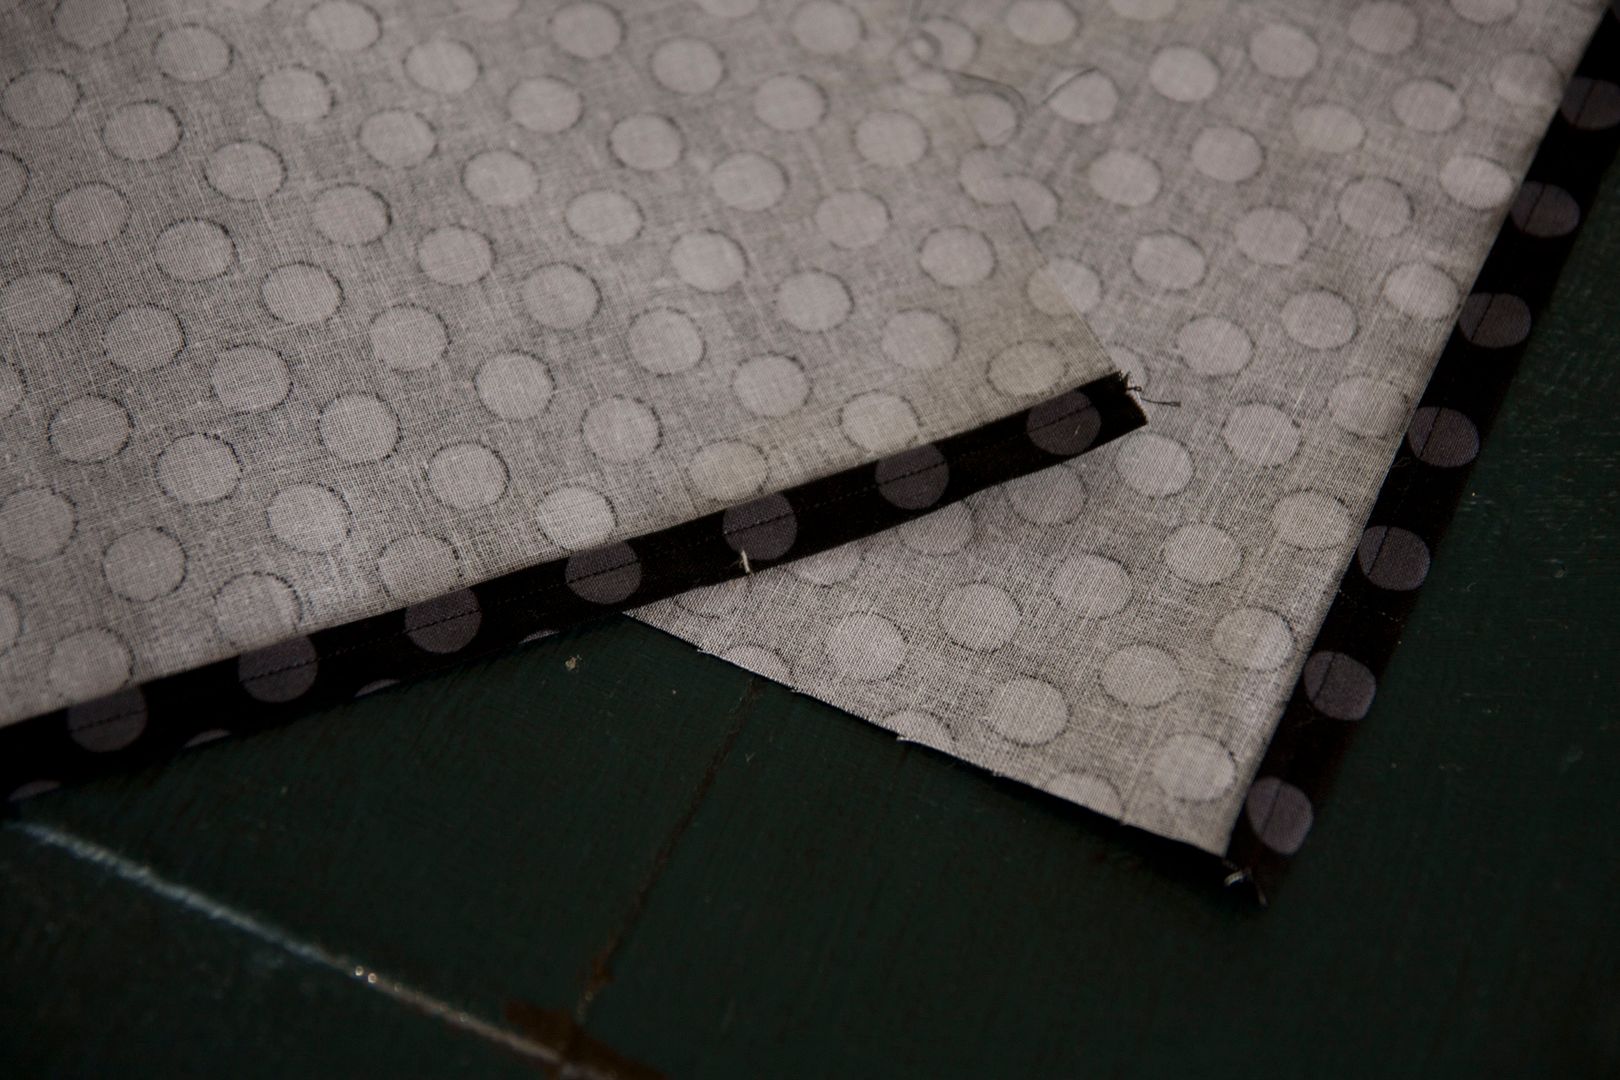
You should be left with one finished-edge on each 15 x 17″ piece for the envelope opening. Set aside for now.

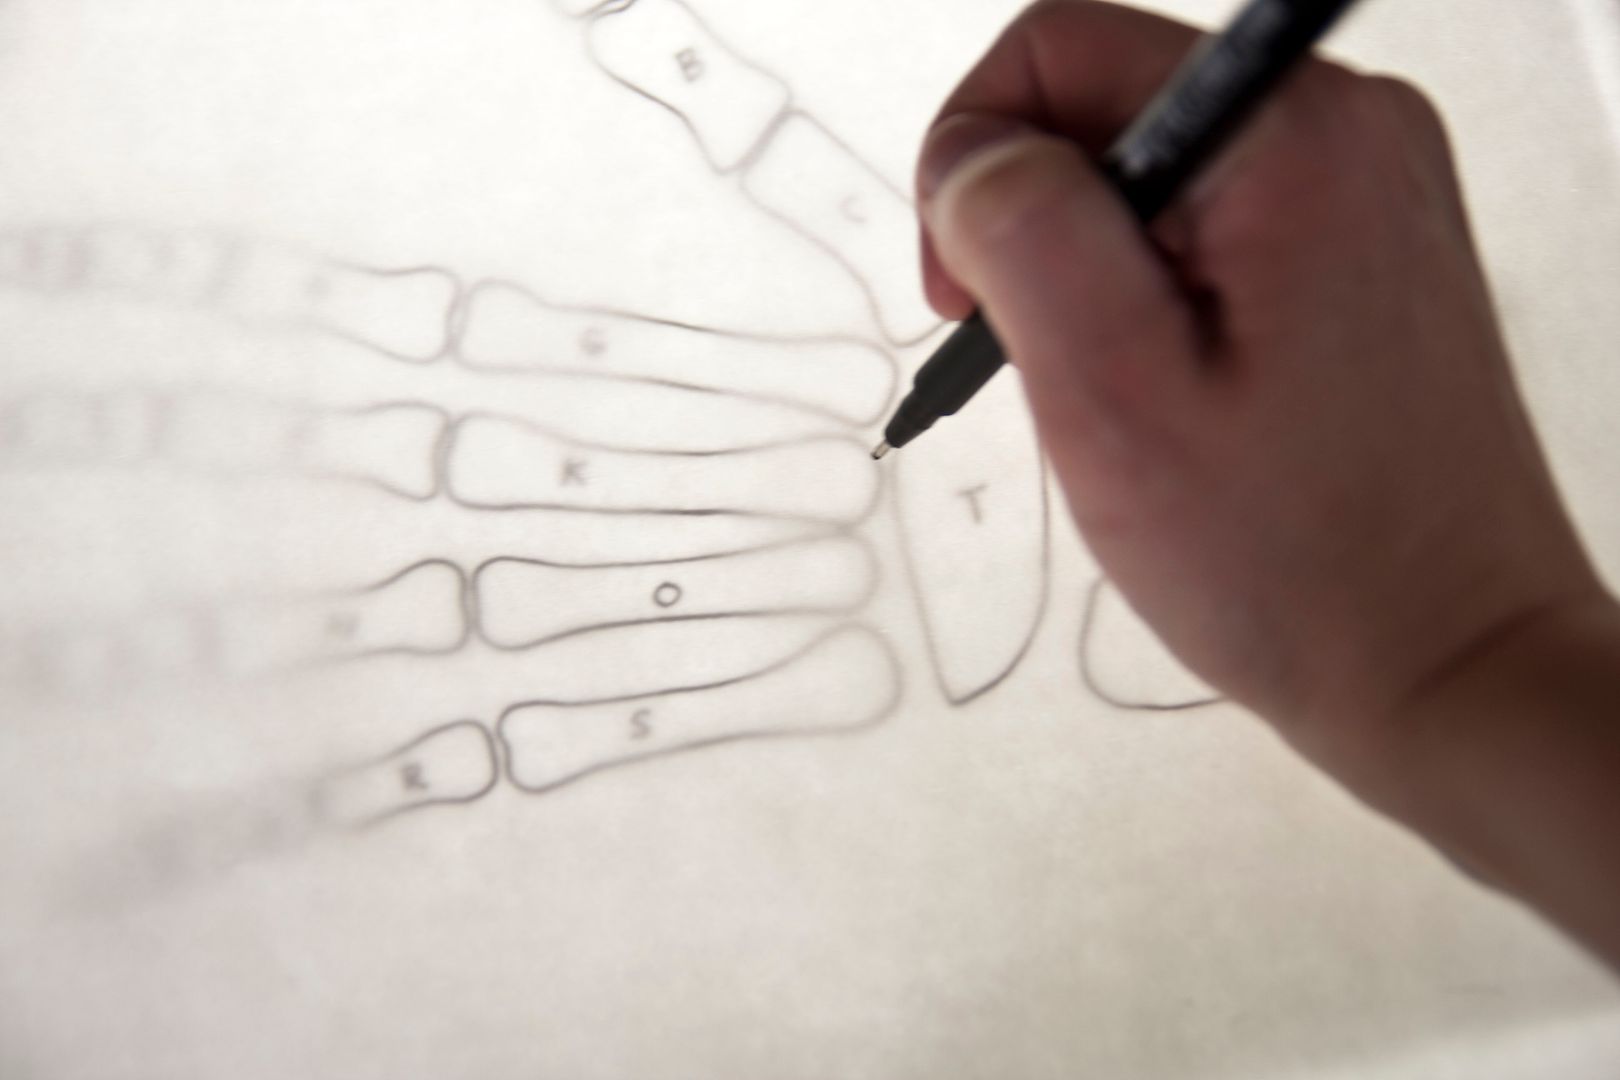
Print out a copy of my Skinny Bones Template (PDF file). Using a lightbox or sunlit window, trace the images onto the paper-side of the HeatnBond Lite Iron-on Adhesive. Be sure to label each finger bone as indicated. (This will help you arrange each of those little pieces later!)

Loosely cut around the images and place the gritty-side of the iron-adhesive against the white felt.  Heat your iron to a medium heat setting with no steam.

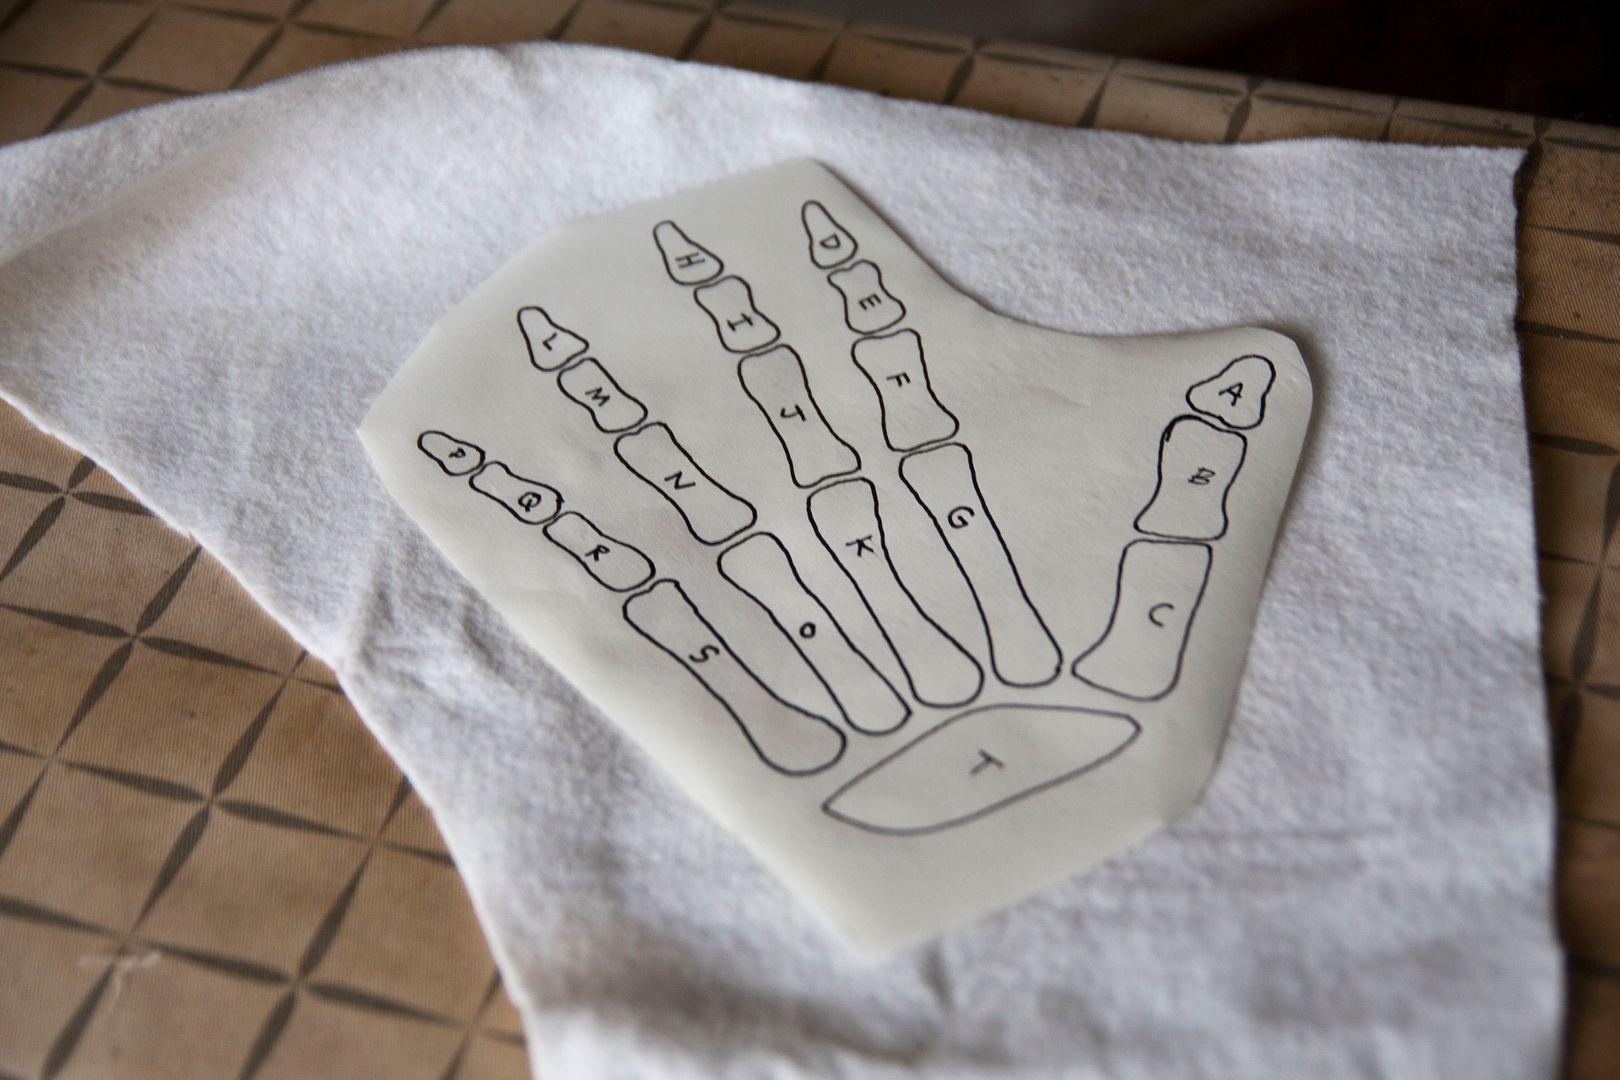
Warning!  The felt will melt to your iron if applied directionly! I always lay down a “protective layer” of fabric on top of everything to act as a barrier. Iron over the entire area for several seconds, until the paper is fused to the felt.

Carefully cut out the pieces and arrange them onto the 15 x 29″ pillow top, referring to the illustration below. Center the overall image and remove the paper-backing from each piece. Place the “protective” layer of fabric over everything and iron the pieces in place.  Because of the thickness of the felt, it may take about 10 seconds over each area before the heat gets through to bond the layers together. Once everything seemed bonded, I flipped the pillow-top over and ironed over the back (more direct heat to the iron-adhesive).

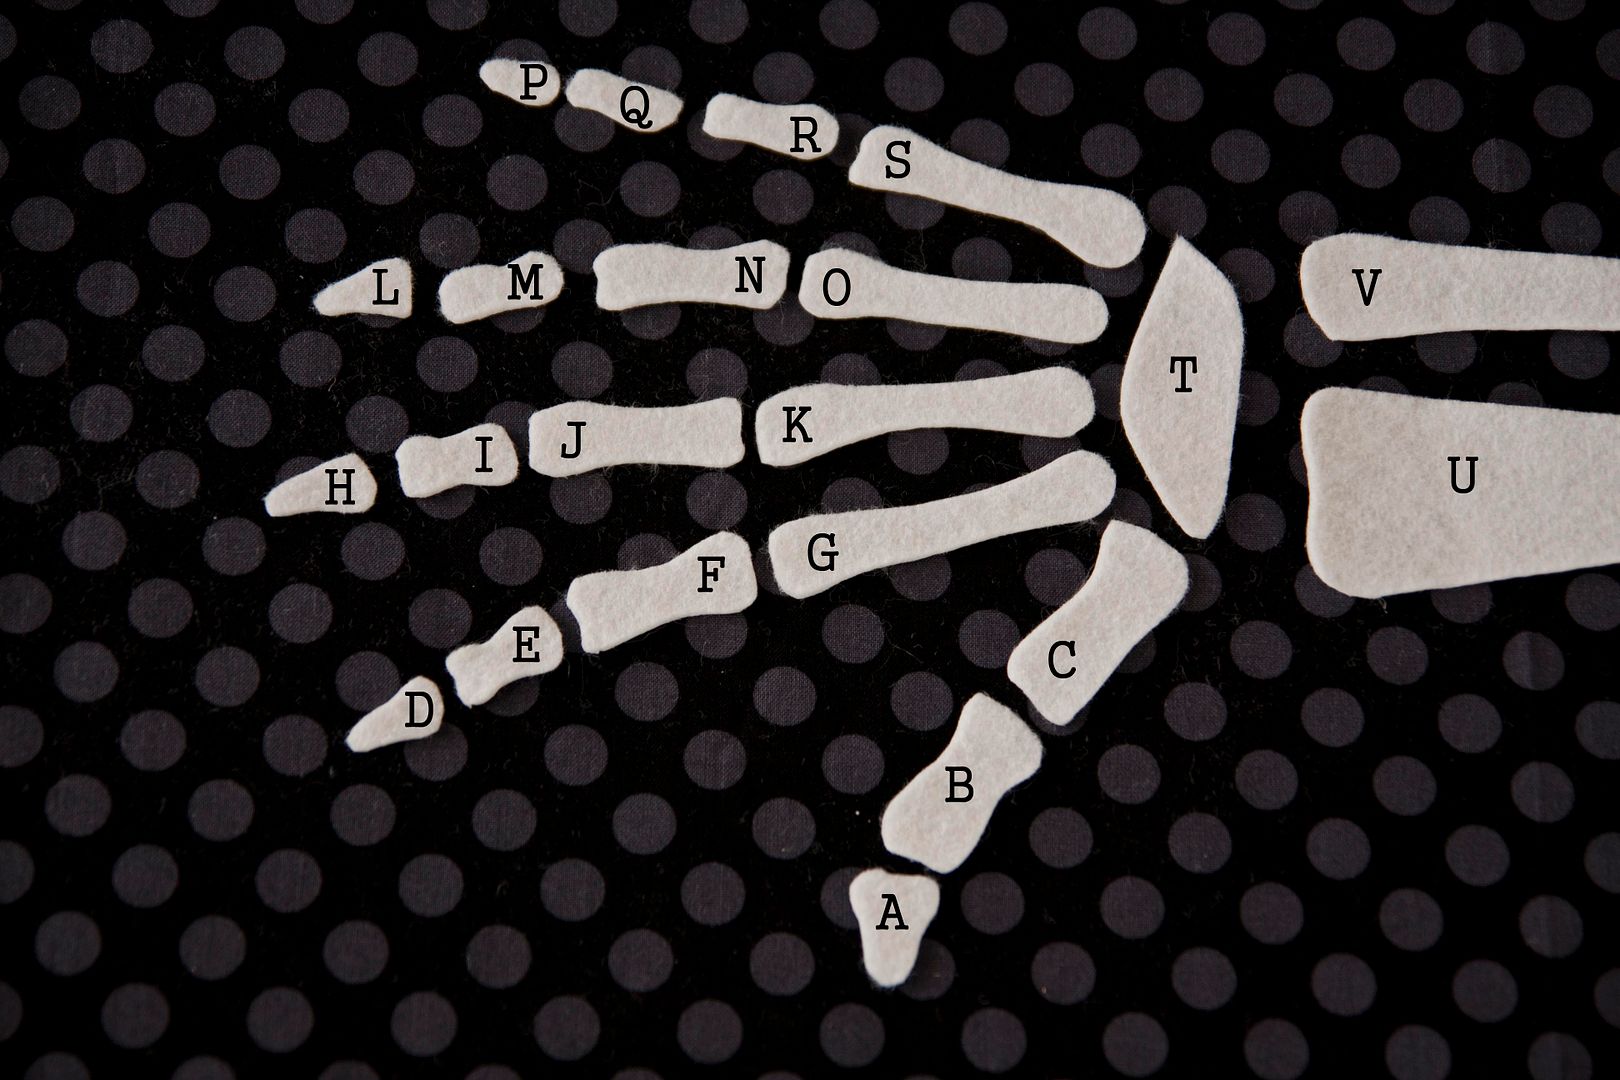
The felt pieces should feel secure and are permanently bonded.

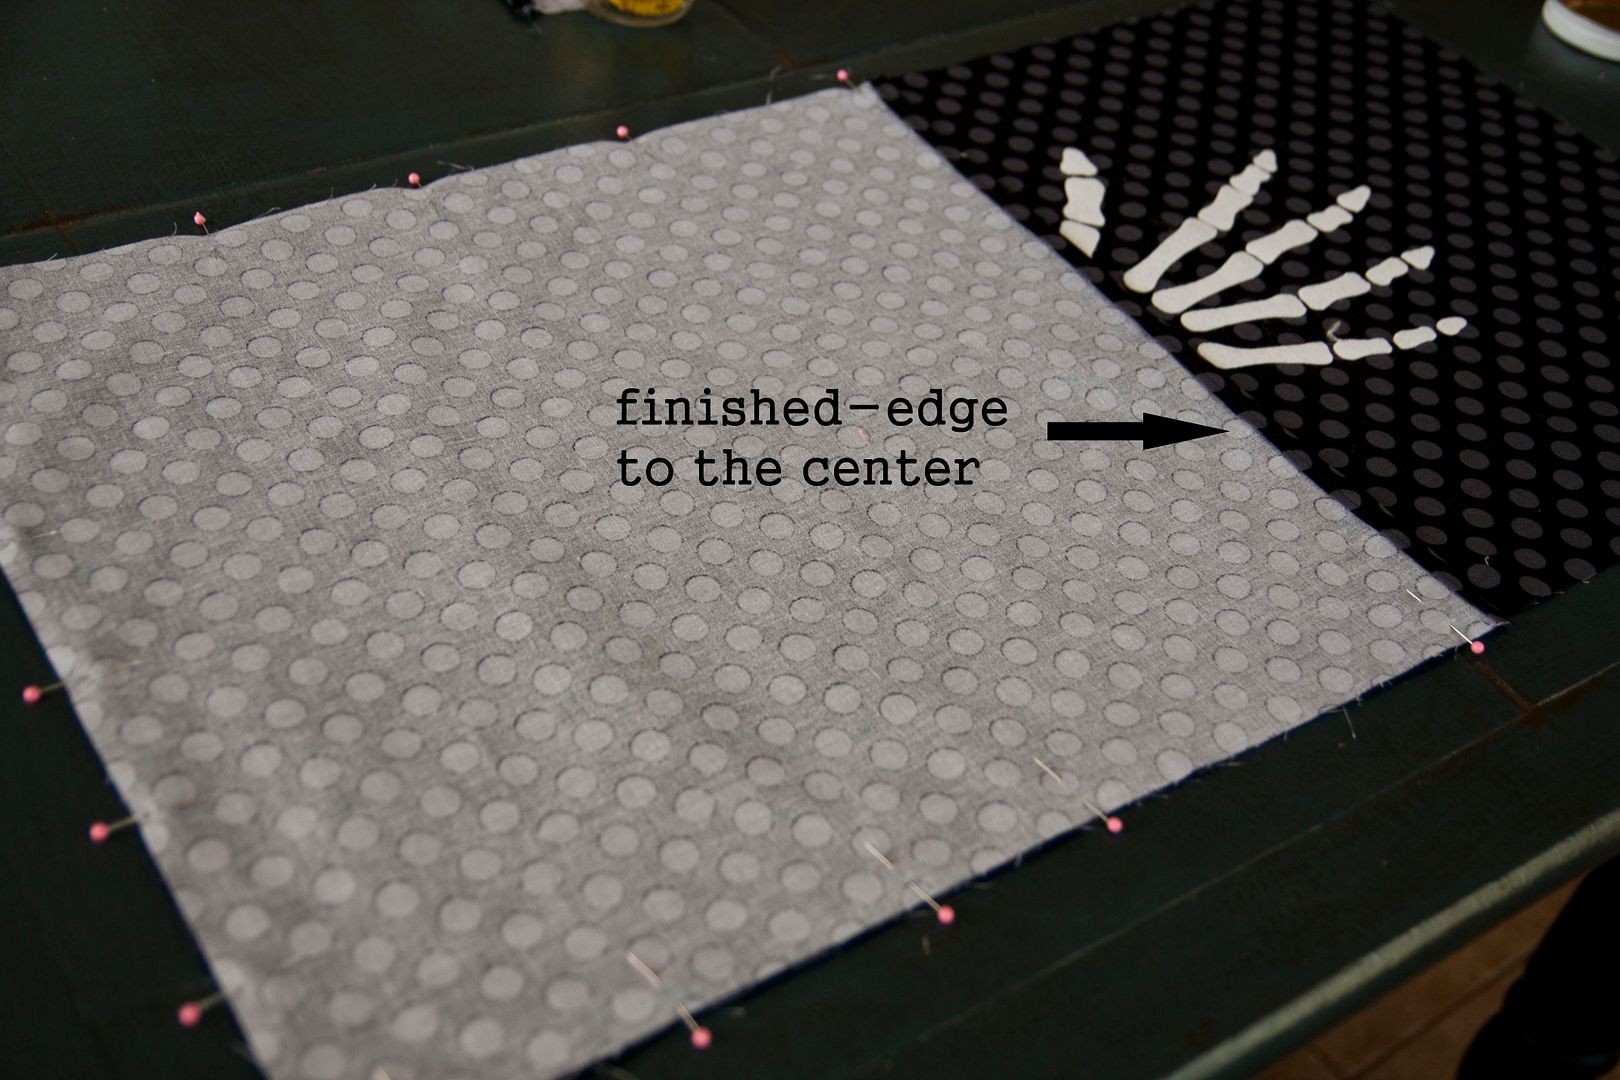
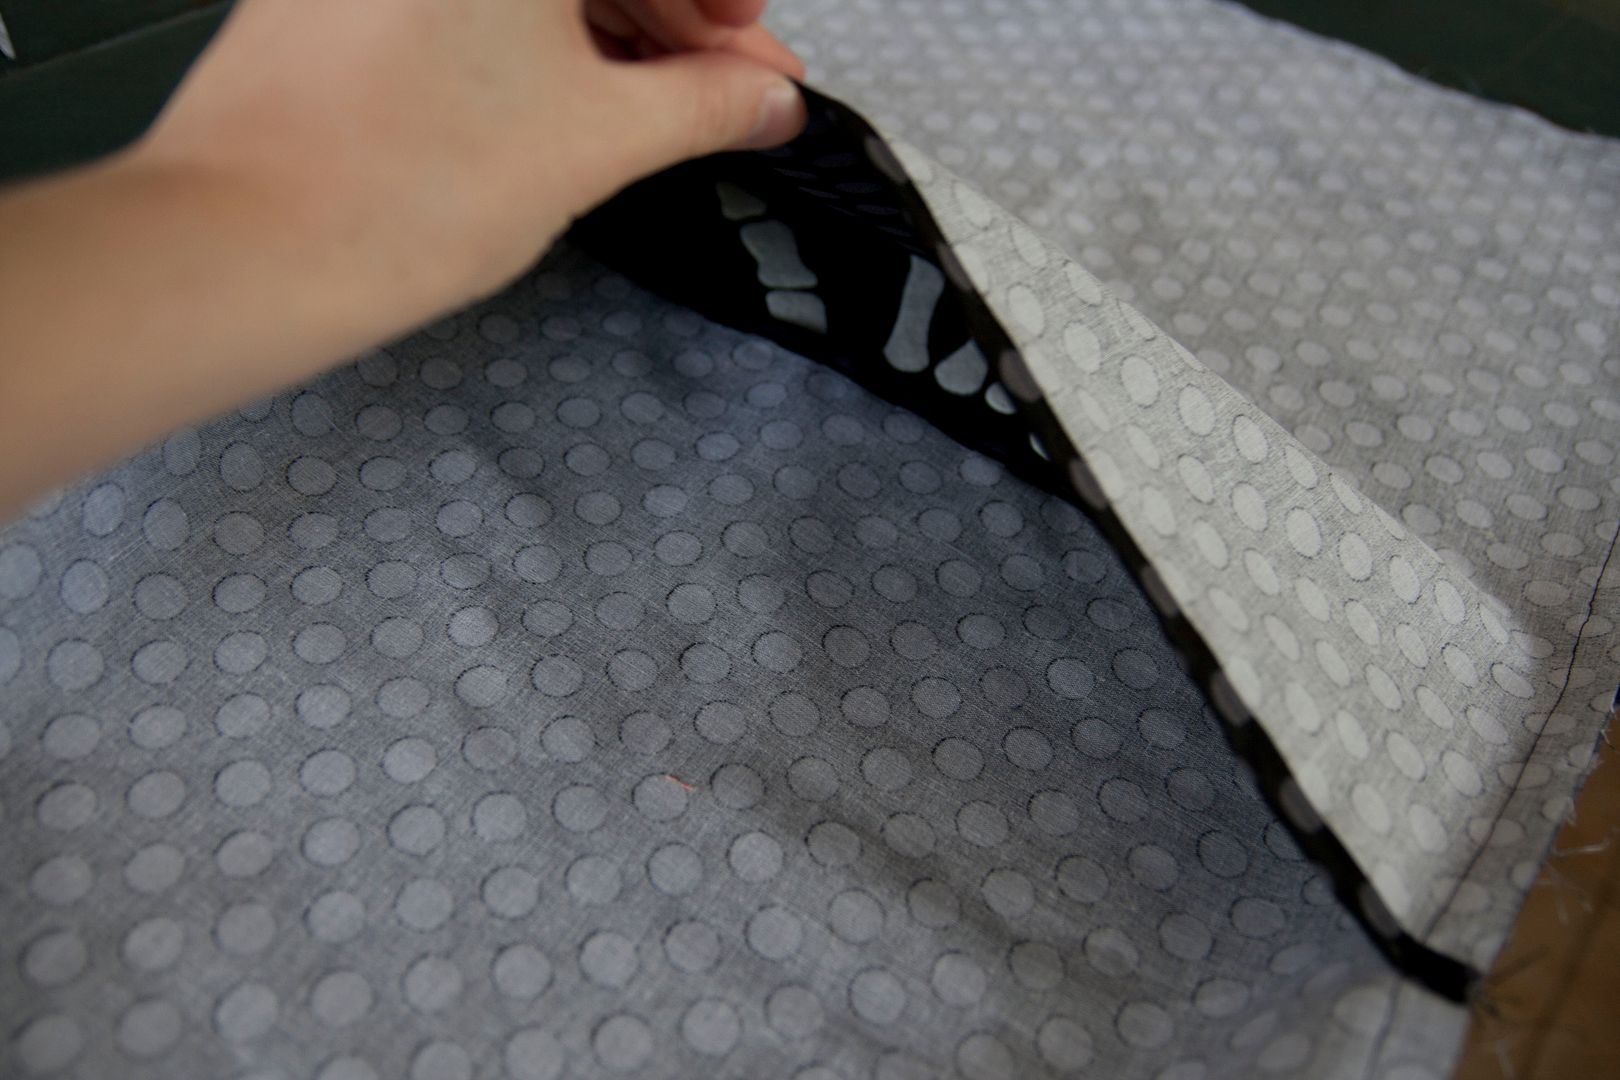
Now it’s time to finish the pillow cover! Lay the pillow-top on a table and add one of the 15 x 17″ pieces on top, right sides together, aligning raw edges, the finished-edge crossing over the center as indicated below. Pin in place.

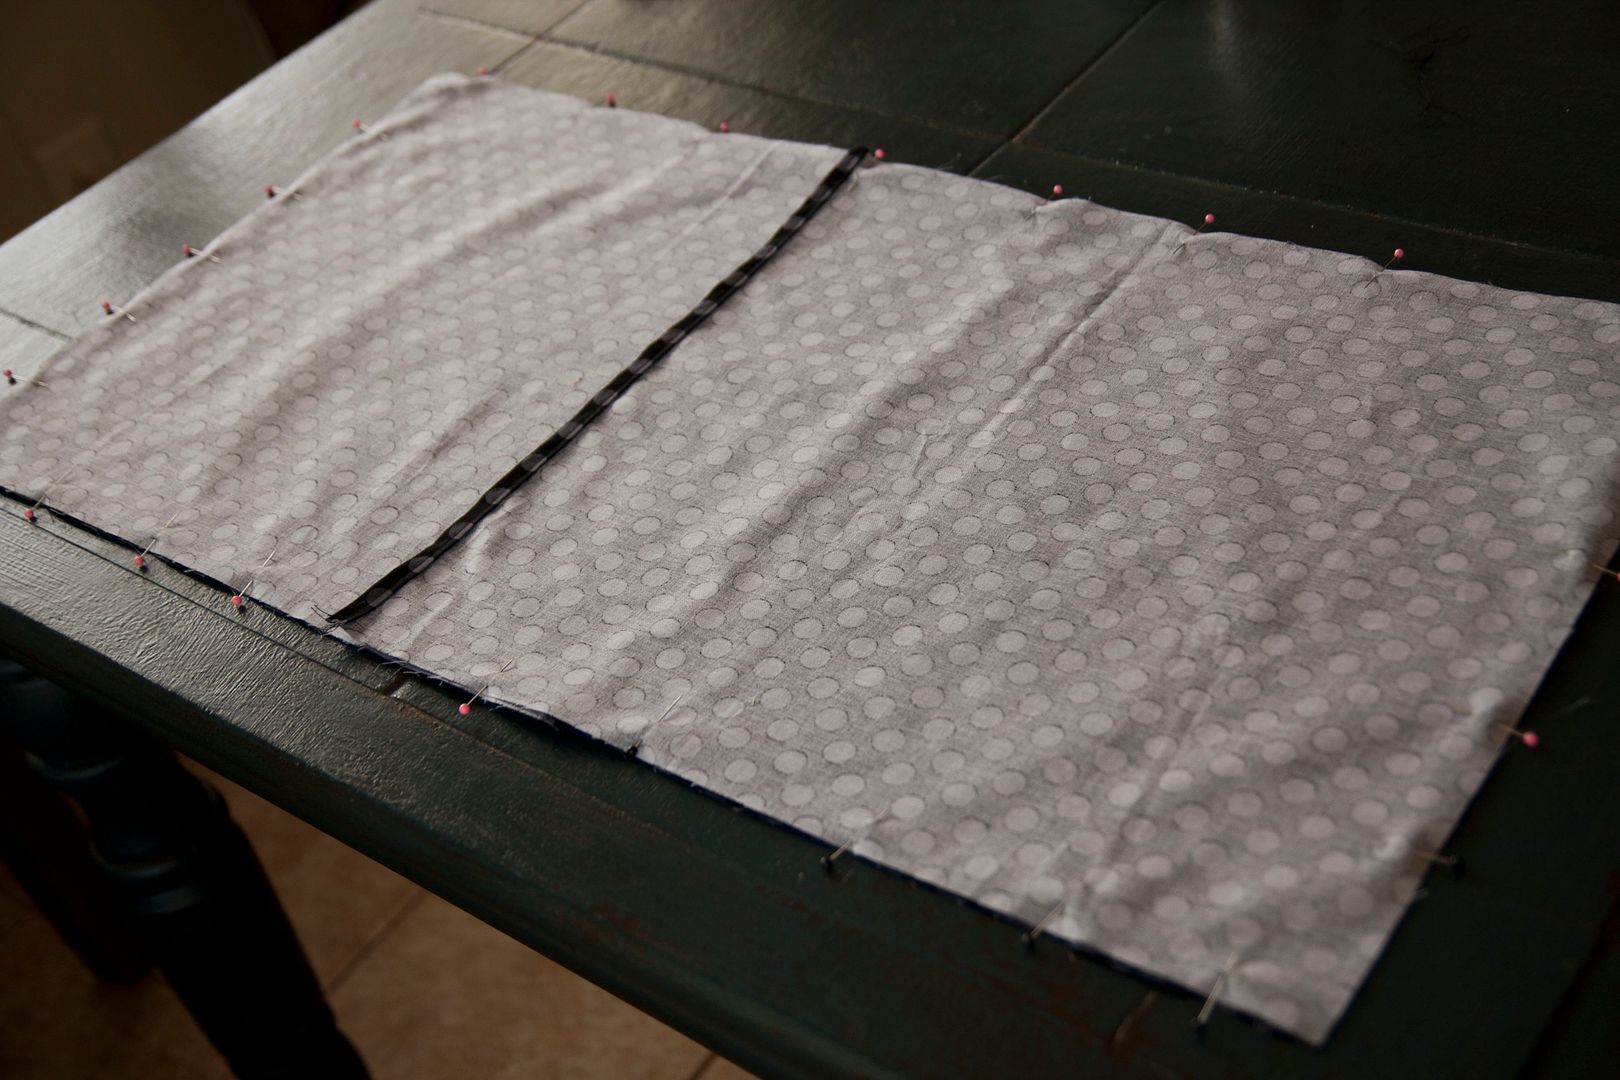
Add the other 15 x 17″ piece to the other side, overlapping at the center. Pin in place.

Stitch around the entire perimeter using 1/2″ seam allowance.
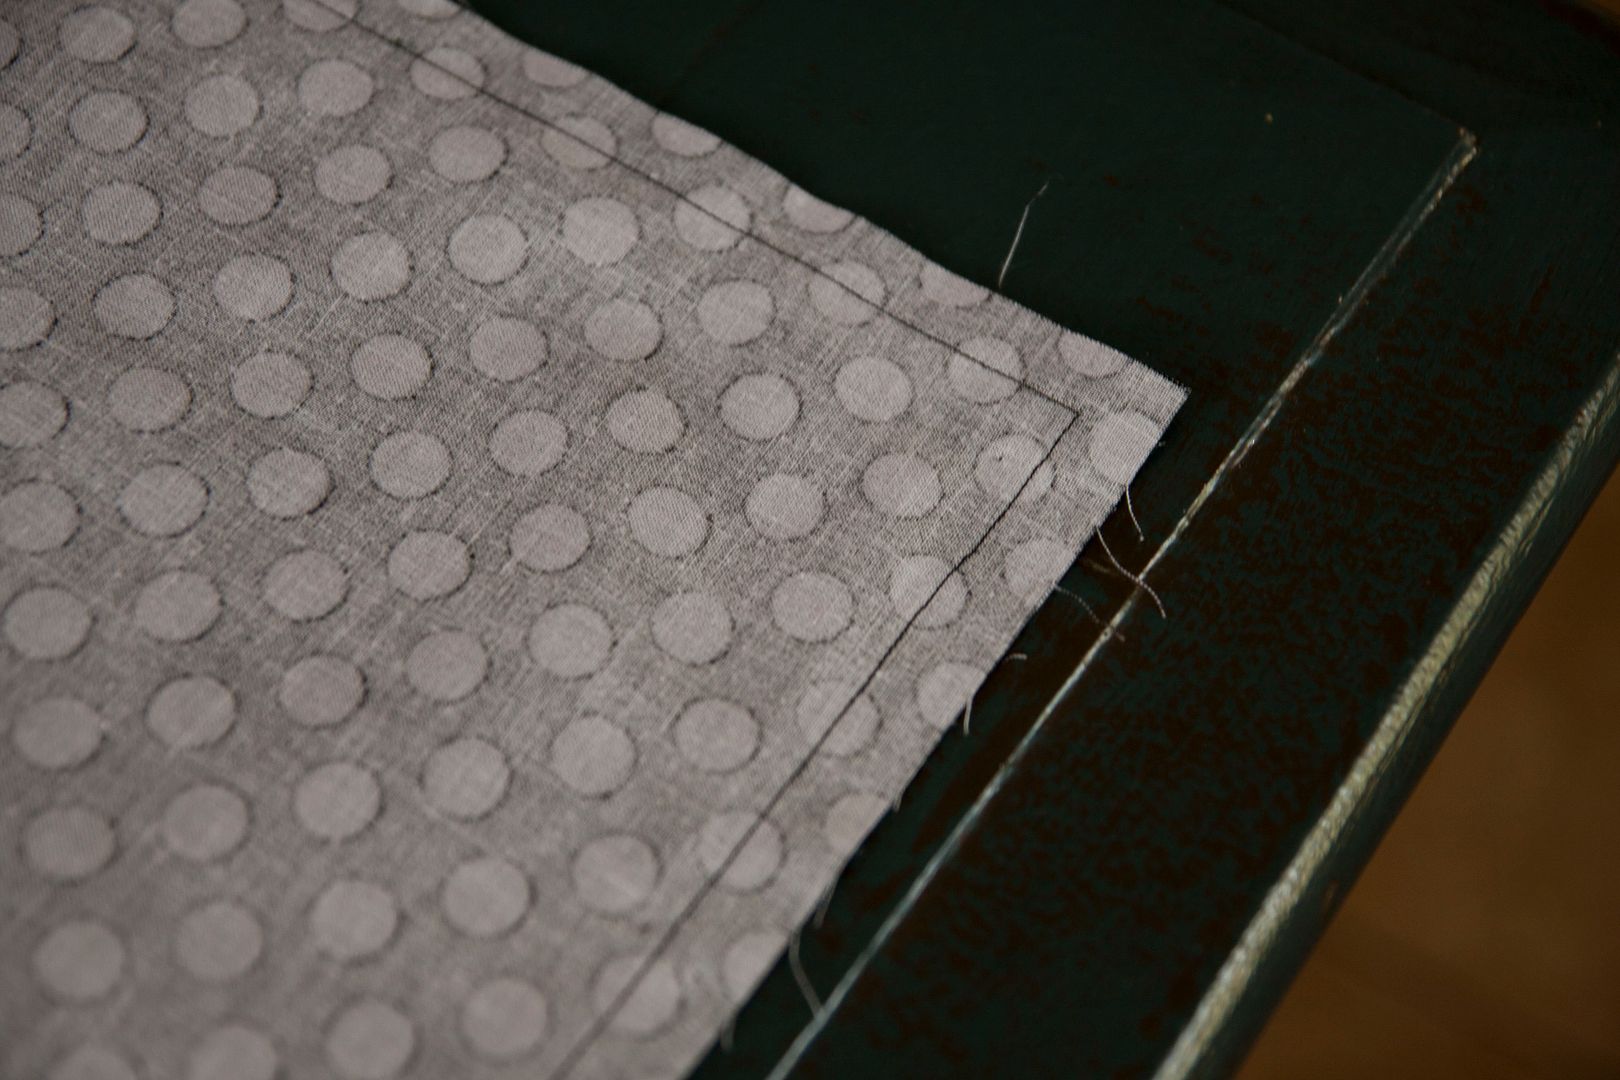
Clip the corners.

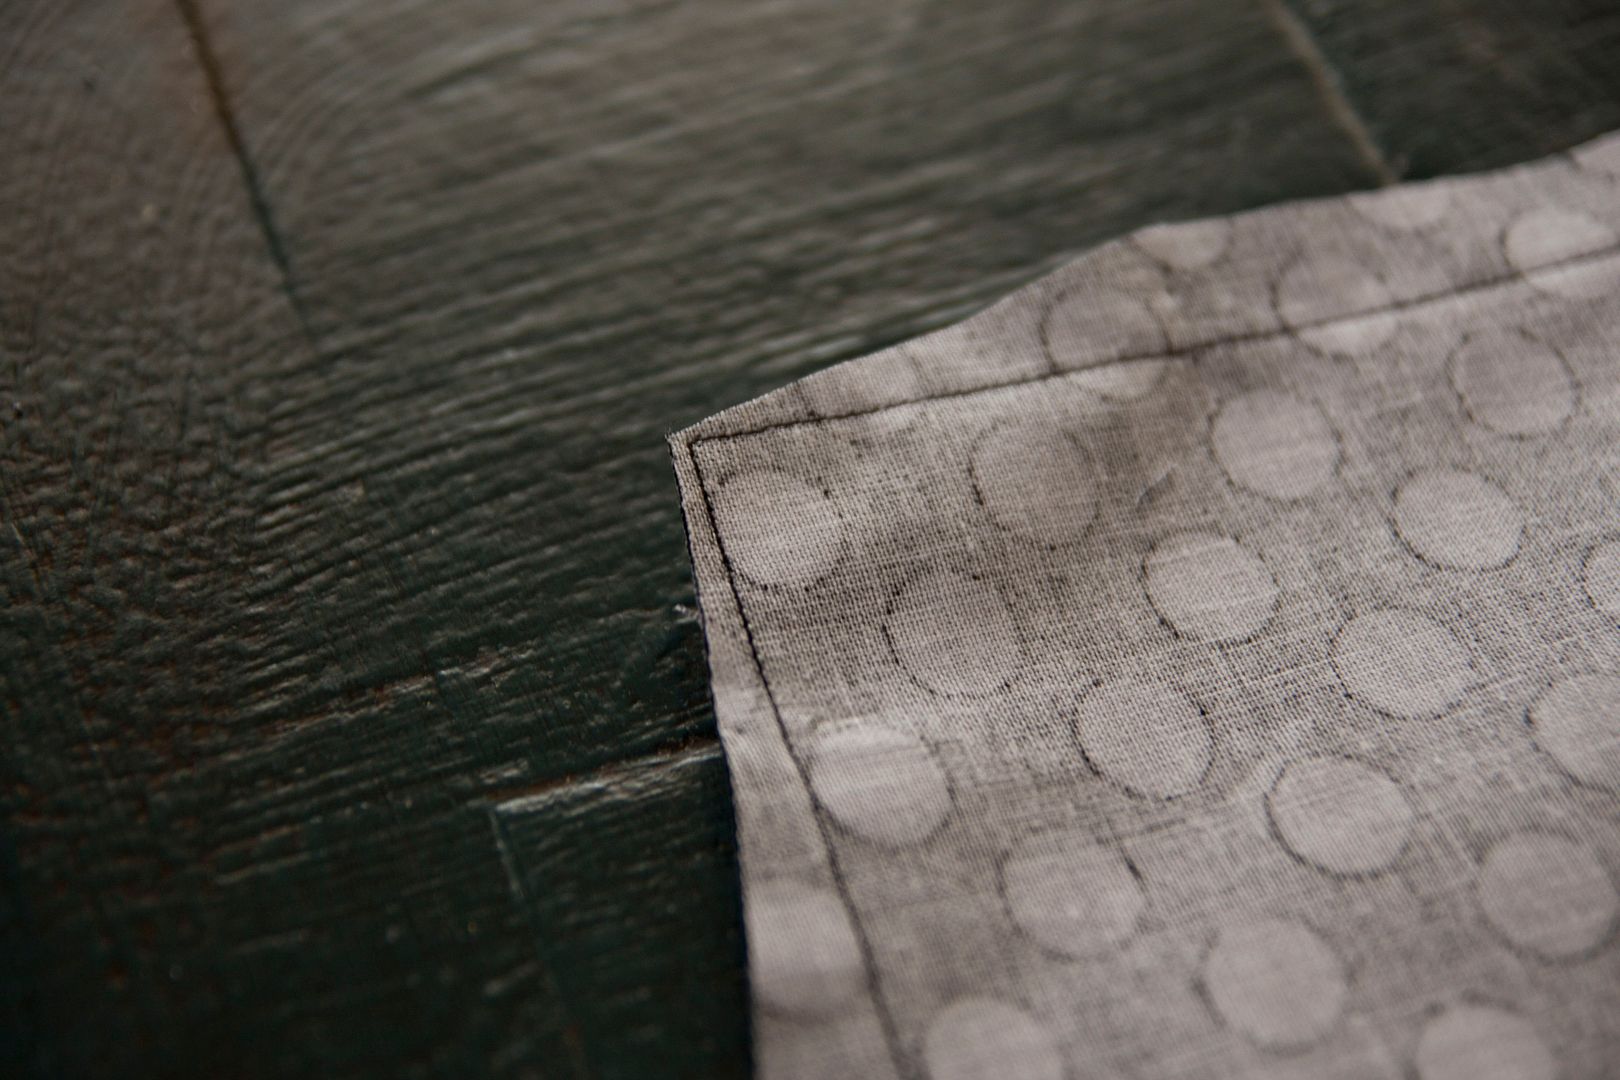
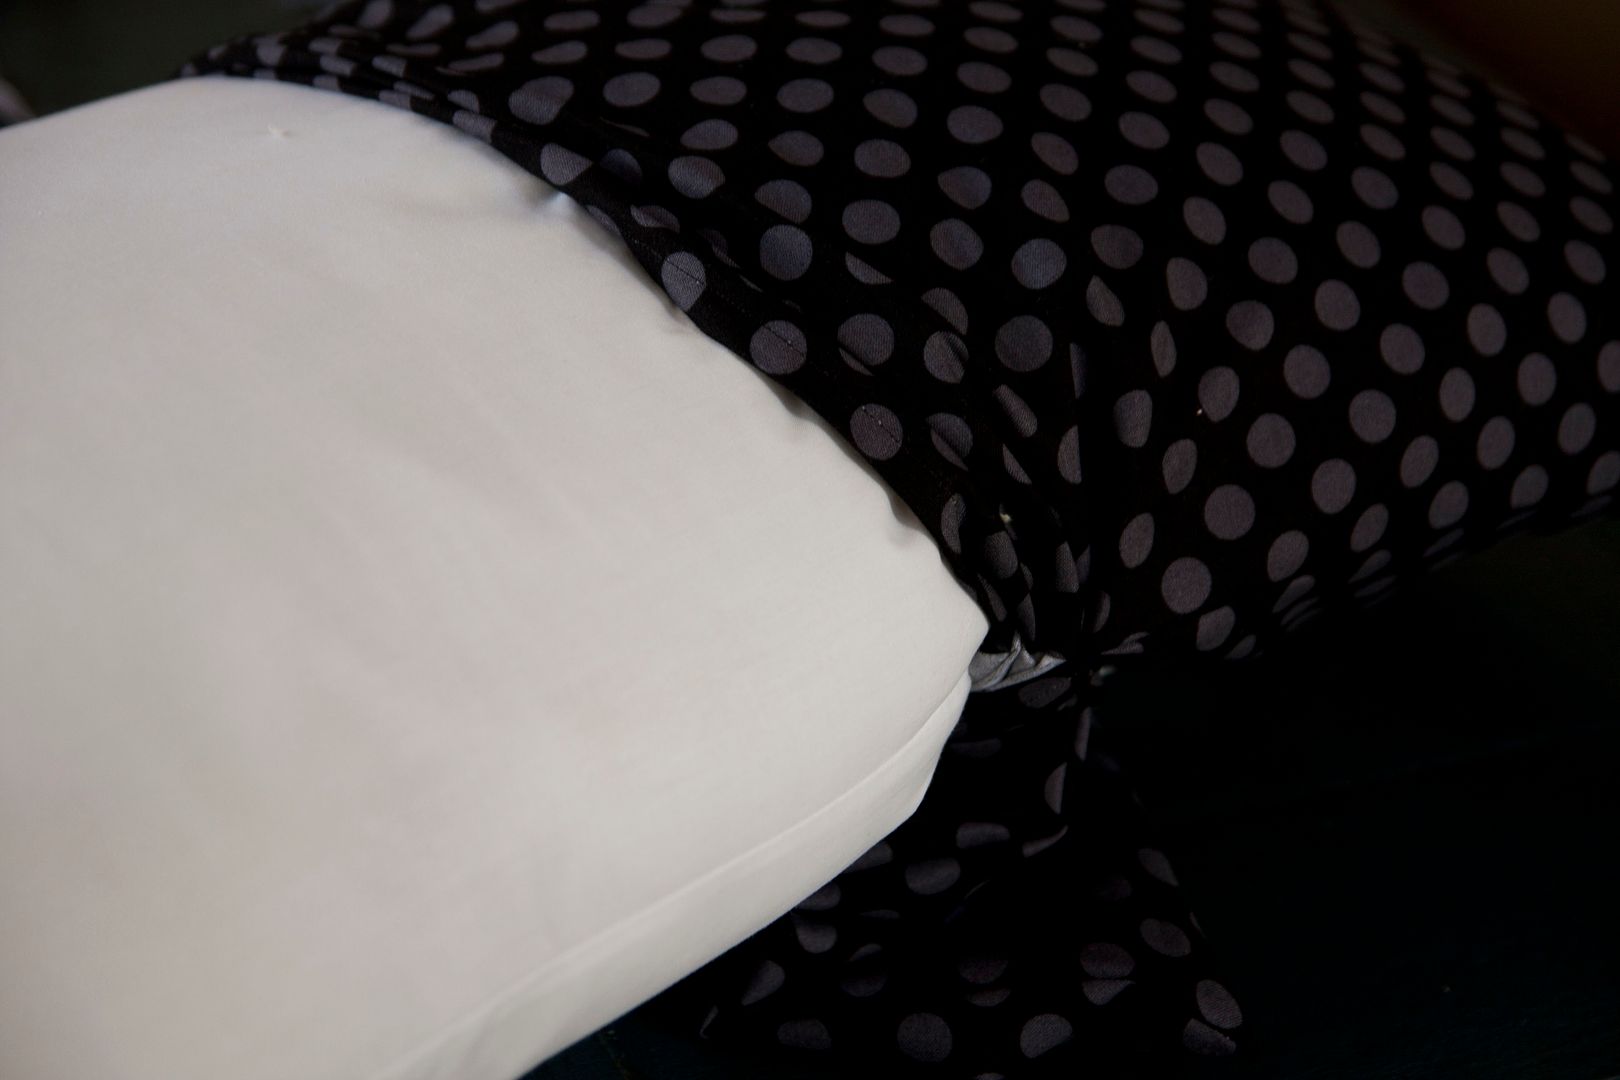
Turn right-side out, using a small dowel to carefully push out the corners. Insert pillow form. Sometimes, I’ll add a little extra stuffing to fill in the corners, if needed.


Everybody needs a spooky pillow to toss around.

Filed Under: Catablog, halloween, handmade pillows, pillow, sewing 10 Comments

Comments

  1. Jamie Lee says

    September 6, 2012 at 11:54 am

    This Is great! My kids would love it!

    Reply
  2. Julie @ It's Sew Stinkin' Cute says

    September 6, 2012 at 2:20 pm

    OMG… you totally made this make sense. I have always feared making pillow cases. I will totally have to try this now!!!! HUGS FOR THE AMAZING TUT! – Julie

    Reply
  3. Steph @ Crafting in the Rain says

    September 6, 2012 at 8:41 pm

    Cute! I’m thinking I need some halloween pillows now too!

    Reply
  4. Mimi says

    September 7, 2012 at 2:10 am

    This is awesome I love it!!! Thanks for sharing a great tutorial!! Glad that I found this on Pinterest!!!

    Reply
  5. carolyn white says

    October 3, 2014 at 7:24 pm

    help-can’t get this from pdf w/o a charge.

    Reply
  6. svajfh says

    February 4, 2019 at 8:21 am

    viagra online usa http://canadlan-drugs.com

    Reply

Trackbacks

  1. Tutorial: Skinny Bones Halloween pillow · Sewing | CraftGossip.com says:
    September 6, 2012 at 1:28 pm

    […] Vanessa from Lella Boutique guest blogs at Honeybear Lane with a tutorial showing how to make her Skinny Bones pillow for Halloween.  It’s a long throw pillow with a skeleton hand applique.  Get the how-to. […]

    Reply
  2. 12 Halloween Pillow Ideas ~ Perfect for your Home Decor says:
    September 28, 2013 at 11:46 am

    […] Honeybear Lane shared Lella Boutiques adorable Halloween pillow aptly named Skinny Bones. […]

    Reply
  3. Skeleton Arm Couch Pillow - craftyourself.com says:
    October 16, 2014 at 2:48 pm

    […] template for the arm can be found here We wanted to avoid using fabric for the arm and having to cut out each individual piece with […]

    Reply
  4. 20+ Free Halloween Sewing Patterns & Projects – Bobbin and Button says:
    September 20, 2019 at 12:10 am

    […] Bones Halloween Pillow: This pillow would also go great with the others listed above. HeatnBond iron on adhesive is used to create the skeleton but it would be quicker to use heat transfer vinyl but with a Cricut or Silhouette machine. […]

    Reply

Leave a Reply Cancel reply

Your email address will not be published. Required fields are marked *

Popular Posts

  • DIY Farmhouse Table and Bench
  • 20 Handmade Christmas Presents to Start Sewing Now
  • IKEA Hack: Expedit into Long Storage Unit
  • My Gorgeous DIY Office Built ins Reveal
  • 8 Steps to an Epic Halloween Party
  • DIY Mudroom Bench
  • Build Your Own DIY Outdoor Furniture
  • Tips for Painting Stair Balusters
Welcome

Hey there--I'm Heidi! I teach women how to decorate, DIY, and design so that they can love the home they live in.

  • Facebook
  • Google+
  • Instagram
  • Pinterest
  • Twitter

Creative Commons License
This work is licensed under a Creative Commons Attribution-NonCommercial-ShareAlike 3.0 Unported License

Privacy Policy

Copyright © 2022 Honey Bear Lane. Custom site by Moonsteam Design.
34 shares