Red Velvet Butter Bars
I have the easiest and yummiest Valentine’s Day recipe for you–Red Velvet Butter Bars!
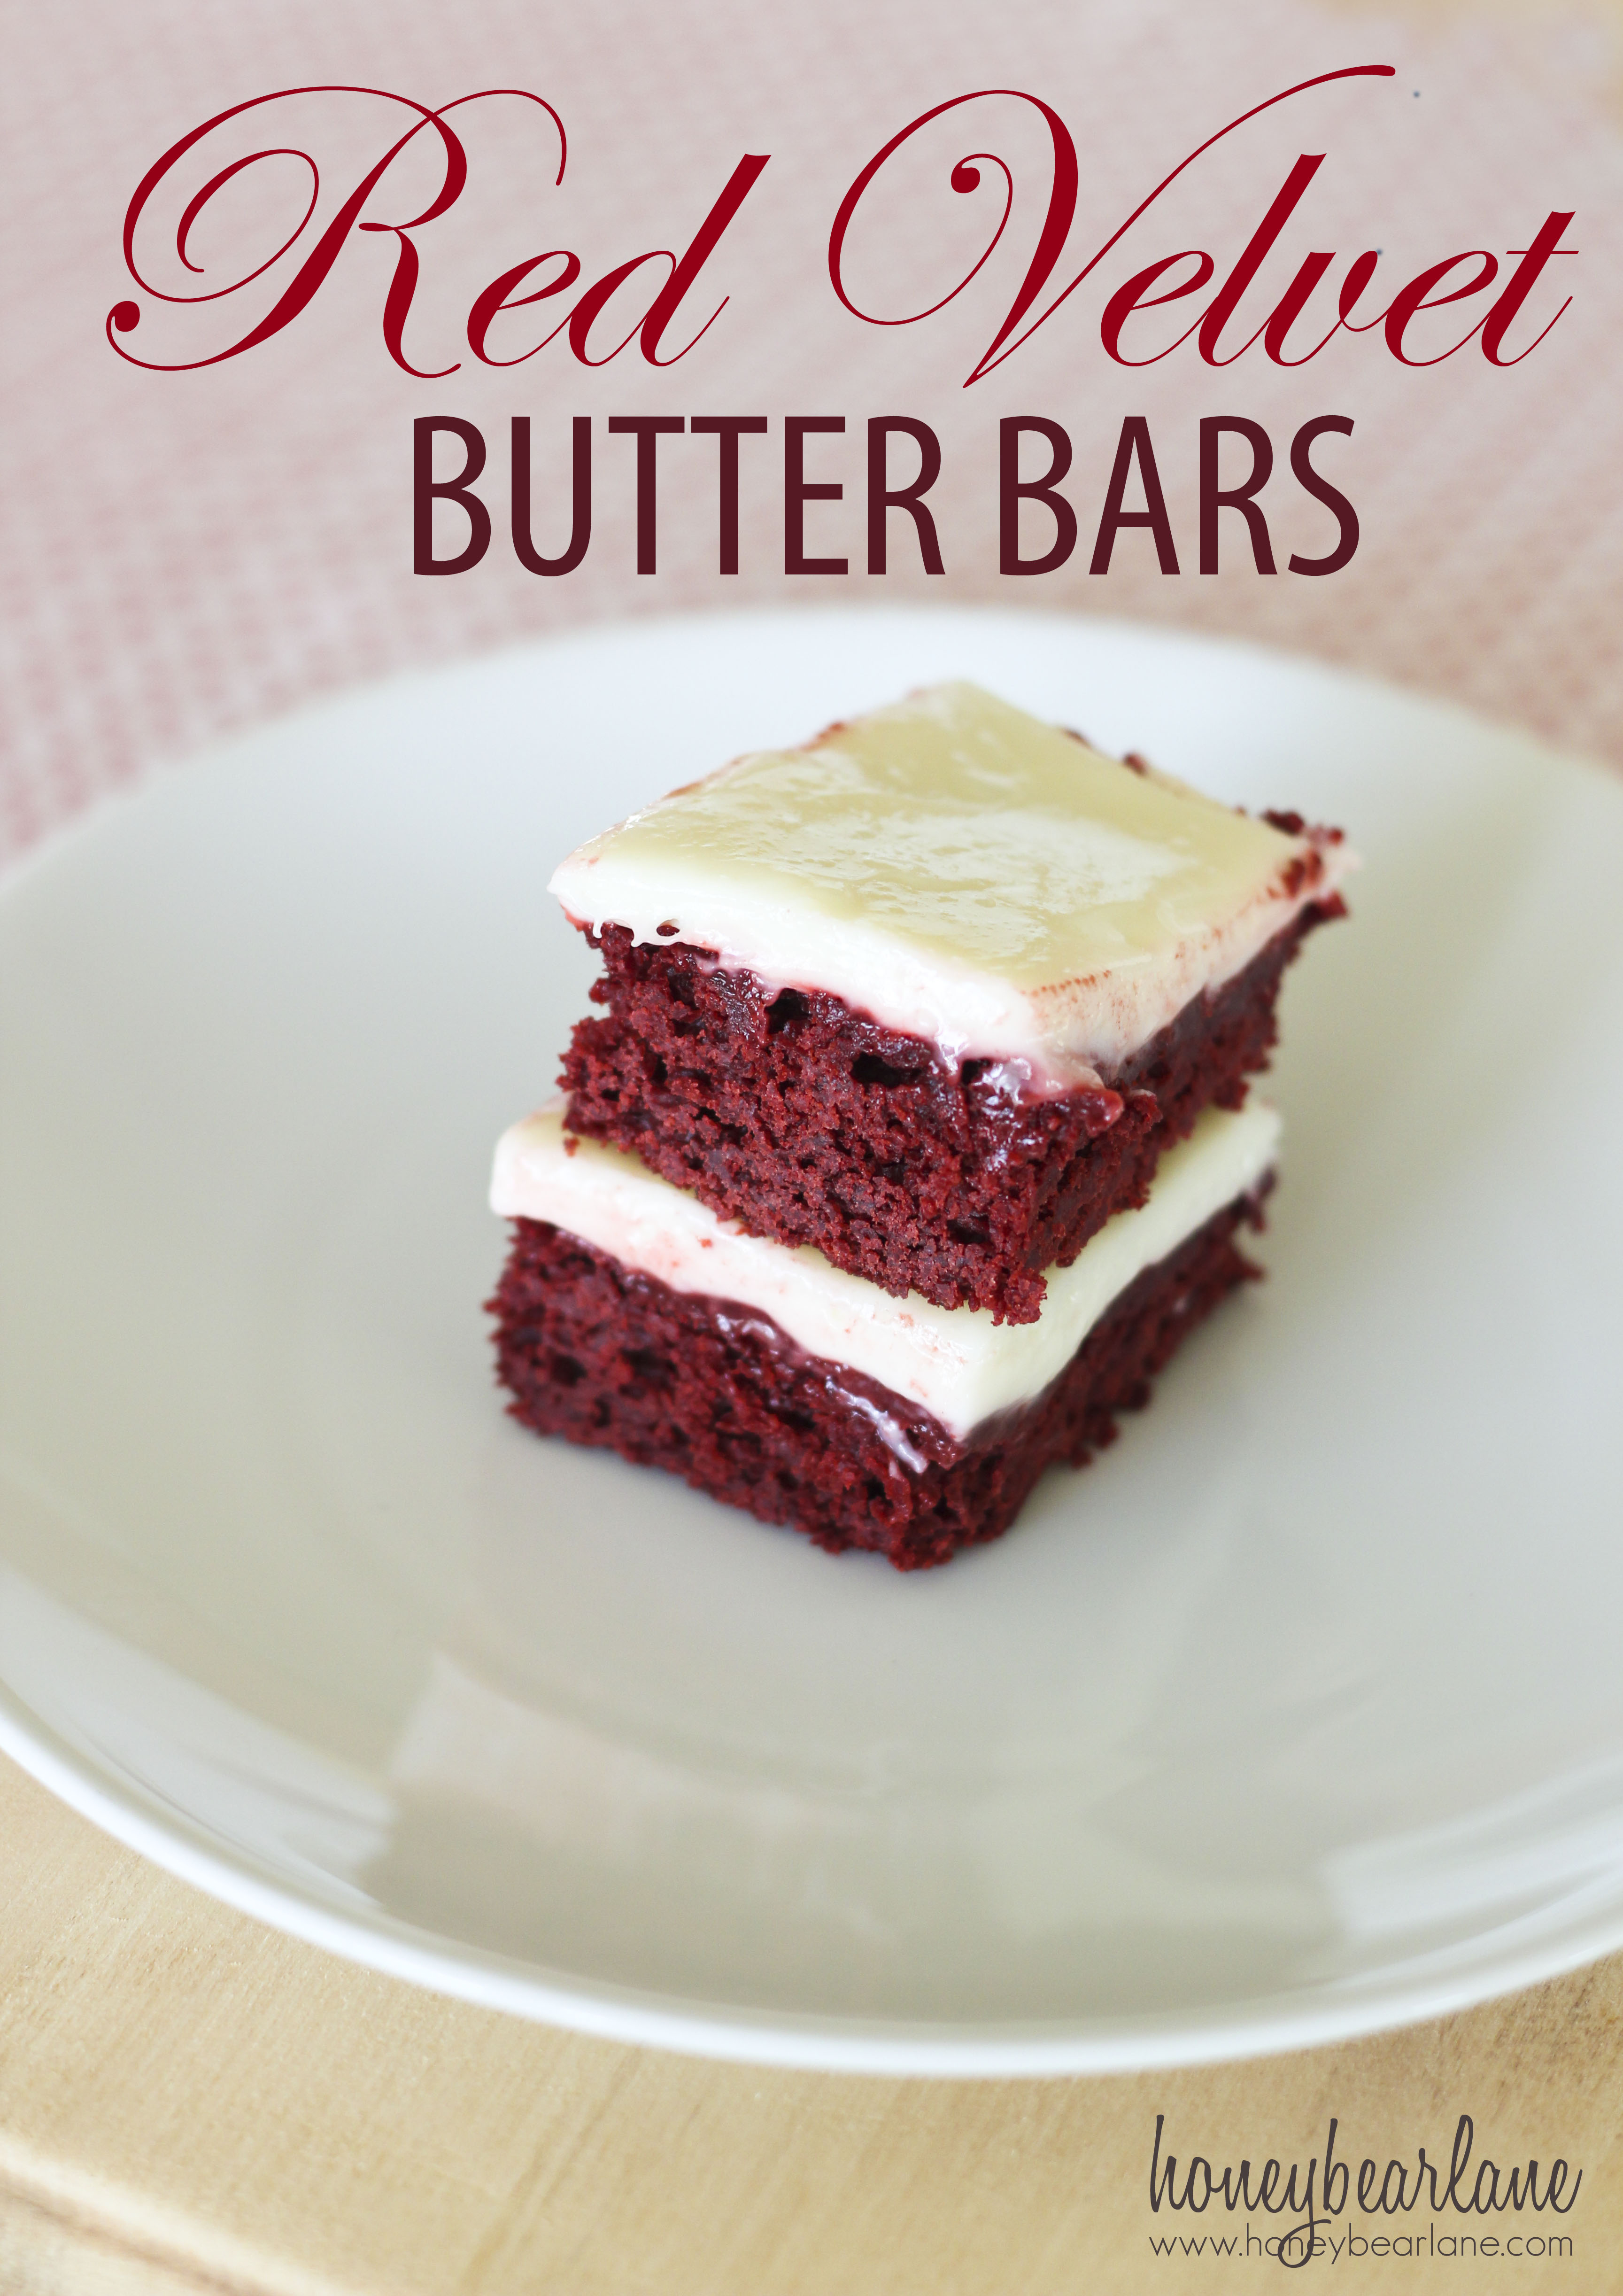
I tried this recipe to make thicker Red Velvet cake which uses butter instead of oil. I took them out of the oven, let them cool, then put on the frosting. It looked very tantalizing and I couldn’t wait another second to try it. So I did and it was…mediocre. I tasted the way every other Red Velvet cake I’d make tasted–unremarkable. So I put the batch in the fridge to see if it would taste better once the frosting hardened up a little bit. After it had been in the fridge for about 3 hours, I tasted it again. WOW. What a huge difference! The butter in the cake had made the whole thing thicken up and now the cake was the most moist and dense cake ever. They were a little thin to be a cake so that’s why I call them bars. But if you make a few layers of this you could easily stack them up with the cream cheese frosting in between and that would be one delectable cake!
- 1 Package Red Velvet Cake Mix
- 1 Cup Unsalted Butter, melted
- 2-3 Eggs
- 1 Cup Water or Milk
- 1 tsp. Vanilla
- Cream Cheese Frosting
- 1 8 oz Cream Cheese, room temperature
- 1-2 Cups Powdered Sugar
- 2-4 Tbsp Milk
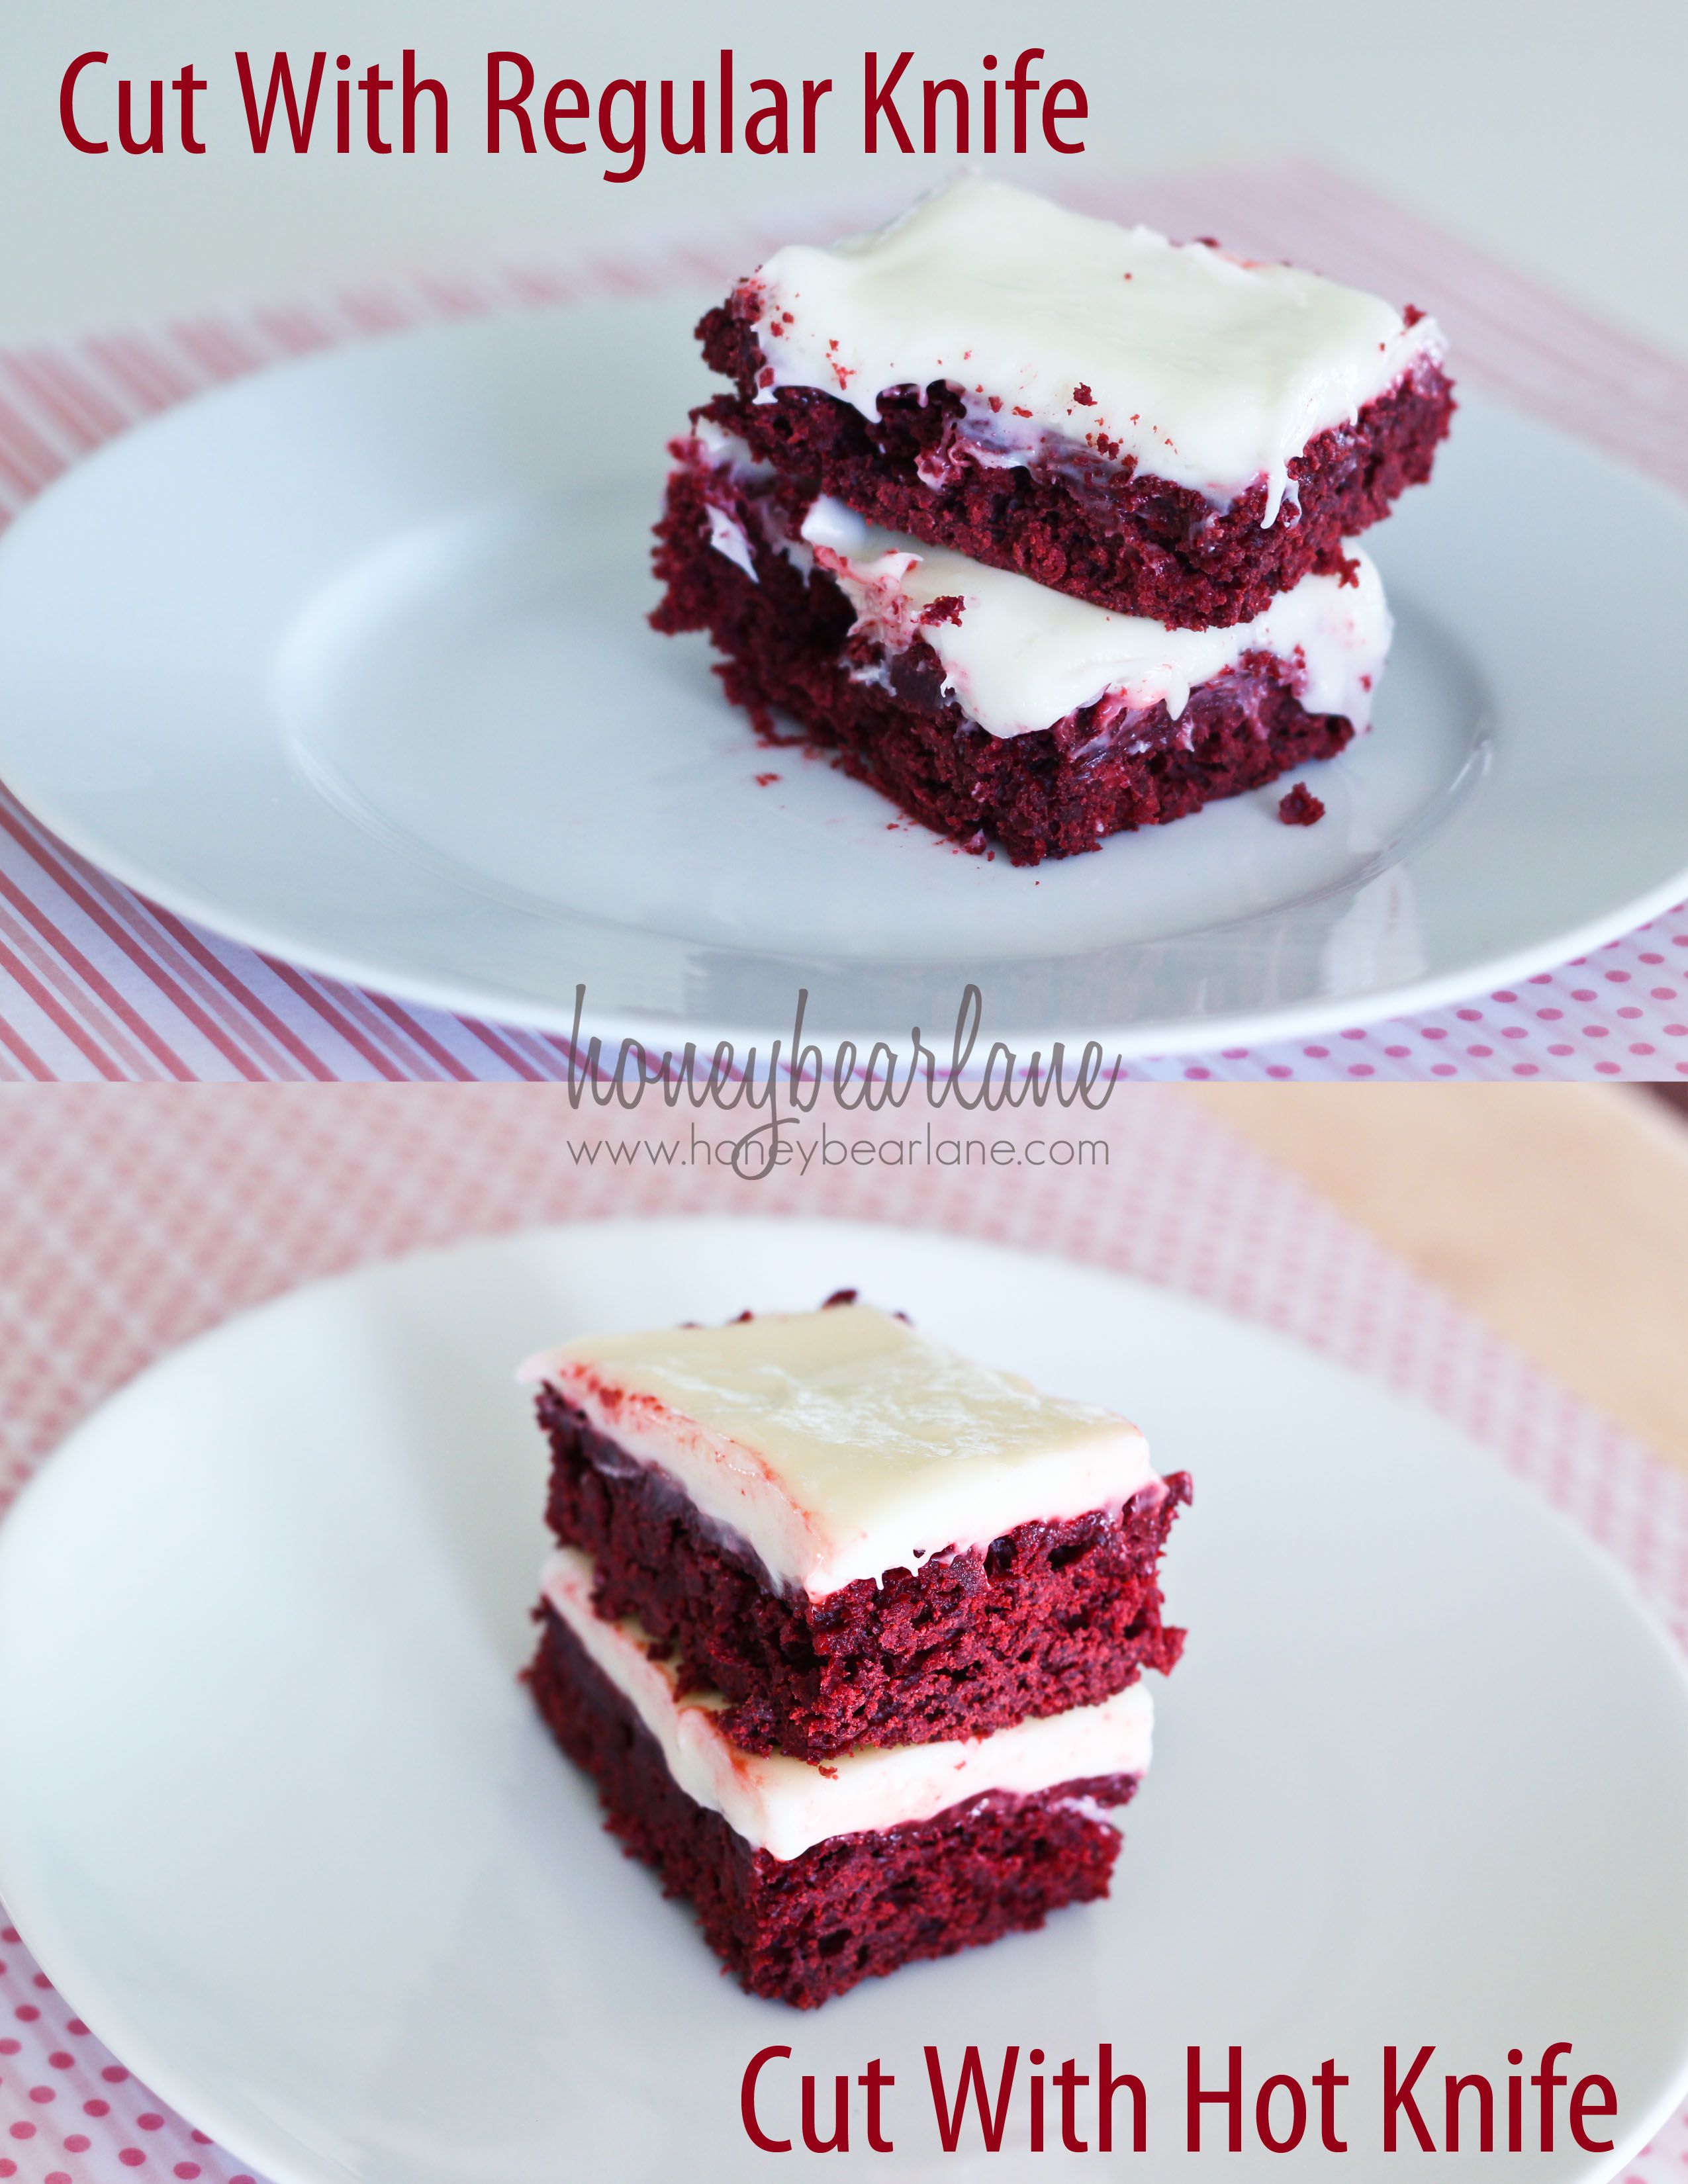
- Butter Bars: Combine everything and mix well. Pour into a nonstick or greased 9x13 pan. Bake at 325 for 20-22 minutes. Let it cool complete, then frost with cream cheese frosting. Refrigerate for 2 hours or more. Cut with a hot knife for clean, crisp edges.
- Cream Cheese Frosting: Whip cream cheese with a mixer and then add sugar and milk until the frosting reaches the thickness you like. You can add more sugar for sweeter frosting or less for more tart.
The key to these bars turning out great is 1) refrigeration! The longer, the better. And 2) To cut the bars and get clean, non crumbly edges and frosting that stays put, cut after it’s been refrigerated and use a hot knife. To get a hot knife, I just get a cup of hot water and dip my knife in there. Take the knife out and make a cut. Keep dipping your knife in the cup of hot water to get the best edges. A tiny bit of water on the bars won’t hurt anything. This way you can serve the bars and impress everyone with your bakery-quality bars!
Do you like Red Velvet? What are you going to make for your Valentine’s Day dessert? If you like this recipe, don’t forget to pin it to reference later!
 <— Click this button to see nutrition values and Weight Watchers points!
Heidi is a blogger, creator, and a mom of three. She loves sewing, quilting, cooking, crafting, painting, decorating, and designing. To make sure you don’t miss any of her latest creations, please sign up for Honeybearlane’s RSS feed.
My husband is a huge red velvet fan, me not so much. Making these right now, so far they look pretty promising. Was your batter super thick, I had a really hard time trying to get it evenly distributed in the pan.
I wrote the recipe down wrong when I typed this up so I went back and revised it–it should turn out not so thick in the pan now.
Eek! I tried these and mine turned out dry and crumbly. :/
Wonder what I did wrong!
I apologize…I copied this recipe wrong from what I had so I updated it so it’s correct. So sorry that yours turned out poorly–you can blame me!