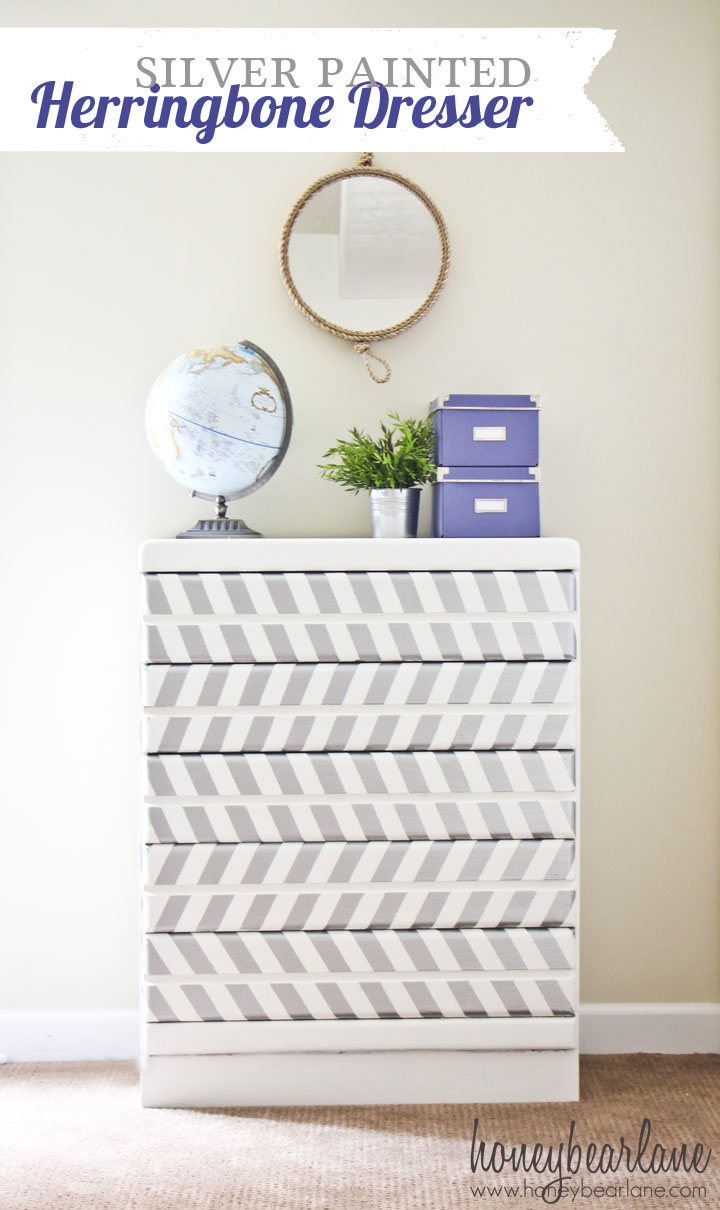
Silver Herringbone Painted Dresser
I love, love, love my boys’ silver Herringbone painted dresser! It took some patience and time, but it was soooo worth it! Don’t you love this?
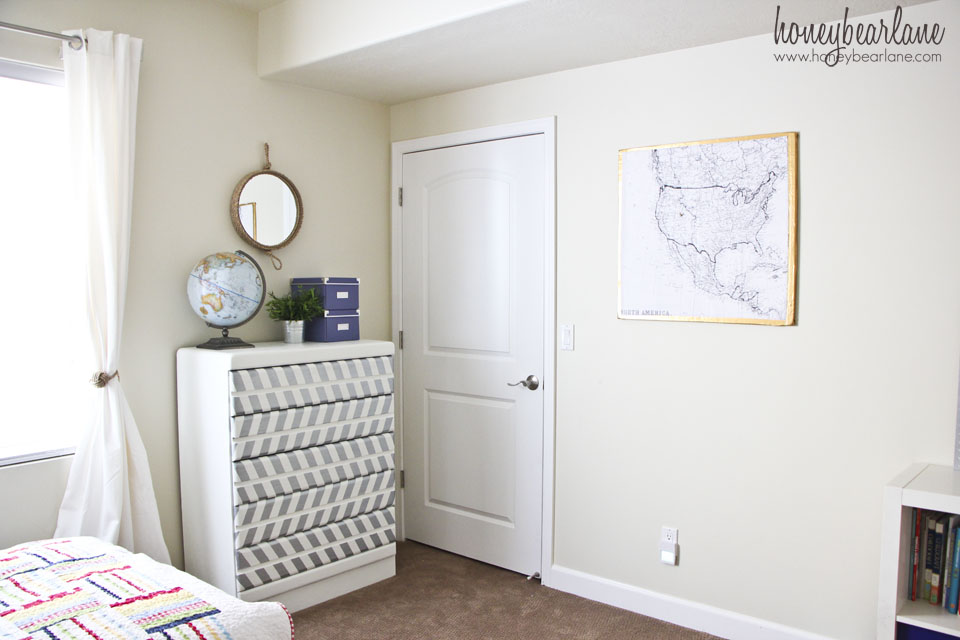
I’ve been not only decorating my baby’s nursery but also my boys’ room. They have more of a nautical theme but it’s pretty loose. But everything I’m doing in there is so fun and just cute!
So first off, I know what you’re thinking…that’s not a true Herringbone. Well I got completely finished with taping and painting and didn’t even realize it until it was all done! I kind of bugged me after I realized it but I’ve gotten over it. I really love it as it is…kind of an optical illusion!
Here’s a little confession…I actually tried to mod podge a picture on the front the dresser before I did the herringbone…and it was a BIG FAT FAIL. I should have taken a picture. Mod Podging is not my forte. Although after I failed I realized what I did wrong so maybe I’ll try that another time.
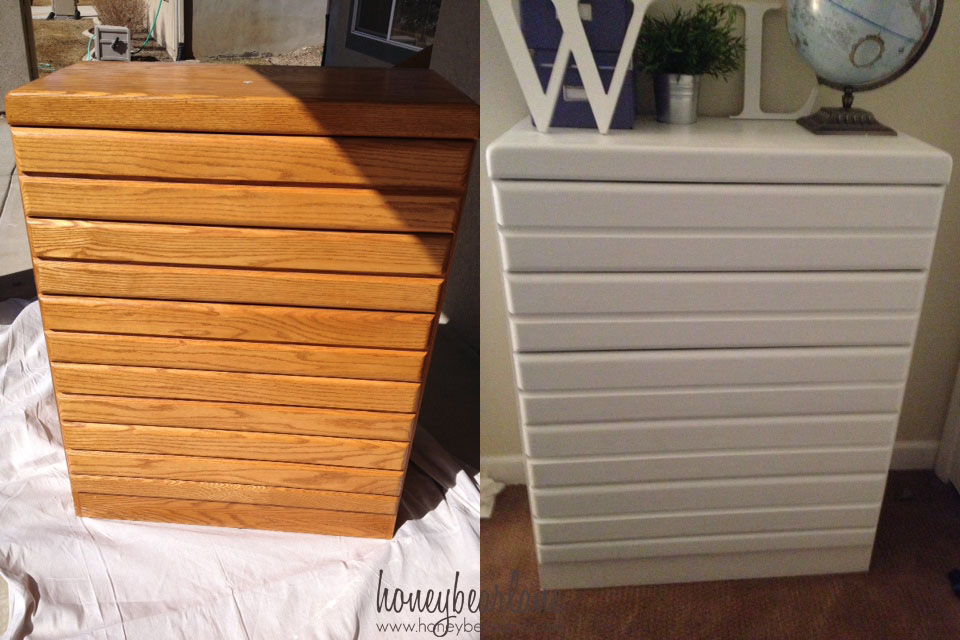
This dresser was very drab and plain before…not quite sure what to do with it. But I realized that with the front being the way it was, it was perfect for a herringbone pattern.
Here’s how to paint a Herringbone pattern (my version!)
All you need is Painter’s tape (1.5 inches wide) and your paint color of choice! And of course all the other things like a paintbrush and poly or wax.
This is kind of hard to explain so I’ll let the pictures do the talking…

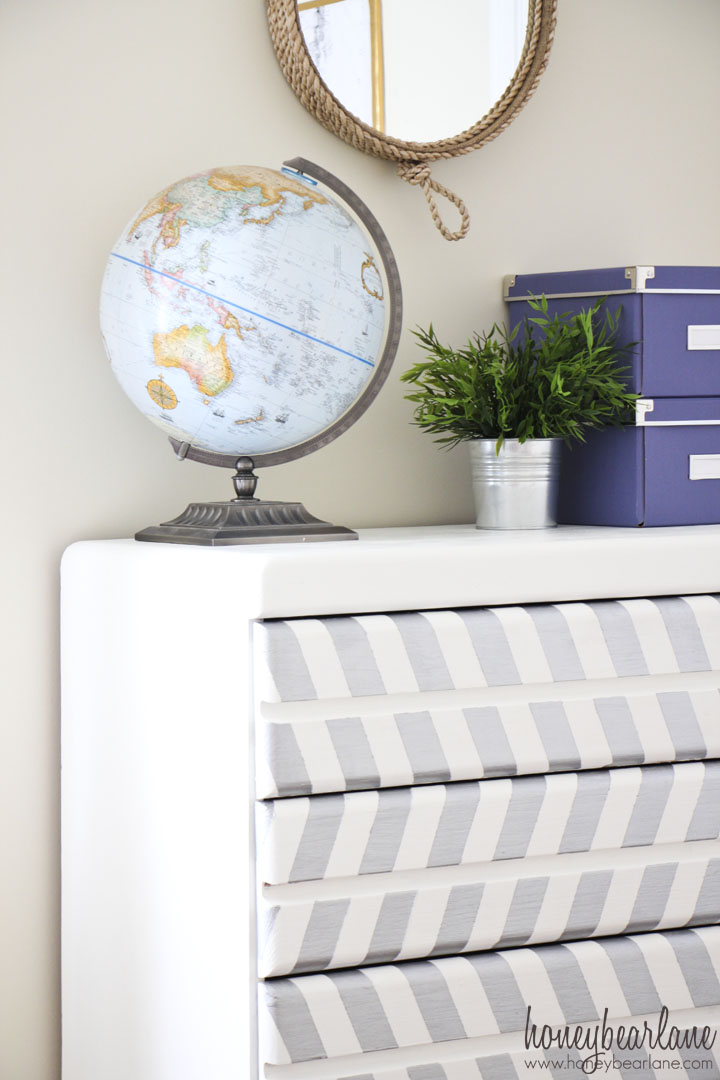
Basically I ripped off long pieces of tape and placed them on the drawer front at an angle. I made sure there was an overhang so I would have something to line up with the next stripe. Then I used an Exacto knife to cut off the excess and taped off other areas I didn’t want paint on. I also alternated the angle between every drawer so some faced one direction and some faced the other. And don’t forget the edges and sides of the drawers. Then I painted the dresser front with two or three coats of Martha Stewart metallic silver paint. After it was dry, I pulled off the tape (the most exciting part!)
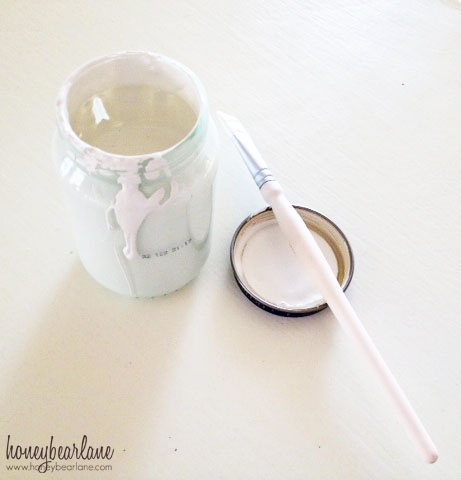
And I had reserved some of the white paint from the undercoat for touchups where the paint had bled through. I just touched it up here and there in a few minutes. I like to keep my paint reserve in baby food jars…it’s so much more accessible than a big ol’ gallon of paint that curious boys like to come and mess with.
Finally, I finished the piece off with Annie Sloan clear wax. I like finishing my pieces with this because it’s low-mess and quick and odorless. By the time it comes to the finishing step I just want to be done so wax is quick and painless. I didn’t distress this at all which is new for me but you know…not everything can be shabby chic. Plus like I said, I just wanted to be done.
So what do you think? Are you digging the herringbone right now? What do you think of this dresser?
Linking up to: My Repurposed Life, 504 Main, Tatertots & Jello, Whipperberry, Flamingo Toes, Craft-O-Maniac
Saw your link up over at My Repurposed Life. I like the pattern and the color combo. Cute!
I love herringbone so much!! And the silver and white color combo is perfect! I love it – so cute! Thanks so much for sharing!
I love this. Herrringbone is my favorite. Great job. I would love it if you would share this over at my link party.
http://www.ifitsnotbaroquedesignblog.blogspot.com/2013/03/tuesday-link-party-10.html
I like how you did it differently then what ive seen. I just did a herringbone dresser myselfhttp://www.mysimplehomelife.com/2013/02/herringbone-mid-century-dresser.html
I followed a link from road kill rescue here to say how much I adore this look – it’s inspired me to do something similar for my own boys’ bedroom – my eldest (who is three) saw this and said it looks like tyre tracks (which he was very excited about) and now he is desperate to have something similar in his room – I really love this, it looks stylish and elegant but also very masculine!
That is what my mom said–it looks like tire tracks! I guess my mistake ended up being a masculine twist on herringbone!
wow great job love how it turned out and your color choice
Love it!!! You took that plain ol’ dresser and made it a focal point! I think I might just attack my little dresser in a similar fashion;) Very cute!
Jenny from diywithjenandb.blogspot.com
Try it! I’d love to see!
This is adorable! I love anything herringbone and it gives such personality to your sons’ room! Great job.
I’m having a giveaway over at my blog. Feel free to check it out and enter. Have a great week!
http://cloverandmustard.blogspot.com/2013/03/a-few-of-my-favorites-giveaway.html
I love love love this. Turned out so cute. Great job!
Thank you! It is a fun design.
I love it!
the herringbone is great! 🙂 you did a super job.
did you know ??? after you apply your tape, paint on a light coat of the base coat — after it dries then do your accent color, and there will be very little bleeding. 🙂
gail
Thanks for the tip! I’ll have to try that!