Family Reunion Tshirts
Click Here to Enter the Stitches By Heidi $40 Giveaway!
*******
Ahh…family reunions. A time for family to squish together in a cabin and have lots of laughs, tears, scrapes, and cuts. And of course the matching shirts. What would a family reunions be with the traditional reunion T Shirt?
This year I decided to use the awesome heat transfer by Silhouette and the Silhouette cutter to make our shirts. I thought it would be a fun craft. I had big hopes and dreams about this activity, all of which were shot down once my baby entered the hospital. We didn’t even get to the reunion for the first day, the day we were supposed to do the shirts.
Anyway, I still want to show you the shirts, even though the design is very simple. And PS, I made shirts for 58 people. So you know that Silhouette can handle it. Not sure if my mom’s iron could though…
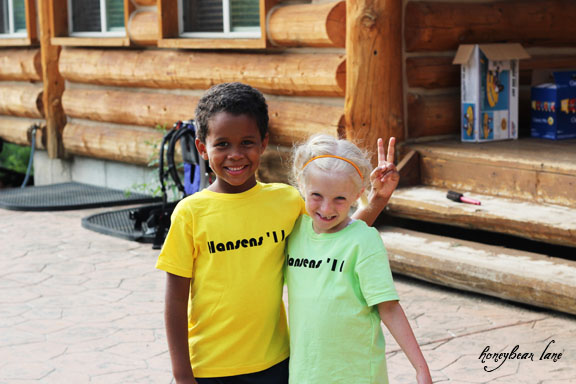
 A tender and bunny-eared moment between cousins…
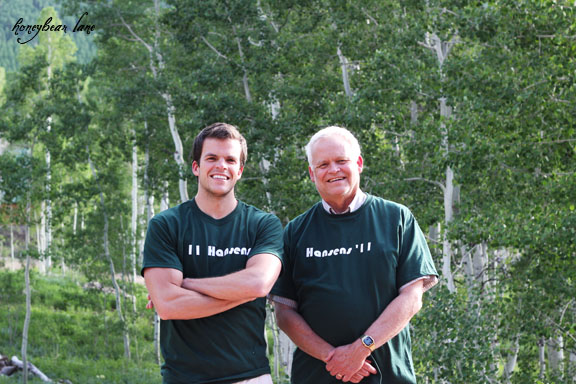
 A macho guy picture. Look how buff my brother is though, seriously!
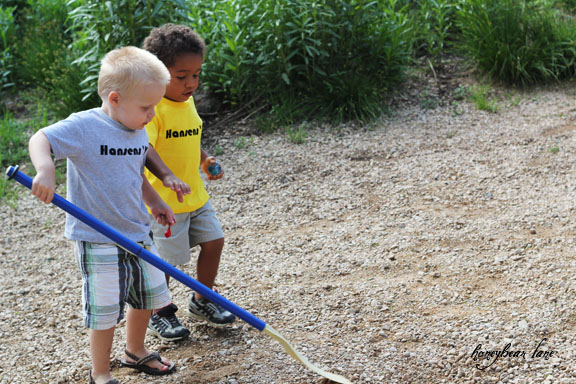
 Shoveling rocks, a very popular activity amongst the three-year-olds.
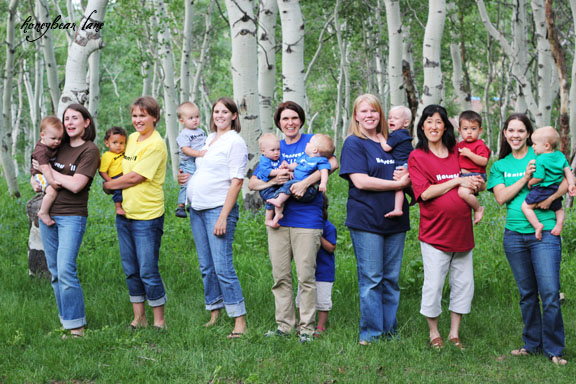
 And oh, yes, that’s right! A preggo shot of yours truly. Can you guess which one is me? Hint: I’m the only one without a reunion shirt because the dang company messed up the tshirt order. Again. But seriously, there were 8 one-year-olds at this reunion and three pregnant women. This is where you can just go ahead and call us a typical Mormon family. But we all belong to our own husband. 🙂
Do you want to make your reunion shirts now? Here’s my advice:
- DONT order the shirts from Cheapestees.com. They’ve burned me twice now.
- DO have someone experienced overseeing all the ironing of the heat transfer. Not everyone in my family did it quite right and their shirts have kind of fallen apart.
- DO use the flocked heat transfer. It’s fuzzy and fun.
- DO make the child design a little smaller than the adult design.
- DO use the Silhouette if you have one. It’s just freaking awesome.
- DO spend some time on the design, but still make it fairly simple.
- DO read the instructions on the heat transfer…that will help a LOT.
- DONT get sick before you do it.
Happy Reunion-ing!

Heidi, you rock! And I love the preggo pick!
Hey! I loooove your blog! I’ve been following it for a while and I think you are such a nice and genuine person! Keep it up! 🙂
P.S.: Are you still planning in posting more blog design tutorials? I am starting to blog again and I am having difficulty in designing it. I was wondering how you put those social network icons on the top right of your blog and how you link to your networks 🙂
Thank you so much Patty! I’m probably not doing more blog design tutorials but the easiest way to describe how to do the social network icons is this: download free social network icons from the internet (I changed the colors in PS) and then save the jpgs. Upload them to Photobucket and get the html. Enter the html as a widget without any spaces in between and then link each picture to its destination! Good luck!
love the shirts! My family does shirts for every vacation and while my siblings think it’s corny….. I love it!