Scrappy Turkey Bib
Hello Honeybear Lane readers! I am Rebecca from Searching Out Simple here again with a baby themed project. I was going to have my ‘baby’ help make some placemats but she was a cranky babe. Has Thanksgiving snuck up on anyone else? Less than a week to go and I have yet to buy a turkey or items for the rest of the meal. I am looking forward to pumpkin pie and a leftover sandwich the next day. If you have or know a cute little turkey, you can have a bib ready in time, even if you still have a long to do list like I have.

First you’ll want to gather your supplies. I keep scraps {maybe too many?} and canvas {drop cloth} on hand at all times. Throw in some ribbon, two buttons and sewing supplies {scissors or mat & rotary cutter, sewing machine, thread, stabilizer if you have some – wonder under or heat & bond work great}. I also drew half a heart on a piece of paper and cut it out to use as a template for the feathers. {I wish I was savvy enough to provide a quick print out for you all}.
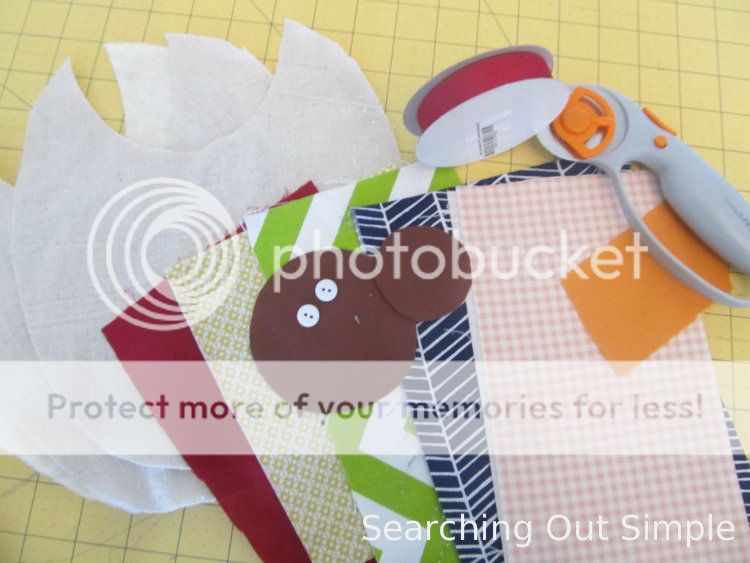
I used a bib I already had to trace and cut two pieces of canvas and a piece of batting – the batting slightly smaller than the canvas. You can also use a template of your choice. To cut the turkey body I traced circles using the top and bottom of a small glass. They are approximately 3.5 and 2 inches wide. If you haven’t yet, you’ll want to draw half a heart shape on a piece of paper and cut it out, make sure that it’s not longer than your bib, my heart shape is about 5″ from point to highest part of the curve.
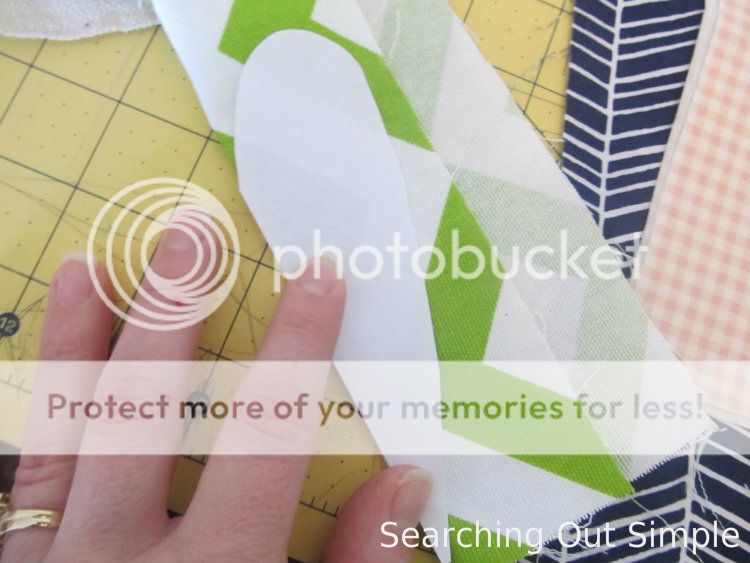
Fold your scraps {5 different colors/prints fit on my bib} in half and place the heart shape on the edge of the fold so that the middle of the heart is on the fold. It’s faster to cut them out using half a template and you get a more symetrical shape as well. These will become your feathers.
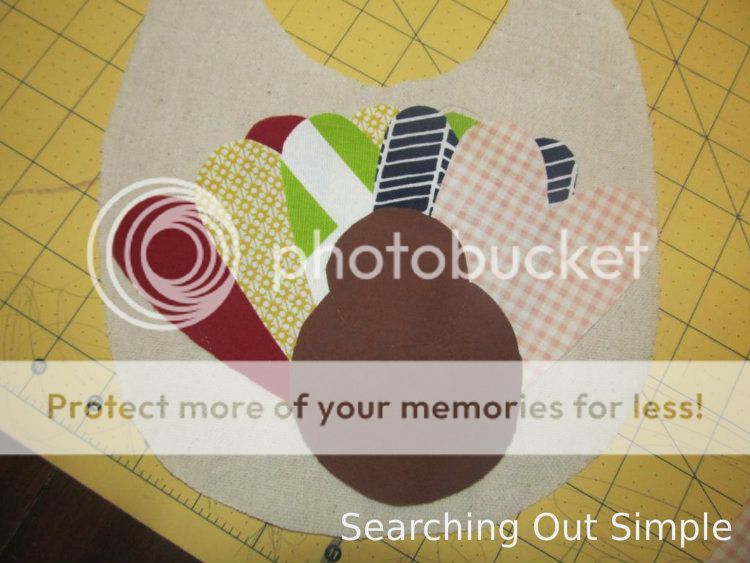
Layer the hearts and circles on your bib to see how you like the layout. You can do it like I did or start with the outside hearts ending with the center on top of the rest. If you’re using a stabilizer follow the package directions and iron all pieces onto your bib. You’ll still want to stitch them down, you can do a zig zag, satin stitch, blanket stitch or straight stitch leaving a raw edge as I have.
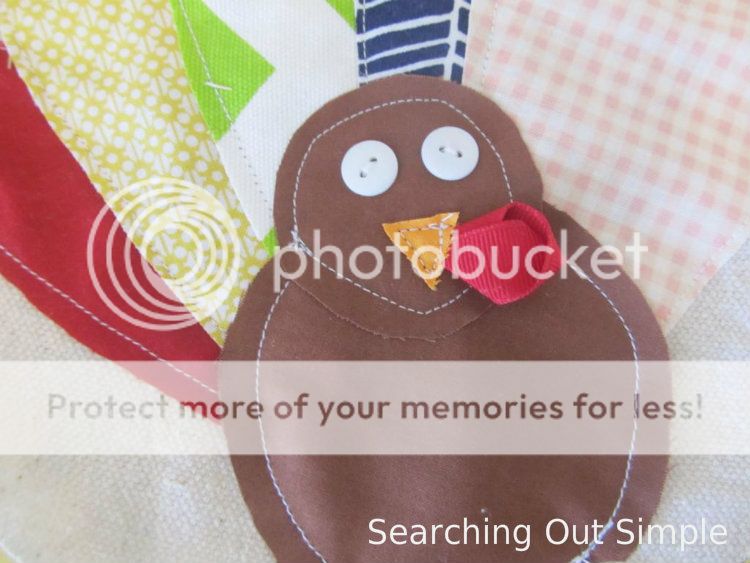
I cut a triangle from an orange scrap for the turkey’s beak, layering that over a twisted piece of ribbon to make the turkey’s gobble. {Actual name of the red flap that hangs from the turkey’s beak, just looked it up}. Folding the edge of the ribbon into a point helped create the shape and make it small enough to go under the beak. The ribbon was approx 2 inches long. Finish the turkey off with two button eyes.

Almost done! Now you can stack your pieces – blank canvas bib piece, batting {cut slightly smaller}, canvas bib piece with turkey applique. I used a blanket stitch around the bib leaving a raw edge, I love the look of a raw edge on canvas. You can also finish off with bias tape if you want a cleaner look. Or stack them with the turkey facing down, sew together leaving an opening to turn, press and top stitch. Last step is to attach the ribbon for tieing. I used the ties on a bib I had, about 12″ a piece is good. In the picture you can see how I layed the ribbon going downward from the top of the bib, stitched and then {shown on the right} flipped the ribbon upward and stitched again. Use a lighter {carefully} or fray check on the ends of your ribbon.

And there you go, easy as {pumpkin} pie! If I could convince them to wear it I would make more for my two older children. Happy Thanksgiving to you all! 🙂
This is so adorable. Thinking it would make a cute t-shirt applique too. Thanks for the easy step by step.