Decoupage Mini Chest of Drawers
This post originally appeared on Tatertots and Jello on July 13, 2015.
My friend Jen from Tatertots and Jello has just released the most adorable craft supplies line. The colors are perfect and on trend, the themes and patterns are just adorable…everything is amazing.
I received the box of supplies last week and as I drooled over the beautiful colors, textures, and designs, I had an idea for decorating a cute little wood box of some sort. I actually love to DIY with wood, but I knew something like this would be best with a pre-fabricated item from a craft store.

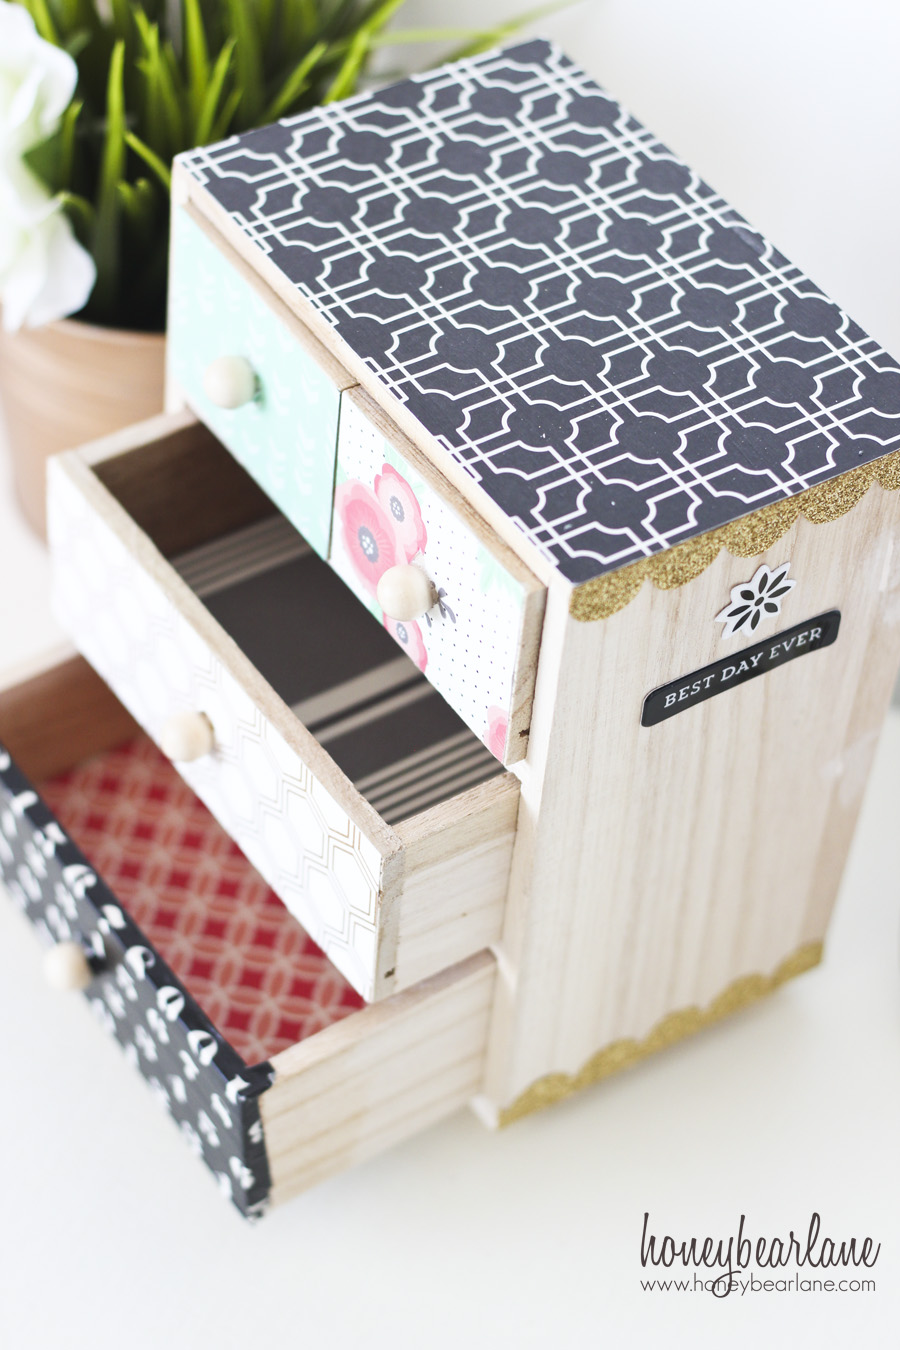
I hit up my local Michael’s and found this adorable Balsa wood mini chest of drawers. Isn’t this cute? I adore mini chests of drawers–they are the perfect thing to hold your little treasures, like jewelry or hair things. I wanted to make it for my daughter’s bedroom.

I love how this turned out, don’t you? All the colors coordinate and it’s got personality and pizzazz, glitz and glamour. Even the shelves are lined with cute paper!

Supplies:
- Wood mini chest of drawers (available at crafts stores like Michaels)
- Scrapbook paper (I used Jen Hadfield’s designs from American Crafts)
- Stickers
- Cute gold scalloped tape
- Black washi tape
- Decoupage glue like Mod Podge
- Paint brush
- Exact-O Knife
- Scissors, pencil


Step 1: Take all the drawers out. You can paint the body of the chest if you want. I liked the natural look so I left it. Trace the opposite side of the front of the drawer (the back) on a piece of cardstock. Cut it out and then make a double X cut in the center where the knob is. Slip the paper over the front knob and trim out the spot so it fits just so. Paint some glue on the drawer and put the paper back on. Paint more decoupage glue over it. Use your fingers or a squeegee to get out any air bubbles.

Step 2: Repeat this with the other drawers. I actually did the tape for one of the drawer fronts and this was ever easier. I just used the Exact-O knife to trim off the edges from the sides. But I still used the decoupage glue over the top.
Step 3: Trace the bottom of the drawers on your papers and trim them about 1/4″ around to fit the space of the bottom of each drawer. Again paint glue on the bottom of the drawer, apply the paper, then glue on top.

Step 4: Add stickers and any other embellishments on the sides. I also added another sheet of paper to the top. I used the gold scallop tape on one side.
That’s it! Just let it dry and you can sand off any edges of paper that are hanging over the edge. Now you have an adorable little mini chest of drawers customized with this adorable paper!