• Home
  • About
  • Contact
  • Shop
    • Patterns

Honeybear Lane

DIY Decorating

  • DIY Tutorials
    • Projects
    • Building
    • Sewing
    • Quilting
    • Crafts
  • Home Decor
    • Home Decorating
    • Honeybear House
    • Organization
    • DIY home decor
  • My Home Tour
  • Recipes
  • Holiday
    • Valentines
    • St Patricks Day
    • Easter
    • Spring
    • Summer
    • July 4th
    • Fall
    • Halloween
    • Thanksgiving
    • Christmas
  • Entertaining
    • Printables
    • Parties
  • Wellness
    • Essential Oils
    • Health and Wellness
    • Weight loss
Catablog· puff quilts· sewing

Baby Gym Makeover

September 10, 2010

Sharing is caring!

1 shares
  • Share

I made this puff quilt top.  But it just didn’t really turn out the way I wanted, so I didn’t really know what to do with it.  I didn’t want to take the time to finish the quilt since I didn’t even like it, so it just sat in my craft shelf for many weeks, wondering what its purpose in life was.  Finally one day I found myself staring at our baby gym thing…

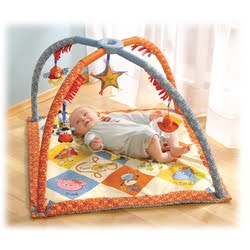
This is just the stock photo of it…my baby is much cuter!

And I put two and two together…

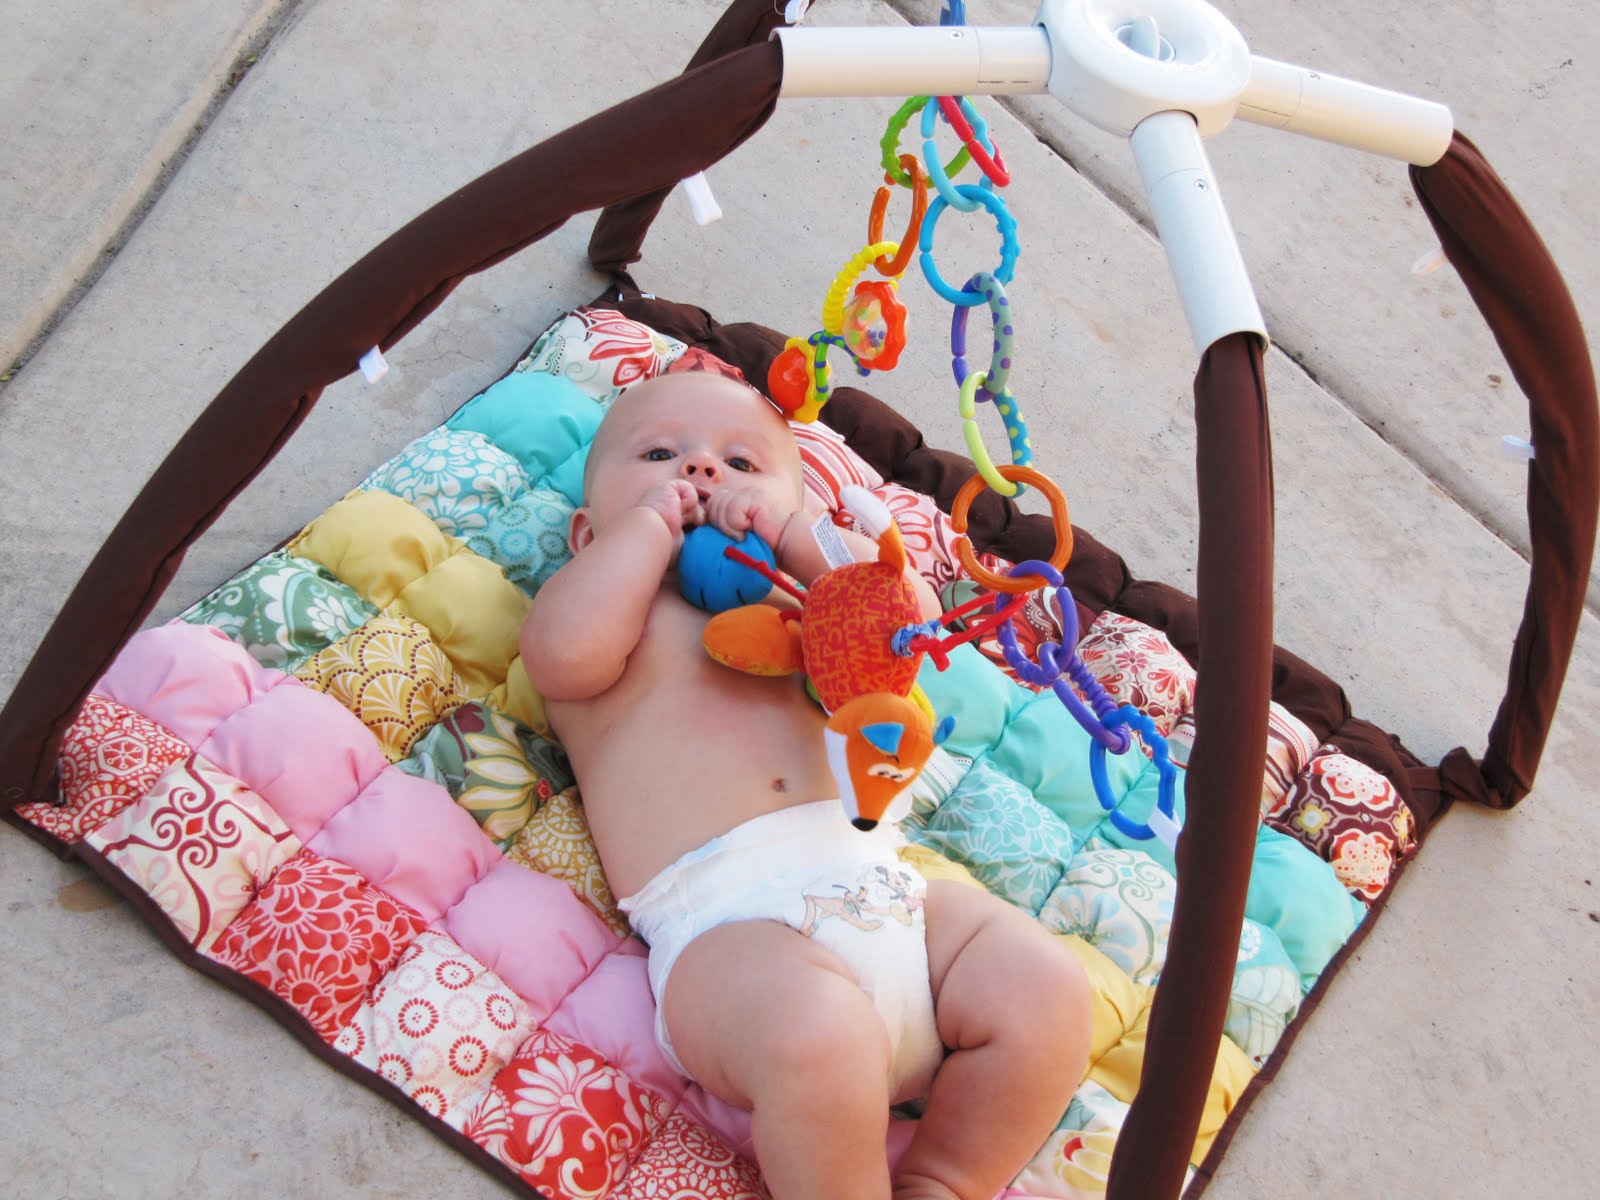
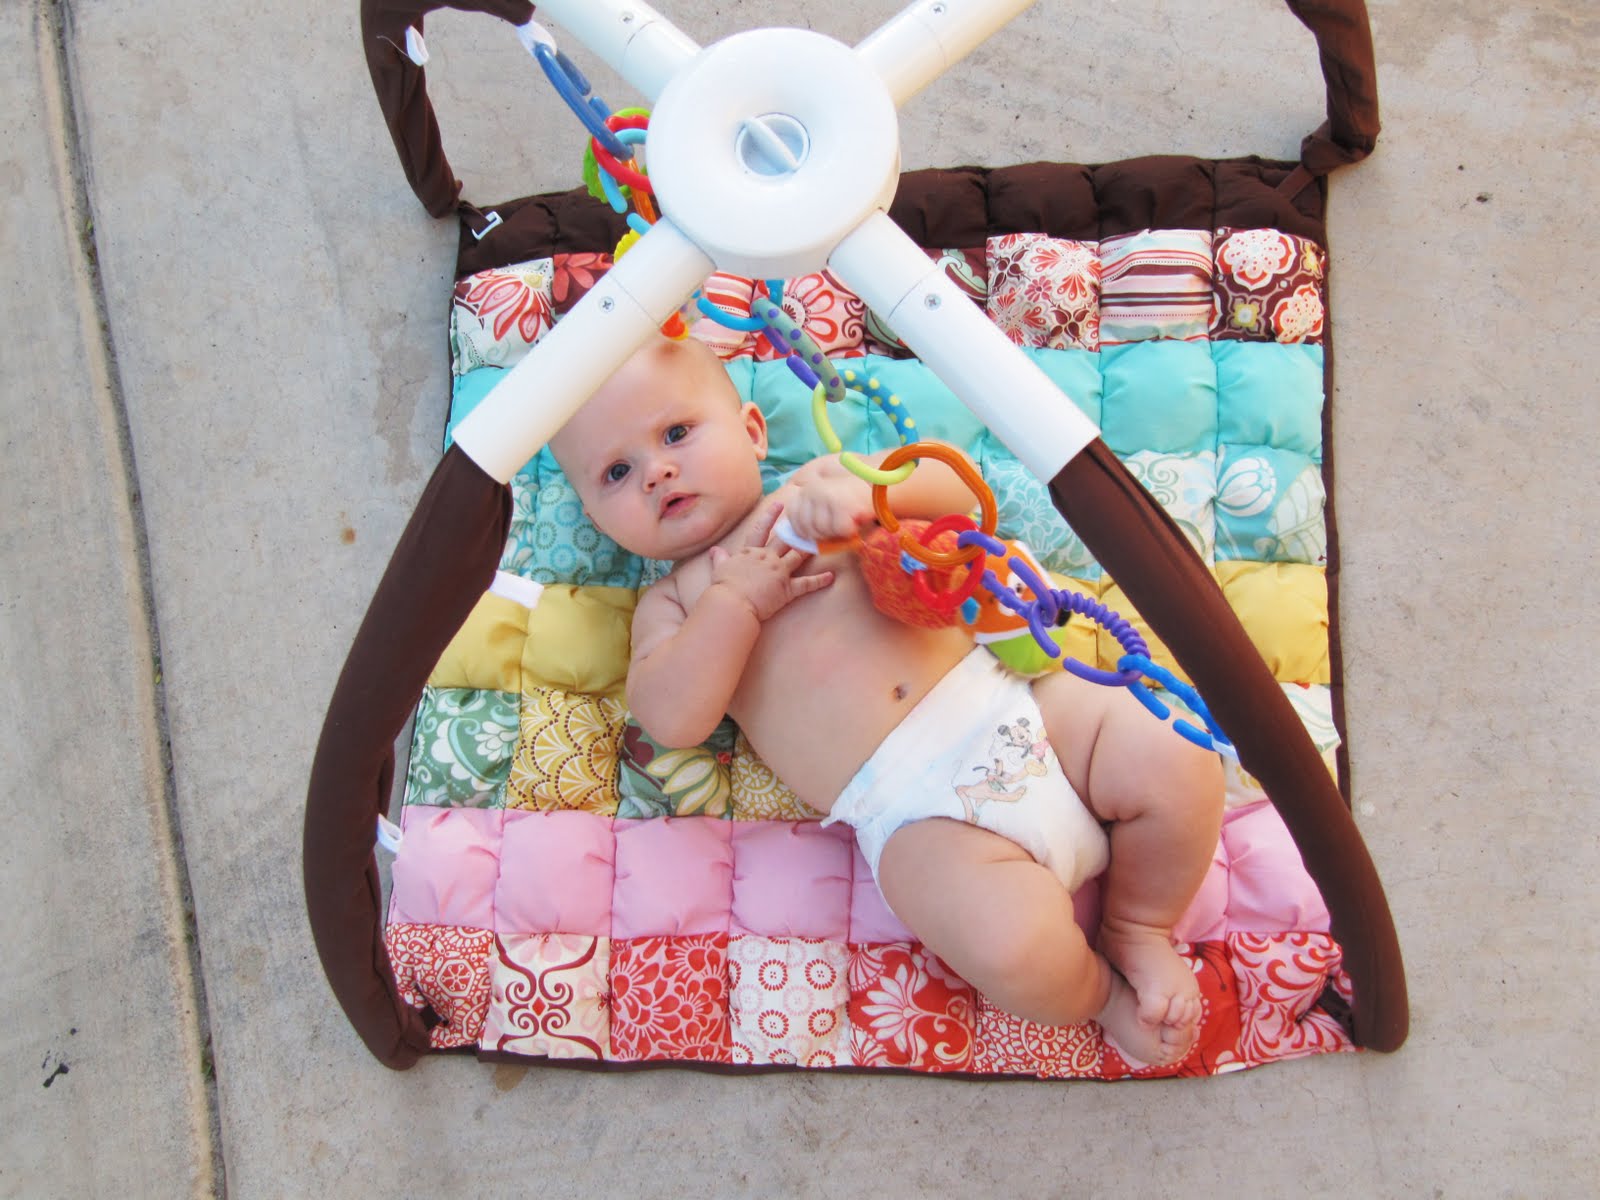
This project was actually a lot easier than it looks.  I just deconstructed the gym, used the existing fabrics as a pattern, replaced the fabrics with my own, and then spray painted the plastic pieces white.  I put it all back together and done!  One thing I wish I would have done was not spray painted the inside of the joints…it made re-assembly much more difficult.  However, a little WD-40 on the joints and all was well.  Definitely MUCH cuter to look at!

Linking at…

blog sig

Filed Under: Catablog, puff quilts, sewing 24 Comments

Comments

  1. Kat says

    September 10, 2010 at 1:14 pm

    What a great transformation! Love the puffy quilt top.

    Reply
  2. lucy says

    September 10, 2010 at 1:44 pm

    your baby IS so cute!! the project is nice too. 🙂

    Reply
  3. mandy says

    September 10, 2010 at 1:49 pm

    I'm impressed, great idea for a project. Most commercial baby things are so unattractive. Mostly though I'm just commenting to say that your baby is super cute. I wish we were close enough that I could give him a squeeze because he is oh, so squeezable.

    Reply
  4. Rachel says

    September 10, 2010 at 2:43 pm

    What a great idea! and a great use for your puff quilt! LOVE it!! 🙂
    -Rachel

    Reply
  5. Valerie Weech says

    September 10, 2010 at 4:09 pm

    Definitely much cuter after your revamp–Gym AND baby. 🙂 Love your blog!

    Reply
  6. While Mr.Onesock Tugs My Apron Strings says

    September 10, 2010 at 5:24 pm

    So much cuter! I love your puff quilts! They look so comfy! And yep, your baby is super cute!

    Reply
  7. Jessica says

    September 10, 2010 at 7:13 pm

    I like it even better with the puffy quilt. I NEED to make one of those quilts! Or maybe just order one from your shop. 🙂

    justenoughstyle.blogspot.com

    Reply
  8. The Keele's says

    September 10, 2010 at 7:18 pm

    What a cute re-do! And what an even cuter baby!!!

    Reply
  9. Tracie says

    September 10, 2010 at 7:48 pm

    Love it! Super cute. (Both baby and remodeled gym.)

    Lucas looks like you. He's got your eyes.

    Reply
  10. Kelli says

    September 11, 2010 at 5:06 am

    Oh I love the fabric combination you chose. It turned out really cute!

    Reply
  11. CourtneyKeb says

    September 11, 2010 at 11:41 am

    You did a fantastic job! I don't think it' could be cuter!

    Reply
  12. ANKH says

    September 11, 2010 at 2:26 pm

    Love it!
    Isn't crafting surgery fun? LOL

    ~ANKH

    Reply
  13. Dallin and Ashley says

    September 11, 2010 at 8:44 pm

    That puff quilt is amazingly cute. And that little one of yours is even more amazingly cute! What a great idea!

    Reply
  14. Gwen @ Gwenny Penny says

    September 11, 2010 at 8:56 pm

    Oh my goodness, I love the color combinations and fabric choices. Really nice. I never would have thought to do something like this. Great idea!

    Reply
  15. Amanda says

    September 11, 2010 at 10:01 pm

    Squee!! So ridiculously cute! The play mat is too! 😉

    Reply
  16. Amy @ Chicy-Creations says

    September 11, 2010 at 10:16 pm

    I ADORE this (especially the baby!!) I love your quilts, the colors in this one are perfect.

    Reply
  17. Molly @ The Creative Maven says

    September 12, 2010 at 2:22 am

    Heidi, this is so pretty! I almost want one for myself – do you think I would fit in it?

    Reply
  18. Natalie says

    September 12, 2010 at 11:32 pm

    This is awesome. You are so talented! And your baby boy is adorable!

    Reply
  19. saralynn says

    September 23, 2010 at 8:00 am

    so cute i love that fabric line after seing your tutorial i wondered how it turned out

    and your son is beyond adorable ^.^

    Reply
  20. Casey says

    October 1, 2010 at 9:44 pm

    that is so cute!

    Reply
  21. Jeanette says

    October 1, 2010 at 10:50 pm

    very cute!

    Reply
  22. The Bonjour Four says

    October 3, 2010 at 4:44 am

    amazing!!! i think you should totally be included with the big 12!! this is fantastic and sooooo creative!

    Libby

    Reply
  23. Heather - Dollarstorecrafts.com says

    October 16, 2010 at 6:10 am

    Adorable project! 🙂 Good photos,; I think you'd bring it to the Crafting with the Stars contest! 🙂 And great model, too!

    Reply

Trackbacks

  1. Great Ideas -- 9/11 says:
    November 21, 2012 at 5:23 pm

    […] for new decor @ Beans and Buttons Make over an old Baby Gym into a Plush, Beautiful Haven @ Honeybear Lane Gorgeous Pantry Prep Area {she put fabric on her walls using starch} @ Crea8tive Designs […]

    Reply

Leave a Reply Cancel reply

Your email address will not be published. Required fields are marked *

Popular Posts

  • DIY Farmhouse Table and Bench
  • 20 Handmade Christmas Presents to Start Sewing Now
  • IKEA Hack: Expedit into Long Storage Unit
  • My Gorgeous DIY Office Built ins Reveal
  • 8 Steps to an Epic Halloween Party
  • DIY Mudroom Bench
  • Build Your Own DIY Outdoor Furniture
  • Tips for Painting Stair Balusters
Welcome

Hey there--I'm Heidi! I teach women how to decorate, DIY, and design so that they can love the home they live in.

  • Facebook
  • Google+
  • Instagram
  • Pinterest
  • Twitter

Creative Commons License
This work is licensed under a Creative Commons Attribution-NonCommercial-ShareAlike 3.0 Unported License

Privacy Policy

Copyright © 2022 Honey Bear Lane. Custom site by Moonsteam Design.
1 shares