Waterlily Origami Guest Tutorial
I found today’s guest tutorial from last week’s Tuesday Morning Buzz Linky Party! Make sure to link up every Tuesday, and your project may get picked for a guest tutorial!
Hi and Namaste! I’m Mruna from Ebony, Ivory and a Rainbow. I currently study architecture and have always loved crafting and sewing and anything DIY. I’m very excited to be at Honeybear Lane today! When Heidi asked me to guest post my origami tutorial here I was THRILLED and said yes immediately!! Isn’t her blog the neatest? There’s everything here right from making a cute cut out tank to blogging how-tos!
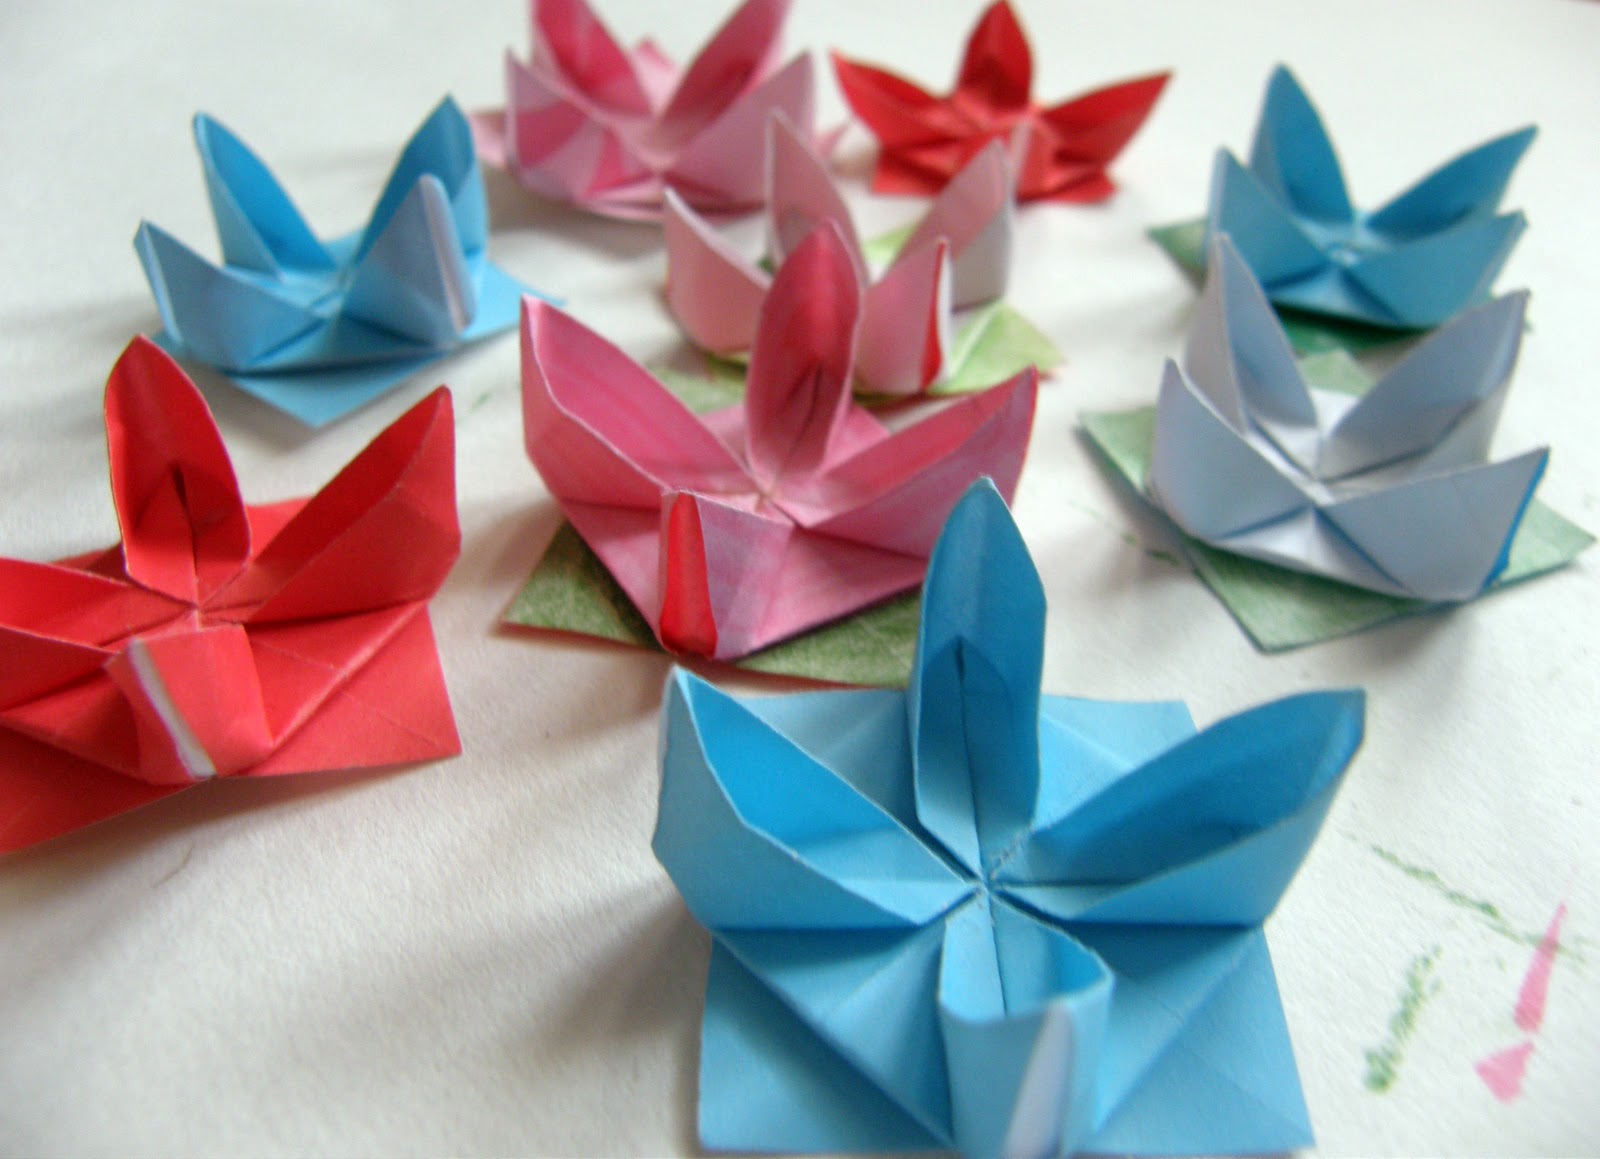
Today I’m going to show you how to make a waterlily using origami.
This is an extremly easy way to jazz up your simple tack pins/push pins. And you don’t need anything much other than some scrap papers that are lying around. So if you have some paper you just threw in the bin then fish it out and MAKE THIS!

Things you need:
Any scrap papers – notes you’ve scribbled, old newspapers, maybe even andy wrappers or post it notes!
Pushpins/ Tackpins
Glue gun or any other glue
Steps:
1. Take a square piece of paper. Mine is about 3 x 3 inches with one side colored and the other side white.
 |
| The side which you consider the right side will ultimately be the color of your flower |
2. Keeping the white side facing you fold and unfold along the diagonals making creases .

3. Fold all corners to the center.

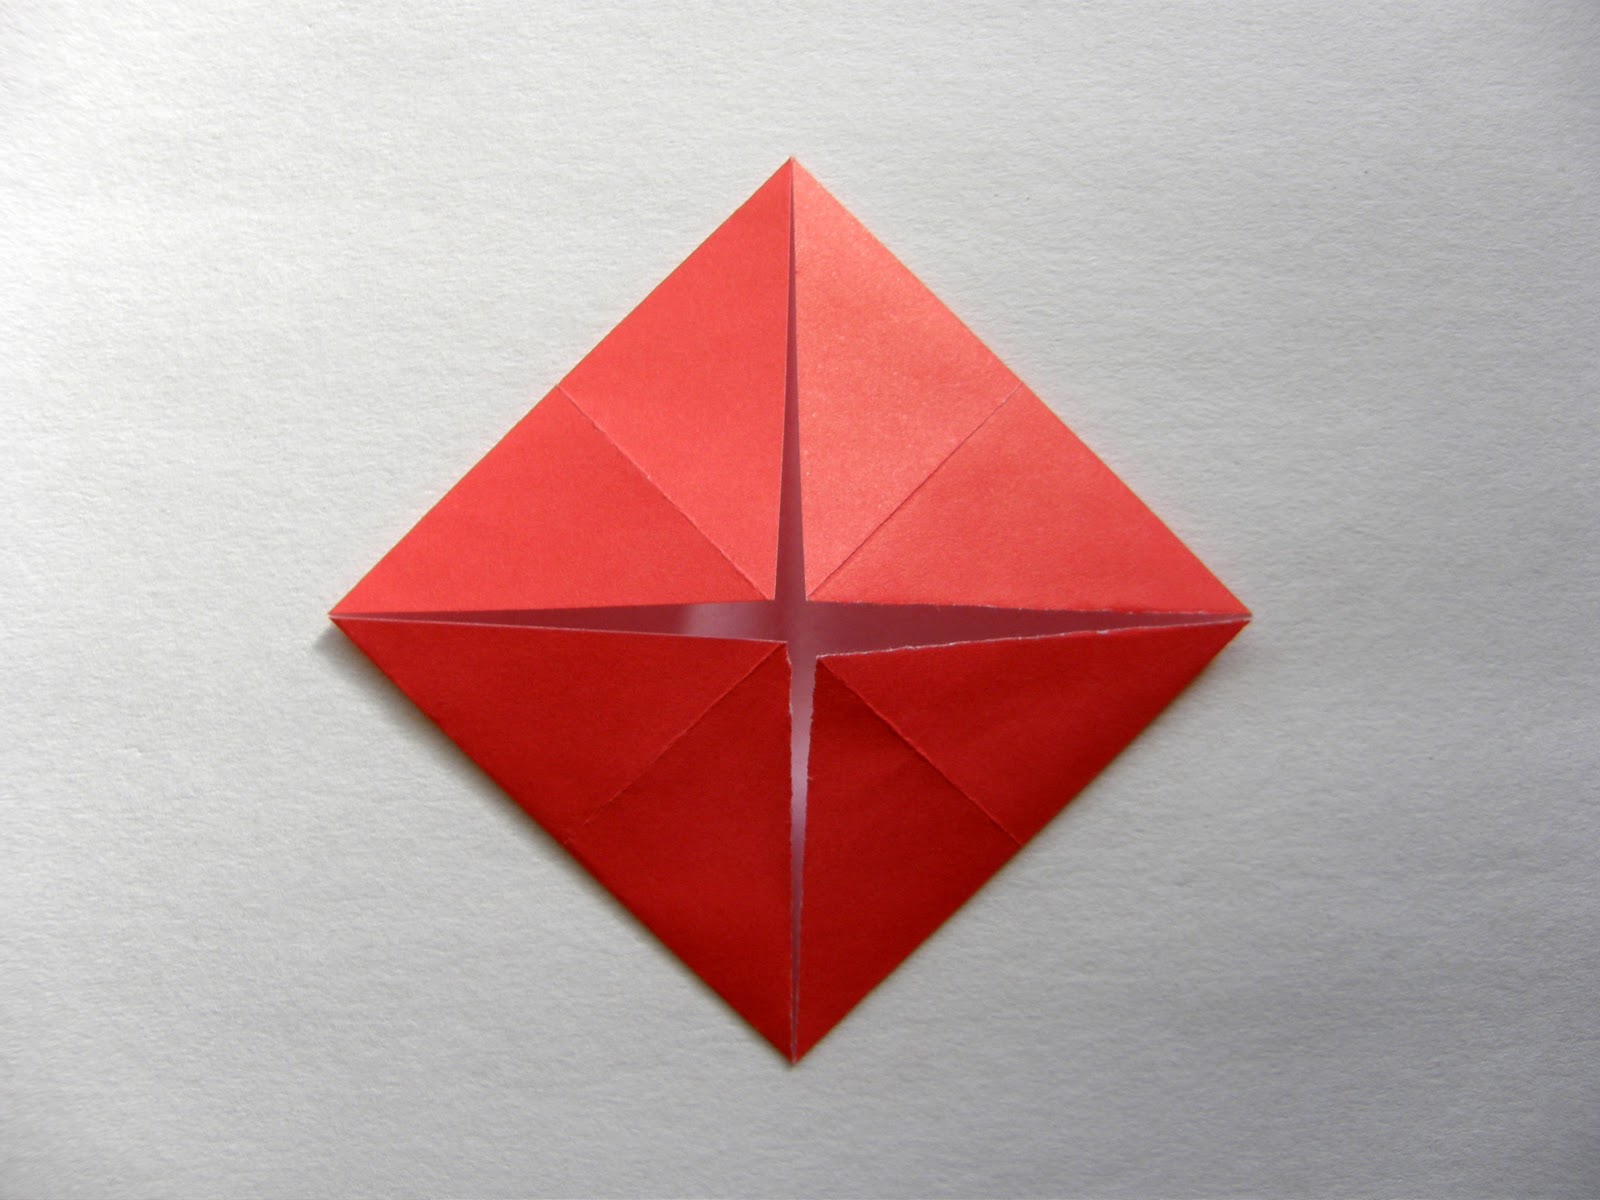
4. Again fold all the corners to the center.


5. Now all the four corners meet at the center. Fold them outwards leaving a small gap at the edges ( see yellow dotted line in pic for reference).


6. Turn over.
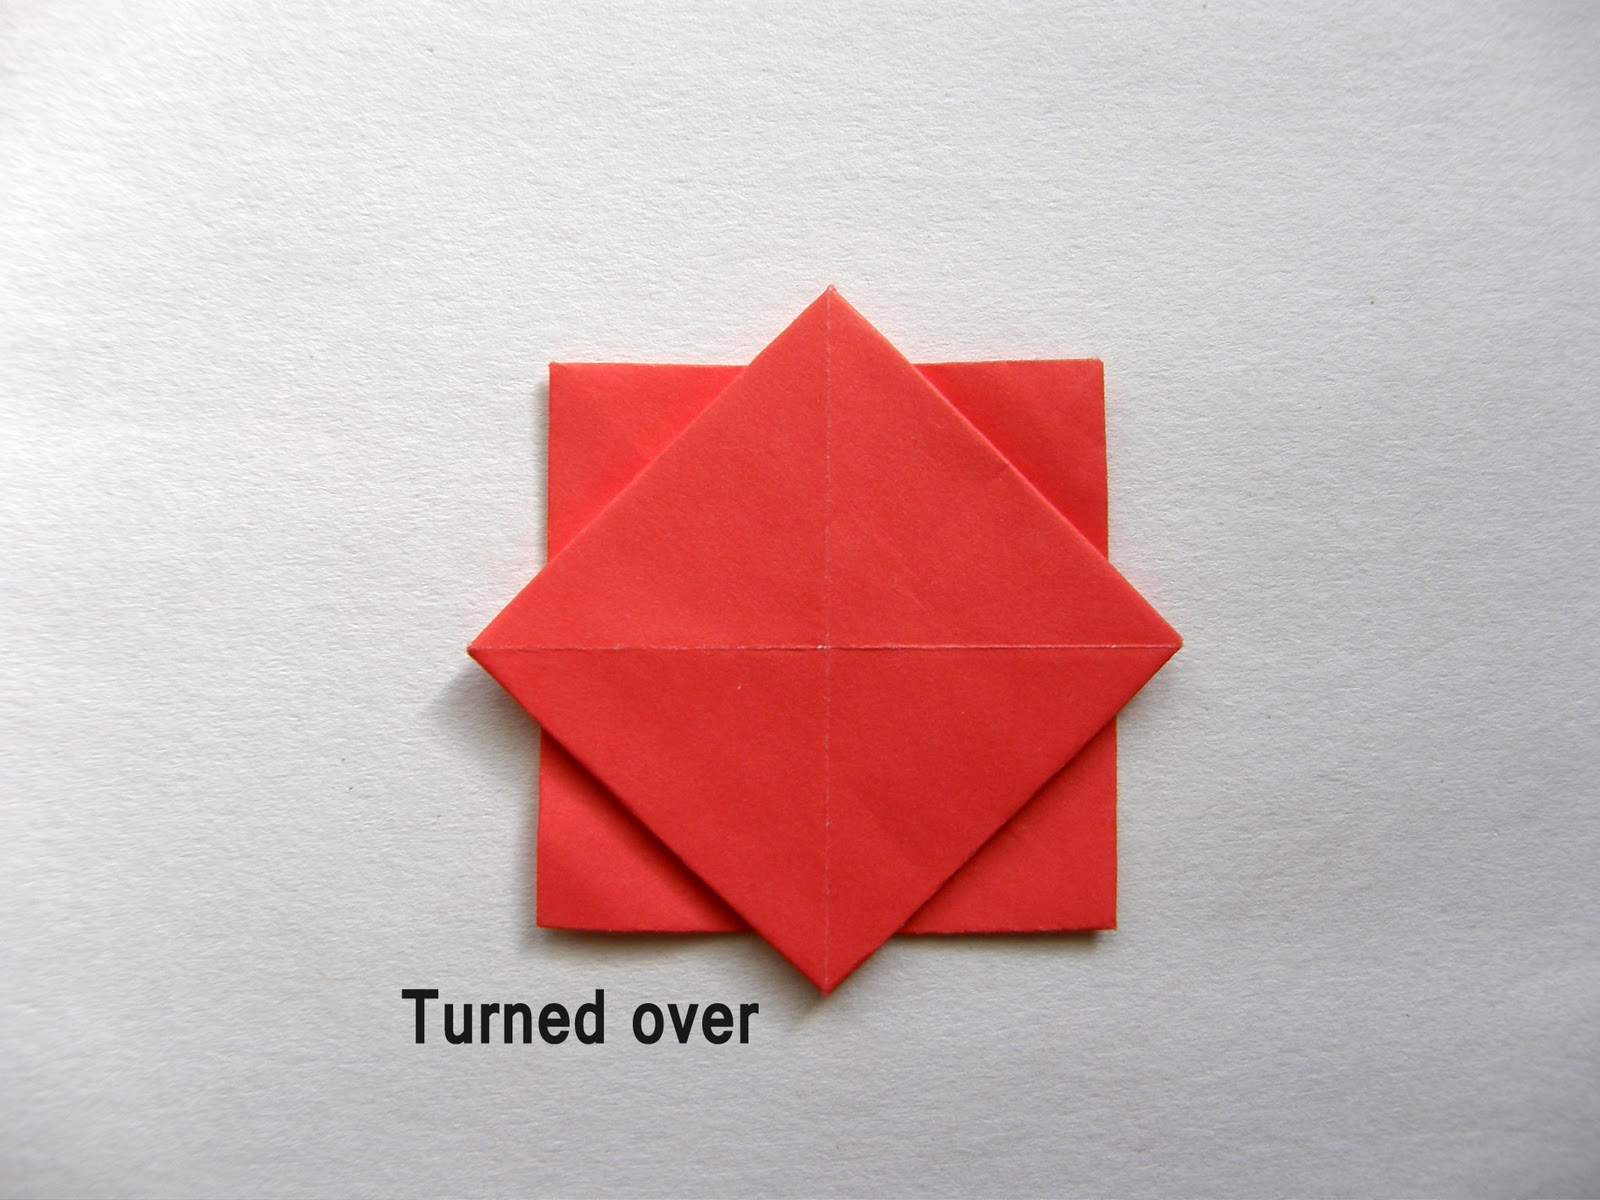
7. Fold indicated corners to the center. While doing this the petals will form and the flower will begin to change into 3D.


8. Now turn over again.
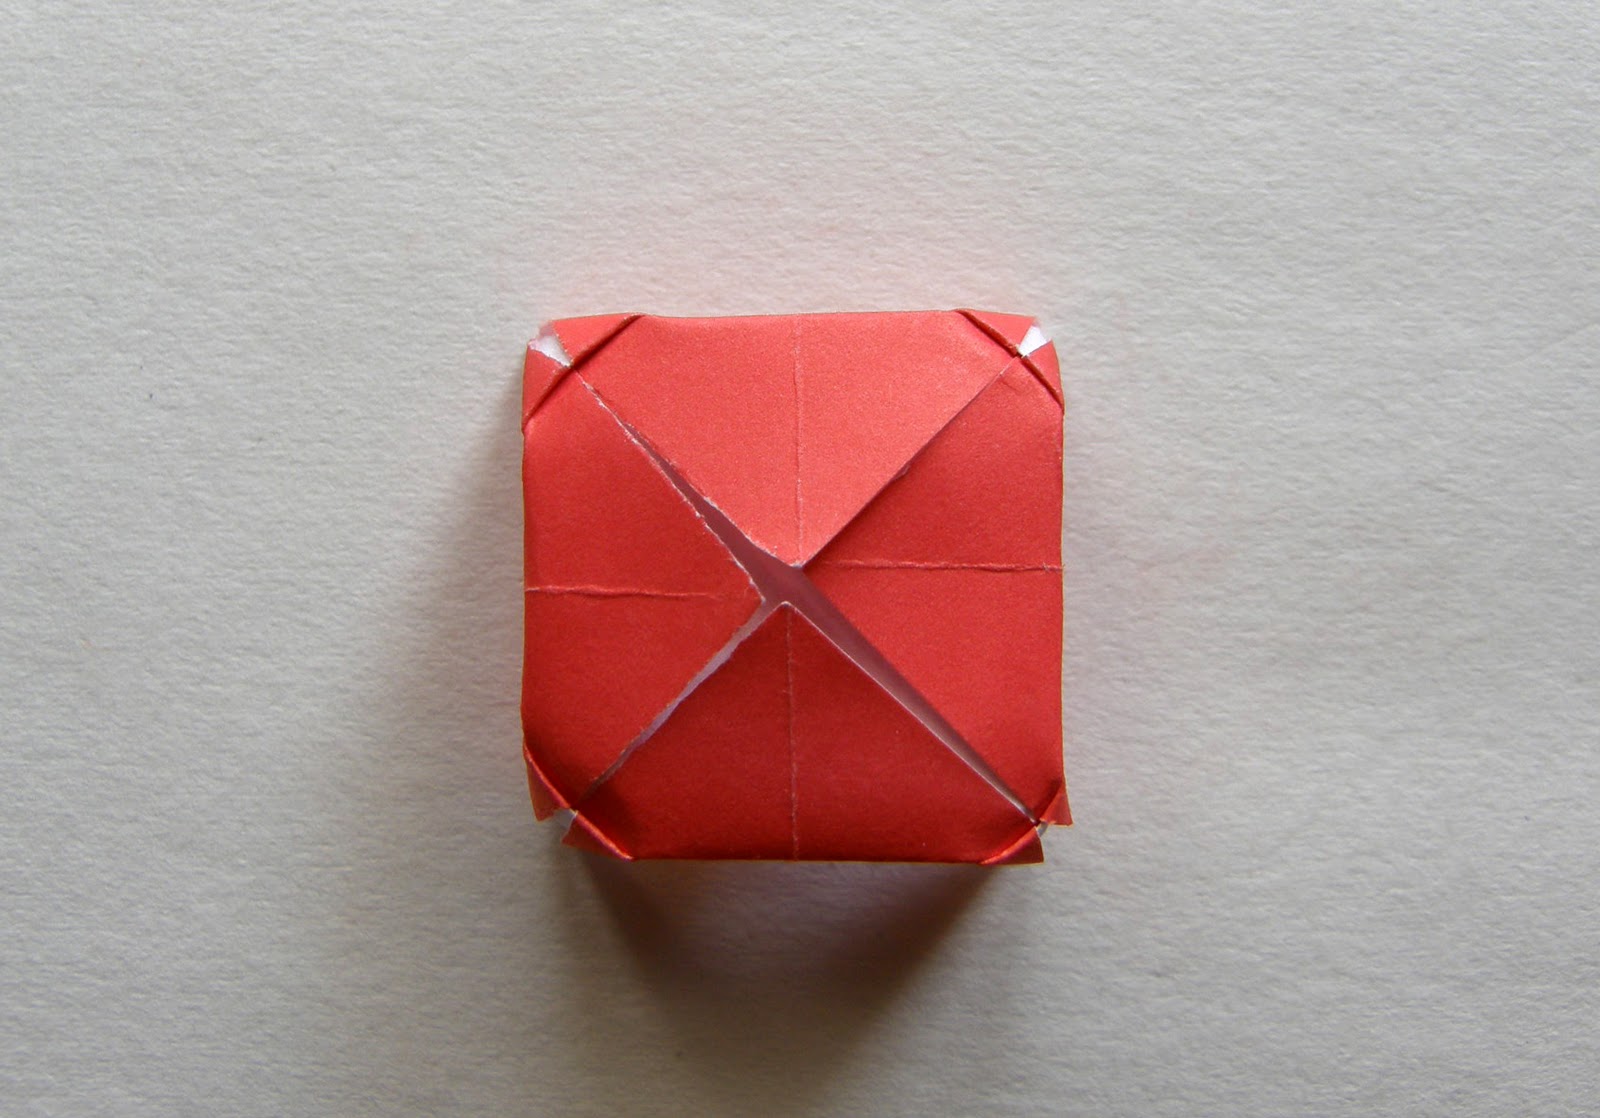
9. Fold the corners meeting in the center outwards leaving a small gap at the edges ( see yellow dotted line) .

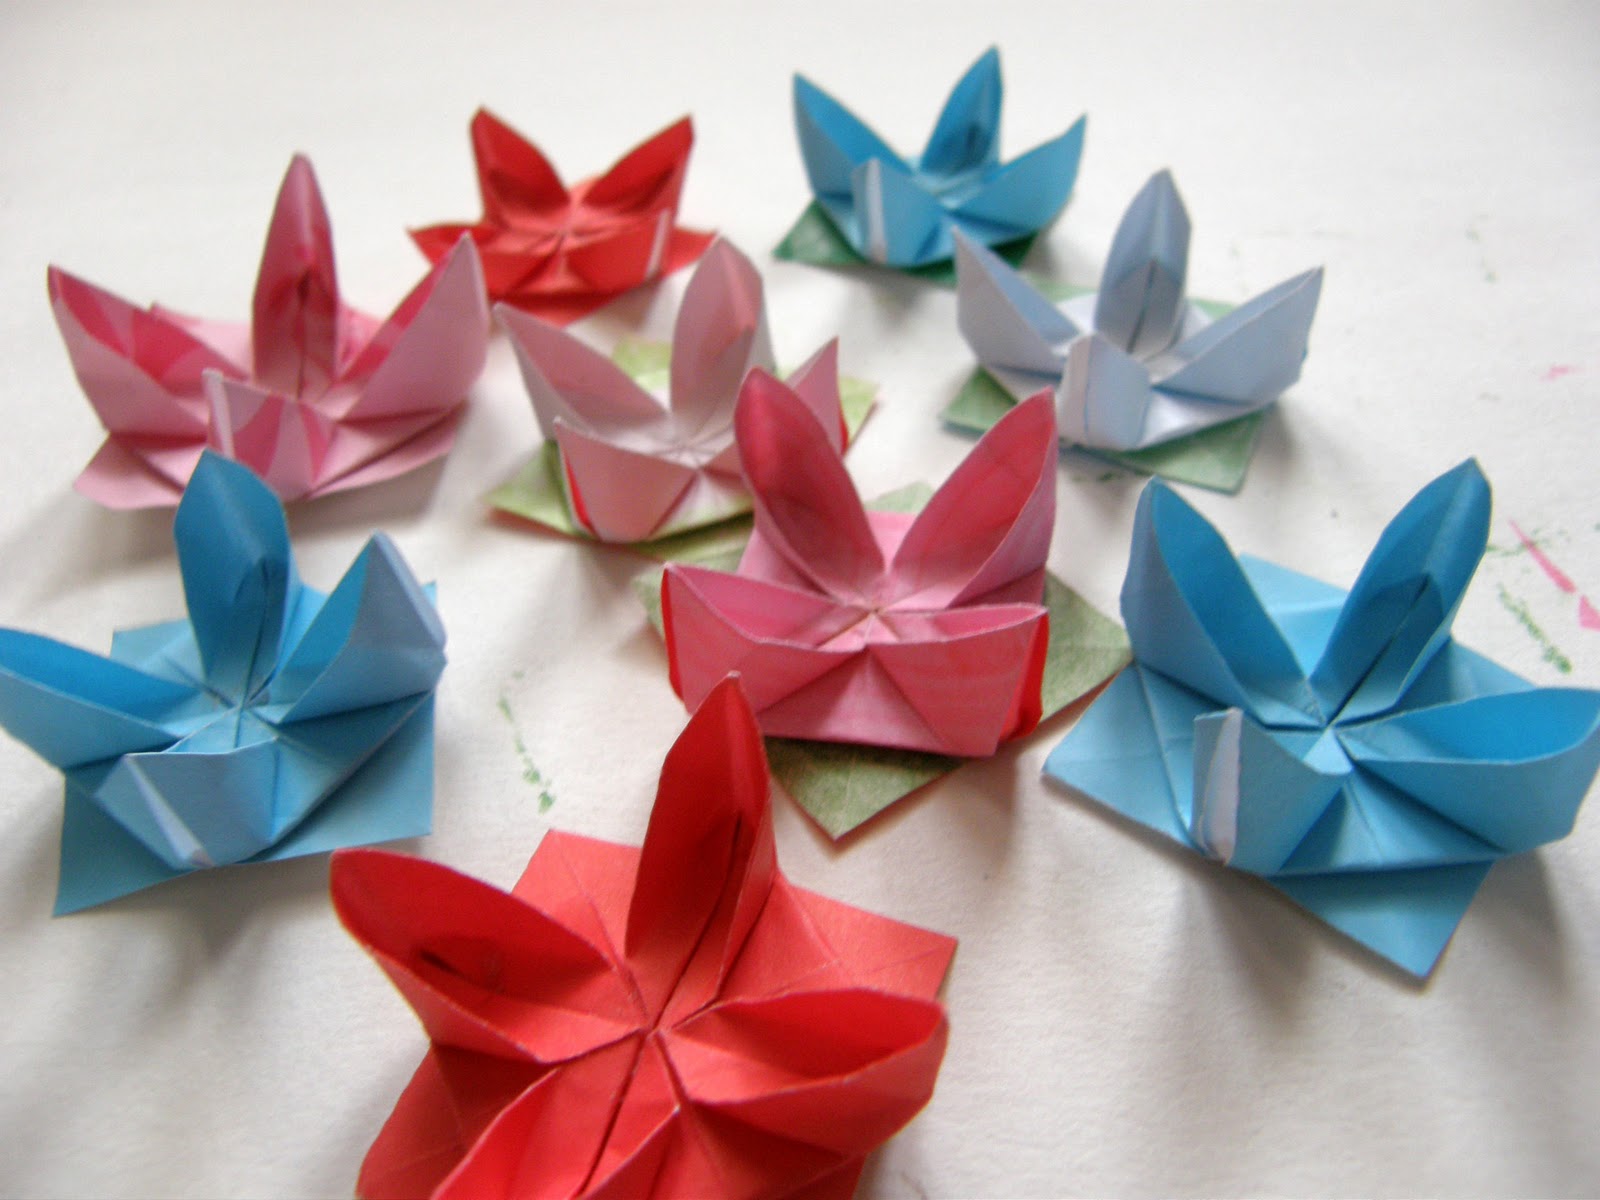
10. The waterlily is done.


11. Now glue the waterlilies to the top of tack pins or glue them under piercing the pin through the center.

12. Done!
Thanks for having me over Heidi! And thanks to everyone for reading my tute…you can drop by my blog anytime and say Hi!
Thanks Mruna! This project would be perfect for Christmas with pretty Christmas paper!
*******

Thanks Heidi! You totally made my day! 😀
These are so cute!