sewing for babies: apron halter top
Back in May, I was trying really hard to make something I didn’t have a pattern for. And it was a big fat flop. So I had all these sewn ‘pieces’ that I didn’t really want to throw away, so I decided to refashion them into a little baby shirt for Miss E. It turned out awesome! I loved the shirt. Well today I decided to make another one with a tutorial so I could share it with you all how to make one.
Seriously…isn’t she the cutest baby ever??
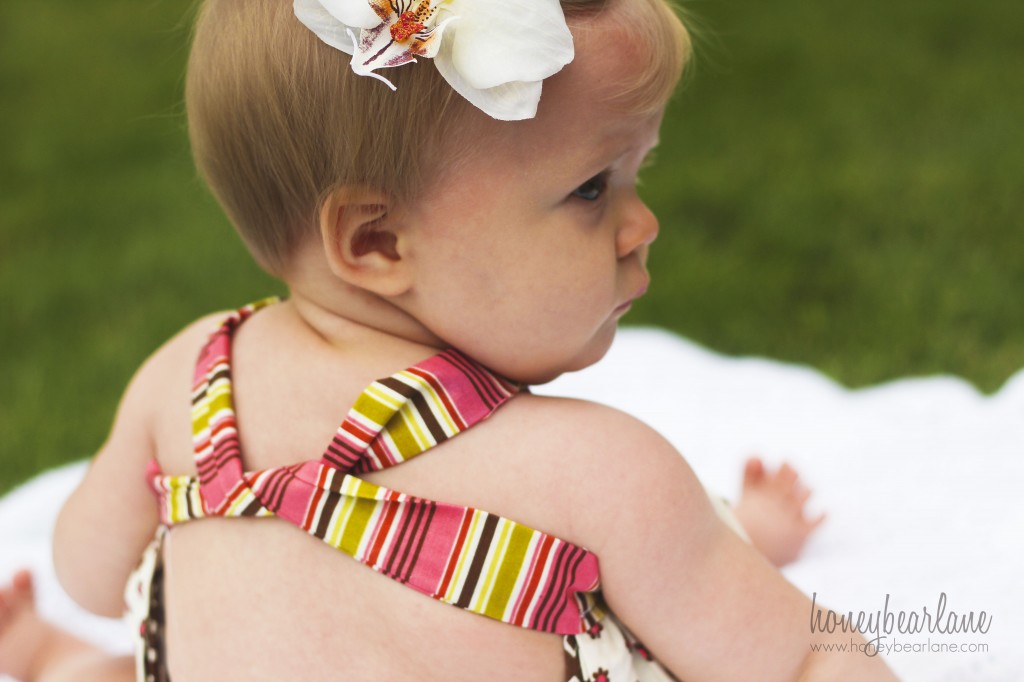
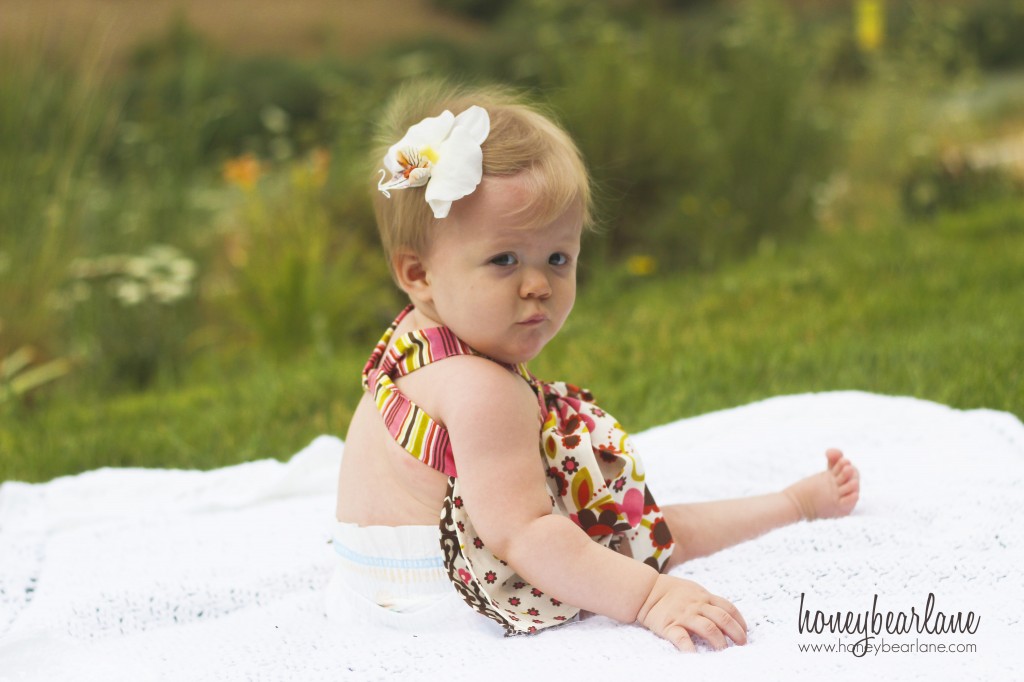
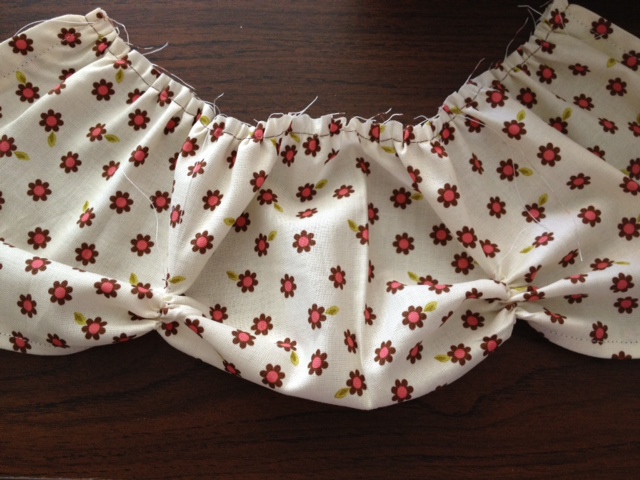
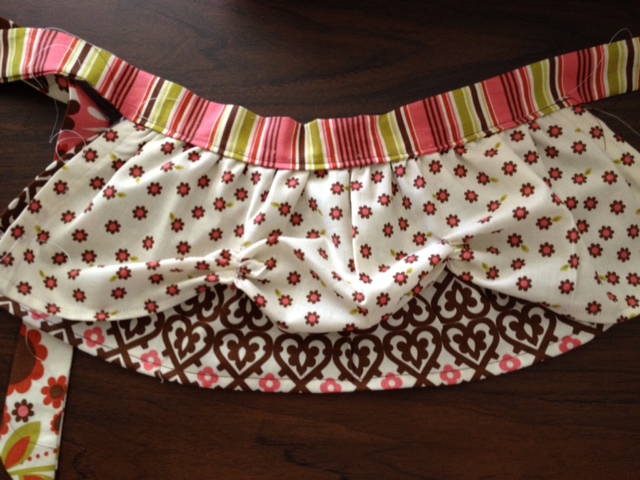
The shirt is constructed like a little apron with two tiers. One of the tiers has two gathers, pulling it up. The tie goes around the back and ties, then back up around the shoulders, through a button hole and ties in a bow. It’s easy and completely adorable.
You could make this project in about an hour and wow all your friends with this fabulous shirt. And you can easily modify the shirt to make it so it covers more of the back or longer so it’s like a tunic or even a dress.
Find out how to make it after the jump!
What You Need (Fits 6-12 months)
I used 4 fat quarters of Indian Summer fabric by Riley Blake. (I think that 3/4ths of my fabric is RB. I love it!)
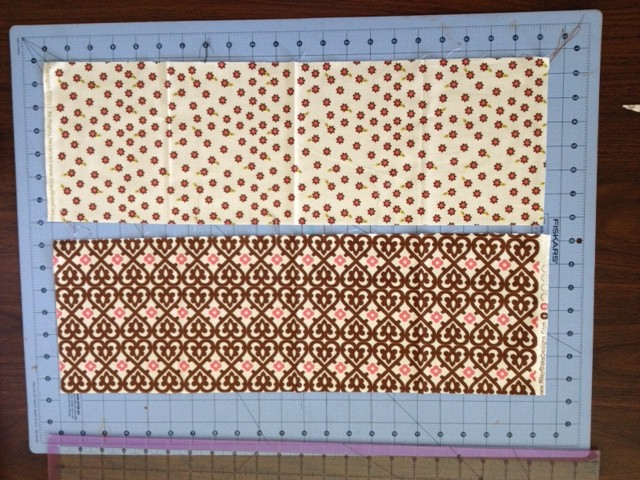
Cut two different fabrics to 22×7 (cut them longer AND wider for a larger size, cut it longer only to cover the back. I think that sizing is pretty forgiving with this pattern so err on the side of too big.)
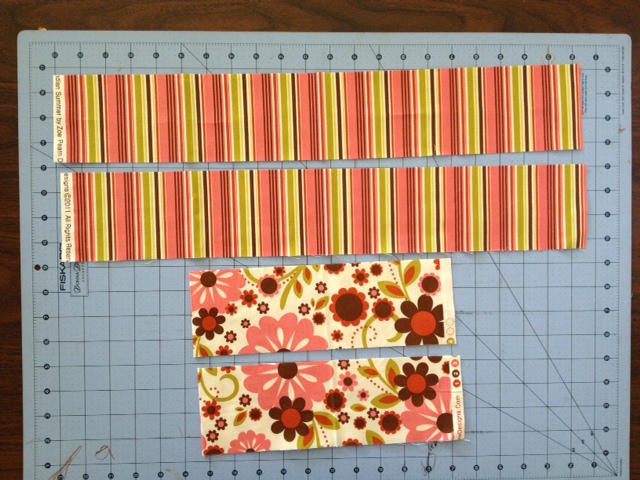
Cut one long strip to 40×3.5 (the width of a yard) or cut two 20×3.5 and sew together (not preferred.) I sewed two together and since the pattern was a vertical stripe you can’t see the seam at all. Then cut two 16×3.5 strips.
This part can be a little tricky for sizing so here’s what you should do: Take your one long piece and tie it around your child’s chest, tie in the back. Then take either tie and bring them up around the shoulders and tuck the ends under the front sash. It should be only about 2 inches past the front sash so that when you tie the bow, it will be in the other fabric.
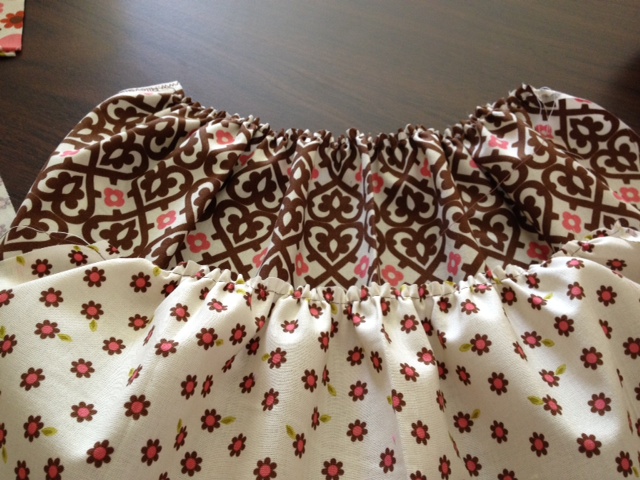
Step 1: Take your 24×10’s and gather them at the top. Not sure how to gather? Set the tension on the highest setting and set the stitch to the longest length. Leave yourself a long tail of thread and sew. It should automatically gather.
Step 2: Fold the sides over twice and iron, then sew. Then fold the hem up twice and iron, then sew.
**TIP! When working with two colors of fabric so you don’t have to keep trading out the thread color: Put one color in your bobbin and one color on top. Then alternate which side you sew on so that the matching thread comes out on the right side!
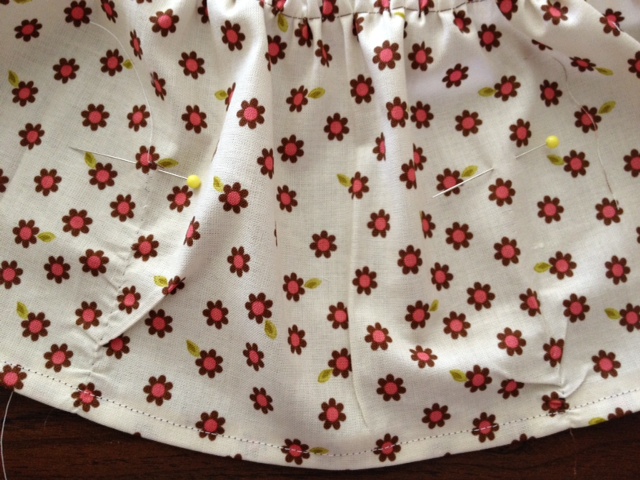
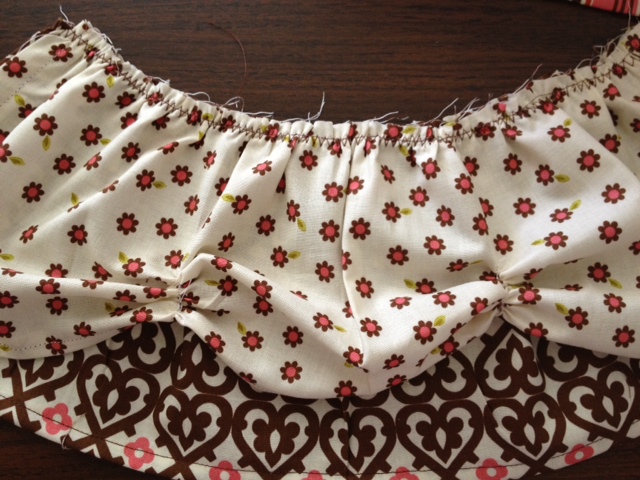
Step 3: Taking your top apron piece, mark two places where you want the ruching to be (the little gathers in the skirt.) You can find this by folding it in half and measuring out about an inch or so and 2 inches up. I pinned my marks.
Then using the gathering stitch like in Step 1, slowly sew a straight line from the hem up to your mark. Backstitch at your mark, do NOT backstitch at the hem. Use the bobbin thread at the hem to pull the gather tight and up. Do this to the other side too. Once it’s gathered nice and tight, you can tie it off by tying the bobbin and top threads together and then sewing a few securing stitches.
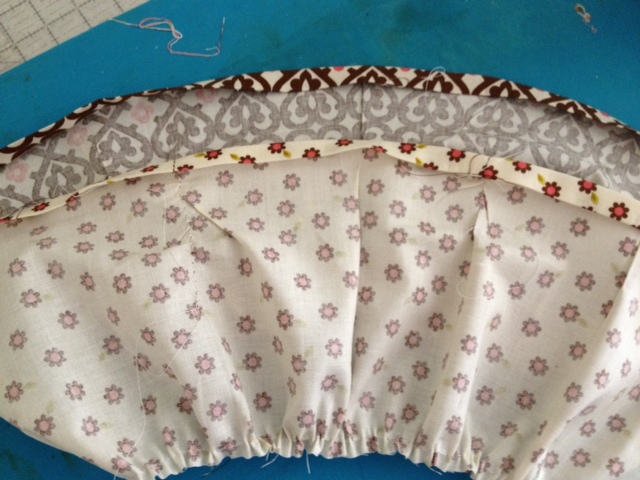
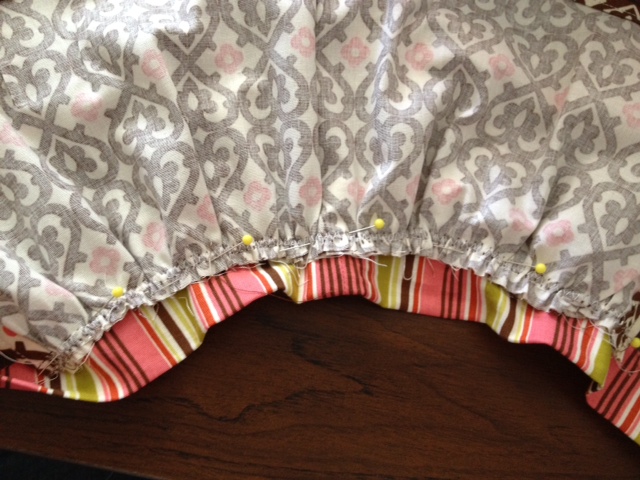
Step 4: Line up the tops (gathered side) of each apron piece and sew a zigzag stitch along the top.
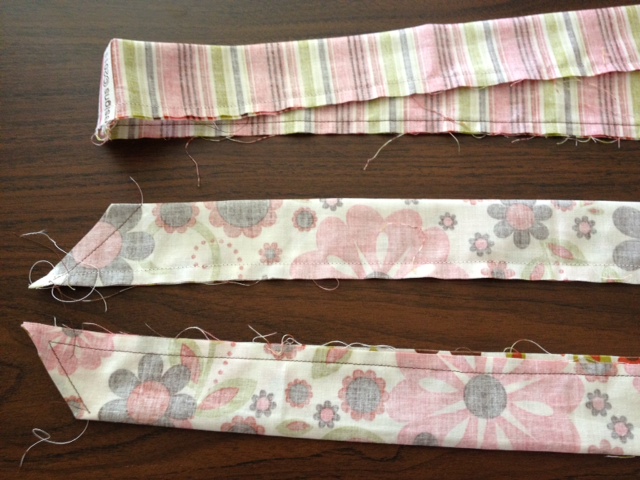
Step 5: To make the sash, fold your pieces in half lengthwise (hot dog) and iron down. Trim the two shorter pieces’ ends at an angle. Then sew along the raw edge, leaving one end open at the angled pieces and both ends open on your long piece. Turn them right side out (I use a paintbrush tip for the angled pieces and a safety pin for the long one) and iron flat.
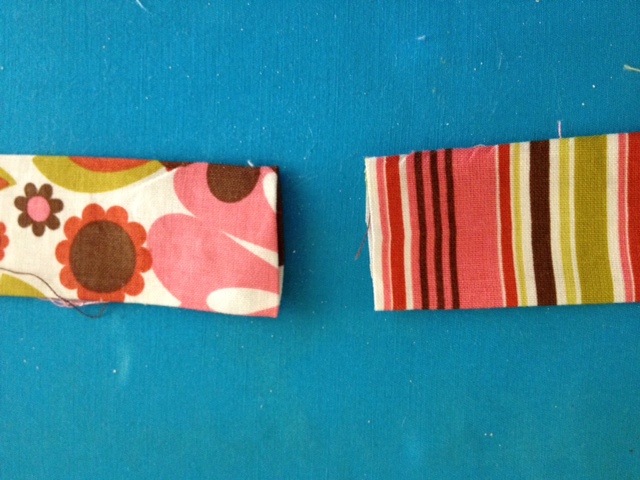
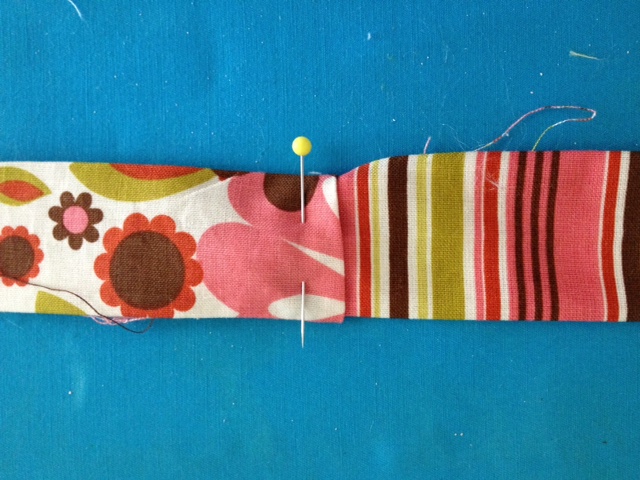
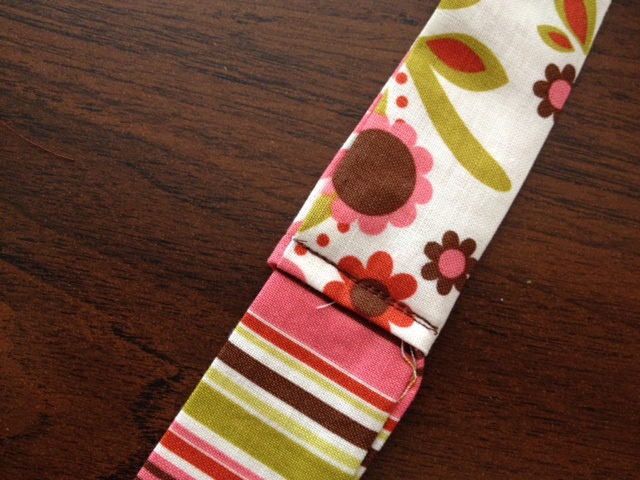
Step 6: Turn under the ends of your angled pieces and poke in the end of the long piece in, pinning in place. Then sew.
Step 7: Line up your apron and the sash together so the apron is right in the middle of the sash. Then pin in place, pinning the apron to the lower 1/4″ of the sash. Baste this seam, then flip over and sew a nice straight line. Then unpick your basted seam.
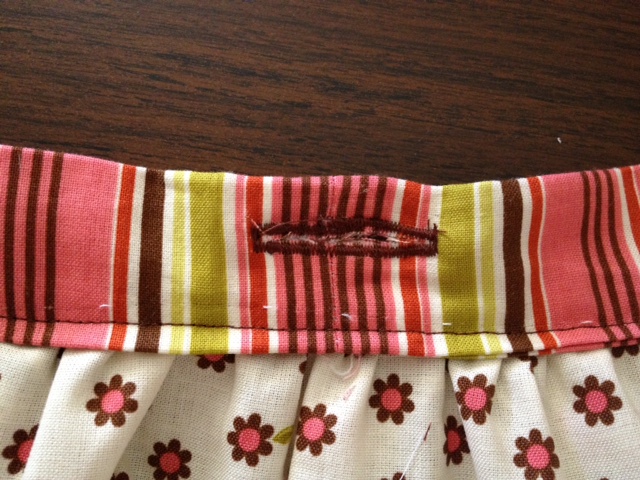
Step 8: Use your buttonholer foot to create a buttonhole on the longest setting. Rip open. And done!
To wear it: Place the apron above the chest, right under the armpits. Tie behind the back once, then bring the sashes up over the shoulders, on either side of the neck. Poke each tie through the buttonhole, then tie again once and then in a bow.
If you’d like to simplify this project, just remove one of the apron tiers and make it simply gathered. I love this pattern SO much. I’m going to make more versions as the year gets colder. This would be so cute over a long sleeved onesie, maybe with buttons closing the back.
Here’s the first one I made:





Perfect fabric choices, excellent tutorial, as always. 🙂 Best model EVER!
Awww – there’s my little buddy! Miss you two!! And what a cute top 😀
Aw, thanks Amy! Miss you too!!!
So cute, Heidi! She is getting so big. I wish I was a better seamstress. I would make a million of these!
Thanks Amy! These are not hard- you can do it!