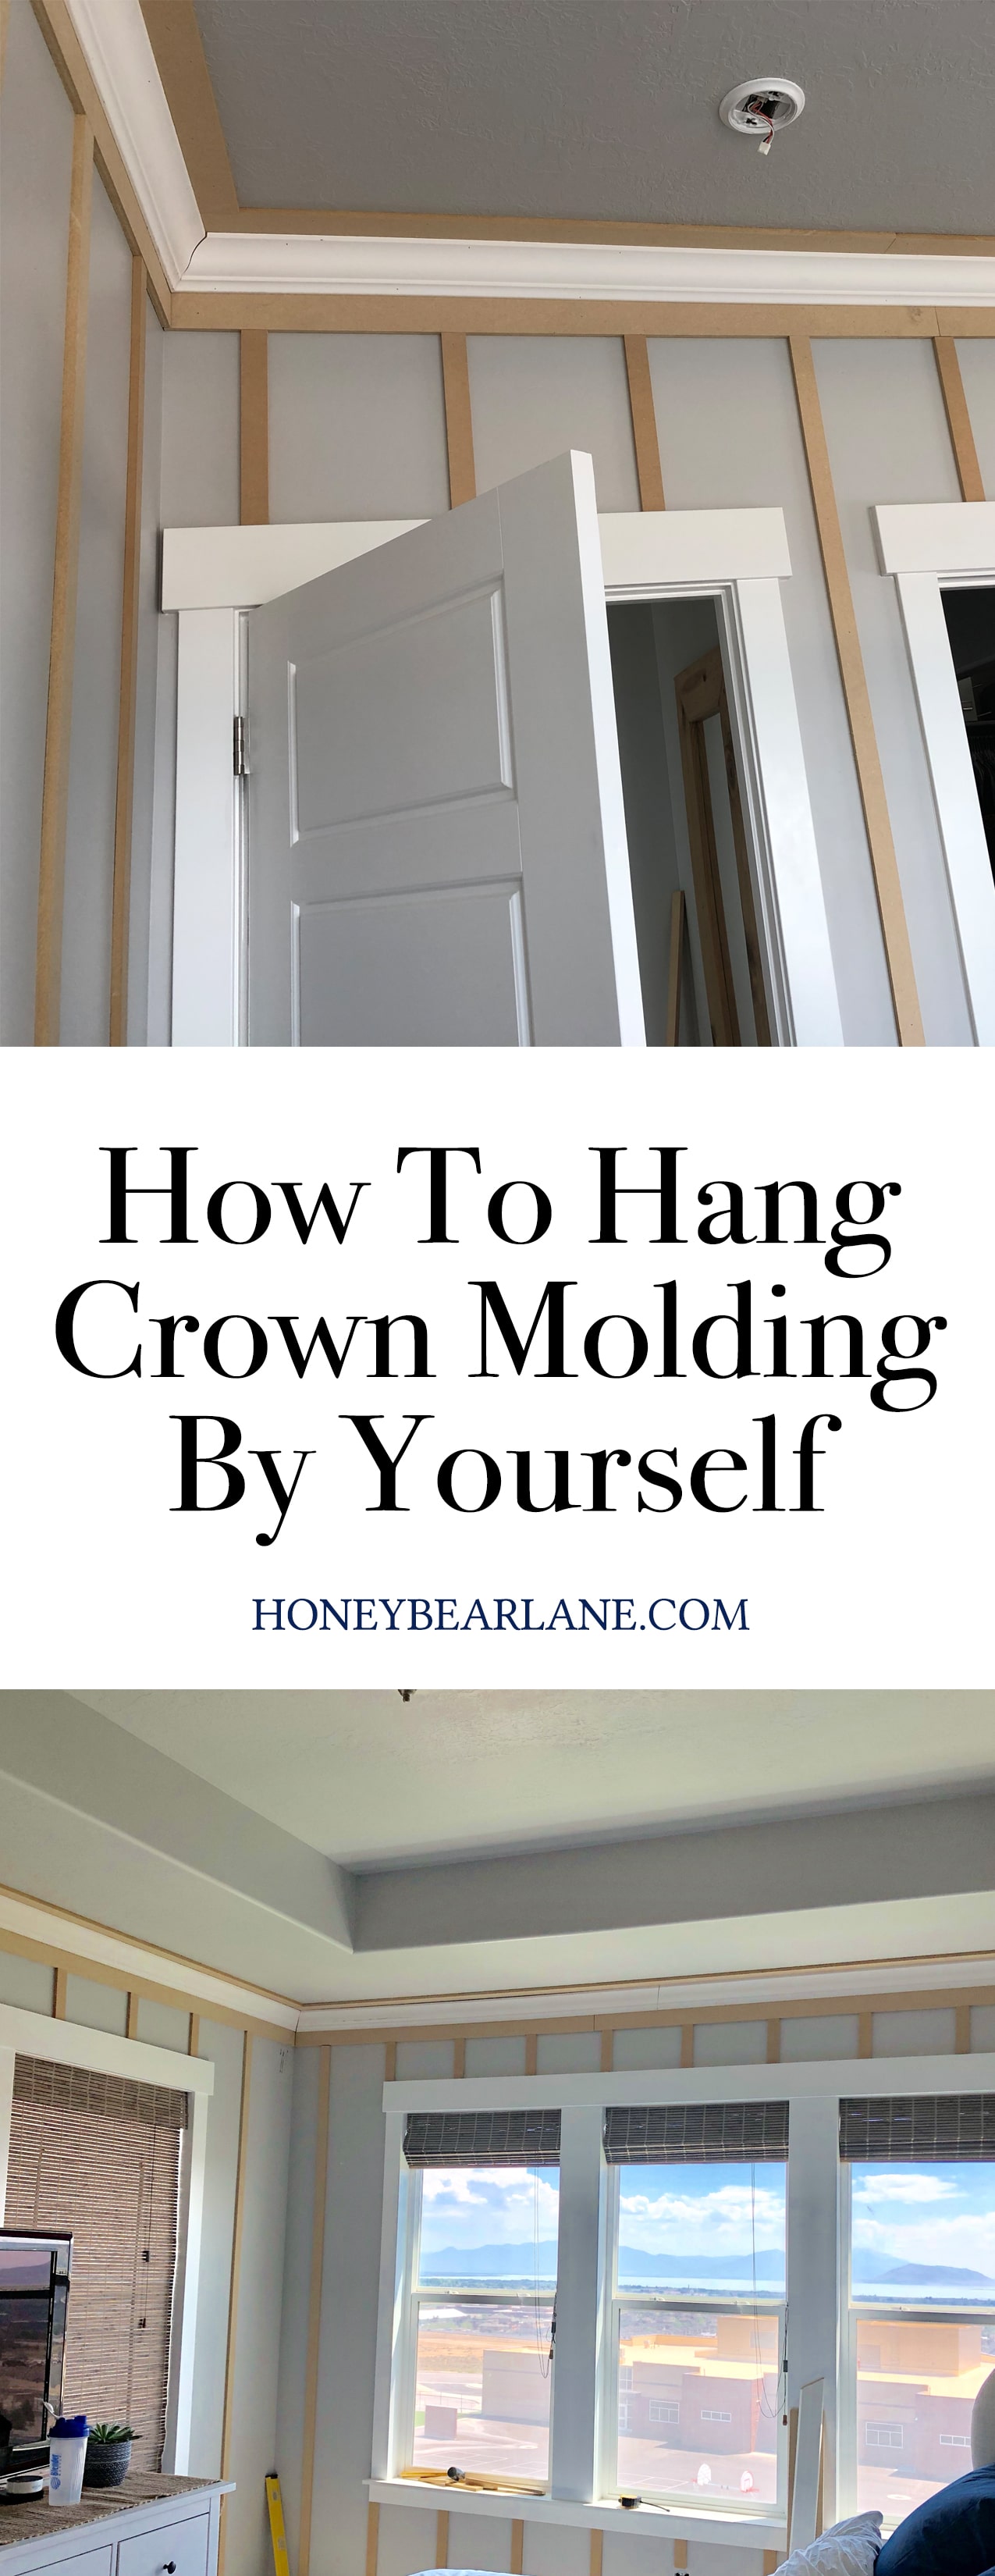
Tips for How to Hang Crown Molding by Yourself
This post contains affiliate links, see my disclosure here.
Probably the biggest reason I started doing projects myself was out of impatience. If I want something done, I want it done on my timescale and I absolutely hate having to wait on other people. Especially because if that ‘other person’ is my husband who is always incredibly busy with work. So I started doing my projects on my own which at times can be tricky because there are some jobs that you just have to have more than one person. Like hanging crown molding.
Crown molding on it’s own is a pretty obnoxious thing to deal with anyway. Since it sits at an angle, you have to deal with all that stuff when cutting it and it can get so overwhelming. I’ve put up crown molding in my house four or five times, and I’m finally starting to feel like it’s something I can achieve. But be warned–I’m no expert with it and I’m not a perfectionist. Caulk is my friend! That being said, I feel like the crown I have put up has ended up looking really nice. But is it possible to hang crown molding by yourself?? Yes. It’s not the easiest, but it’s doable.
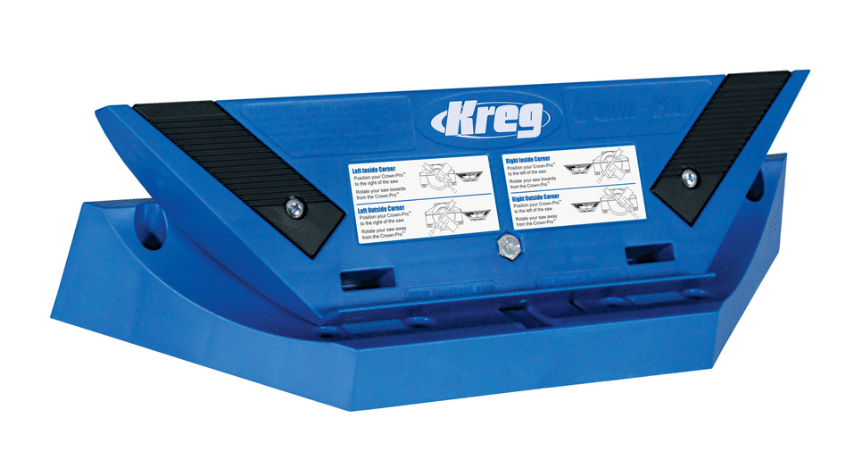
The first several times I hung it it was on outer corners and in shorter lengths than your typical room ceiling. However, before I got the Kreg Crown Pro, I would waste lots of crown trying to get it right. I finally broke down and bought this jig which honestly makes crown molding SOOOOOO much easier. It’s like $30 at a home improvement store but it’s worth it if you’re going to be doing a fair amount of crown molding. Just a really good investment. I’m not going demonstrate it here, but here’s a video that was helpful. Basically the Crown Pro takes the guesswork out of which direction to cut, and it provides a base for your material to sit at the right angle to be cut.
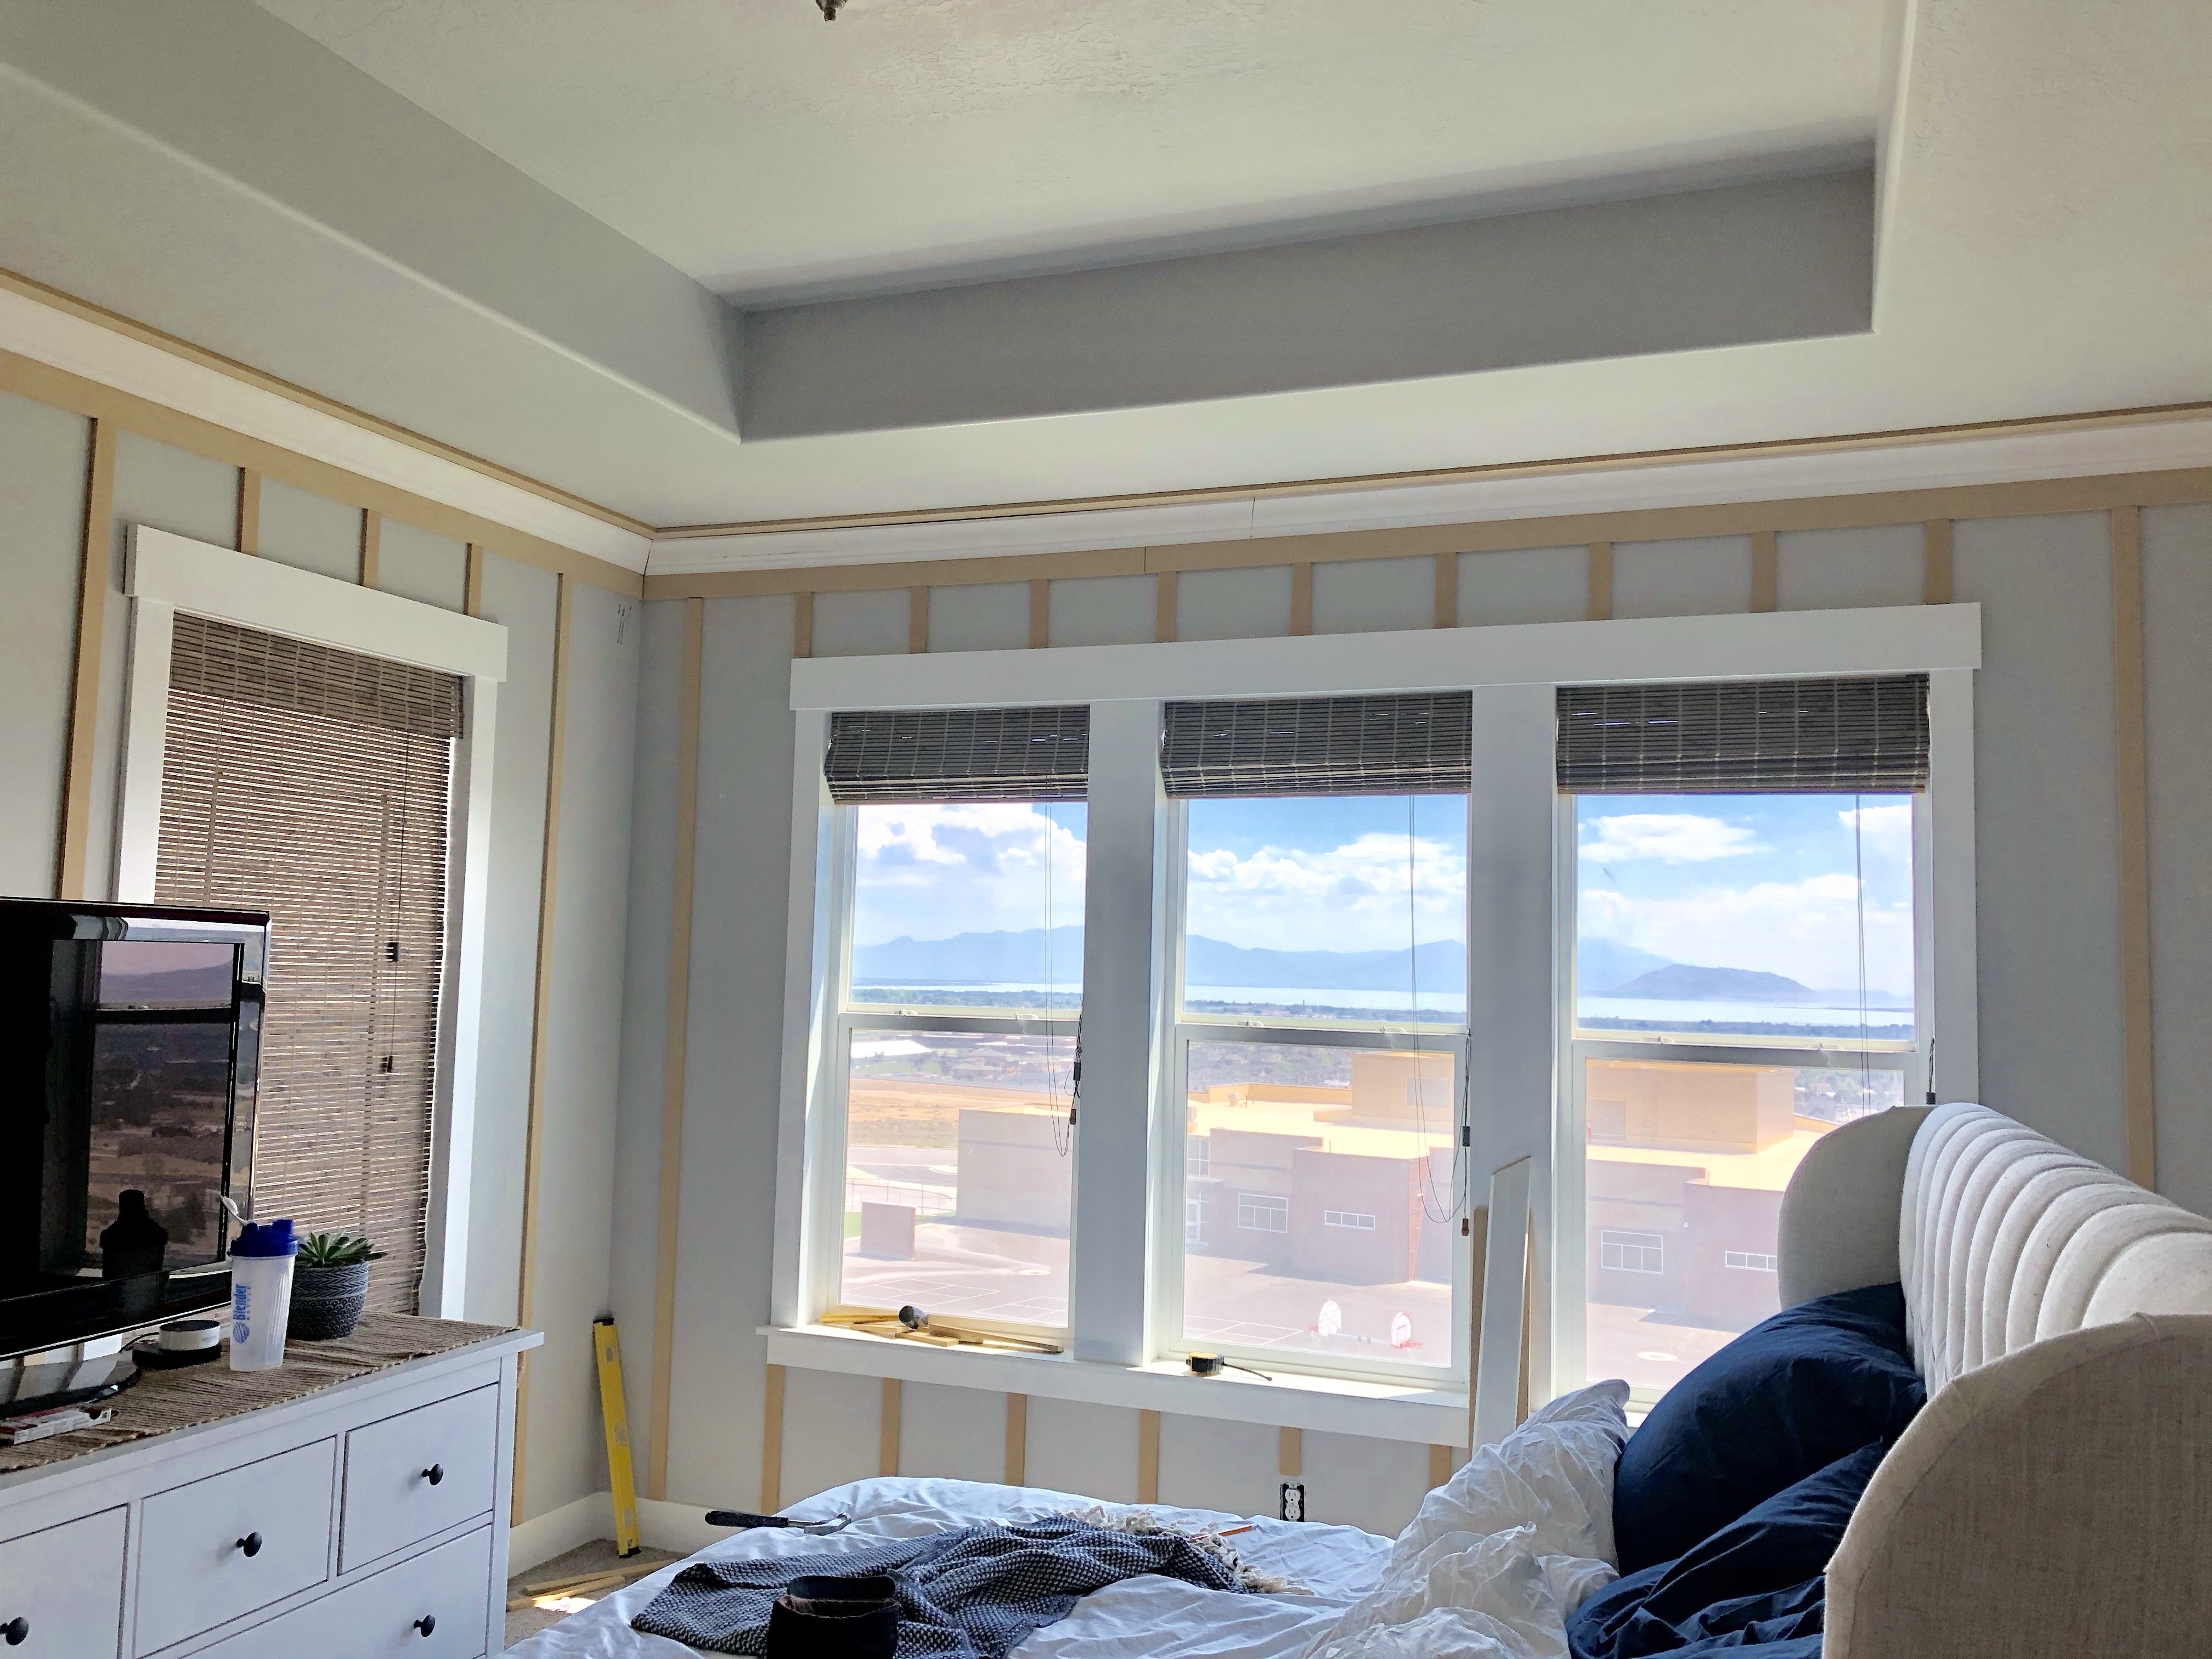
I recently added crown molding to my bedroom which is approximately 16’x13′. Since I didn’t have it delivered or have a truck that allows the transport of such long pieces, I cut the crown molding (which I bought at Home Depot) into lengths of 6′ and 8′. This meant I was going to have to connect them with scarf joints (where you cut them at a 22 degree angle so the transition is more smooth and seamless than a regular 90 degree angle.) This isn’t ideal, but you can’t always do things ideally.
I cut my angle for the first corner and then tried to put it up. There I was, nine months pregnant and up on a step ladder, holding an 8 foot piece of crown molding in one hand and a nail gun in the other while trying to nail it in at the perfect angle to make a pretty corner. Folks–it wasn’t happening. I was sweating and exhausted and basically just too weak to achieve it. I texted my brother for help and he said he’d come after work but I was in a bit of a time crunch. I needed the crown molding done so I could move onto painting. How on earth could I achieve it?
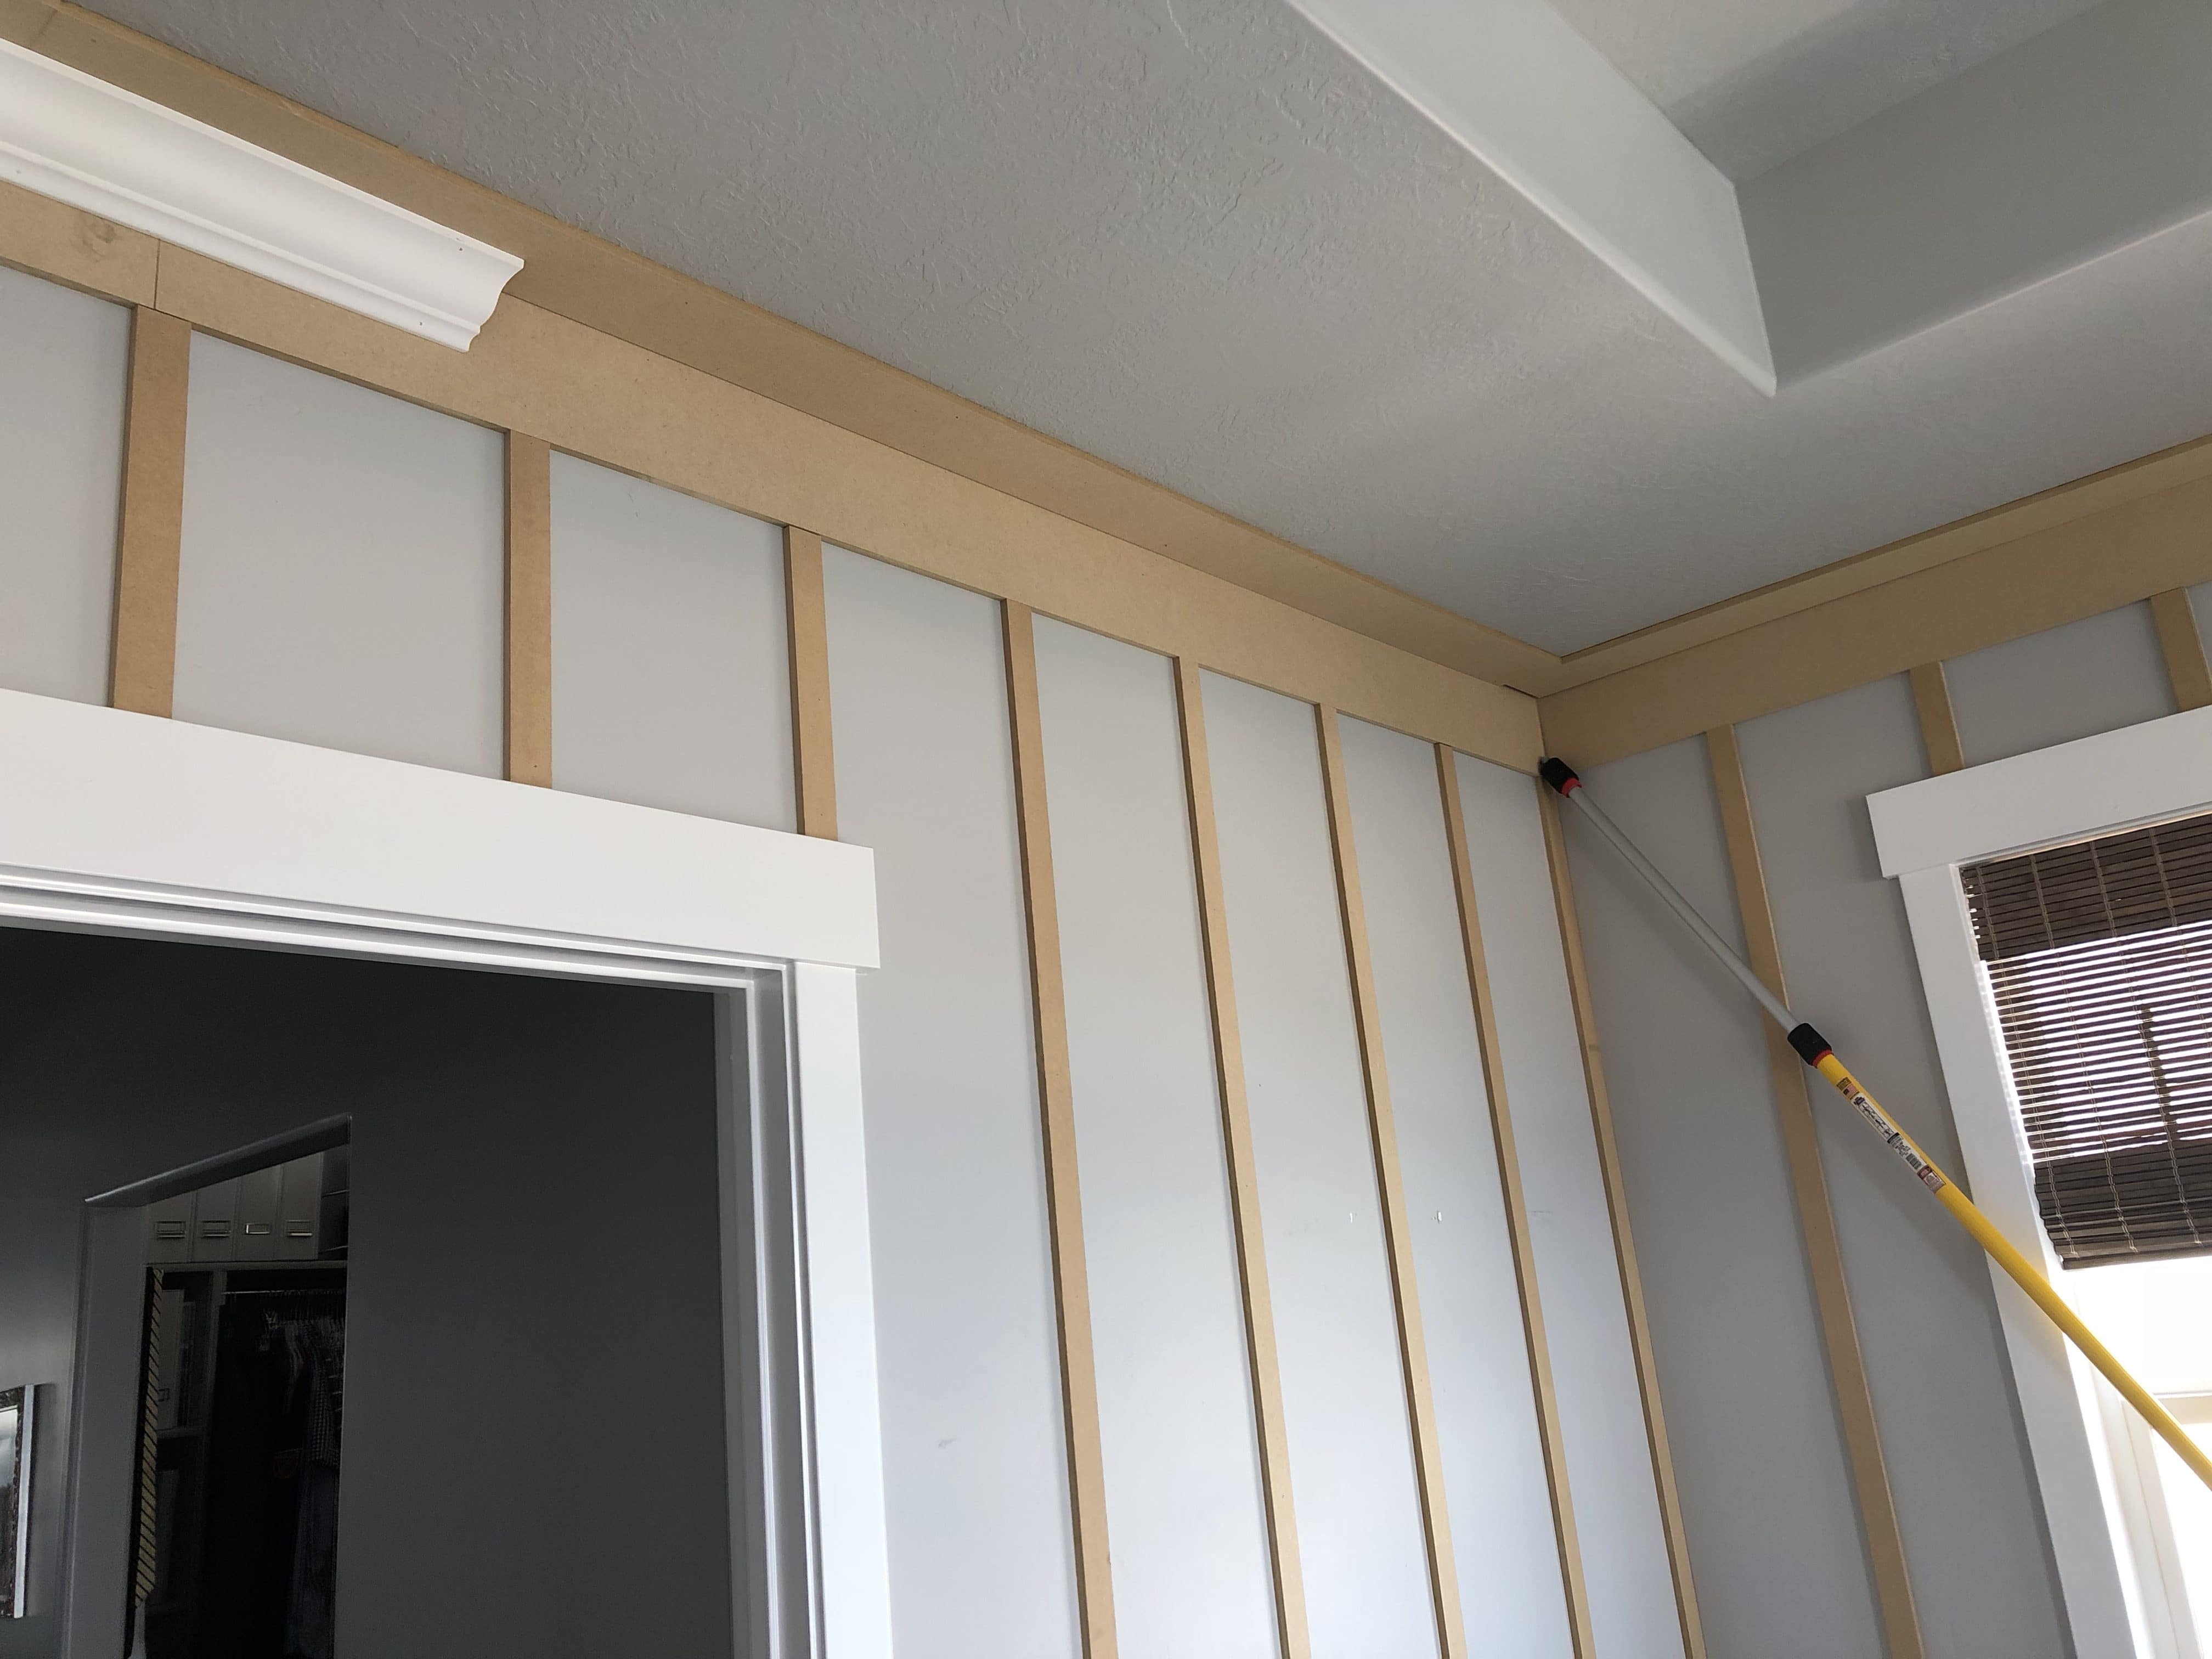
Suddenly I had a brilliant idea! We had bought this super long pole awhile ago to knock down a wasp nest up in the eave of my roof. I thought basically all I needed was another person to hold up the other end of the crown molding while I nailed in my side. So why couldn’t this pole act as the other person? I brought the pole in and angled it up against the wall and voila–worked like a charm! I could place the pole exactly where I wanted the crown molding to rest and easily had enough time to get my corner perfectly lined up.
I worked from left to right around the room, first hanging the left corner, then cutting the other corner first and marking where I needed the scarf joint to be right in the middle. I cut my scarf joint at 22 degrees resting on the Crown Pro and it was nearly perfect every time. I had a to re-cut it a couple times to be a bit smaller but it’s always better to err on the side of too long.
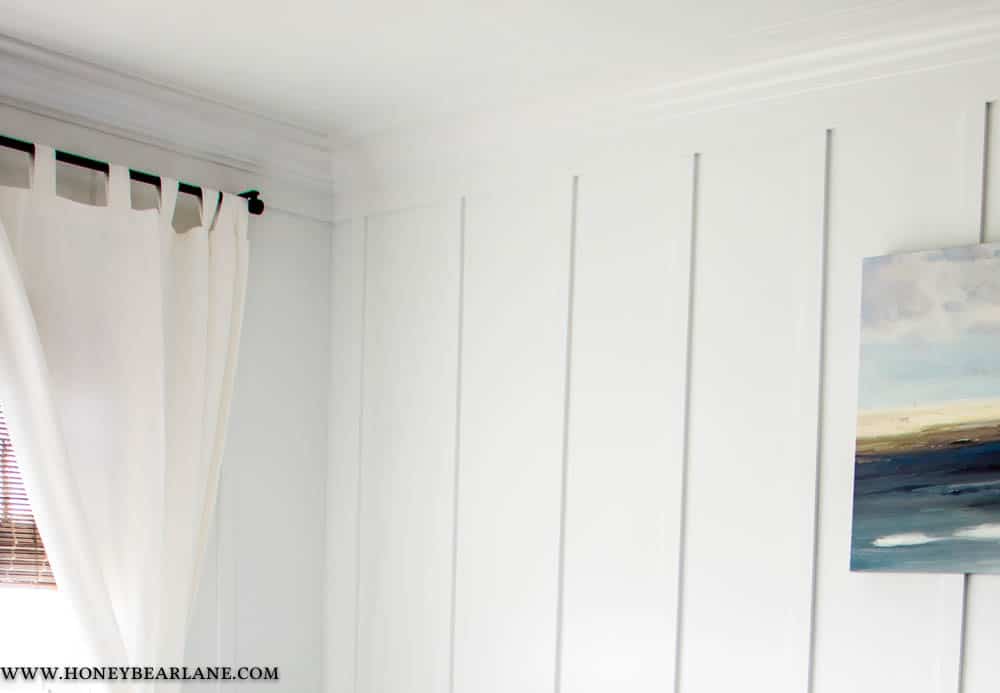
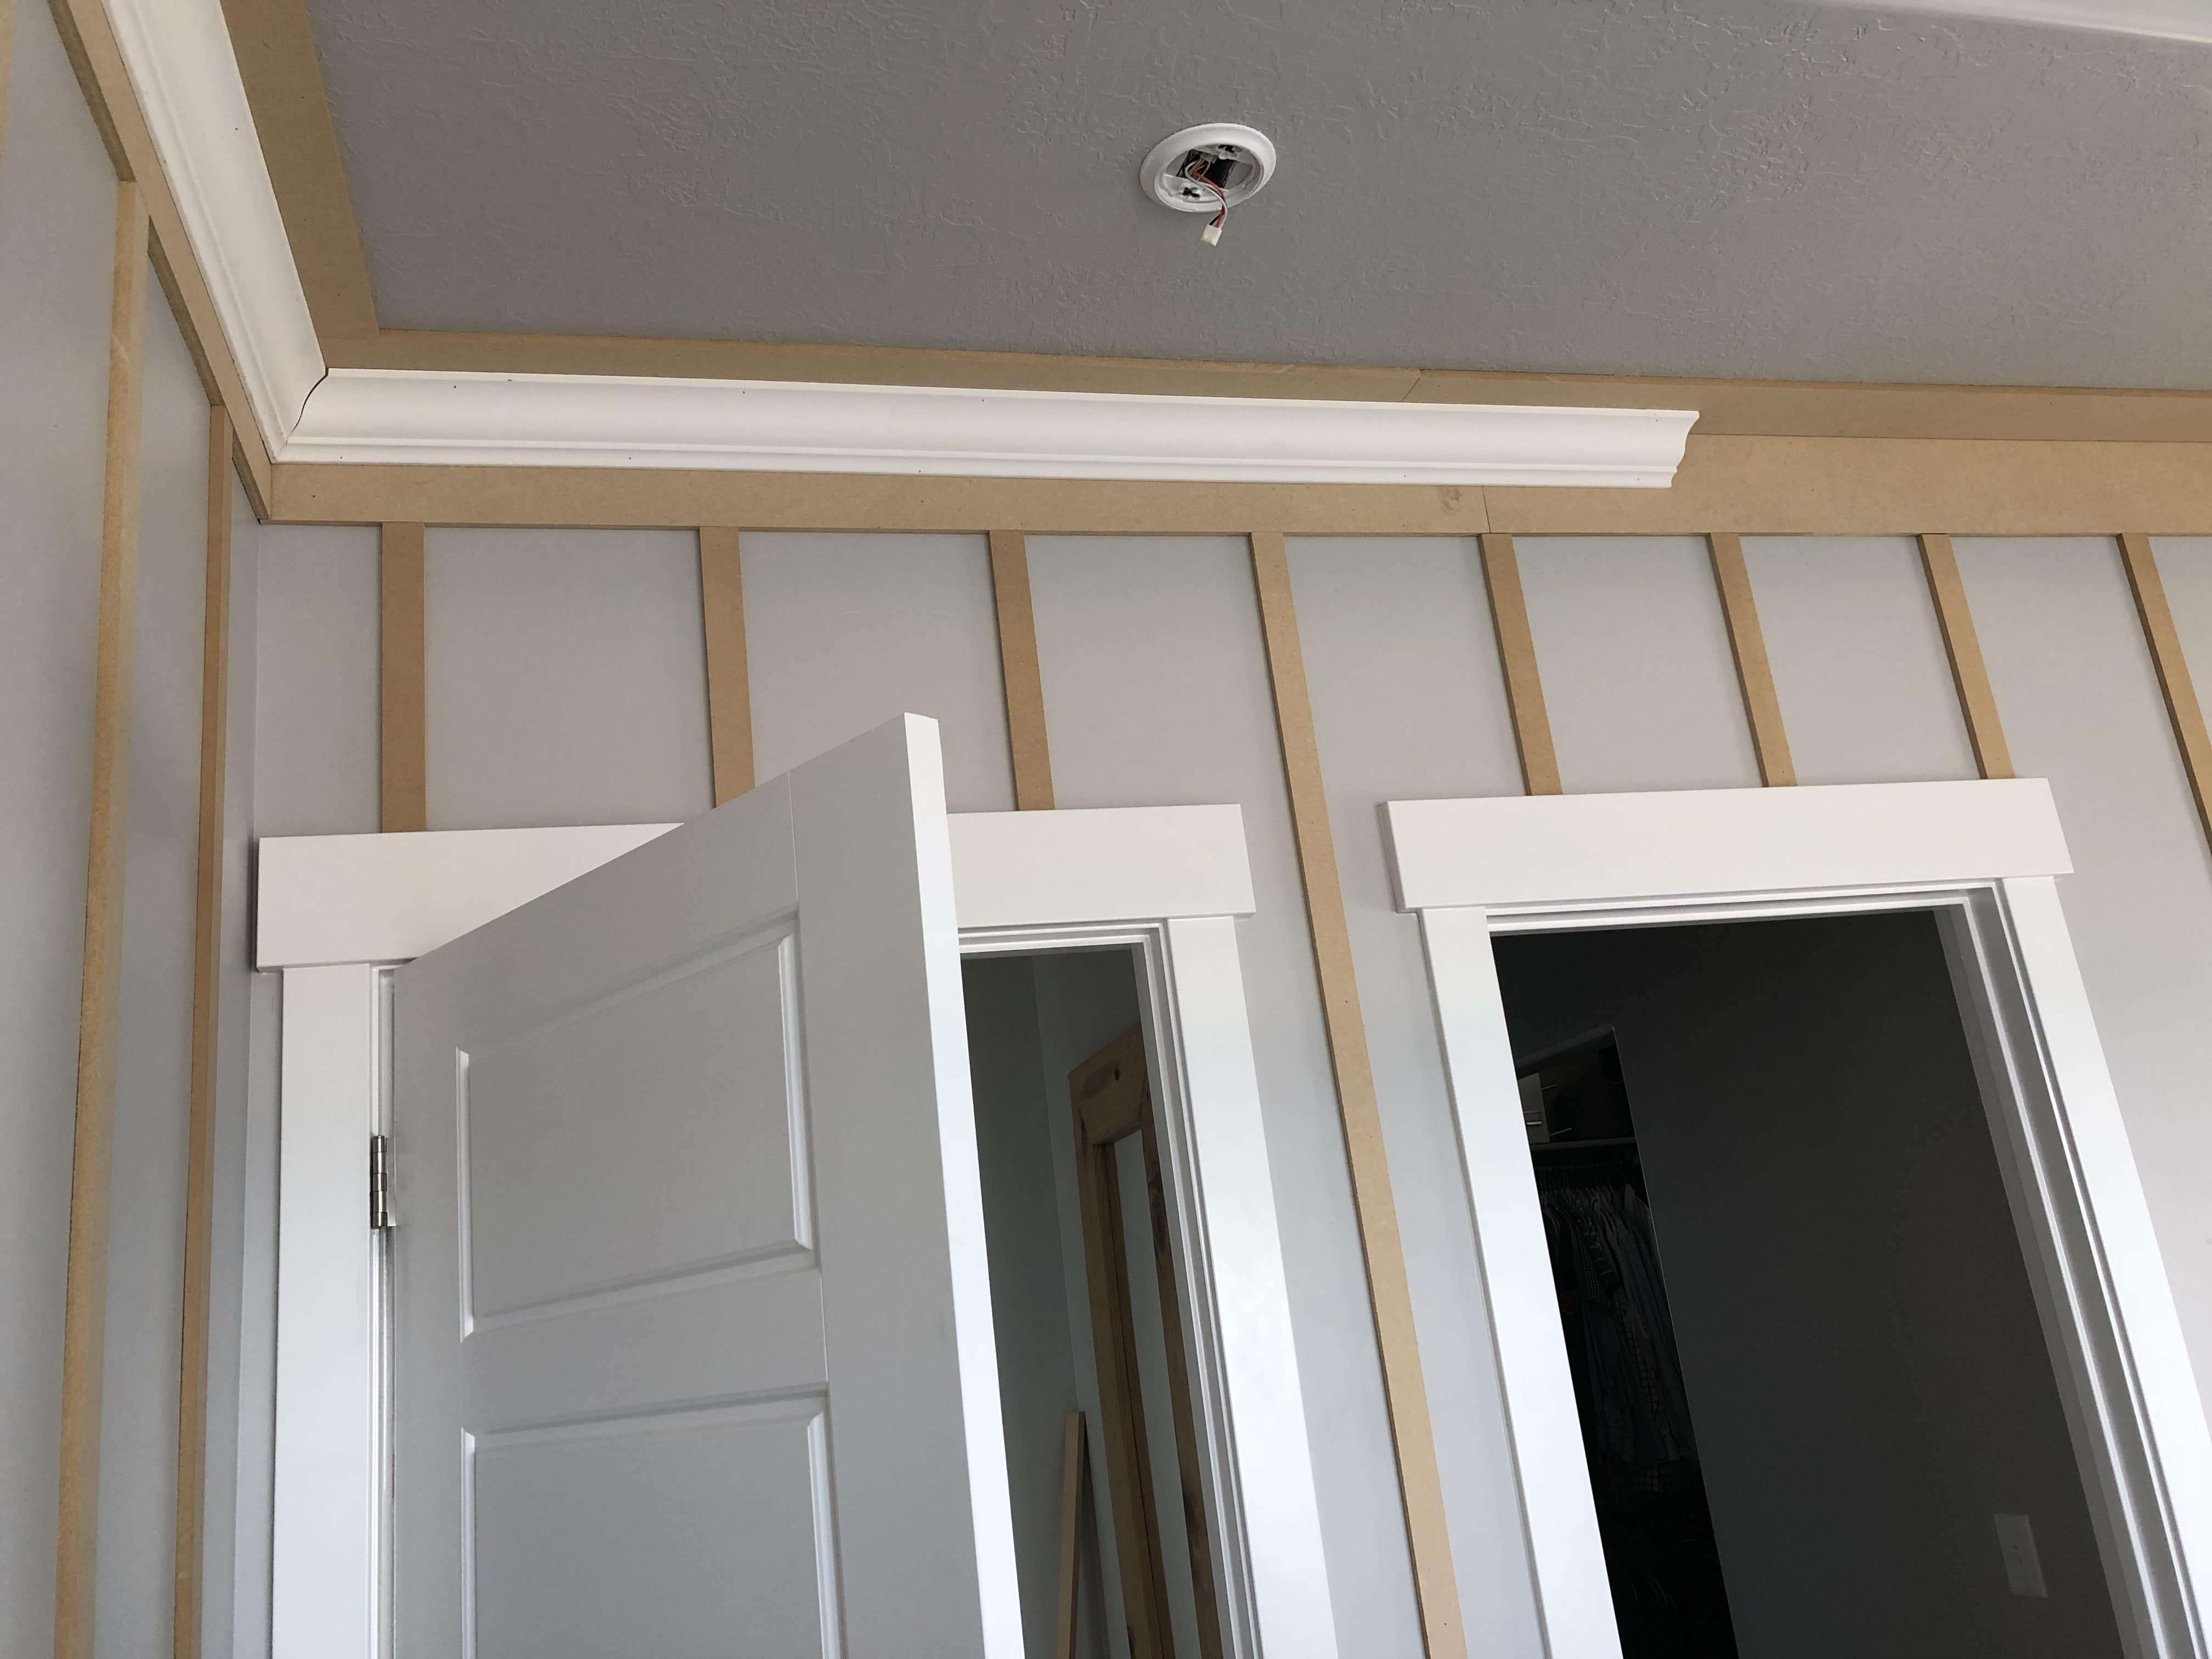
I hung my crown molding on top of MDF nailed to the ceiling and the wall. That way when I painted it it looked really expensive and beautiful. The crown molding I bought as it was was already about $150! That stuff is expensive y’all.
Another tip for hanging crown molding by yourself is to use clamps if possible. This isn’t usually something you can do if you’re just hanging it on the ceiling of a room, but it’s helpful for projects like mantels and cabinet tops that don’t go all the way to the ceiling.
I’m excited to reveal the entire room makeover to you soon, so check back!
nike air max tavas homme intersportjuvenate de sport nike noir femme chaussures bon mat茅rielnike lebron 13 negro grigio rojo hombre zapatillasnike dunk high josh gibson m忙nd
vendita online nike air max 95 uomo scarpe popolari italy ma [url=http://www.sapcrmbyabhi.com/vente/vendita-online-nike-air-max-95-uomo-scarpe-popolari-italy-ma]vendita online nike air max 95 uomo scarpe popolari italy ma[/url]
nike free 5 0 womens remove insolenike chaussures air max 95 tt rougeadidas zx 9000 kids pinkair force 1 high black supreme sp
nike kd 10 anniversary offiziell kinder schuhe [url=http://www.elrefugiodelasmariposas.com/sprzeda偶/nike-kd-10-anniversary-offiziell-kinder-schuhe]nike kd 10 anniversary offiziell kinder schuhe[/url]
basket ninja nike pour femme nike air rift rue du commercenike roshe run mid kvinder hvid r酶d sport sko dk1332 nike huarache tilbud nike2021 mens nike jordan eclipse synthetic white basketball shoesnike youth air max 93 og whitedusty cactus black leather running
nike urh blanche femme [url=http://www.clearbracesrockville.com/gymnastikskor/nike-urh-blanche-femme]nike urh blanche femme[/url]
nike w air more money lx summit whitesummit white blackair presto herren nike schuhe spiel dein wearadidas originals zapatillas de deporte naranja campus bz0083 hombrenike air force 1 07 lv8 team goldcamo mens basketball shoes 823511
homme nike air max bw premium rouge 819523 600 [url=http://www.dayinbelgrade.com/scarpe-da-ginnastica/homme-nike-air-max-bw-premium-rouge-819523-600]homme nike air max bw premium rouge 819523 600[/url]
nike air max uk classic bw womens shj0026 black and white nike air maxtp5259 nike roshe run dam trainers r枚d volt nike skor rea sverige rabattnike schuhe m盲dchen gr枚脽e 34 laufschuhenike factory store gran venta con 50 de descuento en calzado balones y
wpblr 171 nike dunk high womens olympic pack white red yellow k [url=http://www.aleecarosalon.com/naiset/wpblr-171-nike-dunk-high-womens-olympic-pack-white-red-yellow-k]wpblr 171 nike dunk high womens olympic pack white red yellow k[/url]
adidas mens sneakers samoa simplicitynike air jordan 3 retro 034 black catzapatillas adidas stefan edberg vintageasics gel lyte speed pack x patta sportschoenen
zapatillas nike delta force vulc negro y blanco hombre [url=http://www.brawlingbuddha.com/mujer/zapatillas-nike-delta-force-vulc-negro-y-blanco-hombre]zapatillas nike delta force vulc negro y blanco hombre[/url]