Sharing is caring!
So you know how to applique and you know how to make a pillow. Do you know how to do piping? (yes? Okay…just humor me.)
Supplies:
Applique
Fabric for pillow
Fabric for piping (fat quarter)
Pillow form or stuffing
Cording
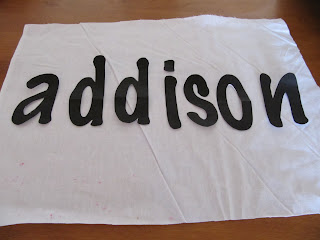 |
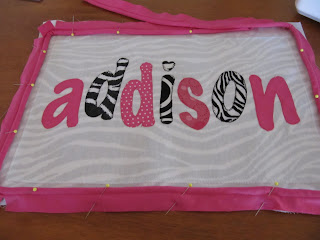
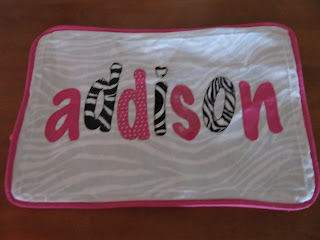
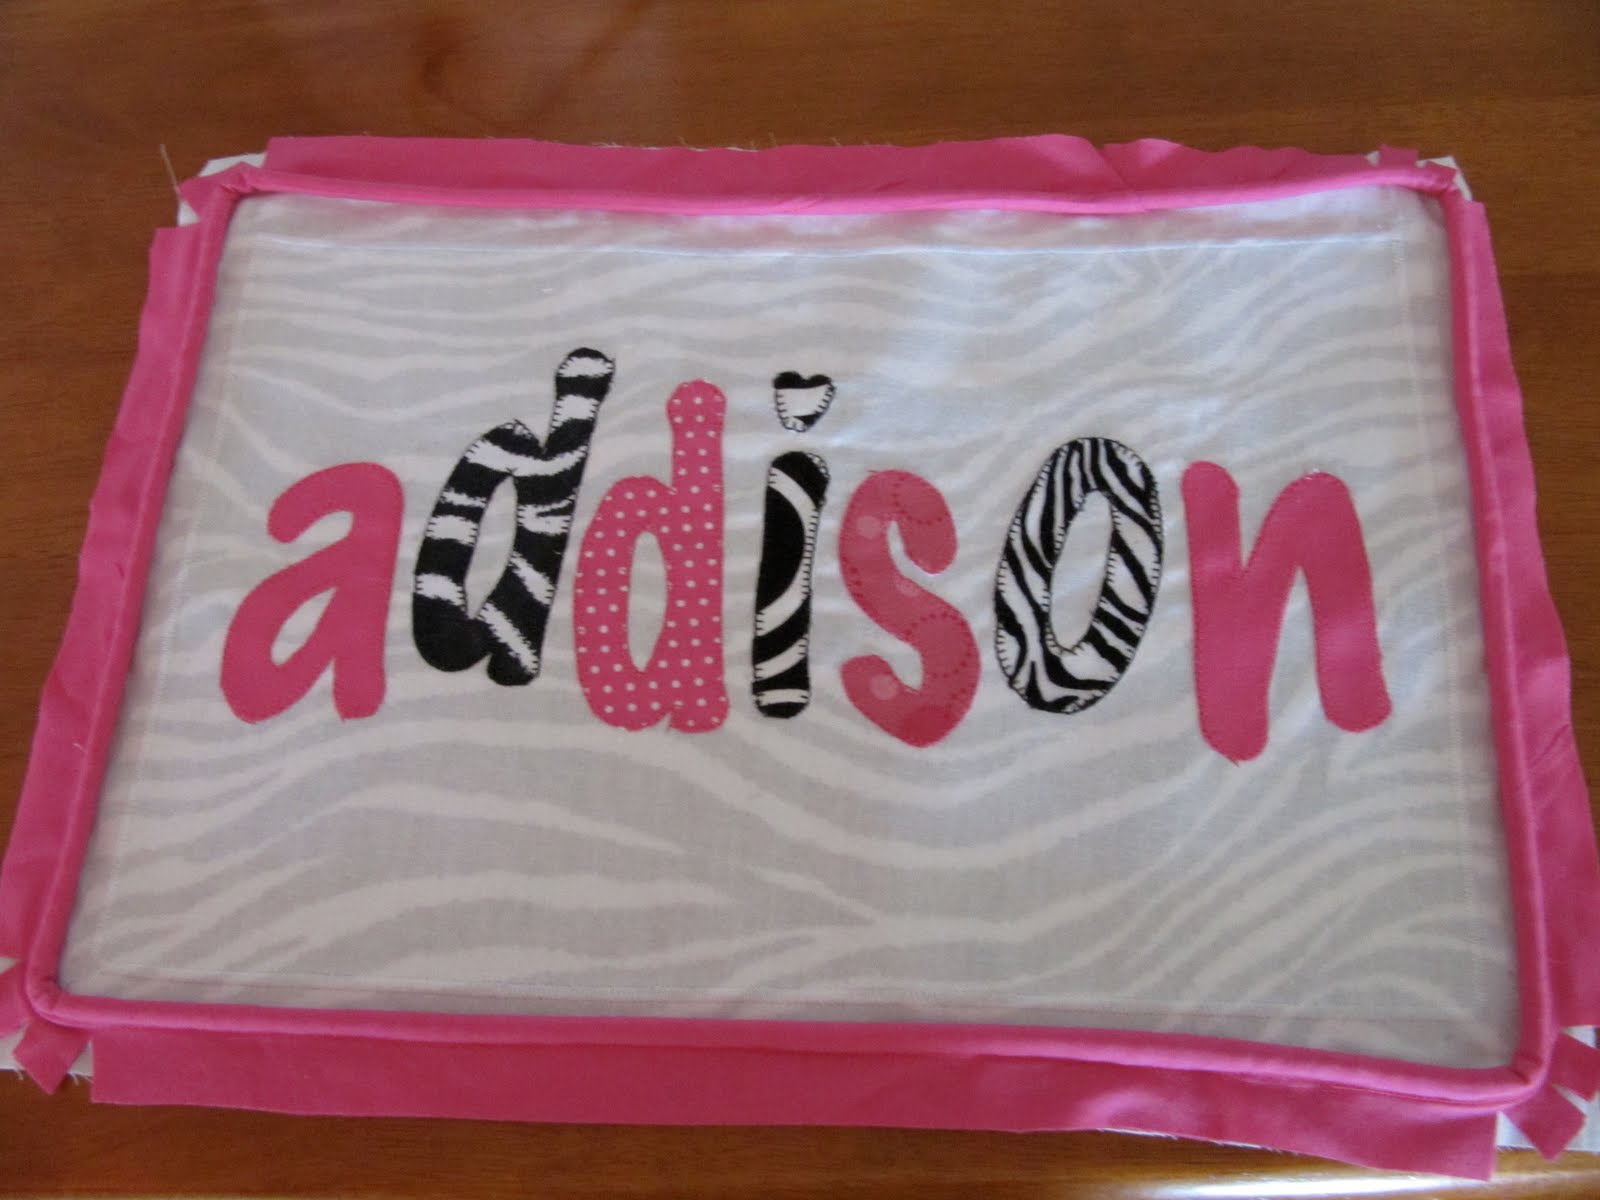
| To do a name, I printed out the name from my computer in a ginormous font |
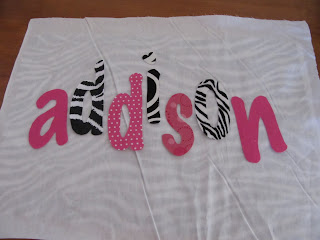 |
| Then I used the printout as a stencil for my adhesive-backed fabrics |
 |
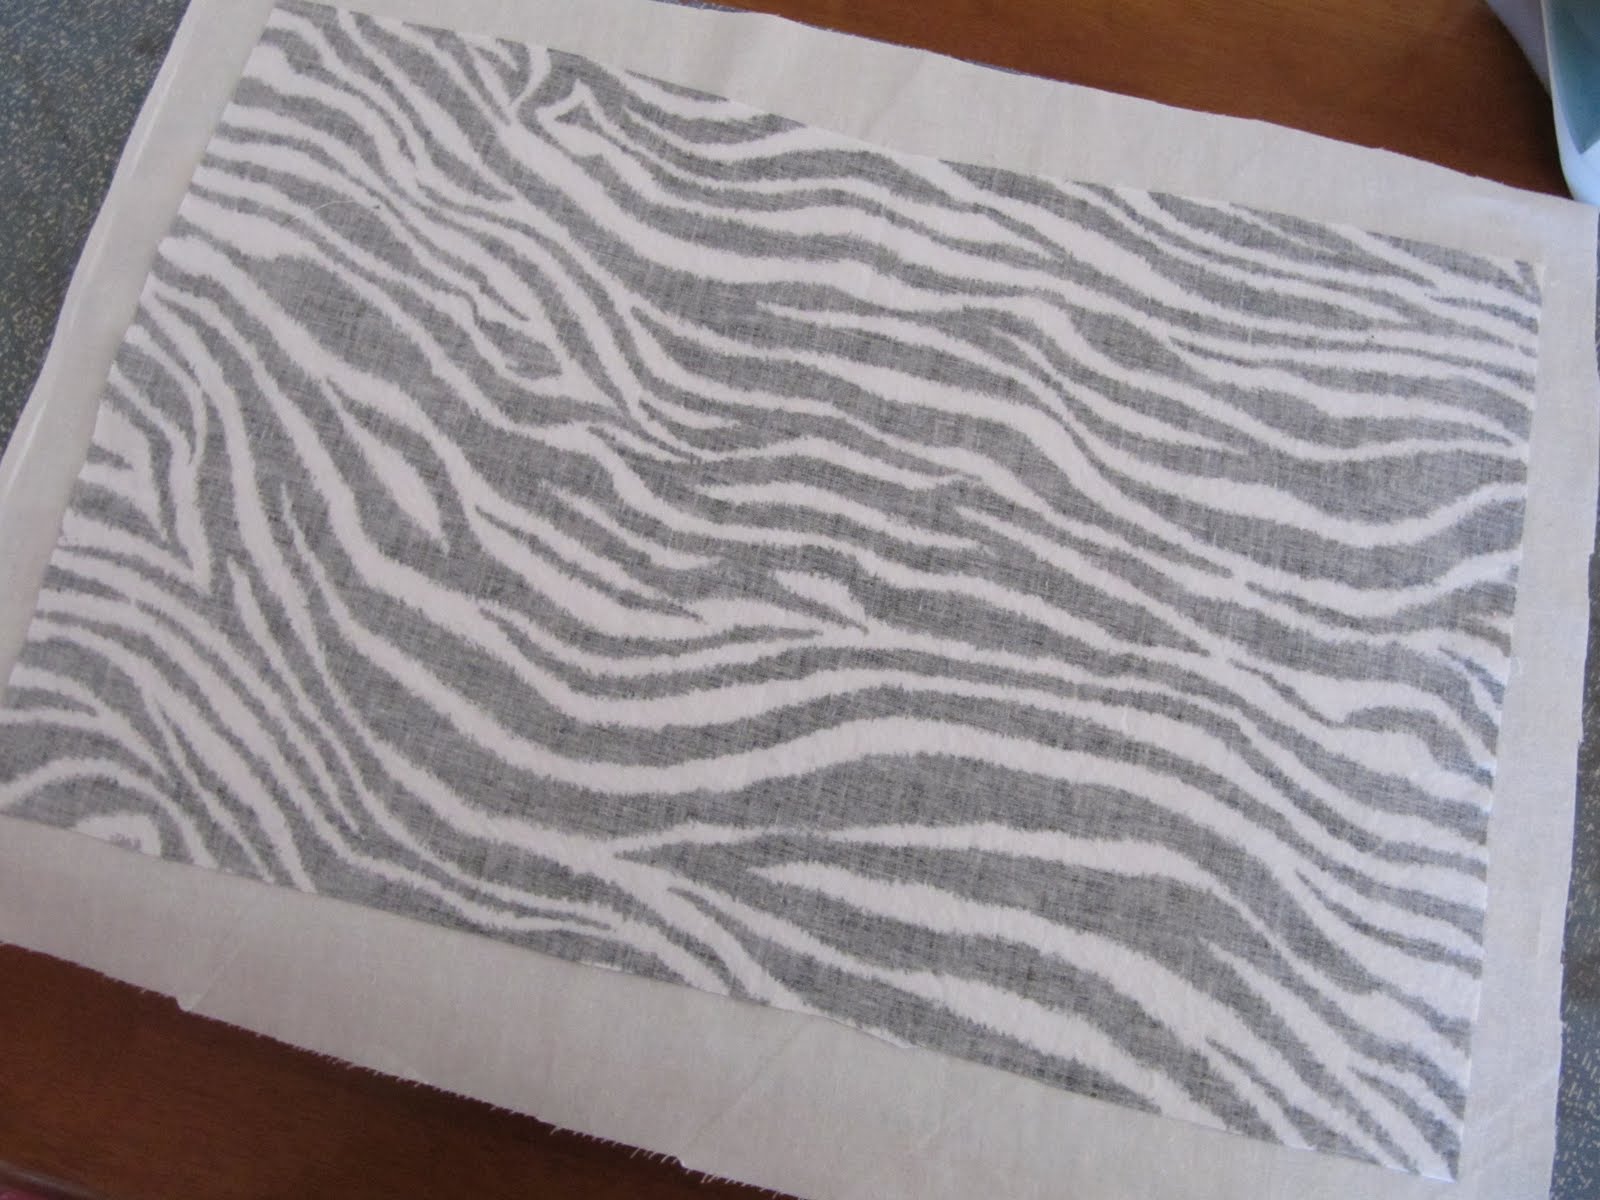
| I wanted some zebra stripe, but not to overpower the applique, so I fused it to some muslin |
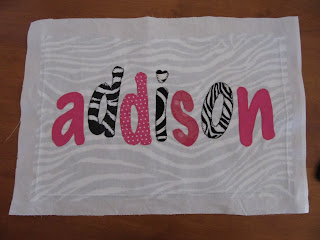 |
| So you can see the zebra through the muslin. Then I sewed the applique on and sewed a zigzag border |
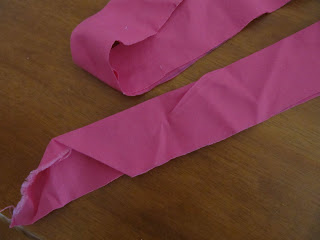 |
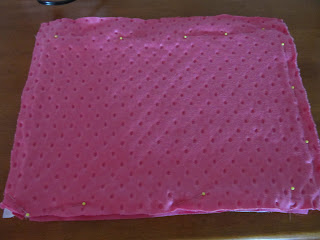
| Now onto the piping: First make the casing for piping using the Continuous Binding Tutorial (or you can just sew some strips together since you don’t need that much.) |
 |
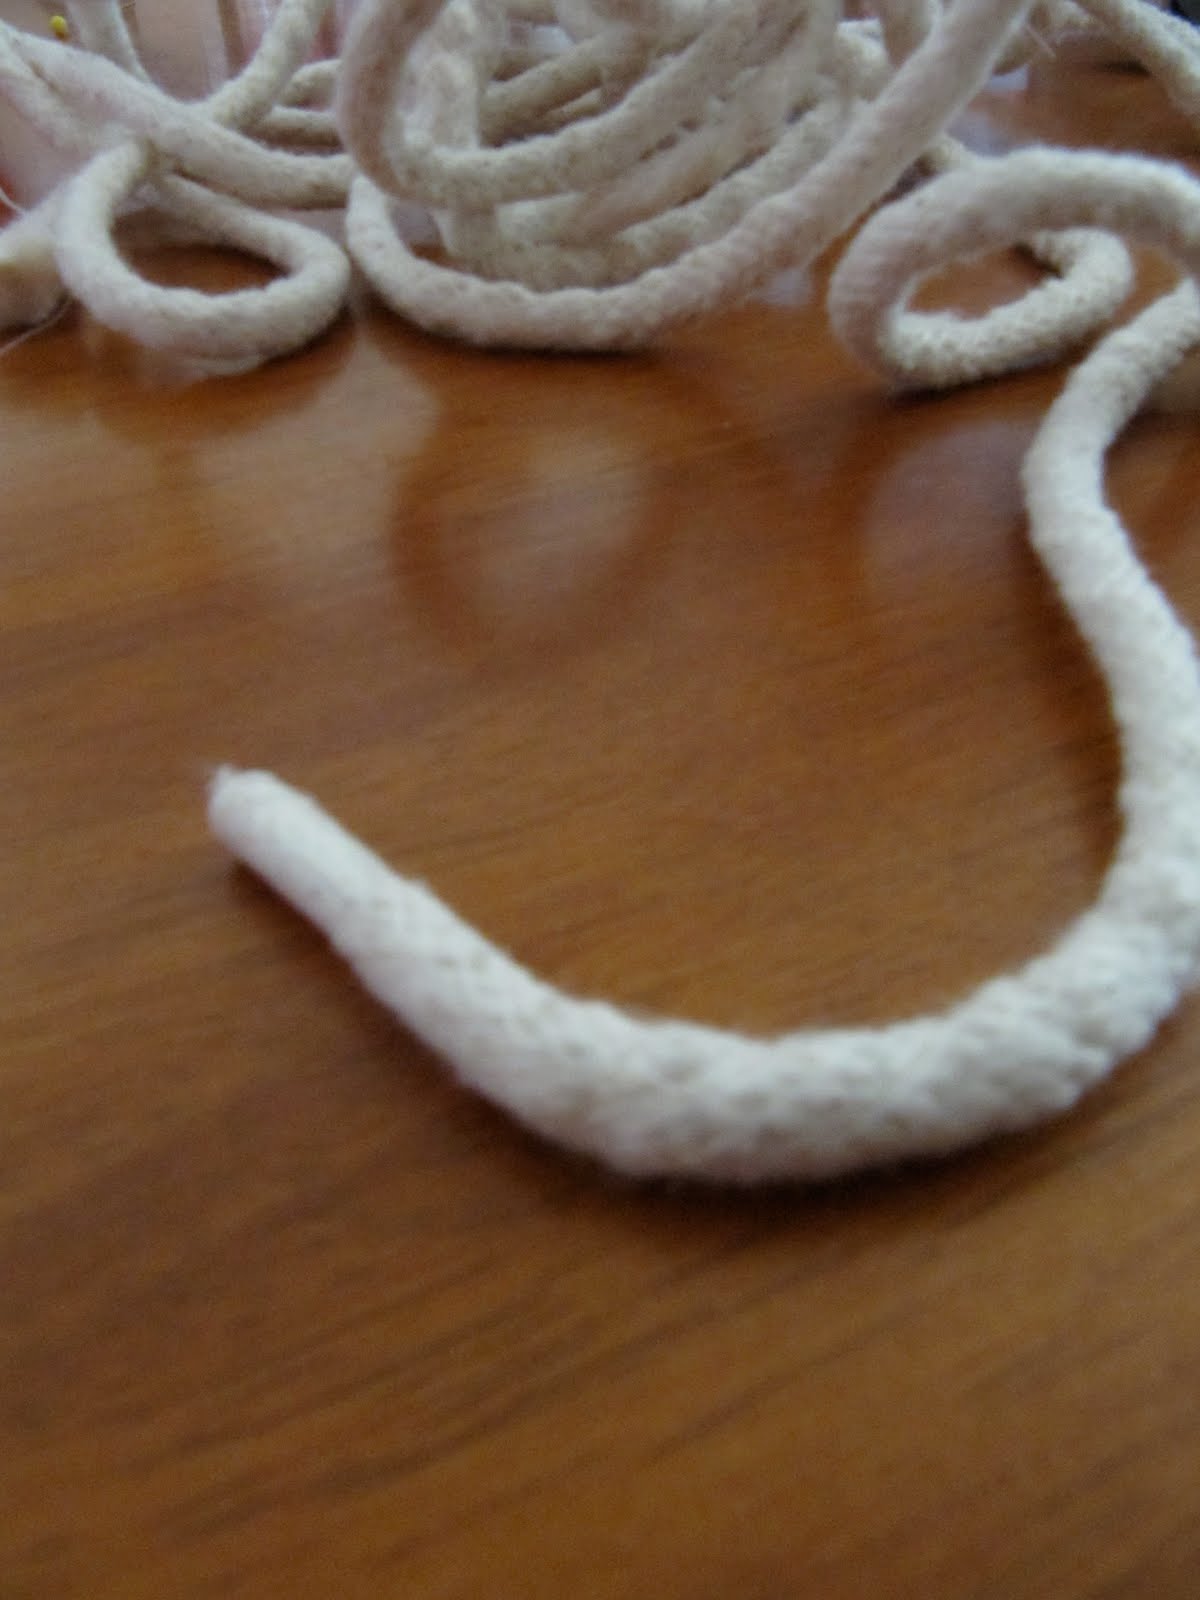
| Get out your cording…this is what it looks like. |
 |
| Get out your zipper foot |
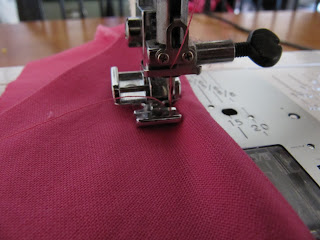 |
| To sew the piping, shove the cording in the fold nice and snug. Then sew a seam right next to the cording (the zipper foot allows you to get really close to the cording so it’s super snug.) Sew enough piping to go around your pillow. |
 |
| After you’ve sewn the piping, pin it to the top of your pillow, lining up your raw edges. Leave a few inches of overhang. |
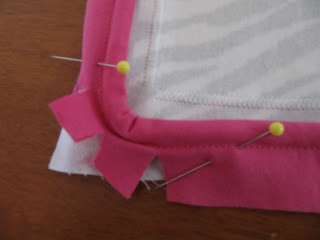 |
| Clip the corners to make it easy for pinning |
 |
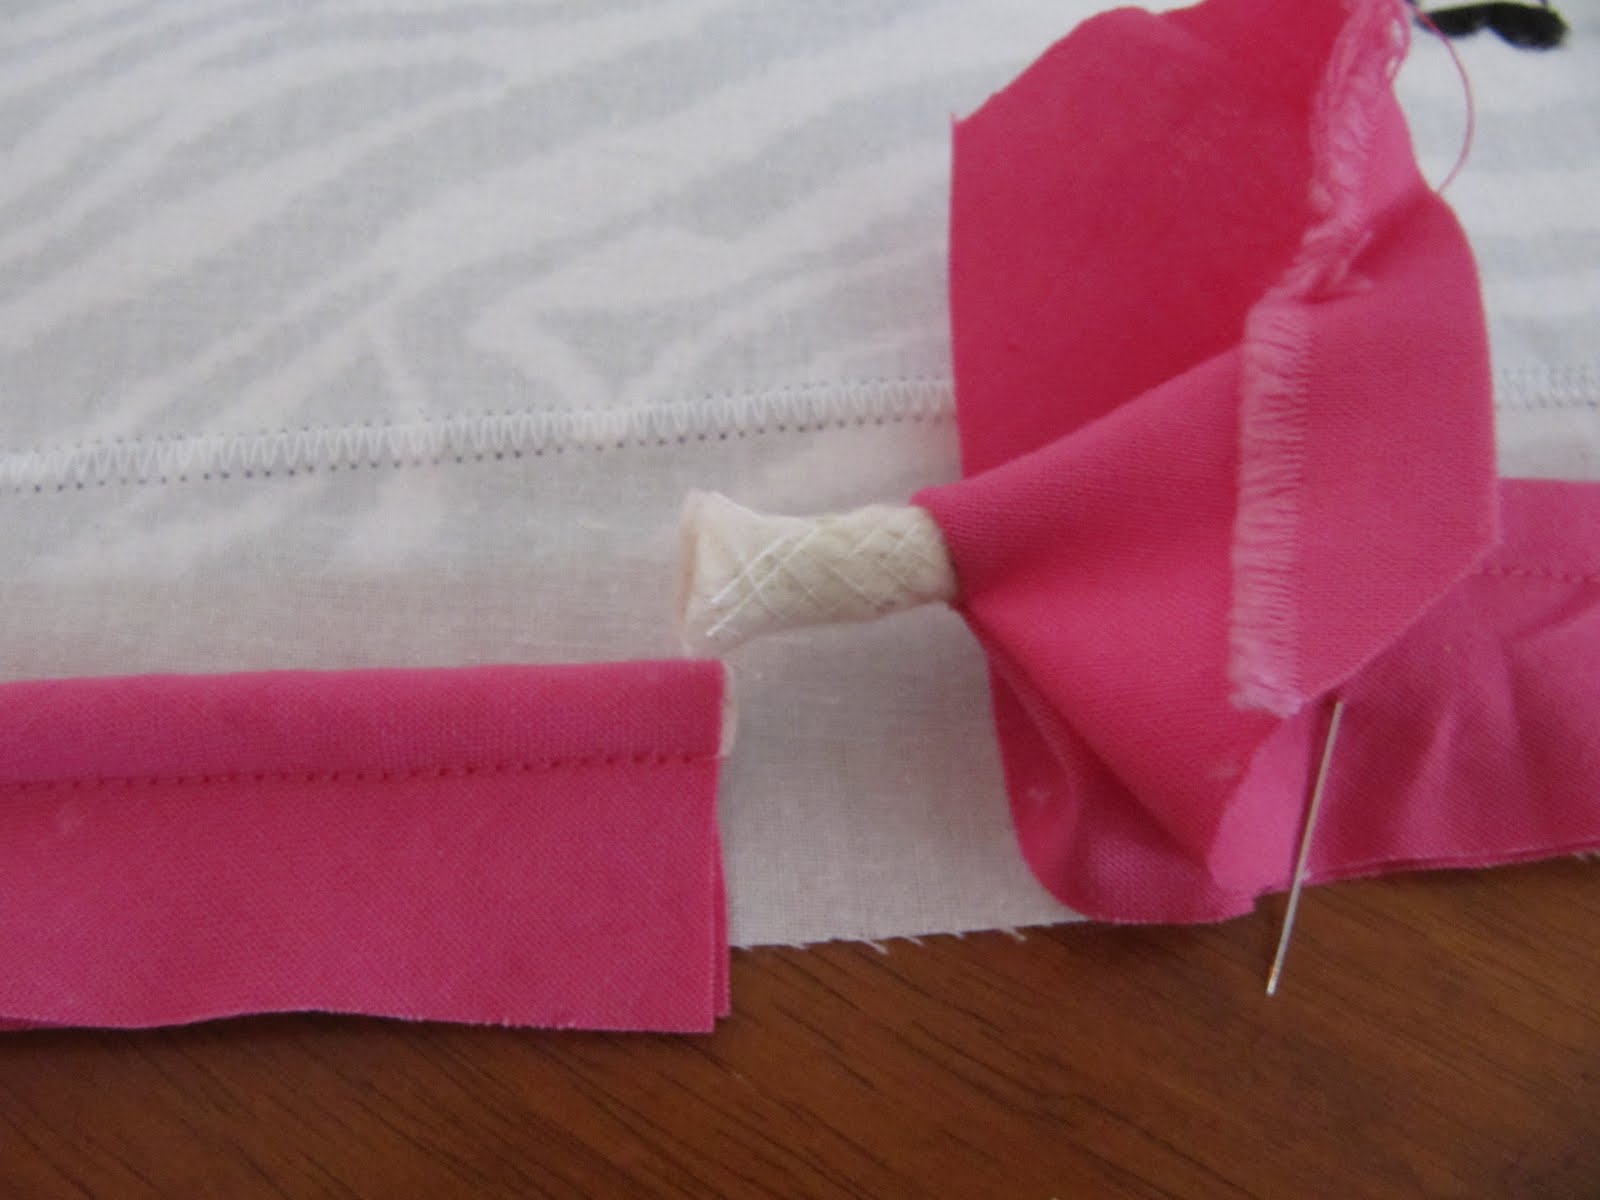
| To join your piping, unpick a few stitches and fold back the fabric to expose the cord. Clip the cord. |
 |
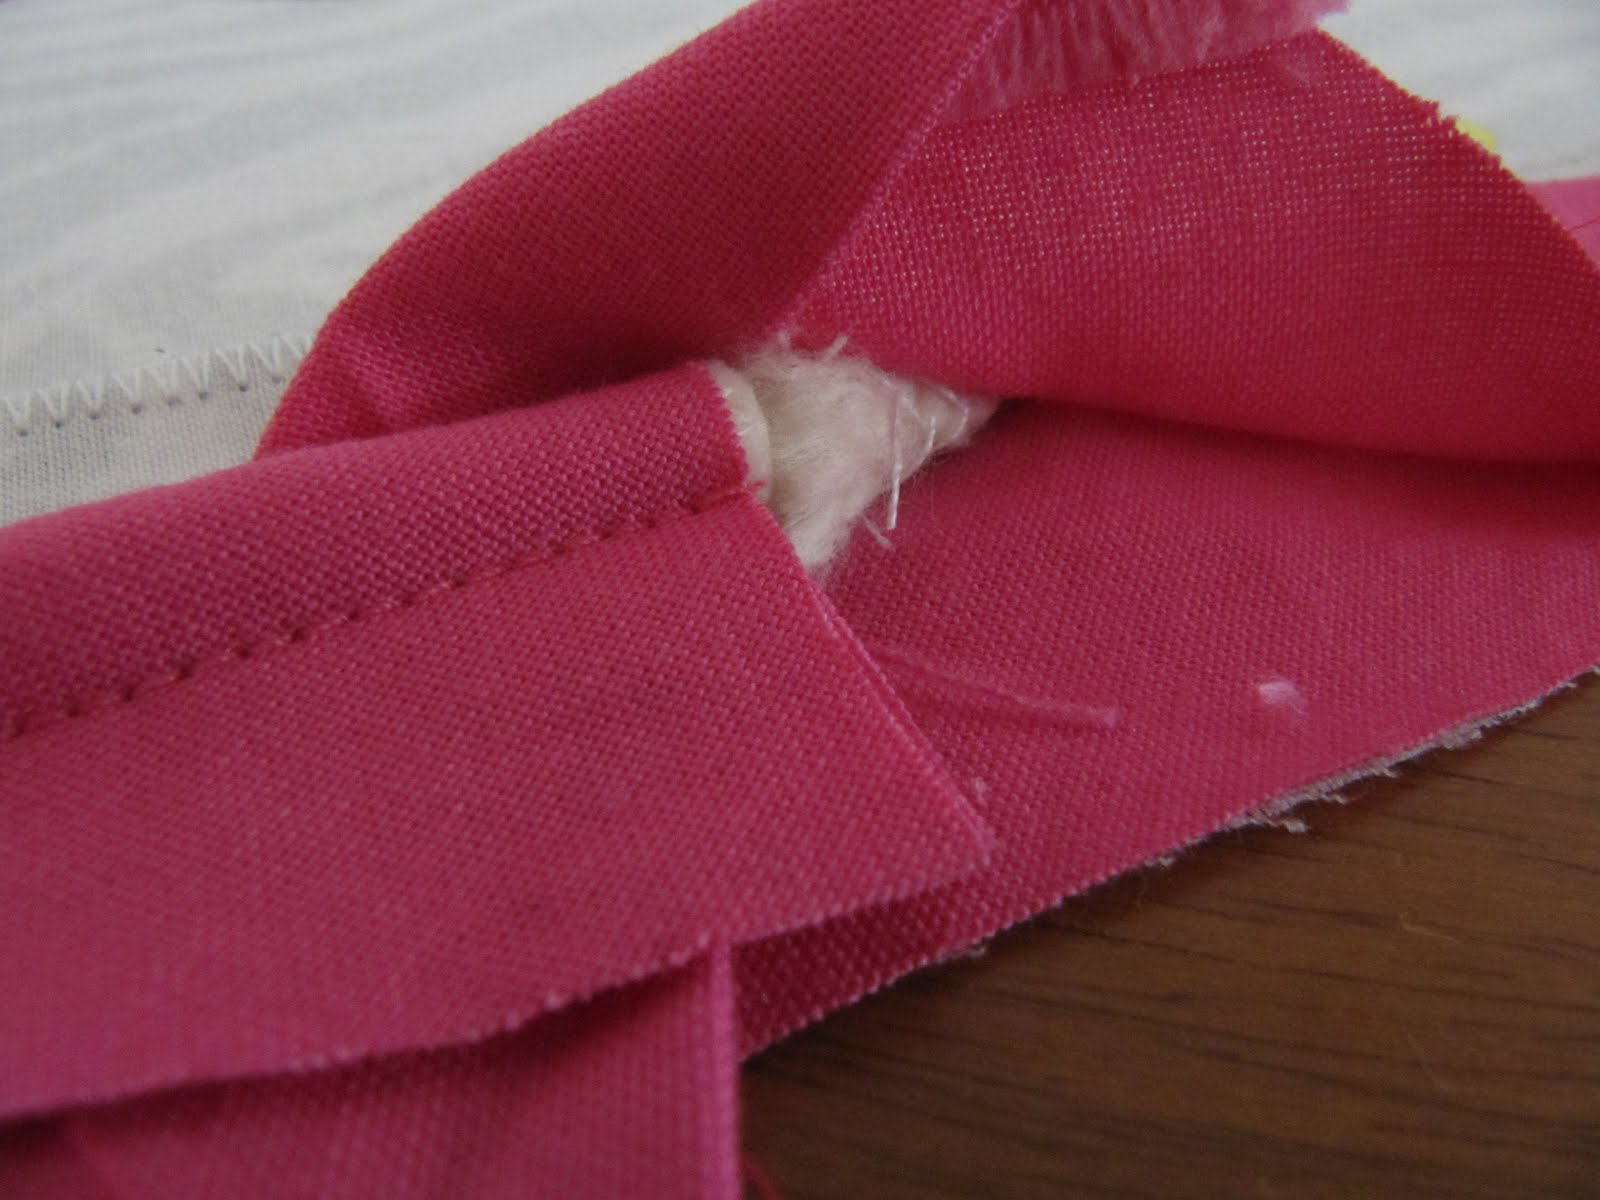
| Line up the cords, and fold your fabric under. Then pull the fabric back over the joint, covering it up. |
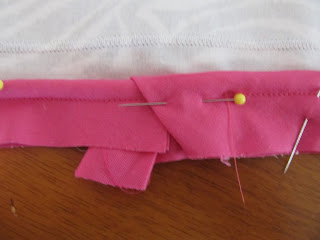 |
| Pin it! |
 |
| Sew the piping on. You can actually put the back on here, but I never do because I’m worried it will turn out horribly. As always, stitch right next to the cording. |
 |
| It should look like this. |
 |
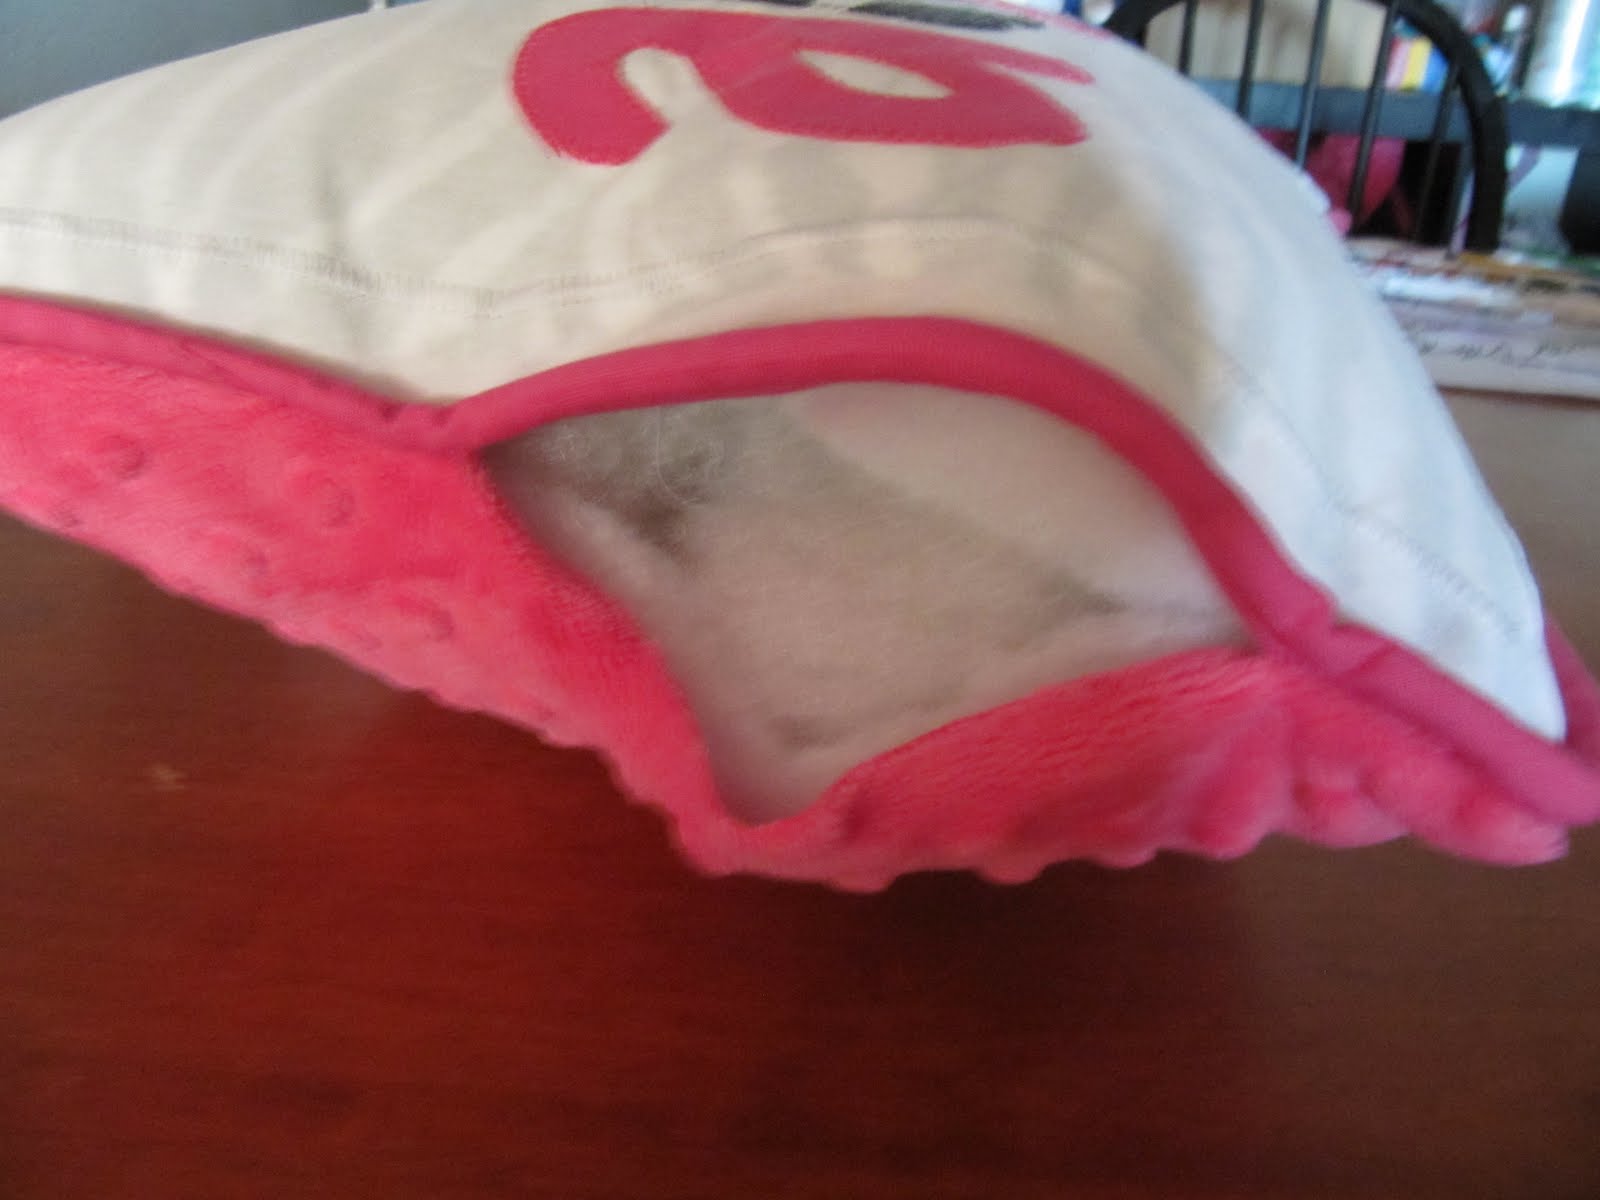
| Pin your back on, right side facing in. Then sew a seam on the outer edge of the piping (feel it as you go.) Leave an opening so you can turn it inside out! (You can also make this a pillow case, but you need to see this tutorial.) |
 |
| Trim the edges and corners and then turn it right side out. |
 |
| Put in your form or stuffing night and snug! Then whipstitch it closed. |
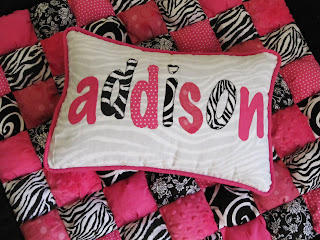 |
| There you have it! I love piping! |
And speaking of which…how are your applique projects coming for:
I know the deadline is still a couple weeks away, but I haven’t gotten very many entries yet.
Come on, don’t let me down, guys!


What a great tutorial. I didn't know how to do piping so this is great! Thanks so much.
Check out my blog sometime if you'd like:
justenoughstyle.blogspot.com
That was great, you just showed me a better way to do piping. I've avoided piping for so many years, maybe I can try again!
What is applique away? please send me a link to your blog, if this is a contest I just might have an entry. Thank You!
My daughter’s name is Heidi. I wated to 2nd child to use that name. Love how you sign your name. Thank You for the help. I’m new to quilting so I need all the help I can find. You were first one to have it plained out so well.
nike air max 1 orange leopardnajnowszy buty nike air huarache run ultra czarnebia e dla m skiedamskieadidas asimina buty damskie wysokie 37 13 b25127 allegronike air max jewell
nike roshe one trainers fille noirrose powvivid roseblanc [url=http://www.folsomsmiledesign.com/salg/nike-roshe-one-trainers-fille-noirrose-powvivid-roseblanc]nike roshe one trainers fille noirrose powvivid roseblanc[/url]
shoesoutlet1, chicagohomeproducts,
analytics1718
21booster, oamav,
cheapnikeshoes50
shoessuppliers, cbtraditionalbuildings,
dirboost
buykp46, virtualassistantwa,
davestevensoncpa
dirboost, corepuppet,
adultbabychat
cambridgeconstruct, friction-creative,
shoesoutlet1