Sharing is caring!
 |
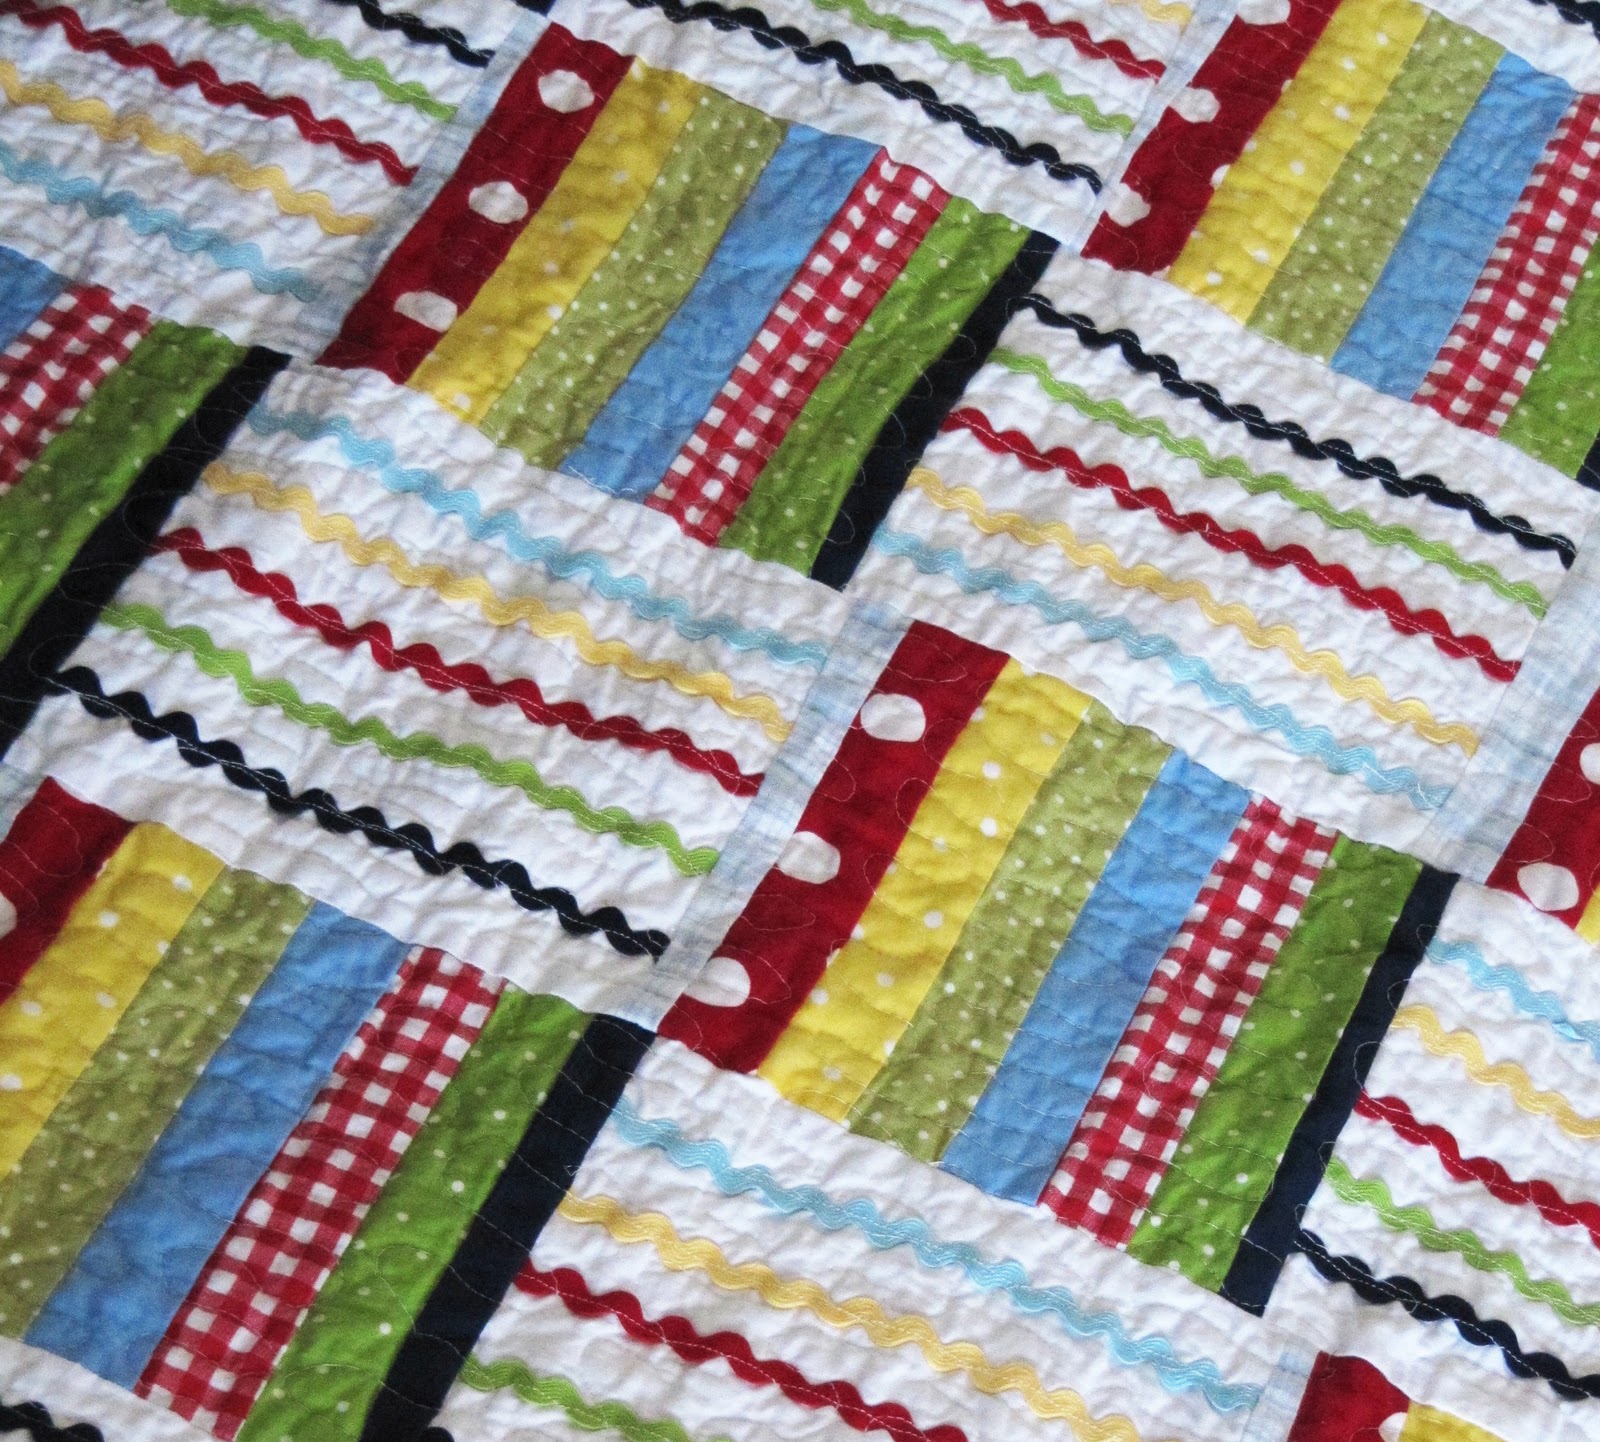
| I finished my son’s new quilt! I designed it to match his room, and although it turned out a little more rainbowy than I would have liked, I was still proud of myself. {{And please don’t look too closely at the piecing because there are a lot of mistakes! I’m still learning!}} I’m making another one pretty similar for his brother, although I sewing the strips in a different arrangement that is less rainbowy. Rainbowy. |
You can’t just go from having a quilt top, batting, and back to machine quilting. You have to baste the quilt first. A well-basted quilt will make a HUGE difference in the level of success you have quilting.
 |
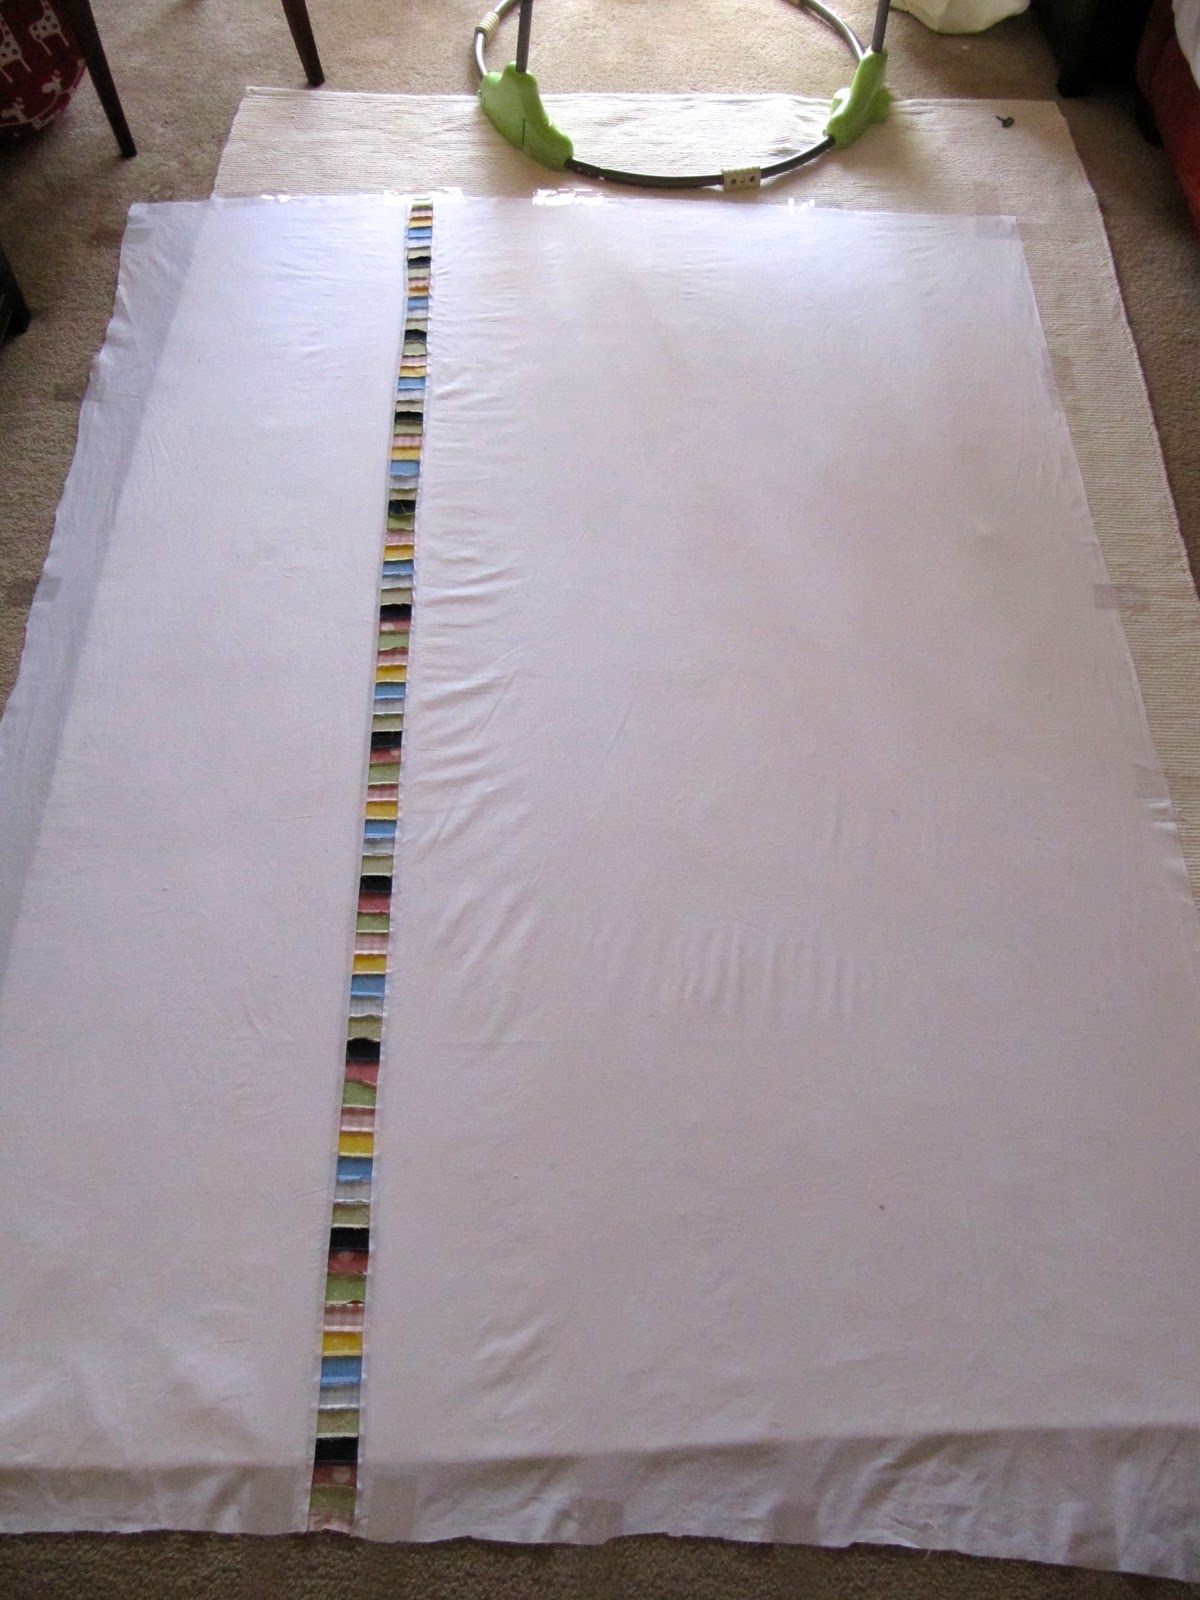
| Iron your quilt back and top. Your back should be a few inches bigger than your top on all sides. Clean a large space for you to work and make sure your kids are out of the way! Get some tape (stronger than regular tape) and tape your quilt back to the floor (right side down), smoothing out and pulling taught as you go. Don’t pull too tight, just smooth it out and tape it down. |
 |
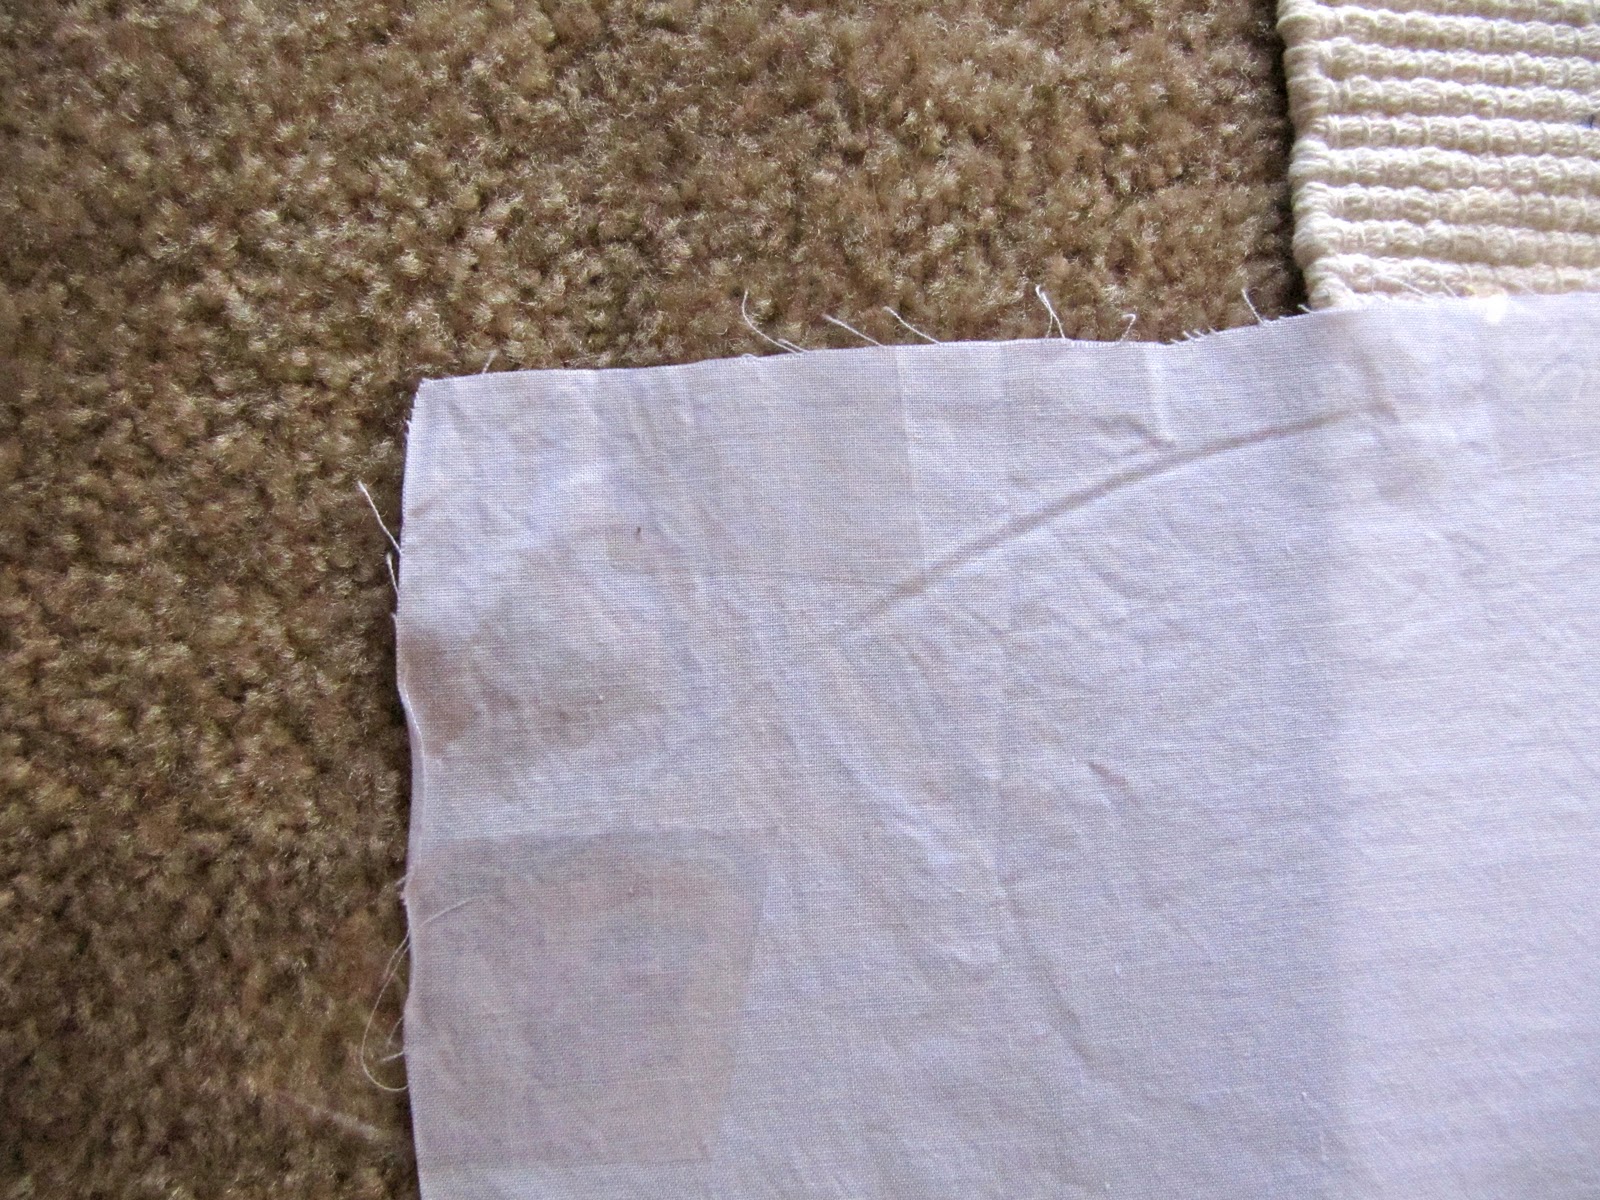
| I used clear tape so it’s hard to see here, but look closely! I tape all the sides of the quilt back down. |
 |
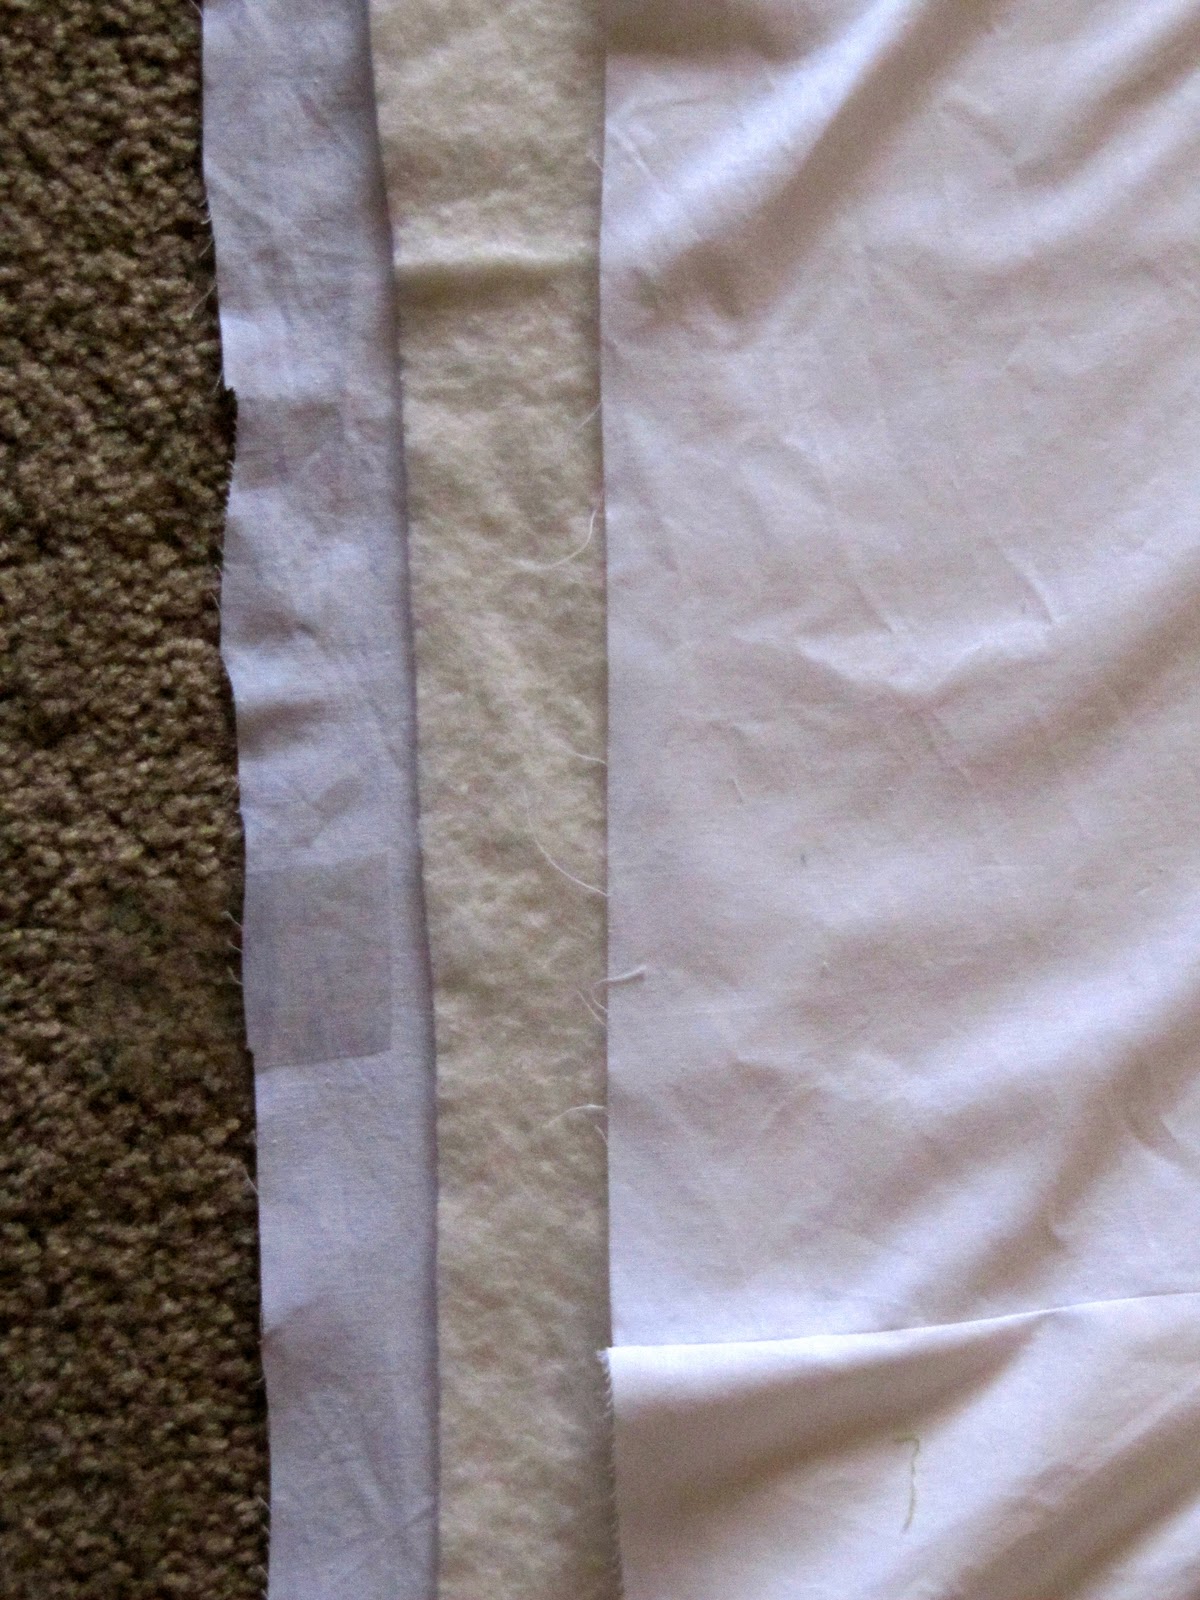
| Next is batting. I use Warm ‘n’ Natural. This was pre-packaged twin bed size and I just trimmed a little off the side. The batting should be a little smaller than the quilt back but bigger than the quilt top. Smooth it down and tape it down, but only on the top. I just use the same tape as what’s holding the top side of the quilt back to the floor. |
 |
| Do the same thing with your quilt top, only taping the top edge. |
 |
| Here’s what the layers should look like, give or take. |
 |
| After you’ve smoothed it all down, slowly and carefully roll the top up. Then roll the batting up behind it. Two separate rolls and the quilt back underneath. |
 |
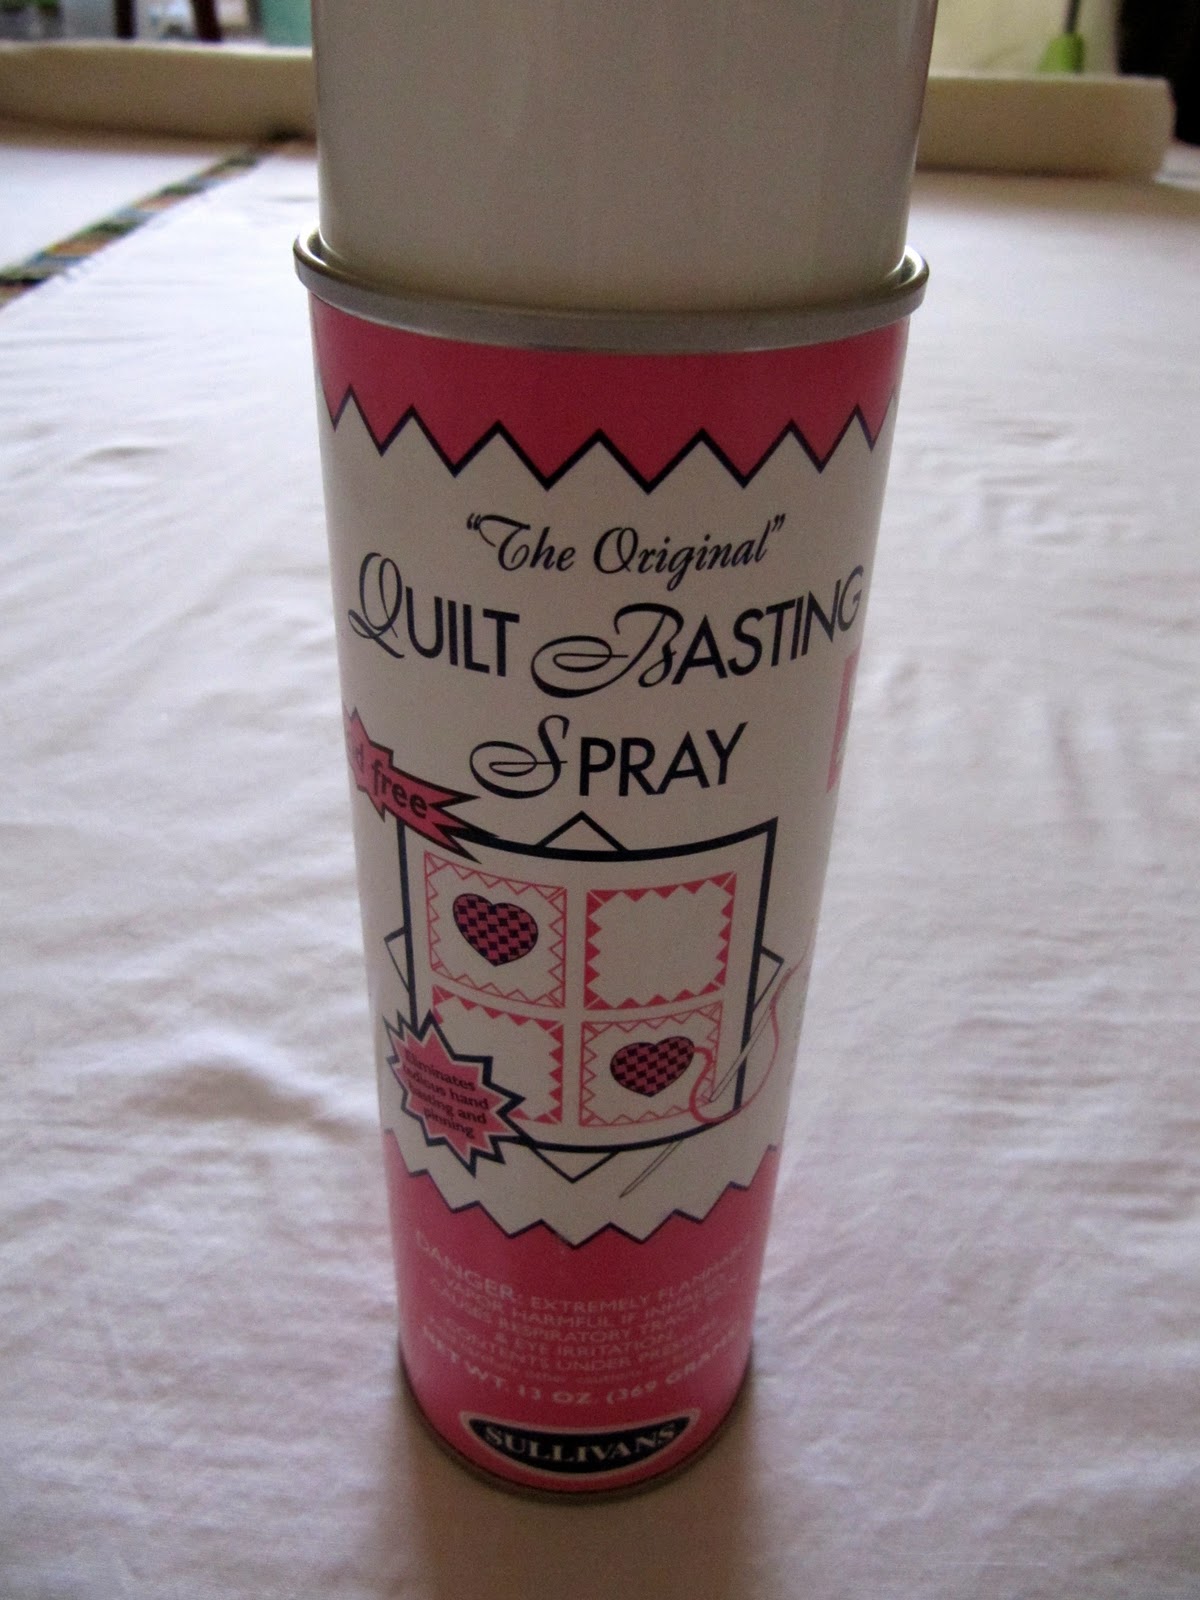
| Get some high-quality basting spray. This stuff has worked great for me so far. Open up the windows (or do this in the garage if you want) for ventilation. Then working in sections, spray across the quilt back, back and forth a few times. Don’t spray right to the edge or else you will get too much overspray which is a pain to clean. This basting spray washes out after you wash your quilt, so no worries. |
 |
| After you spray a section, slowly unroll the batting over it, and smooth it out. Start in the middle and press out to the sides, like you would if you were applying wallpaper. This way you can get out any puckers. Move down the quilt back, spraying and unrolling and smoothing. Once you finish doing the batting layer, start all over again with the quilt top. |
 |
| Keep smoothing out the best you can until you have one smooth quilt. This quilt didn’t get completely smoothed because I didn’t do a super careful job but it was good enough to still come out fine after I quilted it. |
 |
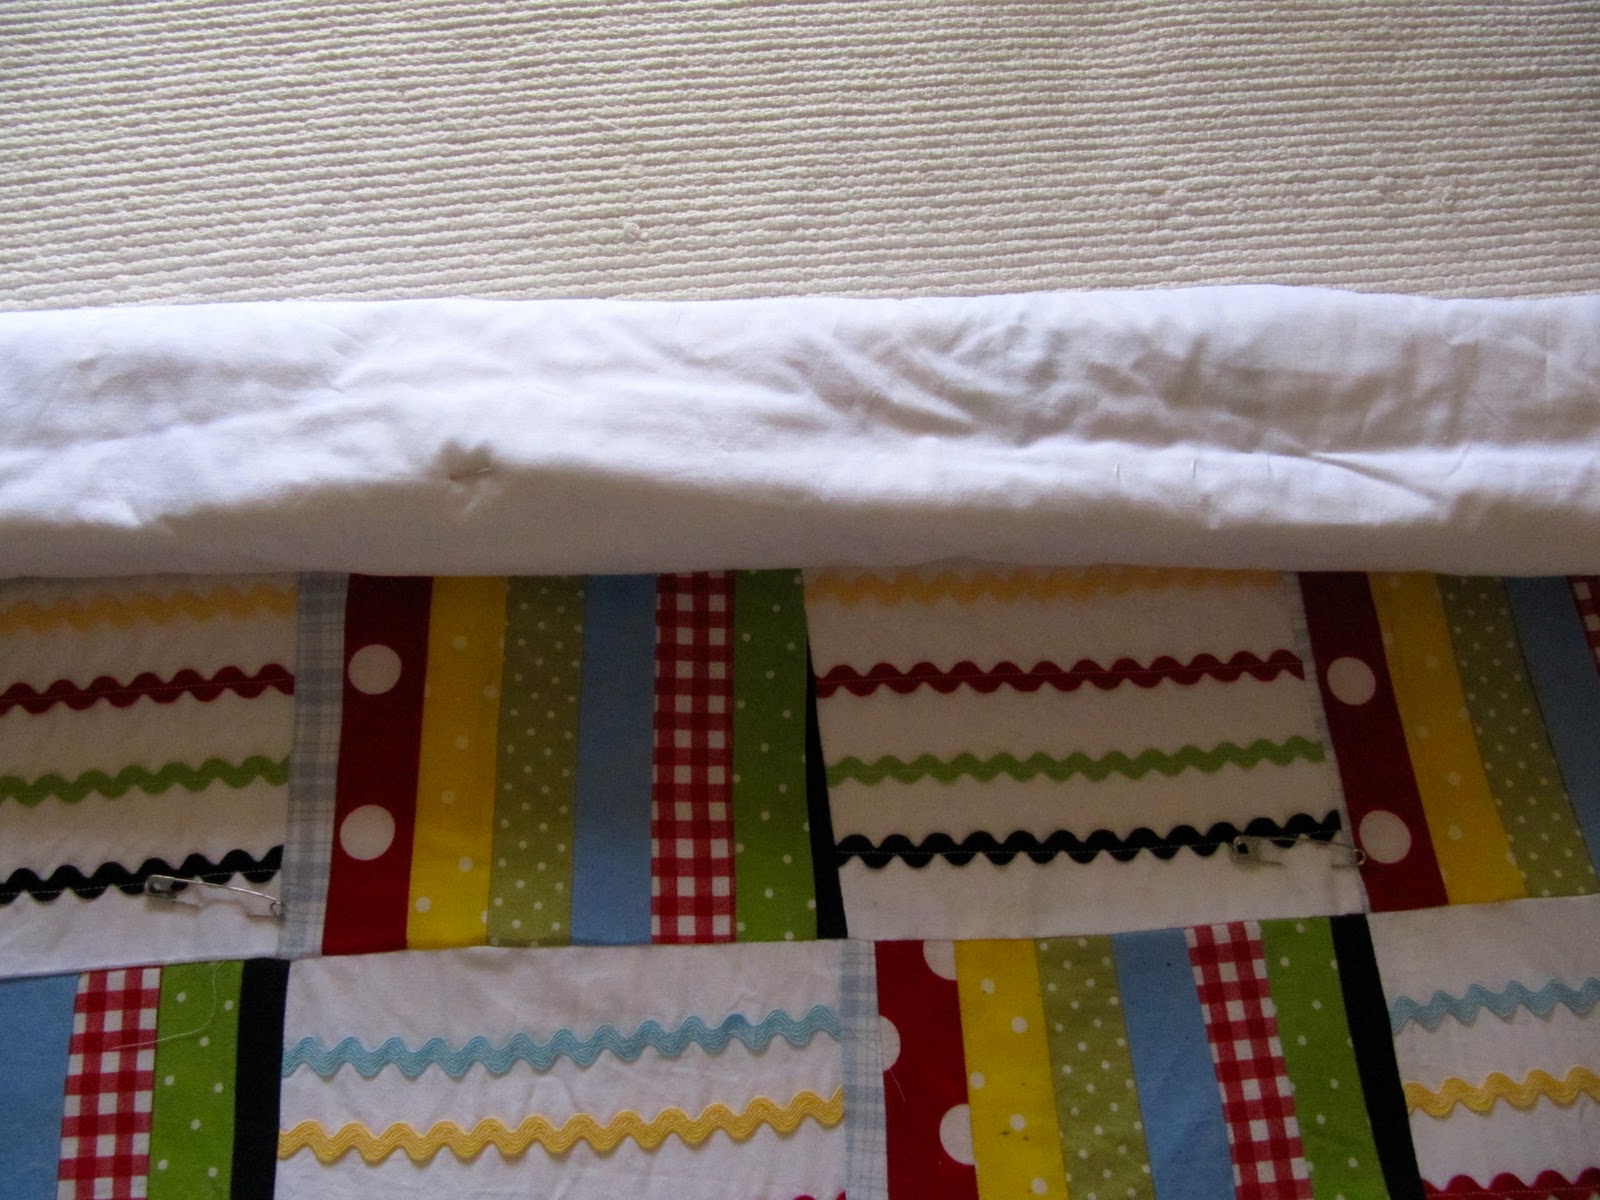
| For smaller quilts, I can get away with using only the spray. But with bigger ones, like this twin-sized quilt, I wanted a little more reinforcement, so I put in large quilters safety pins every foot or so. |
 |
| And I rolled it down as I went, to make it easier to reach my hand underneath to pin. |
 |
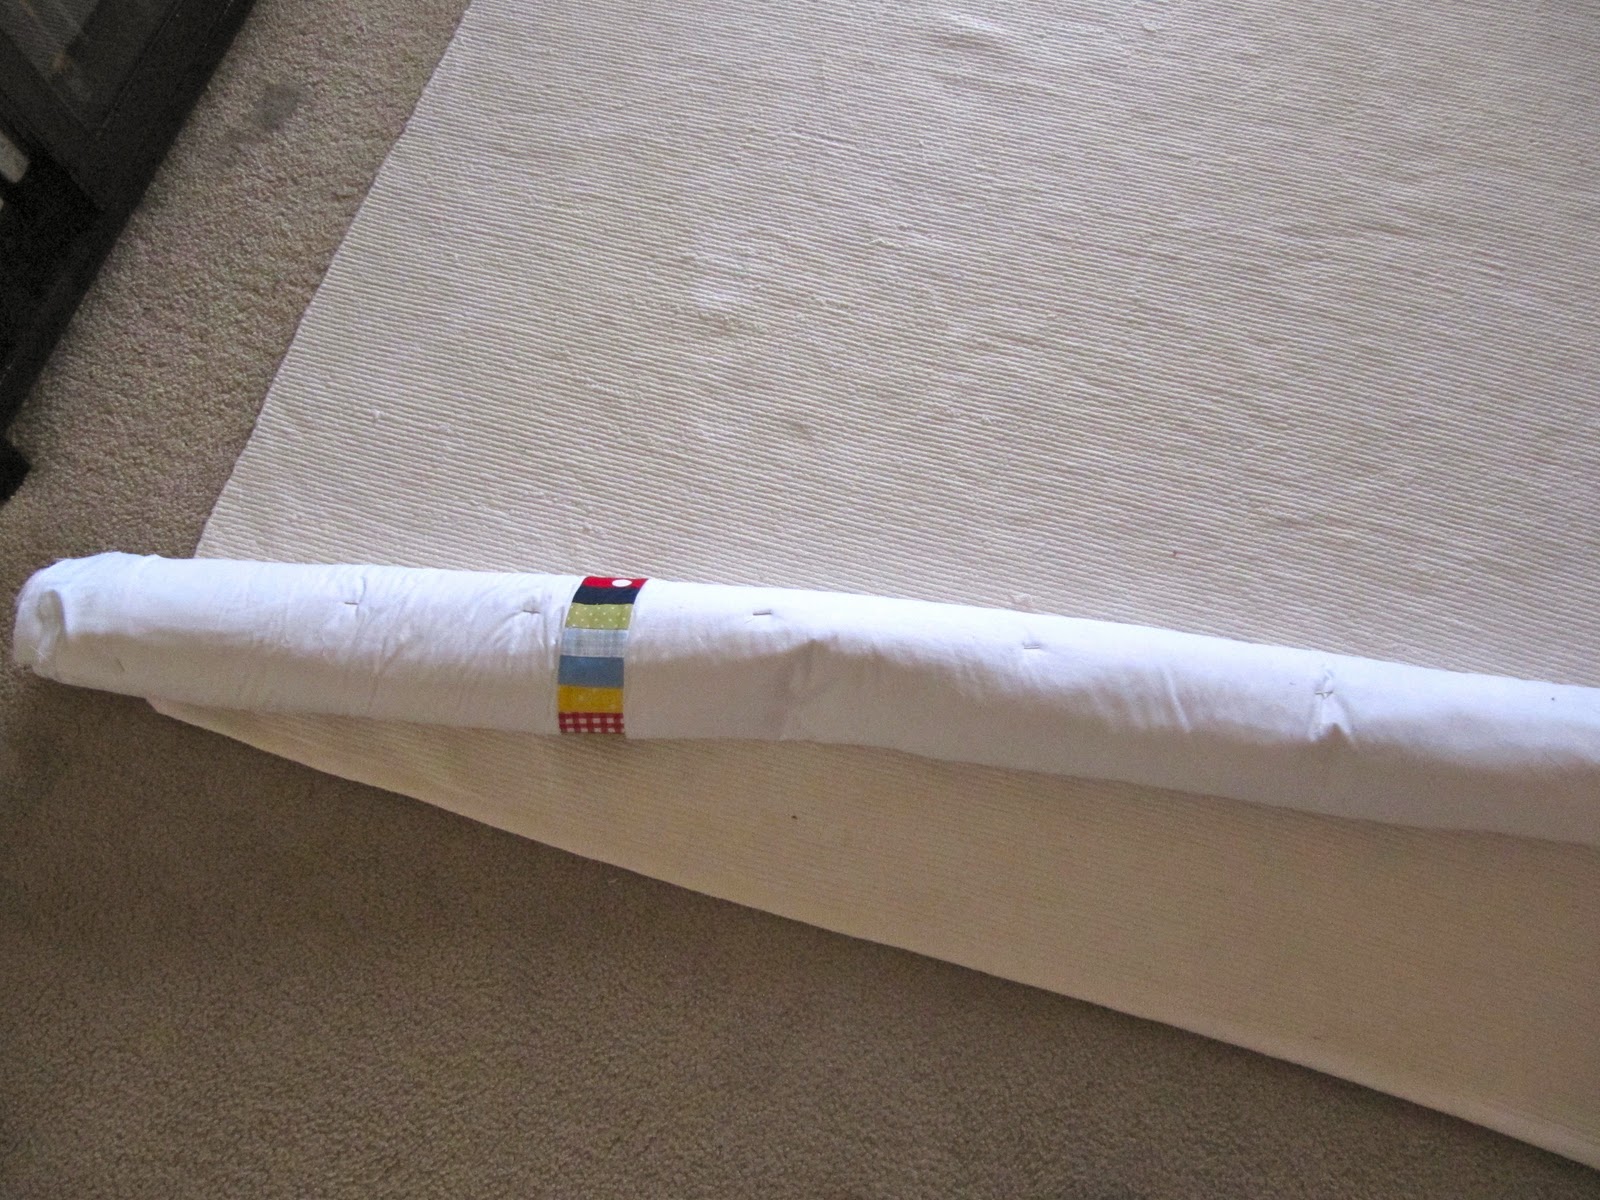
| Then my quilt was all rolled up at the end and ready to transport! But here’s a tip: when you machine quilt, I like to work from the middle to the edge. To manage the blanket, I roll up each side until it meets in the middle, then fold up the side. So now I’m basically just working with a small square, and I unroll and unfold as I quilt. Makes it so much more doable. I thought this twin-size quilt would be pretty nightmarish to quilt but it was actually pretty easy! |


Good Job! I just started basting with safety pins…before I only used the spray…Pins make the job so much easier! I just finished a queen size quilt using pins and it all stayed in place so well! Are you self teaching or did you take a class?
THANK YOU!! This is what I've been wanting to know! I have always hand quilted my quilts, which I love to do, but I have been wanting to learn to machine quilt and this part is what frustrated me the most. Now I know.
The quilt turned out really cute, I also love the old door with books on it. I've loved reading yours and aarons story. I remember that date of playing blindfold tag, I didn't realize that it was your first date. So fun, that seems like forever ago.
I just had an ‘Ah-Ha’ moment why you mentioned how you machine quilt by starting from the middle and rolling the quilt from the side to the middle! Thanks, I have never thought about doing that! You’ve saved me a headache.