• Home
  • About
  • Contact
  • Shop
    • Patterns

Honeybear Lane

DIY Decorating

  • DIY Tutorials
    • Projects
    • Building
    • Sewing
    • Quilting
    • Crafts
  • Home Decor
    • Home Decorating
    • Honeybear House
    • Organization
    • DIY home decor
  • My Home Tour
  • Recipes
  • Holiday
    • Valentines
    • St Patricks Day
    • Easter
    • Spring
    • Summer
    • July 4th
    • Fall
    • Halloween
    • Thanksgiving
    • Christmas
  • Entertaining
    • Printables
    • Parties
  • Wellness
    • Essential Oils
    • Health and Wellness
    • Weight loss
crafts· halloween

Halloween Tin Can Luminaries

October 27, 2013

Sharing is caring!

115 shares
  • Share

Halloween is right around the corner, each day getting a little bit spookier.  One of my favorite parts about Halloween are the Jack-o-Lanterns, all lit up.  I love anything luminescent really, so I thought I would try making some tin can luminaries.

halloween tin can luminaries

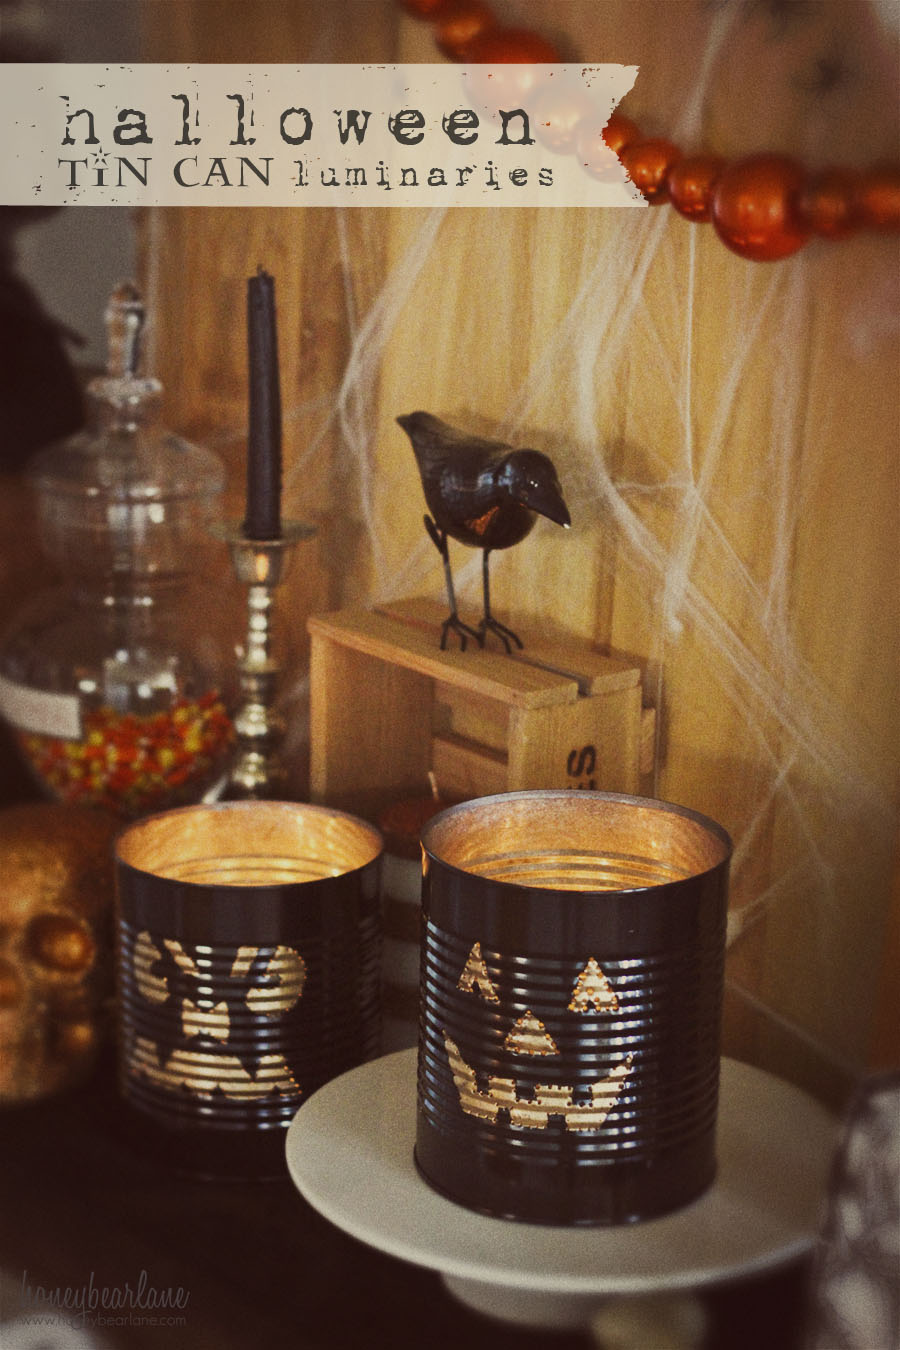
I know the thought of puncturing a hole into metal can be scary but don’t be intimidated, these were actually very easy!

Tin Can luminaries

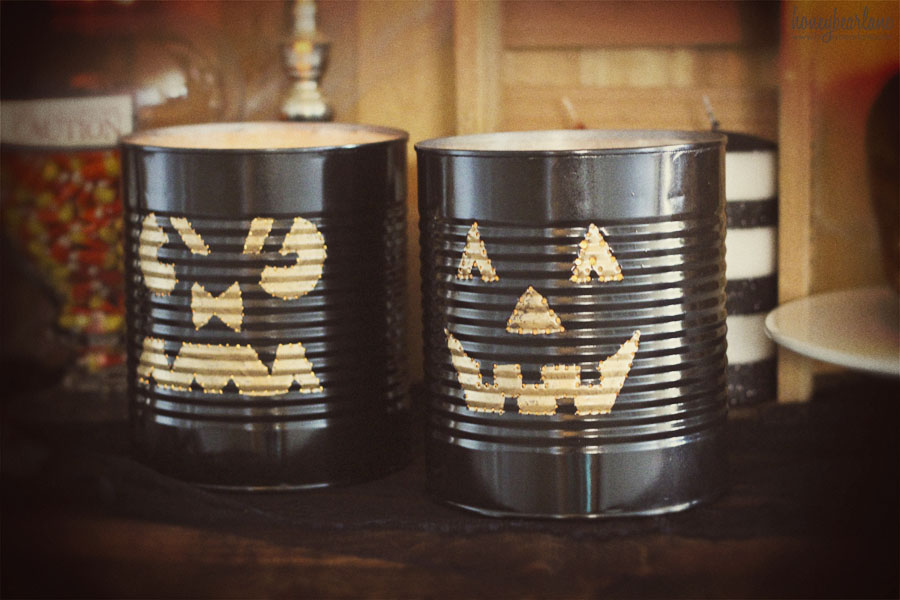
Spooky right?  And so many possibilities!  I definitely see more tin can luminaries in the future.

Want to make them?  Here’s how:

Supplies:

  • Large Tin Can (Coffee cans or Costco size canned goods work great)
  • Sharpie
  • Rubber Mallet
  • Awl
  • Black spray paint
  • Gold foil paint (or regular acrylic works fine.)
  • Votive candles

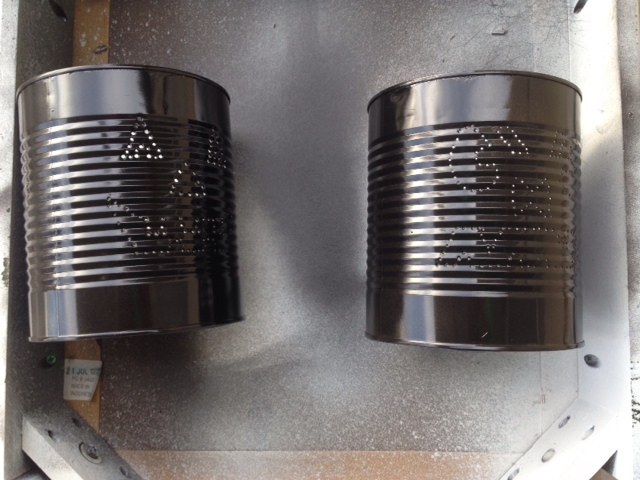
Step 1:  Clean up your can.  Peel off the label and wash it out well.  Then fill it almost to the top with water.  Freeze it overnight.  The ice that forms will make hammering holes in the can VERY easy.

Photo4

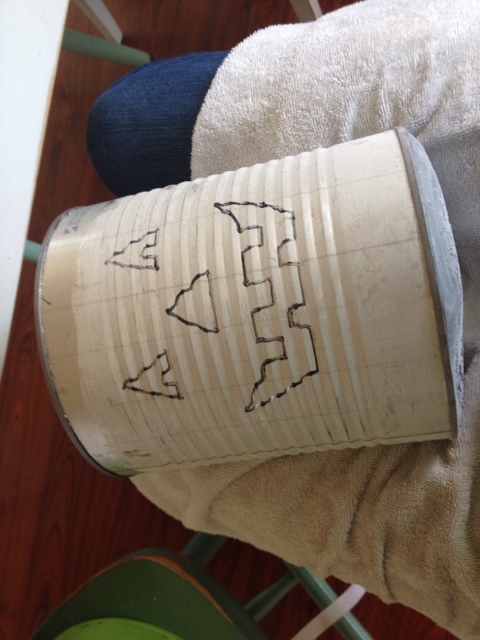
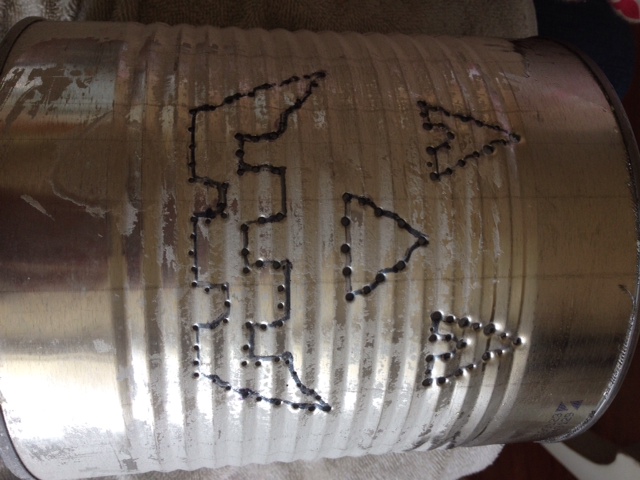
Step 2:  Draw your Jack-o-Lantern face on the can with a Sharpie.  Then use the awl and rubber mallet to pound small holes along the lines of your design.  It goes through very easily.  Don’t pound too hard or the holes will get too big.  I found that only a couple quick taps were all I needed.

Photo2

Step 3:  Flush out the ice with hot water, dry.  Then spray paint the outside of the can with your black spray paint.

Photo1

Step 4:  Carefully paint the inside of the eyes, nose, and mouth with the gold paint, making clean lines along where the holes are.

scary luminaries

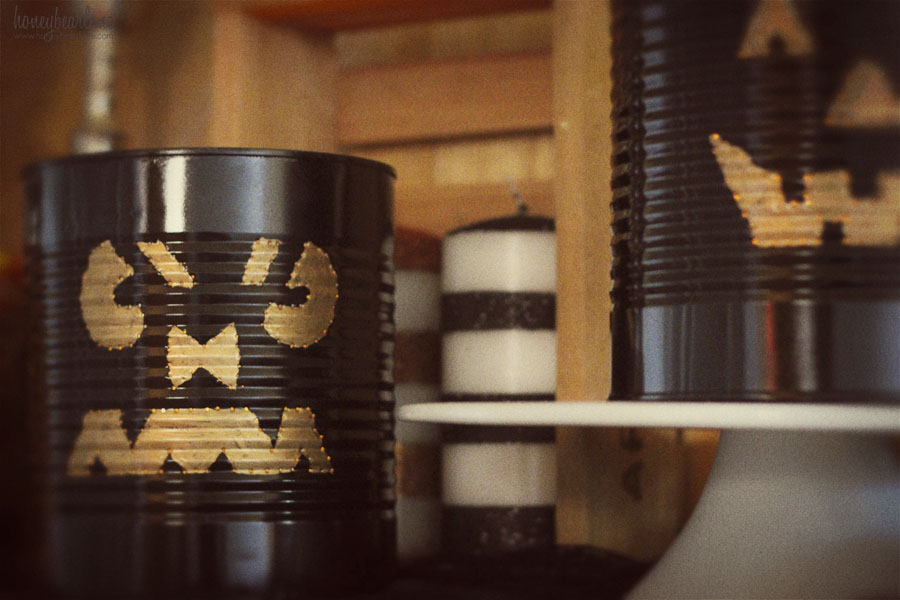
Step 5:  Light your votive candles and turn off the lights!

jack o lantern luminaries

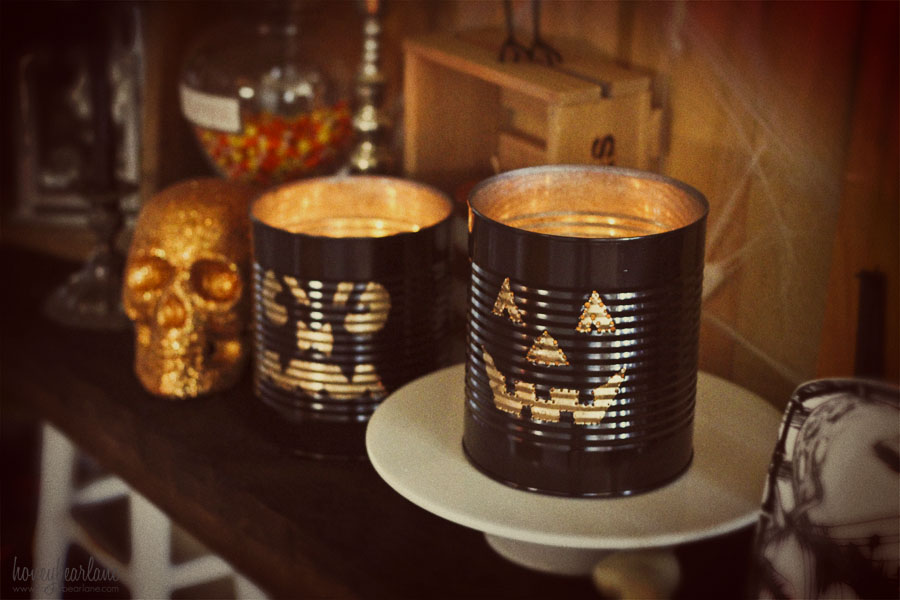
Have a Happy Halloween!

This post originally appeared on Skip to My Lou.

Filed Under: crafts, halloween 4 Comments

Comments

  1. Vanessa Barker says

    October 28, 2013 at 3:54 am

    These are super cute, and my kids would LOVE them! definitely need to try it

    Reply

Trackbacks

  1. 4th of July Luminaries - HoneyBear Lane says:
    July 3, 2014 at 8:49 pm

    […] can luminaries are easy to make, as I shared last year with my Halloween luminaries. For this project, I used smaller cans I saved and […]

    Reply
  2. Fall Home Tour - HoneyBear Lane says:
    October 8, 2014 at 3:58 pm

    […] gave me a few of these items and a few I’ve had for a really long time.  I made the tin can luminary last […]

    Reply
  3. Spooky Skull DIY Halloween Wreath - Honeybear Lane says:
    October 15, 2019 at 12:39 am

    […] Halloween Luminaries […]

    Reply

Leave a Reply Cancel reply

Your email address will not be published. Required fields are marked *

Popular Posts

  • DIY Farmhouse Table and Bench
  • 20 Handmade Christmas Presents to Start Sewing Now
  • IKEA Hack: Expedit into Long Storage Unit
  • My Gorgeous DIY Office Built ins Reveal
  • 8 Steps to an Epic Halloween Party
  • DIY Mudroom Bench
  • Build Your Own DIY Outdoor Furniture
  • Tips for Painting Stair Balusters
Welcome

Hey there--I'm Heidi! I teach women how to decorate, DIY, and design so that they can love the home they live in.

  • Facebook
  • Google+
  • Instagram
  • Pinterest
  • Twitter

Creative Commons License
This work is licensed under a Creative Commons Attribution-NonCommercial-ShareAlike 3.0 Unported License

Privacy Policy

Copyright © 2022 Honey Bear Lane. Custom site by Moonsteam Design.
115 shares