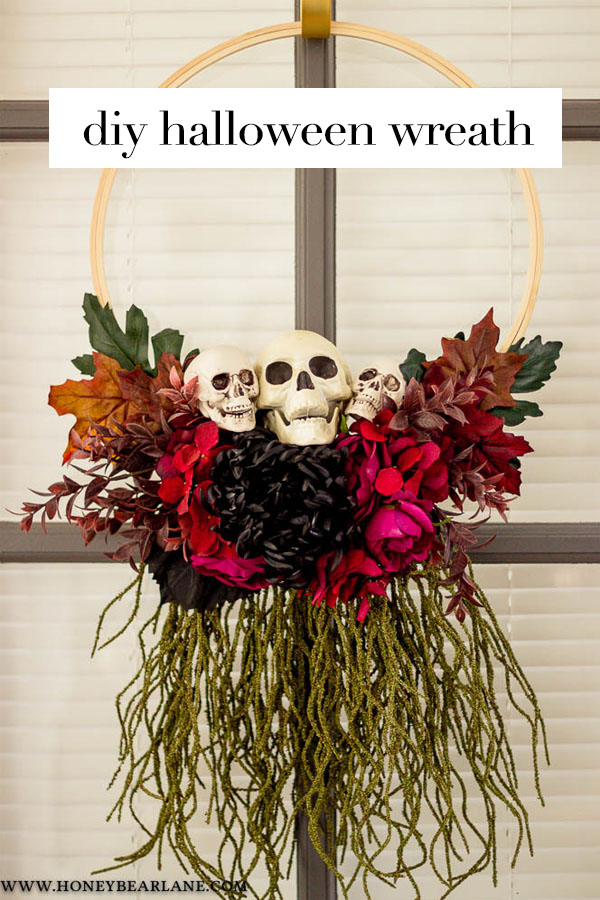
Spooky Skull DIY Halloween Wreath
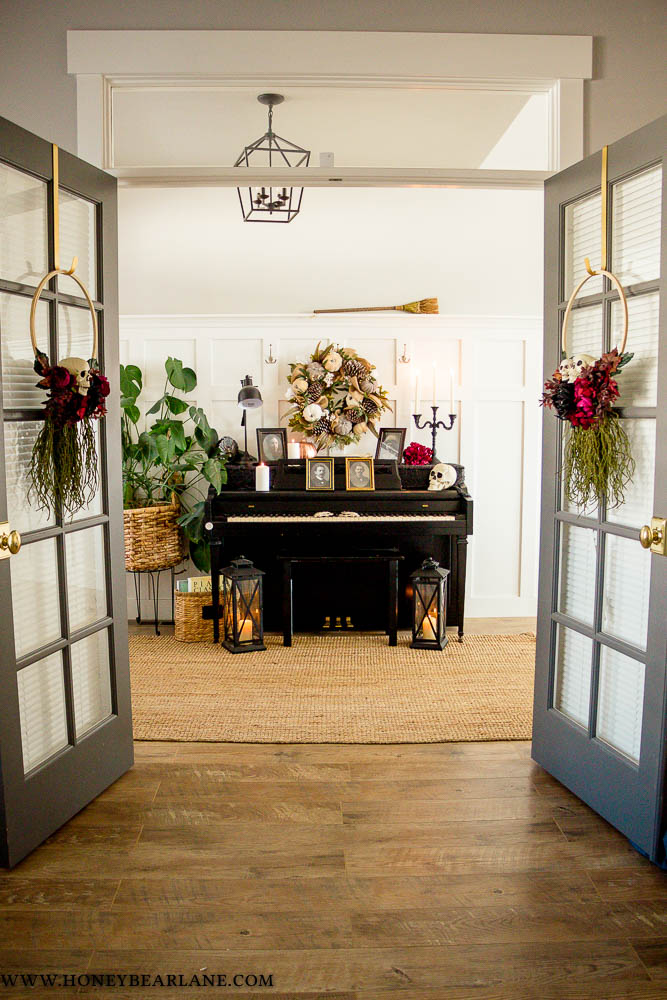
Last year I put some really cute and simple embroidery hoop wreaths on my French doors to my front room. I loved the look and thought it would be fun to do some Halloween ones. I looked around for a style I liked and was inspired by a few ones I saw on Pinterest. I put together my DIY Halloween wreath relatively easily, using a lot of floral wire and hot glue. Best of all, I love how it turned out!
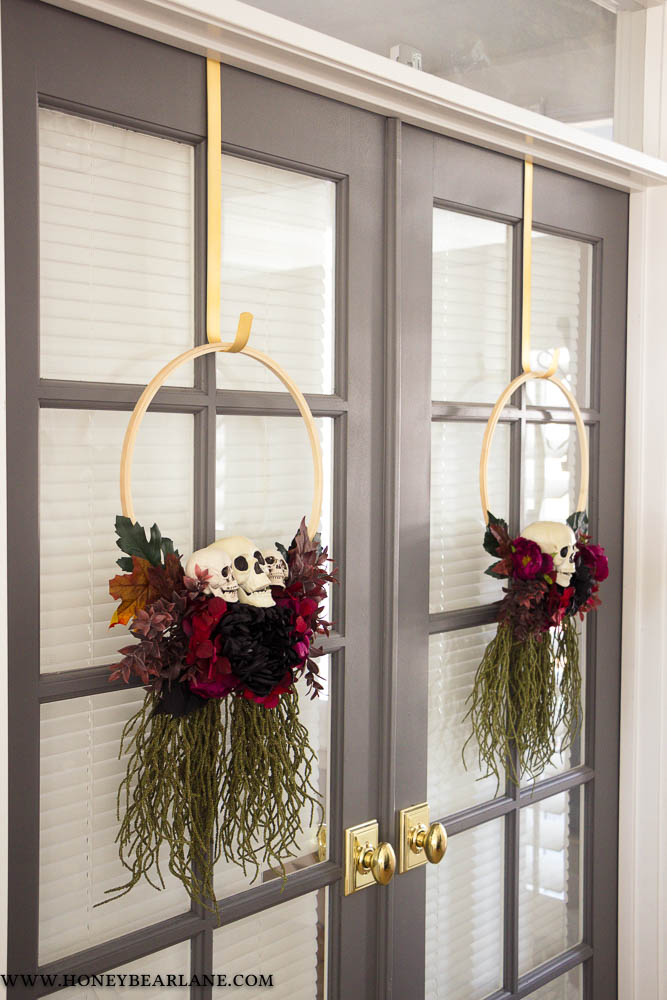
Aren’t those cute? I thought they turned out pretty unique with a macabre vibe that is clearly Halloween. I made two of them, both a little different but basically the same, and hung them with those wreath door hangers over the French doors in my entry way. It’s a fun way to welcome people into my spooky Halloween-decorated home!
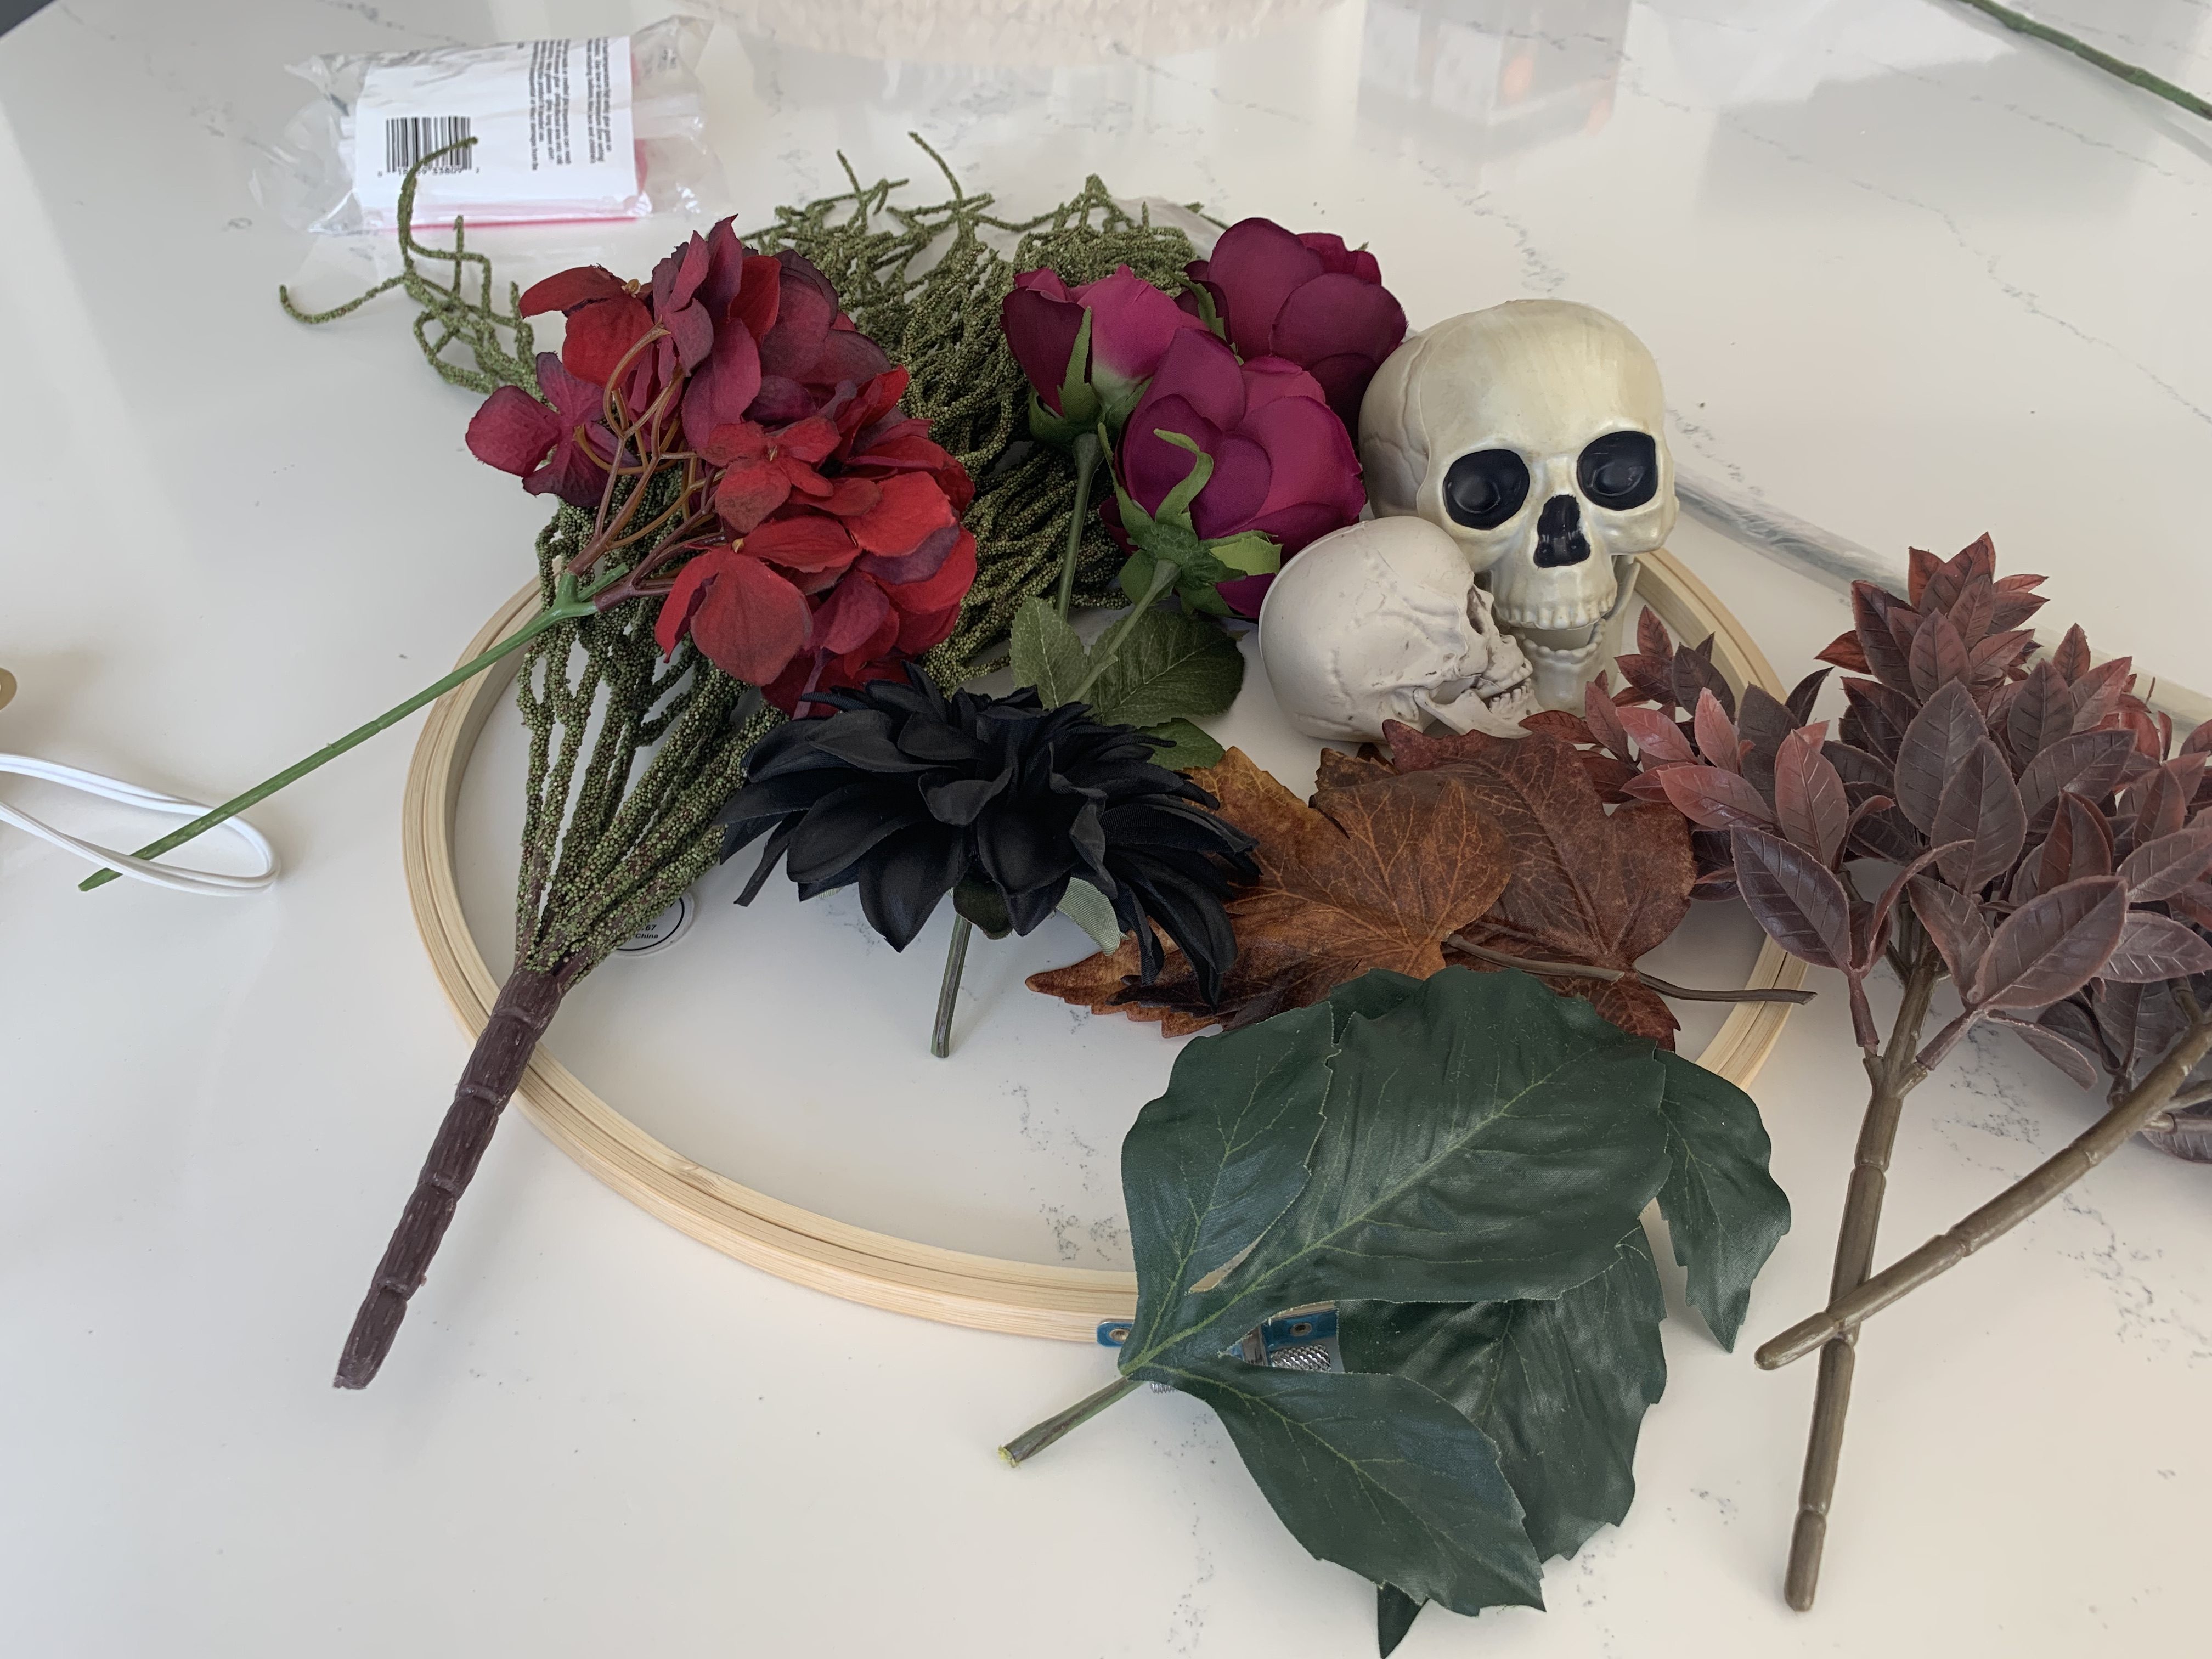
Supplies:
✅ Large Embroidery Hoop
✅ Weeping greenery
✅ Faux flowers in your favorite Halloween colors (I chose black, red, and magenta)
✅ Plastic skulls, small and mini (found at Michaels and Walmart)
✅ Other filler greenery
✅ Hot glue
✅ Floral Wire
To make this super easy for you, I compiled a shopping list for you right here (affiliate links)
I made a video of the process rather than taking step by step photos which you can watch here:
Step-by-Step Instructions for a DIY Halloween Wreath
- Step 1: Clip all your weeping greenery to individual strands and bend over the embroidery wreath, securing with floral wire.
- Step 2: Use hot glue to secure leaves and filler greenery on either side of the weeping greens. Use floral wire to secure heavier greenery.
- Step 3: Use hot glue to paste large flower heads on top of the filler greenery. Arrange the flowers to your liking before you use the hot glue so you know where they fit best.
- Step 4: Use hot glue and/or wire to add the skulls to the very top of the flowers. I made sure to buy skulls with moveable jaws so they would appear to be smiling.
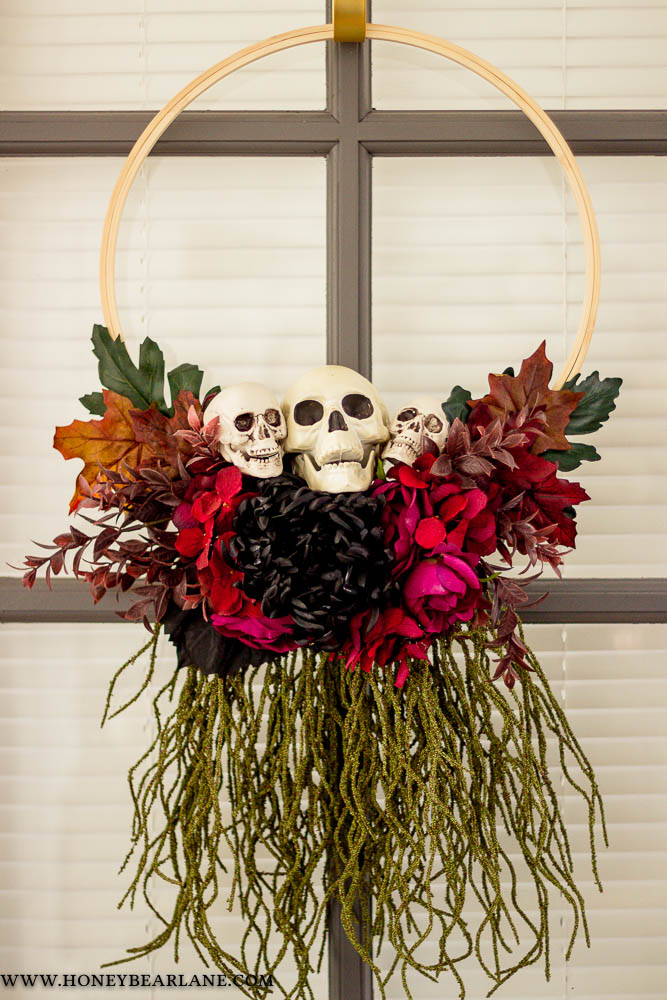
Basically you can’t go wrong with this wreath. Just use lots of hot glue and wires to secure everything in place and the faux greenery will hide everything. I love the juxtaposition of the simple wood embroidery hoop with the mass of flowers and greens and then the little pop of macabre. It’s fun to do something that’s not just the traditional ‘pretty’ wreath.
🎃 If you’re into Halloween crafting, check out these other Halloween posts!🎃
If you enjoyed this post, please share!