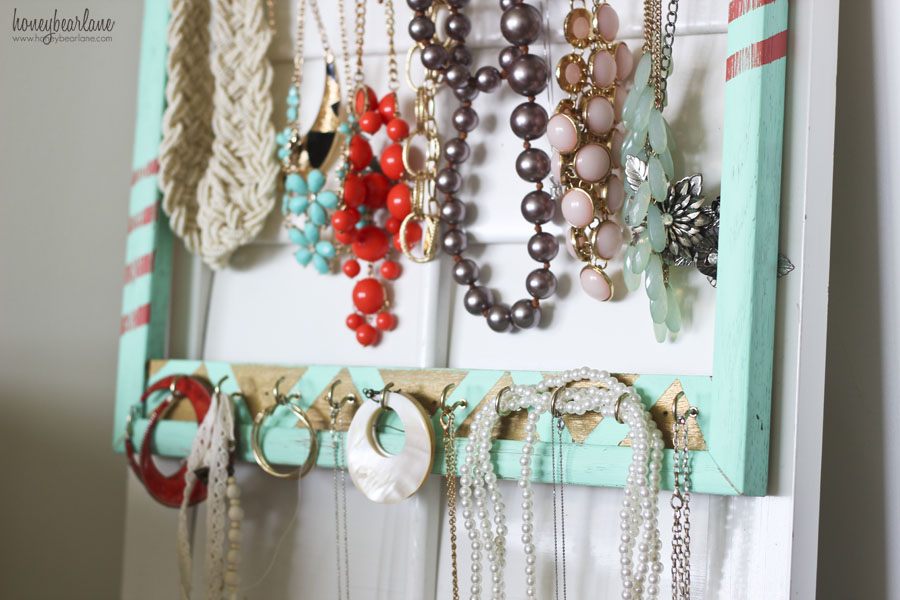
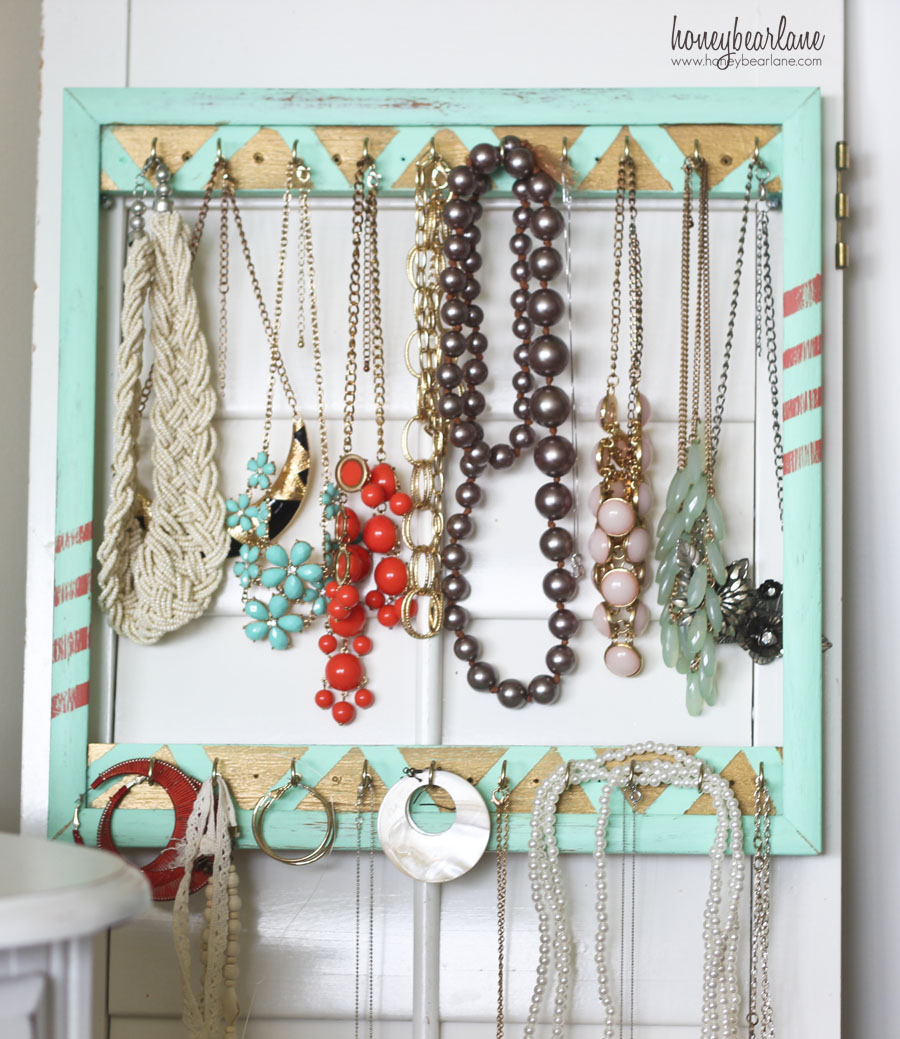
Aztec Inspired Jewelry Organizer
I have had all my necklaces in a drawer for years, but this year I realized how many statement necklaces I had that were getting all tangled and messed up by living in this drawer. Even my husband scoffed at my disorganization. That’s when you know you have a problem! I had to make a jewelry organizer.

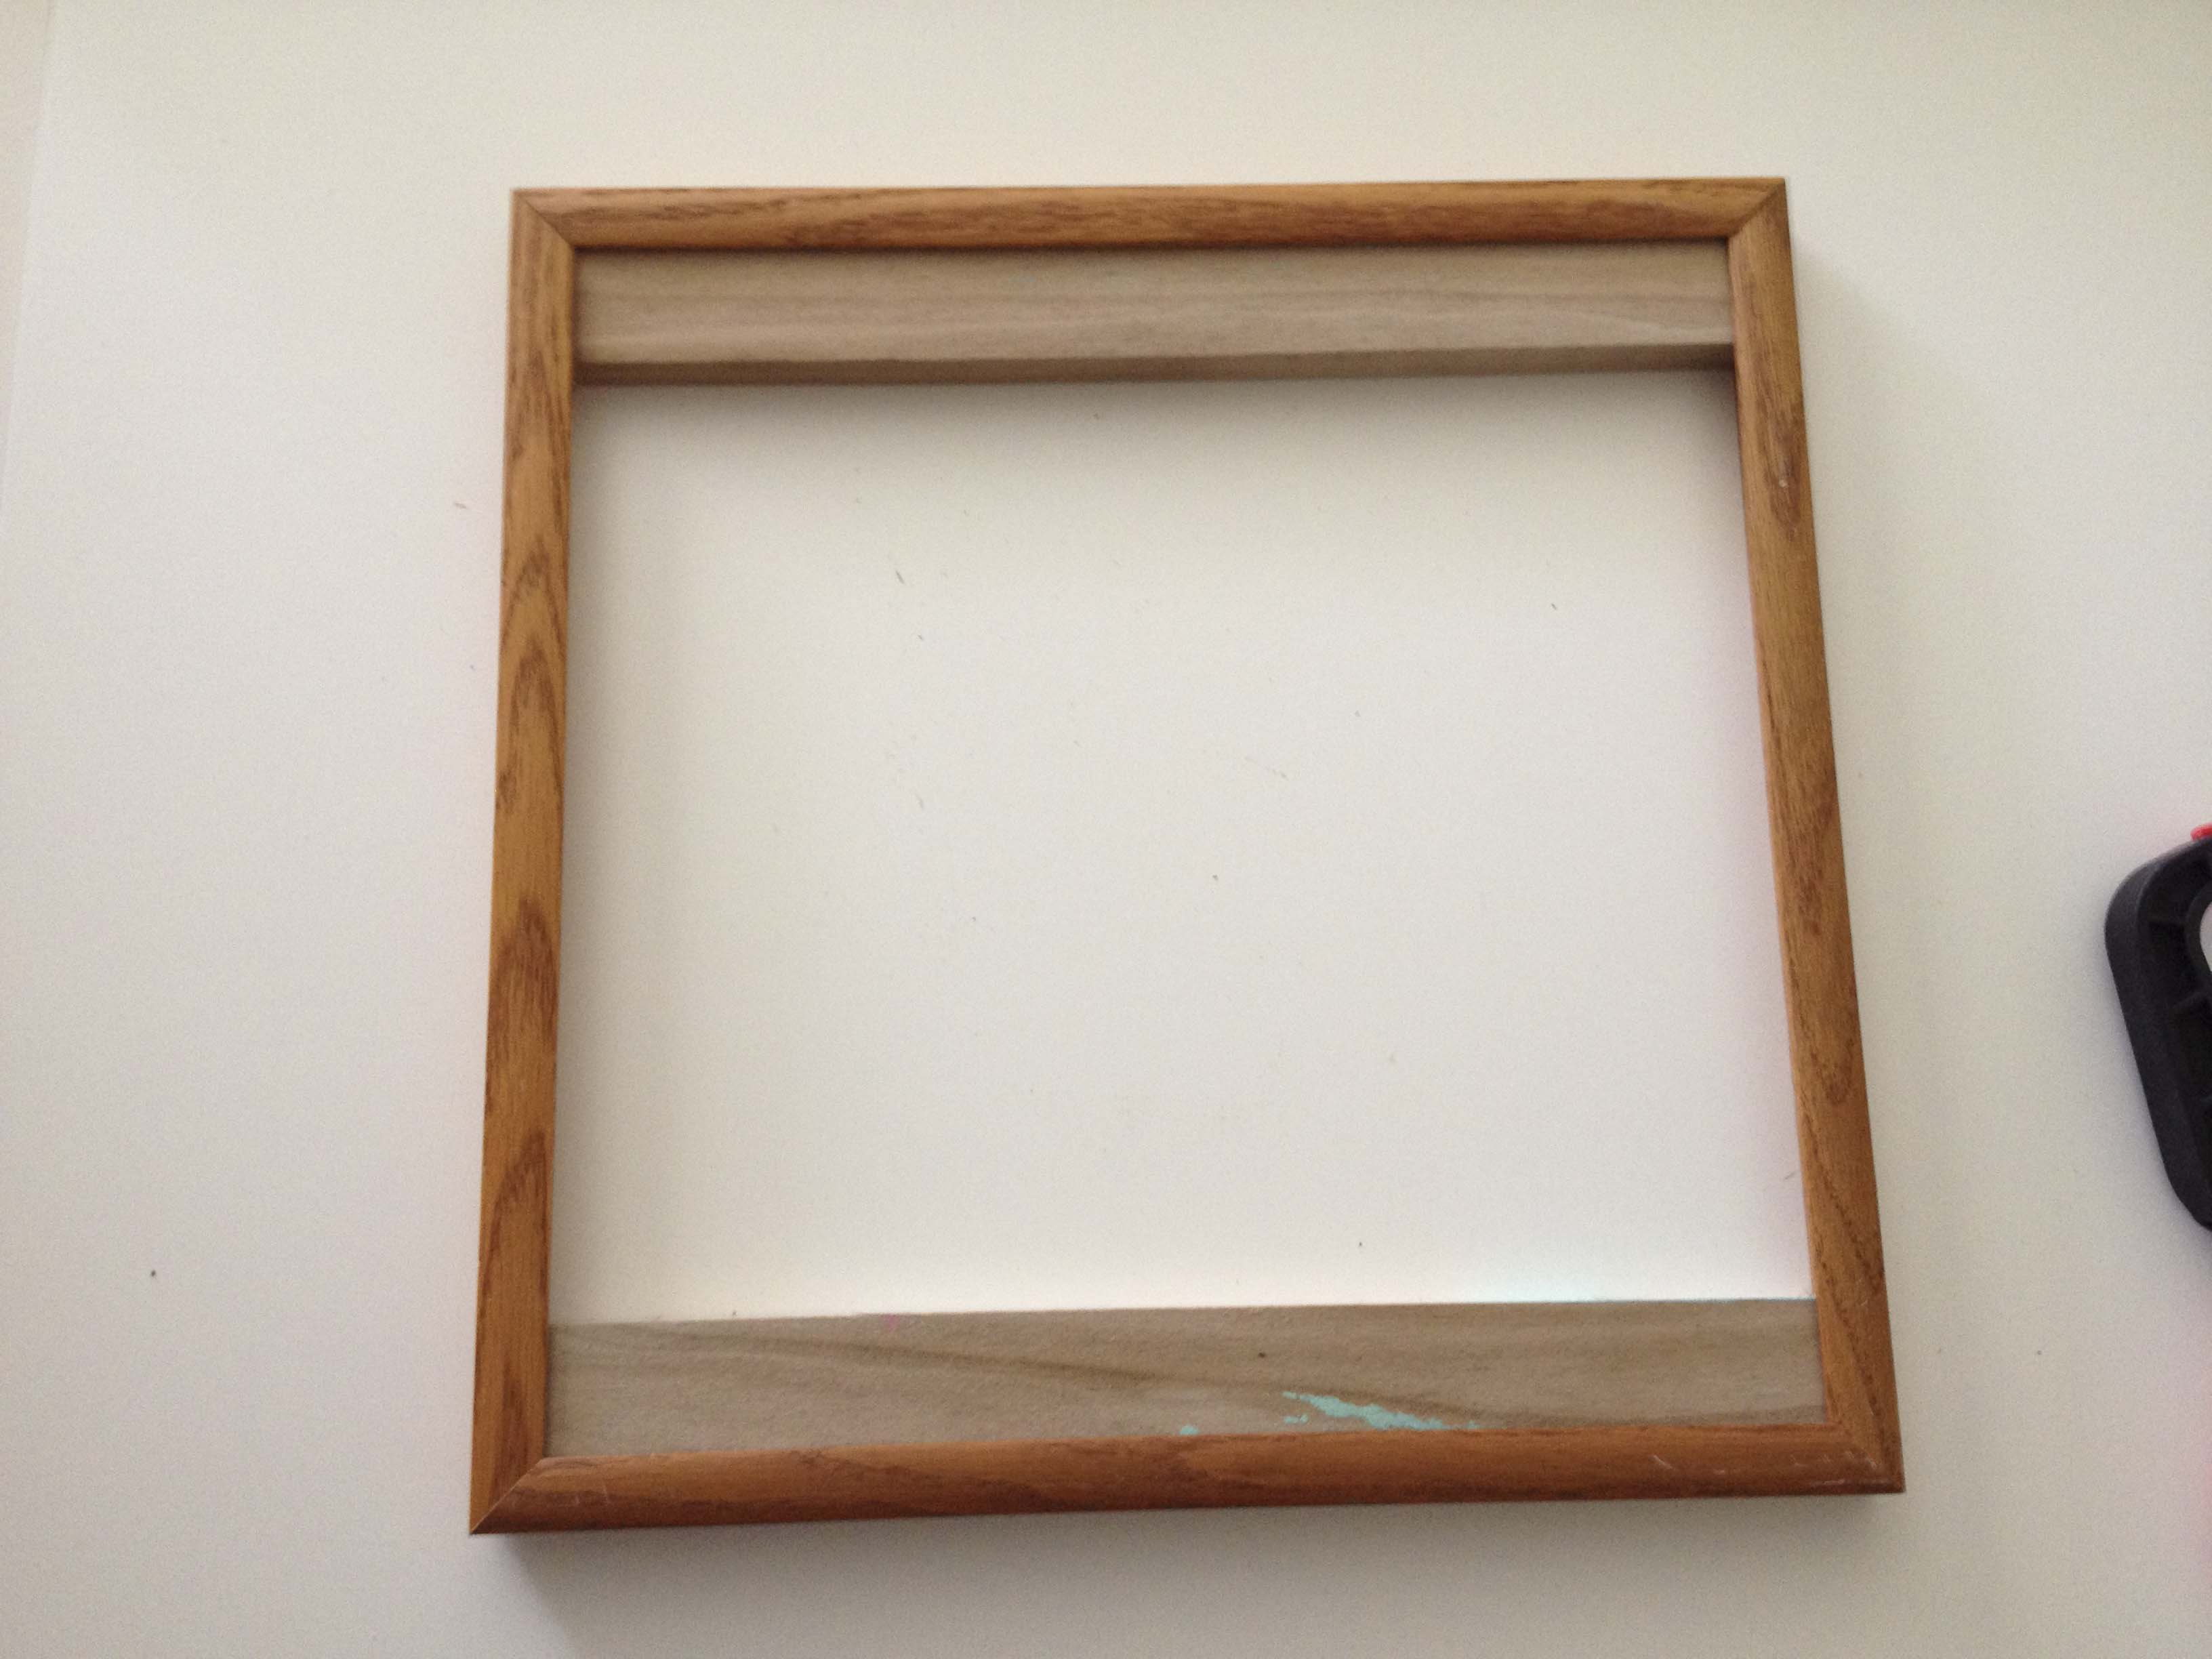
DIY jewelry organizers are not hard to create, so I went about whipping one up. I first found an old frame I had lying around, which had been thrifted for another project originally. I kind of have this pile of random wood pieces that I eventually find a use for. This project used TWO of those pieces–score!
The frame wasn’t really thick enough to hold hooks for jewelry, so I found a 1×2 in my wood scrap pile and cut two pieces to size to fit in the frame. They fit perfectly, and I used my nailer to nail them in place. Any excuse to use that thing, really.
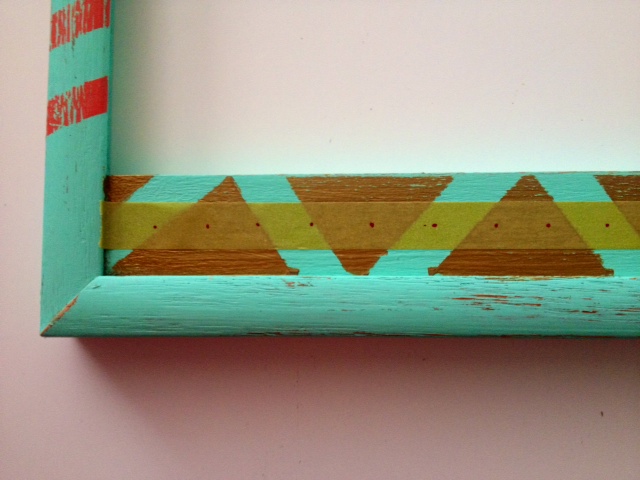
Colors I used–Americana Coral Blush, Americana Metallic in Gold, Americana Sweet Mint. The colors from the tutorial photos (from my phone) are a little more vivid, the true colors are more like what you saw above.

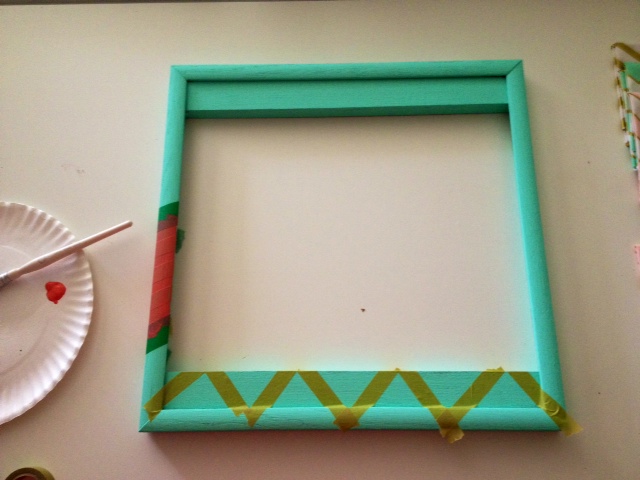
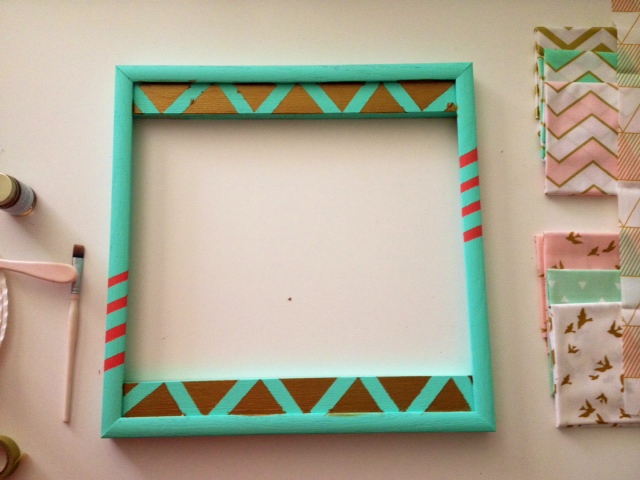
Next, I used Americana Sweet Mint to paint the entire frame. It took a couple coats but I wasn’t stressed if it was a good solid coat because I was going to distress it anyway. After it had dried, I used some washi tape to create a fun Aztec-inspired pattern. Then I painted over the tape with Decoart metallic gold and Americana Coral Blush. It took several coats on the metallic gold, but it was worth it because it came out great!
Another thing I had in mind was the colors I wanted to do my daughter’s big girl room in. Then I could give her this jewelry organizer later (you can see the cute fabrics next to it that I’m making a quilt from!) After it had dried for a couple hours, I gave it a light sanding with a 220 grit sand bar and wiped it down well.
To drill the holes, I took some washi tape and drew dots down the middle, about 1/2″ apart. Listen up: In retrospect, I would have put the washi tape next to a ruler (or on my cutting mat) and then made sure each dot was exactly 1″ apart. 1/2″ was too many holes.
I drilled all those holes and then screwed in a bunch of C hooks. Then I removed a bunch because there were too many. I didn’t fill in the holes because I thought maybe I could add more hooks in the future if I needed more. Also, my nail hole filler is at my brother’s house. To finish it off, I touched up the spots with some more paint.
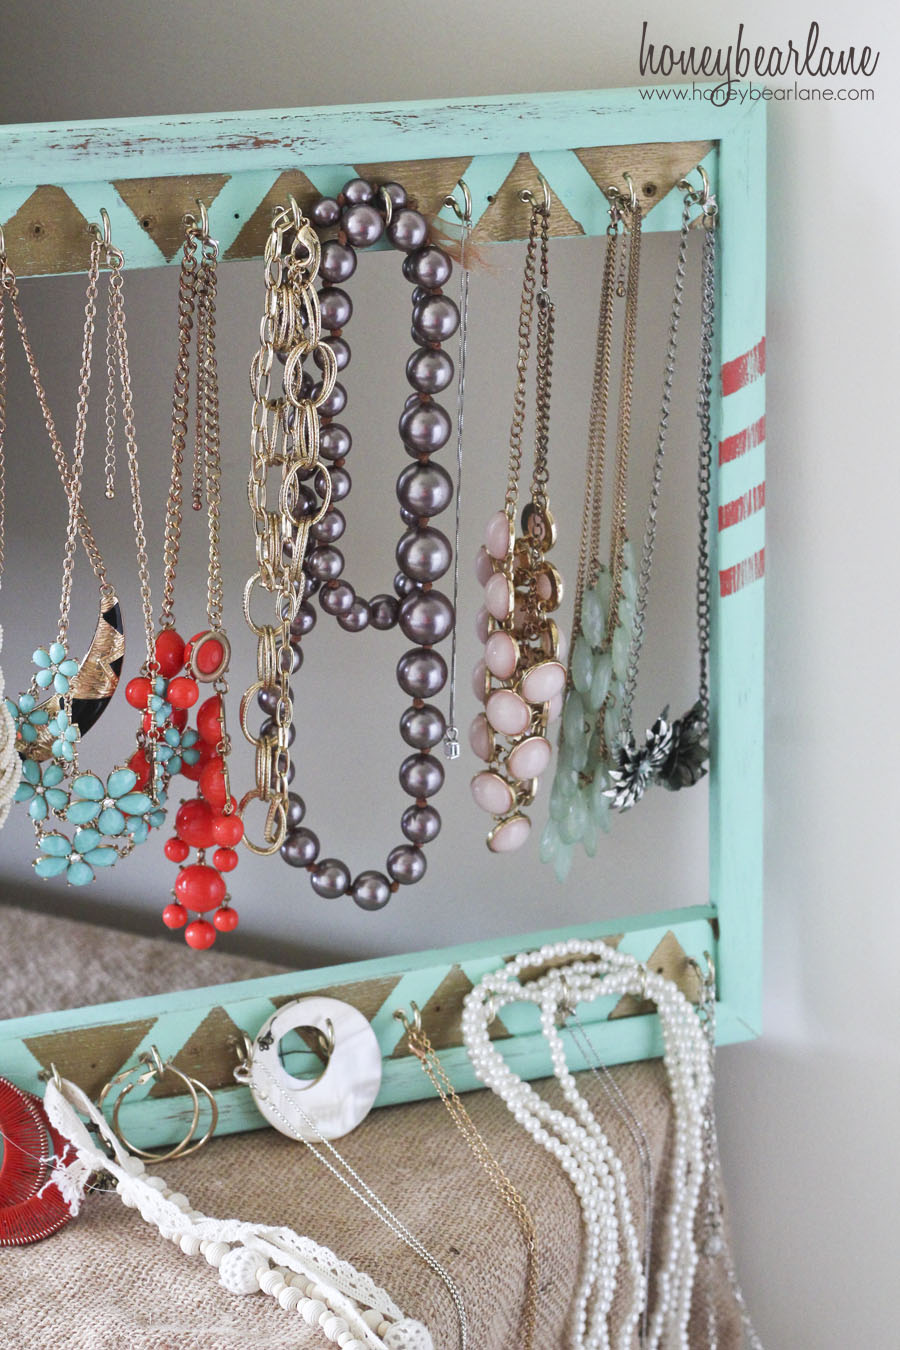
It was time to hang it on the wall. I didn’t really want to just put it on the wall, because it would be all by its lonesome and look weird. I FINALLY found a use for this one plantation shutter I had bought at the Restore like two years ago. It had never had a place or a purpose and was so sad. This was the perfect place to hang my jewelry organizer! I screwed two screws in for the frame to hang on and done! Now I can have it high up, away from my daughter’s curious hands, or down low and it always looks nice.
What do you use to organize your jewelry?
Hola muy linda nota, creo que don google me trajo exactamente a la información que estaba queriendo, amo Tailandia y planeo ir proximamente, me
suscribo a esperar las nuevasnotas, gracias Gran trabajo