• Home
  • About
  • Contact
  • Shop
    • Patterns

Honeybear Lane

DIY Decorating

  • DIY Tutorials
    • Projects
    • Building
    • Sewing
    • Quilting
    • Crafts
  • Home Decor
    • Home Decorating
    • Honeybear House
    • Organization
    • DIY home decor
  • My Home Tour
  • Recipes
  • Holiday
    • Valentines
    • St Patricks Day
    • Easter
    • Spring
    • Summer
    • July 4th
    • Fall
    • Halloween
    • Thanksgiving
    • Christmas
  • Entertaining
    • Printables
    • Parties
  • Wellness
    • Essential Oils
    • Health and Wellness
    • Weight loss
DIY

How to Remove Baseboards

November 10, 2016

Sharing is caring!

34 shares
  • Share

Hey friends!  I’m super excited because I’m going to be starting to add a lot more videos to my blog.  I feel like videos are such a great way to start to feel like you actually know the person behind the blog and you can see that I’m not scary 🙂  However I’m totally still a rookie at videos so be patient and hopefully they will get better!

how-to-remove-baseboards-ez

I’m starting a new project of framing out a doorway so I can add some shiplap to my dining room wall so I will detail the process as I go along, as usual.  But sometimes it will be a video.  Today’s super ultra exciting video:  how to remove baseboards!  Haha!  But seriously, this is a valuable little tidbit of DIY info that is great to know.  It might seem intimidating to just start hacking away at your house but just know that you will be covering it back up with something better.  And for those of you in older homes, updating your baseboards is such a great thing to do to make your home feel newer.  

Video Tutorial: How to Remove Baseboards

Supplies:

  • Mallet
  • Crowbar
  • Utility Knife or razorblade

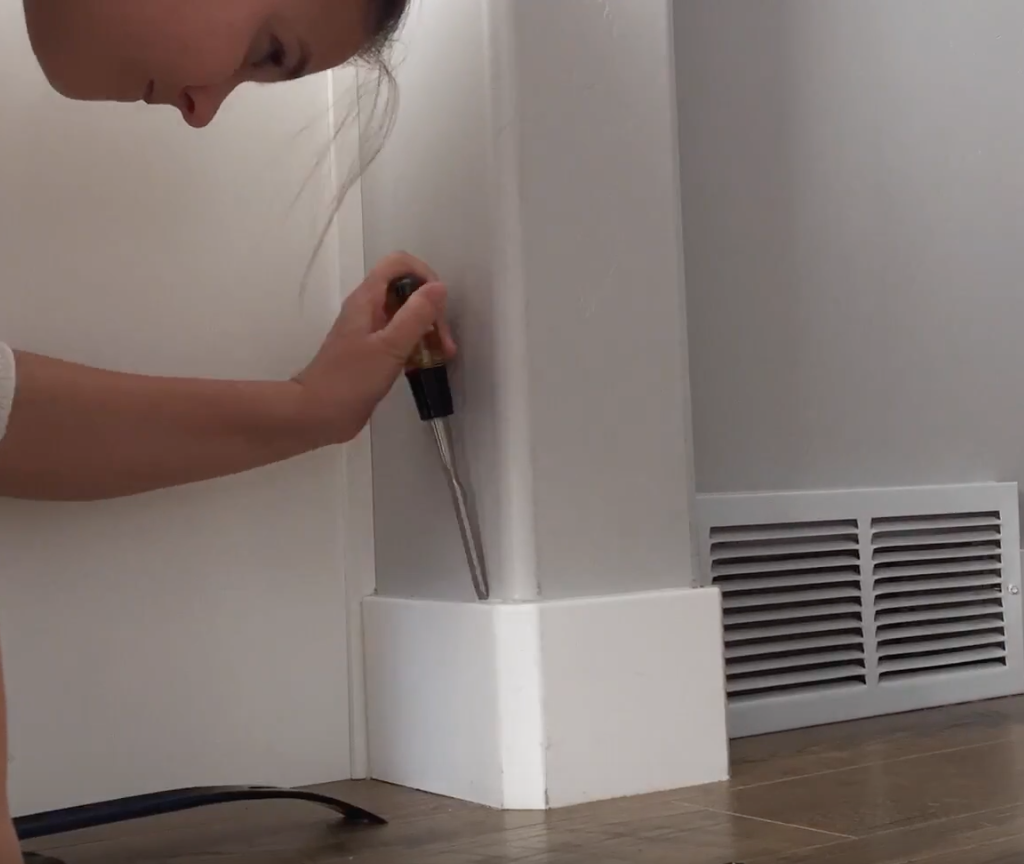
Step 1:  Use the knife to cut the line of caulking that is on the top of the caulking and sometimes the bottom.  

Step 2:  Use a crowbar or chisel (or both) to start wedging your way between the baseboard and the wall, hammering them in with the mallet.  

How to remove baseboards

Step 3:  Once you’ve gotten in, use the crowbar to start pulling the baseboard away from wall.  

Step 4:  Use the crowbar, hammer, or pliers to pull out the remaining nails.  

Note:  If you need to cut straight into a baseboard to remove some but not all, I use my Dremel saw to cut directly into the baseboard.  

There you have it!  Now that I’ve removed the baseboards around this entryway, I can start framing it out to have a pretty framed doorway.  
 

Filed Under: DIY 4 Comments

Comments

  1. Mary says

    November 10, 2016 at 11:28 am

    You make it so simple to remove base boards it is good to know.Your article How to become a blogger is super,very comprehensive and easy steps.I am toying with the idea,nothing concrete.Thanks for your help

    Reply

Trackbacks

  1. How to Use a Dremel to Cut into a Baseboard - HoneyBear Lane says:
    November 16, 2016 at 6:01 am

    […] you my process of undertaking a DIY project like this.  Don’t miss the first one:  How to Remove Baseboards! […]

    Reply
  2. How to Remove Carpet in 5 Simple Steps - Honeybear Lane says:
    April 10, 2018 at 4:46 am

    […] Step 1:  Remove baseboards.  I did this because I was installing laminate but I’m pretty sure there’s a way to do it without removing them.  Maybe you could just remove one side, just so you can get a grip.  But once I removed them, it lifted right up.  To remove baseboards, I first cut the caulking with a razor blade, then used a crowbar to pry it off.  I show you how to do it in more detail in this post. […]

    Reply
  3. Closet Hallway Makeover - Honeybear Lane says:
    February 21, 2019 at 10:58 pm

    […] cut off the baseboards first and then framed it out by putting 1/2″ MDF on the inside of the doorway. Then I used […]

    Reply

Leave a Reply Cancel reply

Your email address will not be published. Required fields are marked *

Popular Posts

  • DIY Farmhouse Table and Bench
  • 20 Handmade Christmas Presents to Start Sewing Now
  • IKEA Hack: Expedit into Long Storage Unit
  • My Gorgeous DIY Office Built ins Reveal
  • 8 Steps to an Epic Halloween Party
  • DIY Mudroom Bench
  • Build Your Own DIY Outdoor Furniture
  • Tips for Painting Stair Balusters
Welcome

Hey there--I'm Heidi! I teach women how to decorate, DIY, and design so that they can love the home they live in.

  • Facebook
  • Google+
  • Instagram
  • Pinterest
  • Twitter

Creative Commons License
This work is licensed under a Creative Commons Attribution-NonCommercial-ShareAlike 3.0 Unported License

Privacy Policy

Copyright © 2022 Honey Bear Lane. Custom site by Moonsteam Design.
34 shares