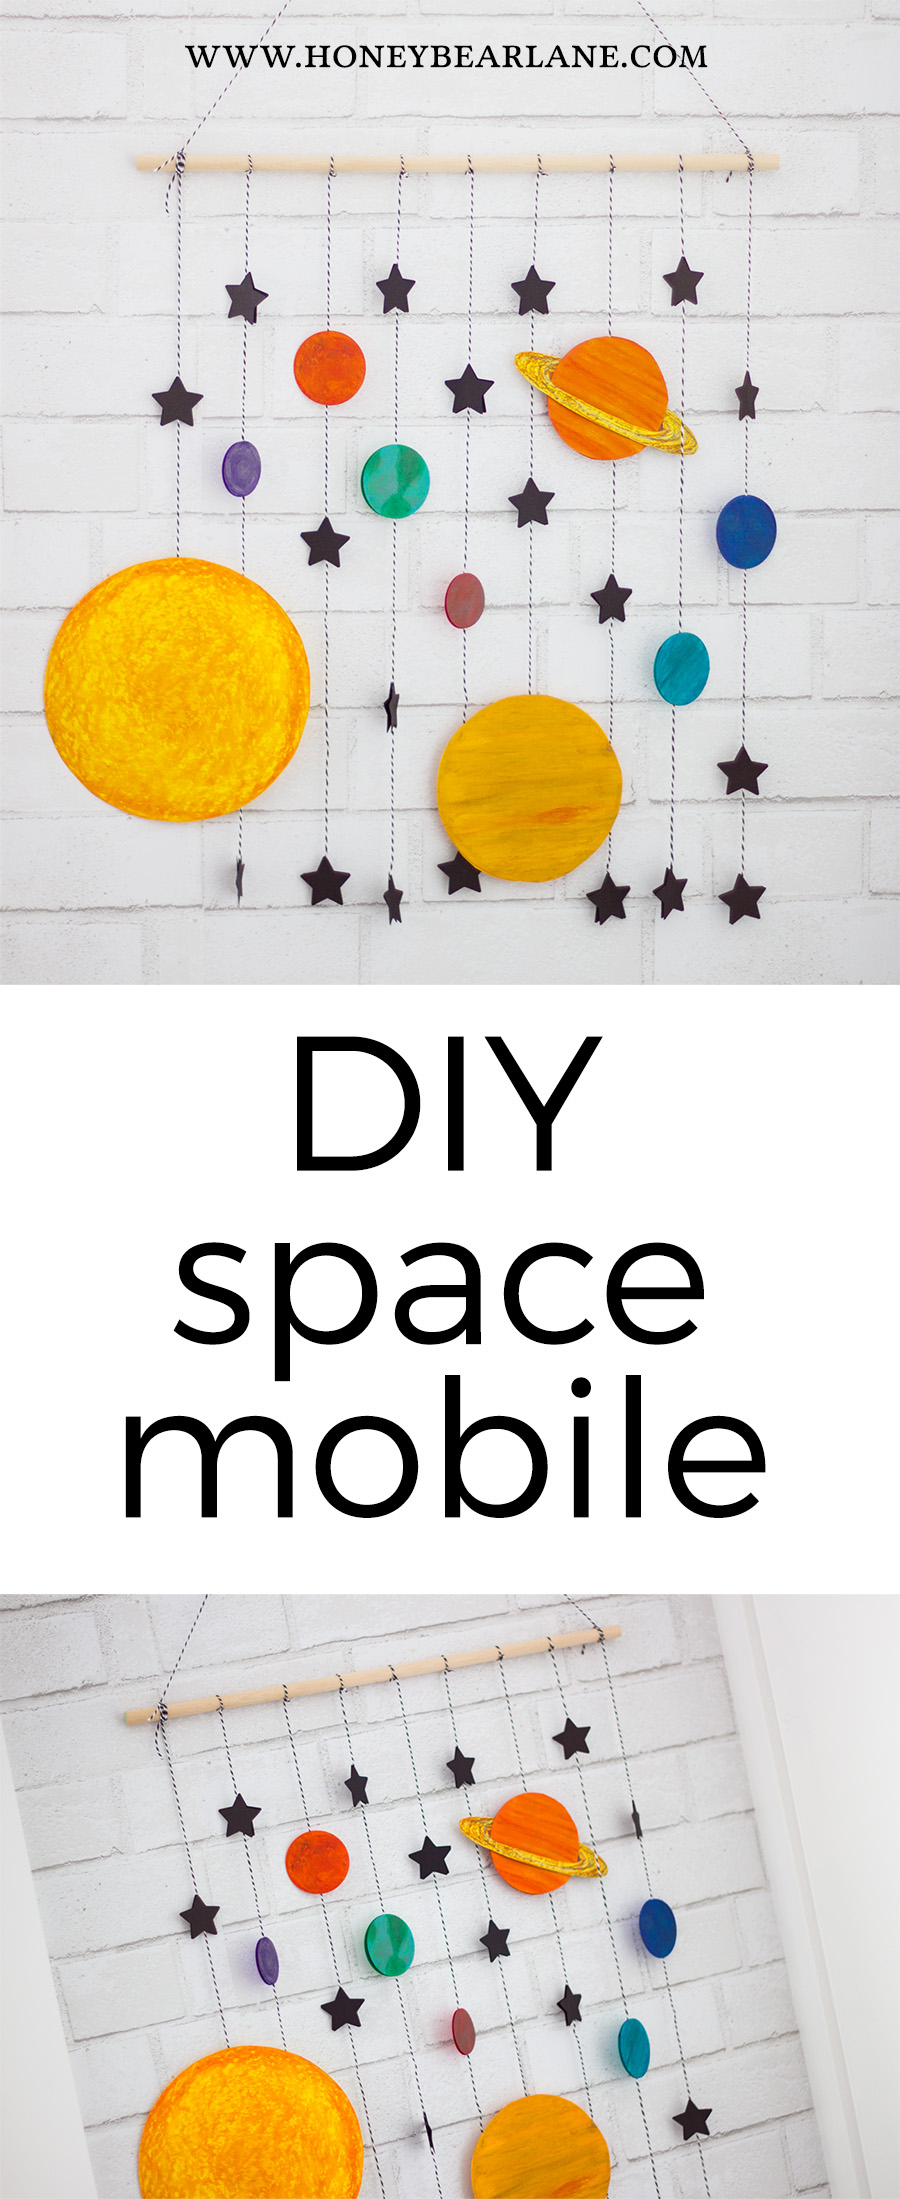
DIY Space Mobile Craft
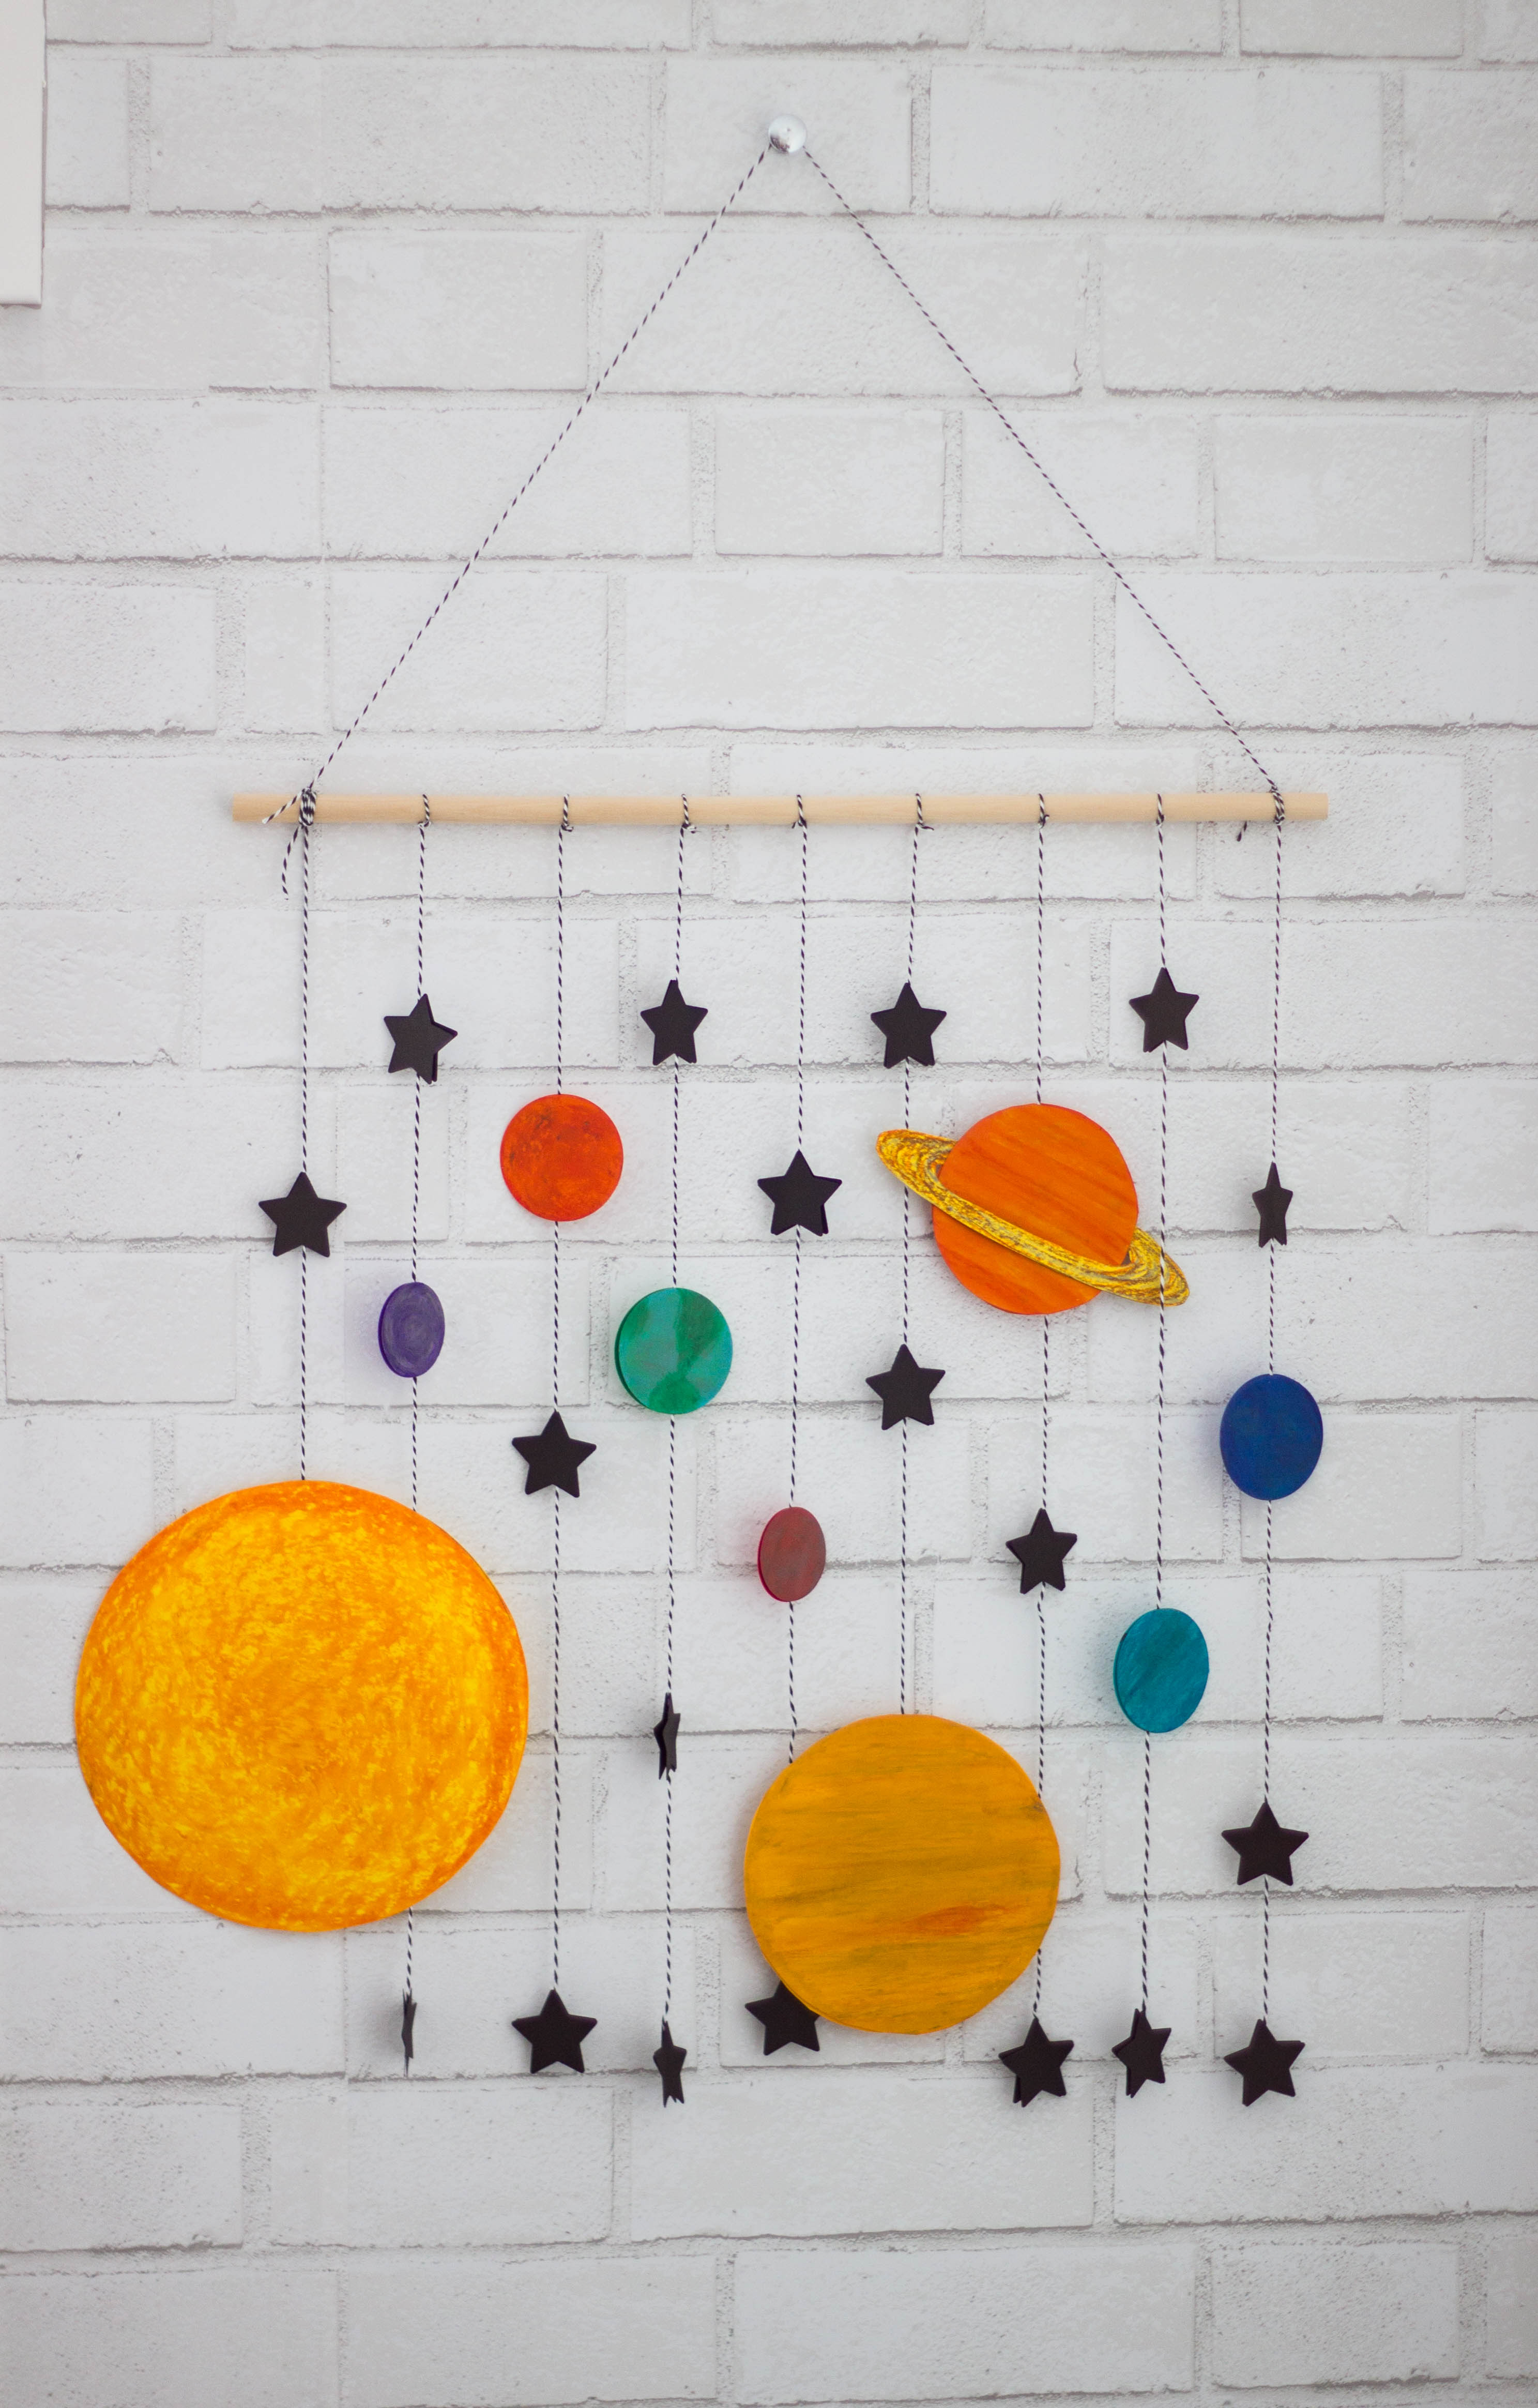
I recently completed my industrial farmhouse boys room with some Star Wars accents. I had a fun idea to make a little solar system space mobile and thanks to ASTROBRIGHTS® Papers, I was able to make this fun little wall hanging space mobile craft! It was a pretty fast craft and I love how it turned out.

Here’s how I made it:
Supplies:
(Affiliate links, see my disclosure here)
- ASTROBRIGHTS cardstock
- Star paper punch
- Circle paper punch in 1 1 /2″ and 2″ (not necessary but nice to have)
- Black and white baker’s twine
- 1/4″-1/2″ wooden dowel
- Pastels (optional)
- Glue dots
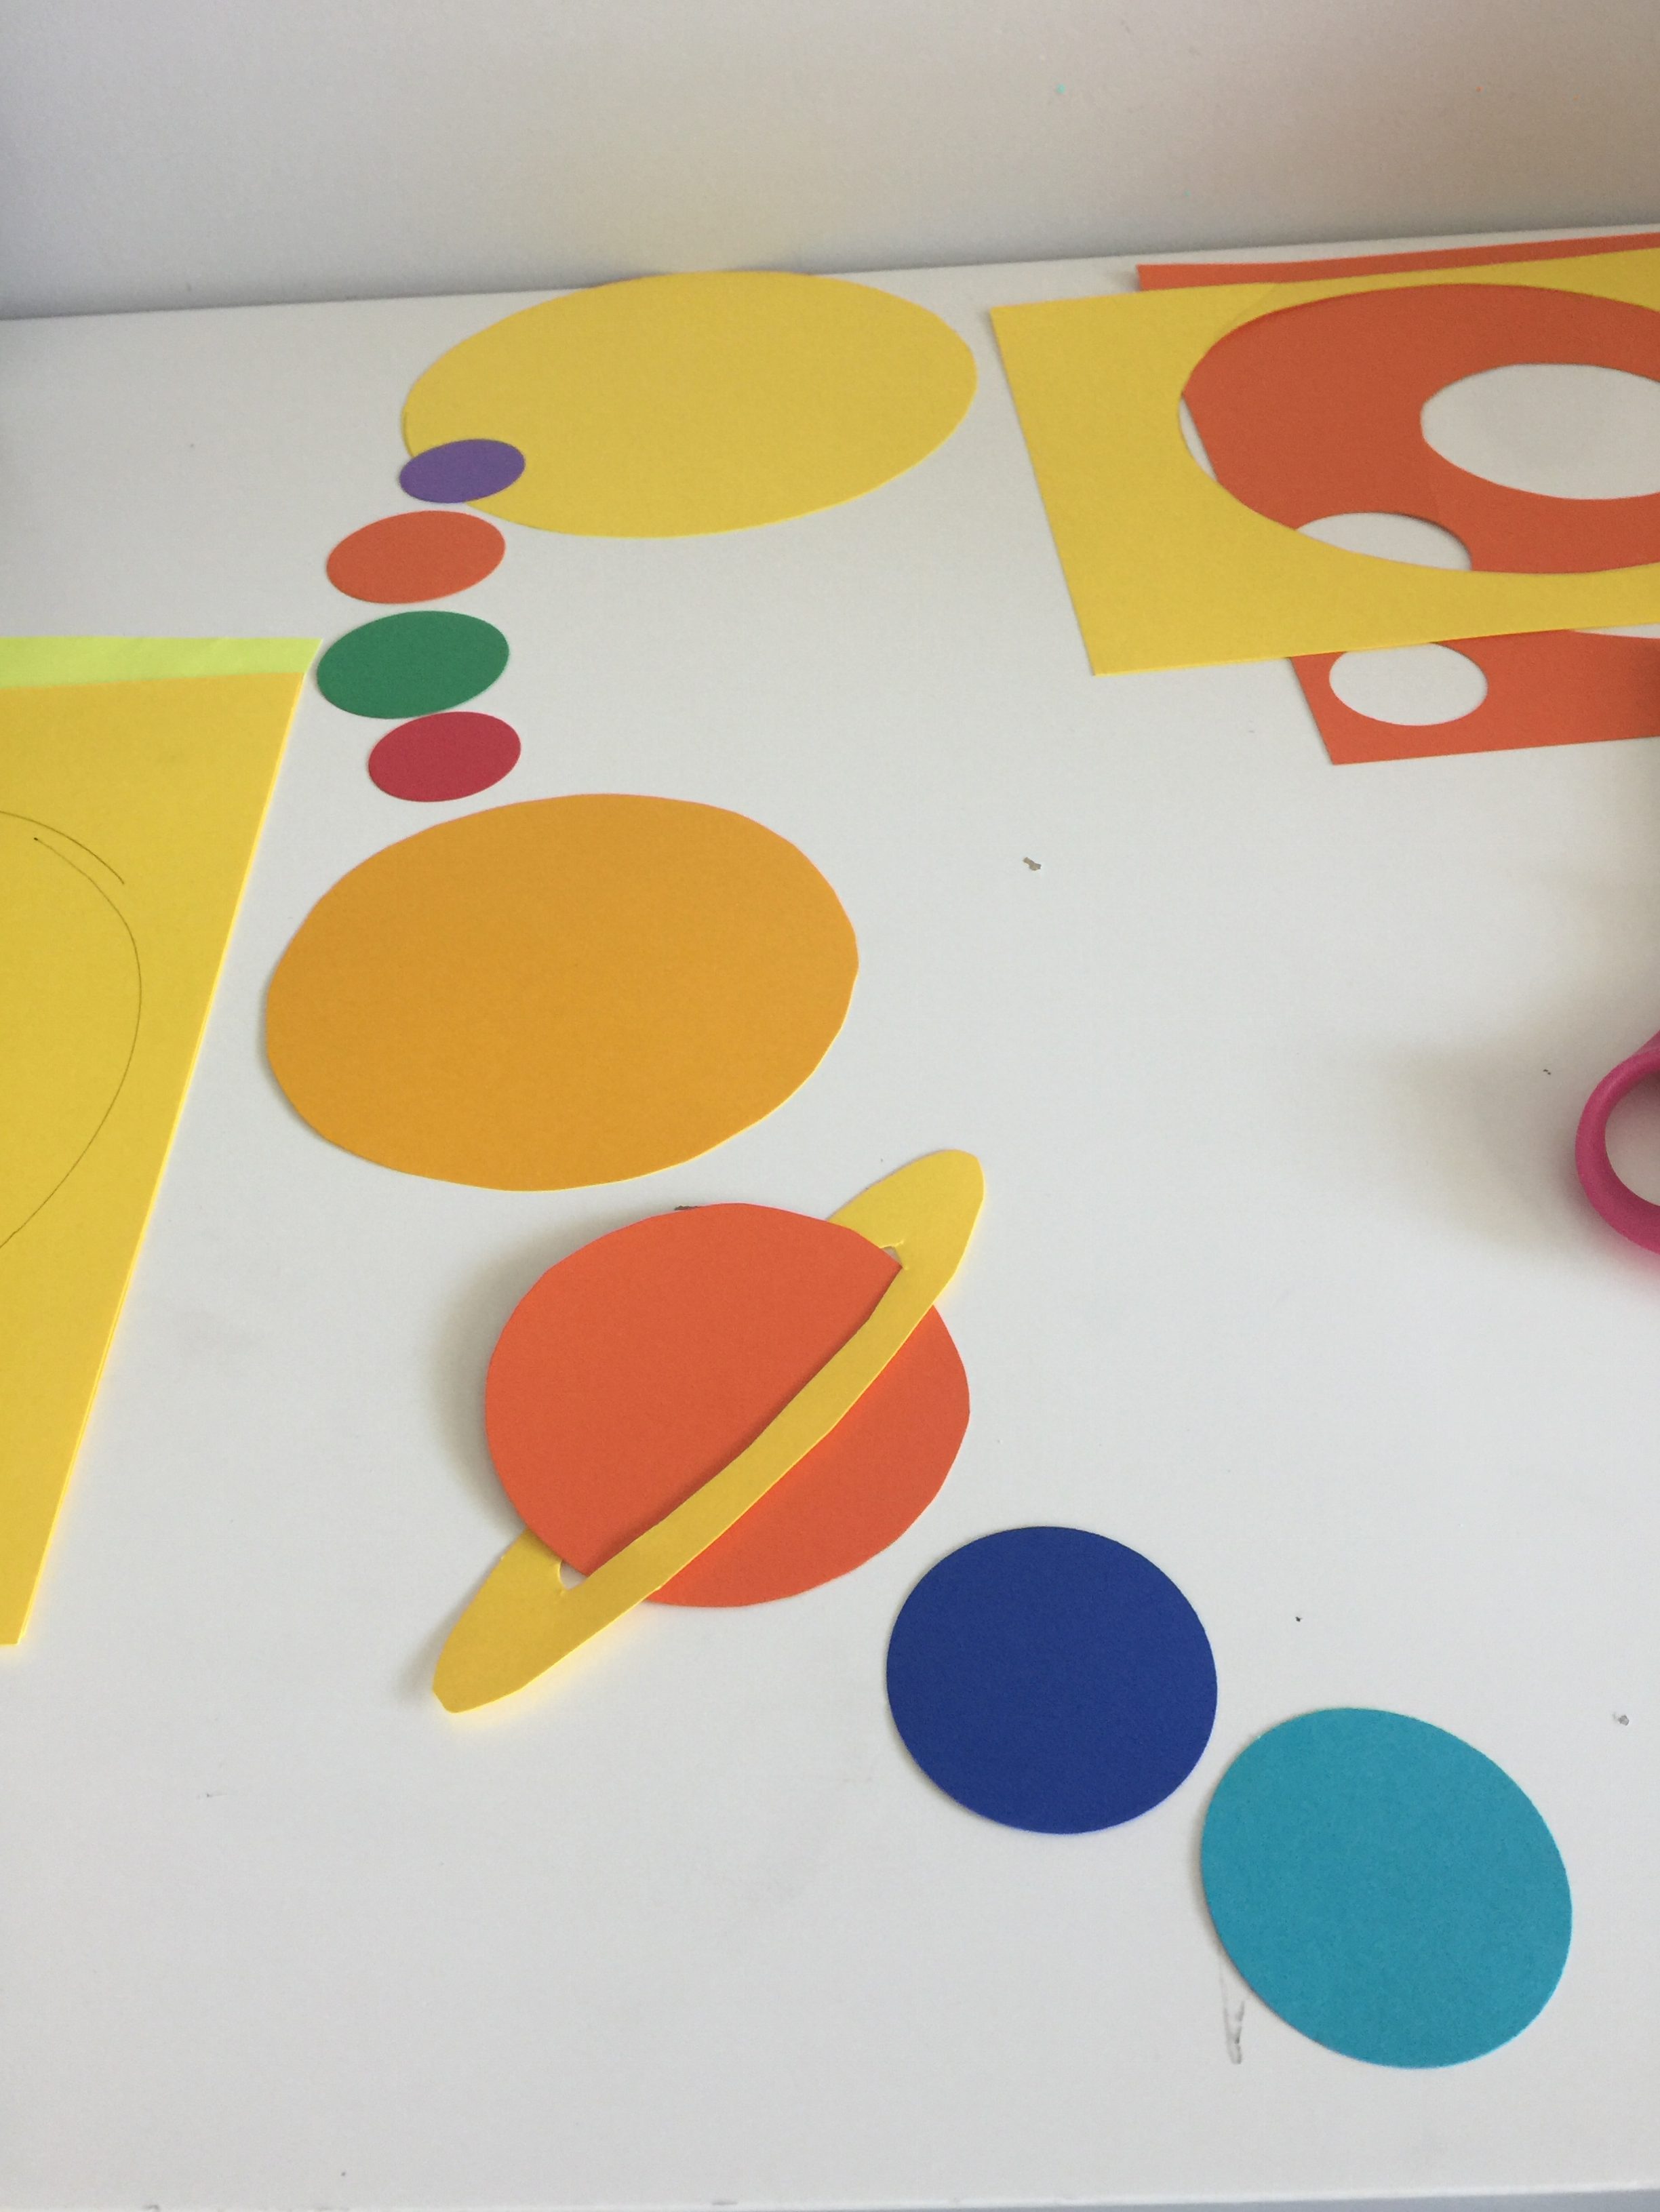
First I drew circles for all my planets. I cut Mercury and Mars with the 1.5″ circle, Venus, Earth, Neptune, and Uranus with the 2″ circle, and I free handed the sun, Jupiter, and Saturn. Are you worried about free handing circles? Here’s a super cool trick for drawing perfect circles:
Make sure you cut TWO of each circle. After you have all your circles, you can skip this step if you want but I thought it added some cool dimension. I used some pastels to add color and depth to the planets, simply just using the side to color or swipe back and forth and smudge it up with my hands. Pastels are very forgiving. Then cut a bunch of black stars using the star paper punch. (Oh and I also cut a little ring for Saturn.)
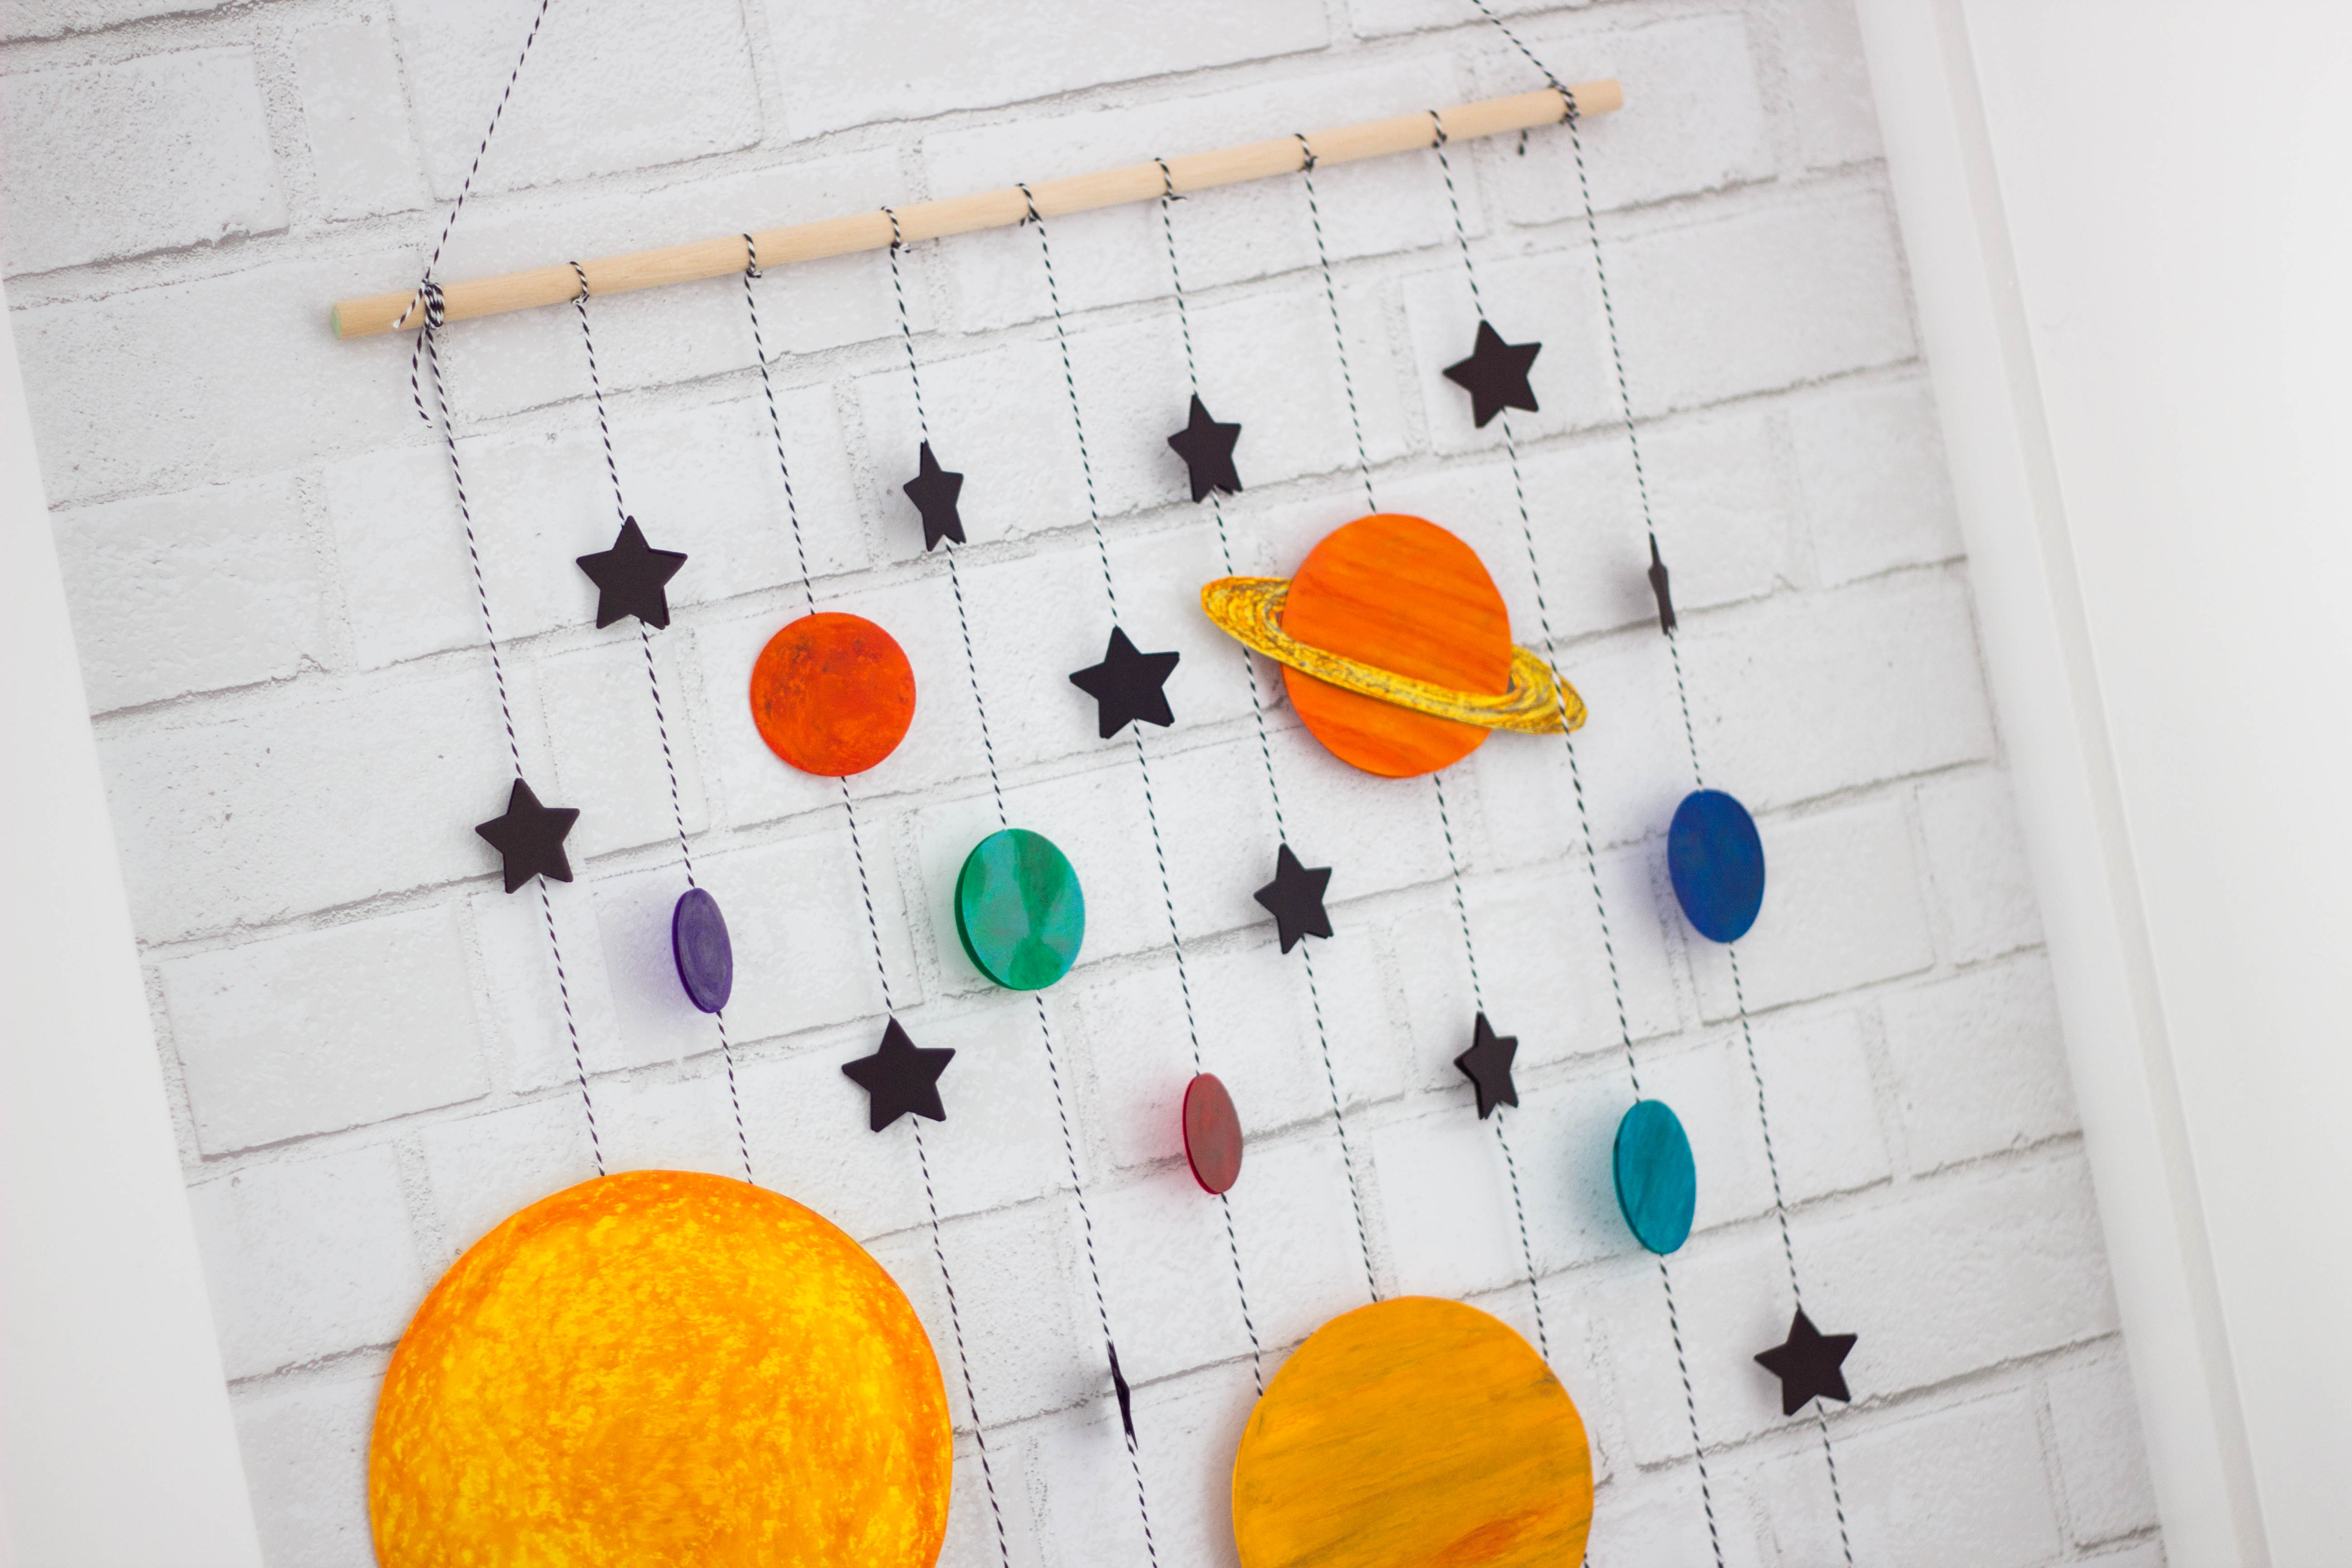
Next I cut 9 pieces of baker’s twine about 12-18″ long, depending on how long you want it to be. Also cut one to tie as a hanger. Cut your wooden dowel to the right length, depending on the space you will hang it in (mine was about 18 inches.) Then tie all the pieces of twine to the dowel using a square knot (remember right over left, left over right) and let the excess hang down.
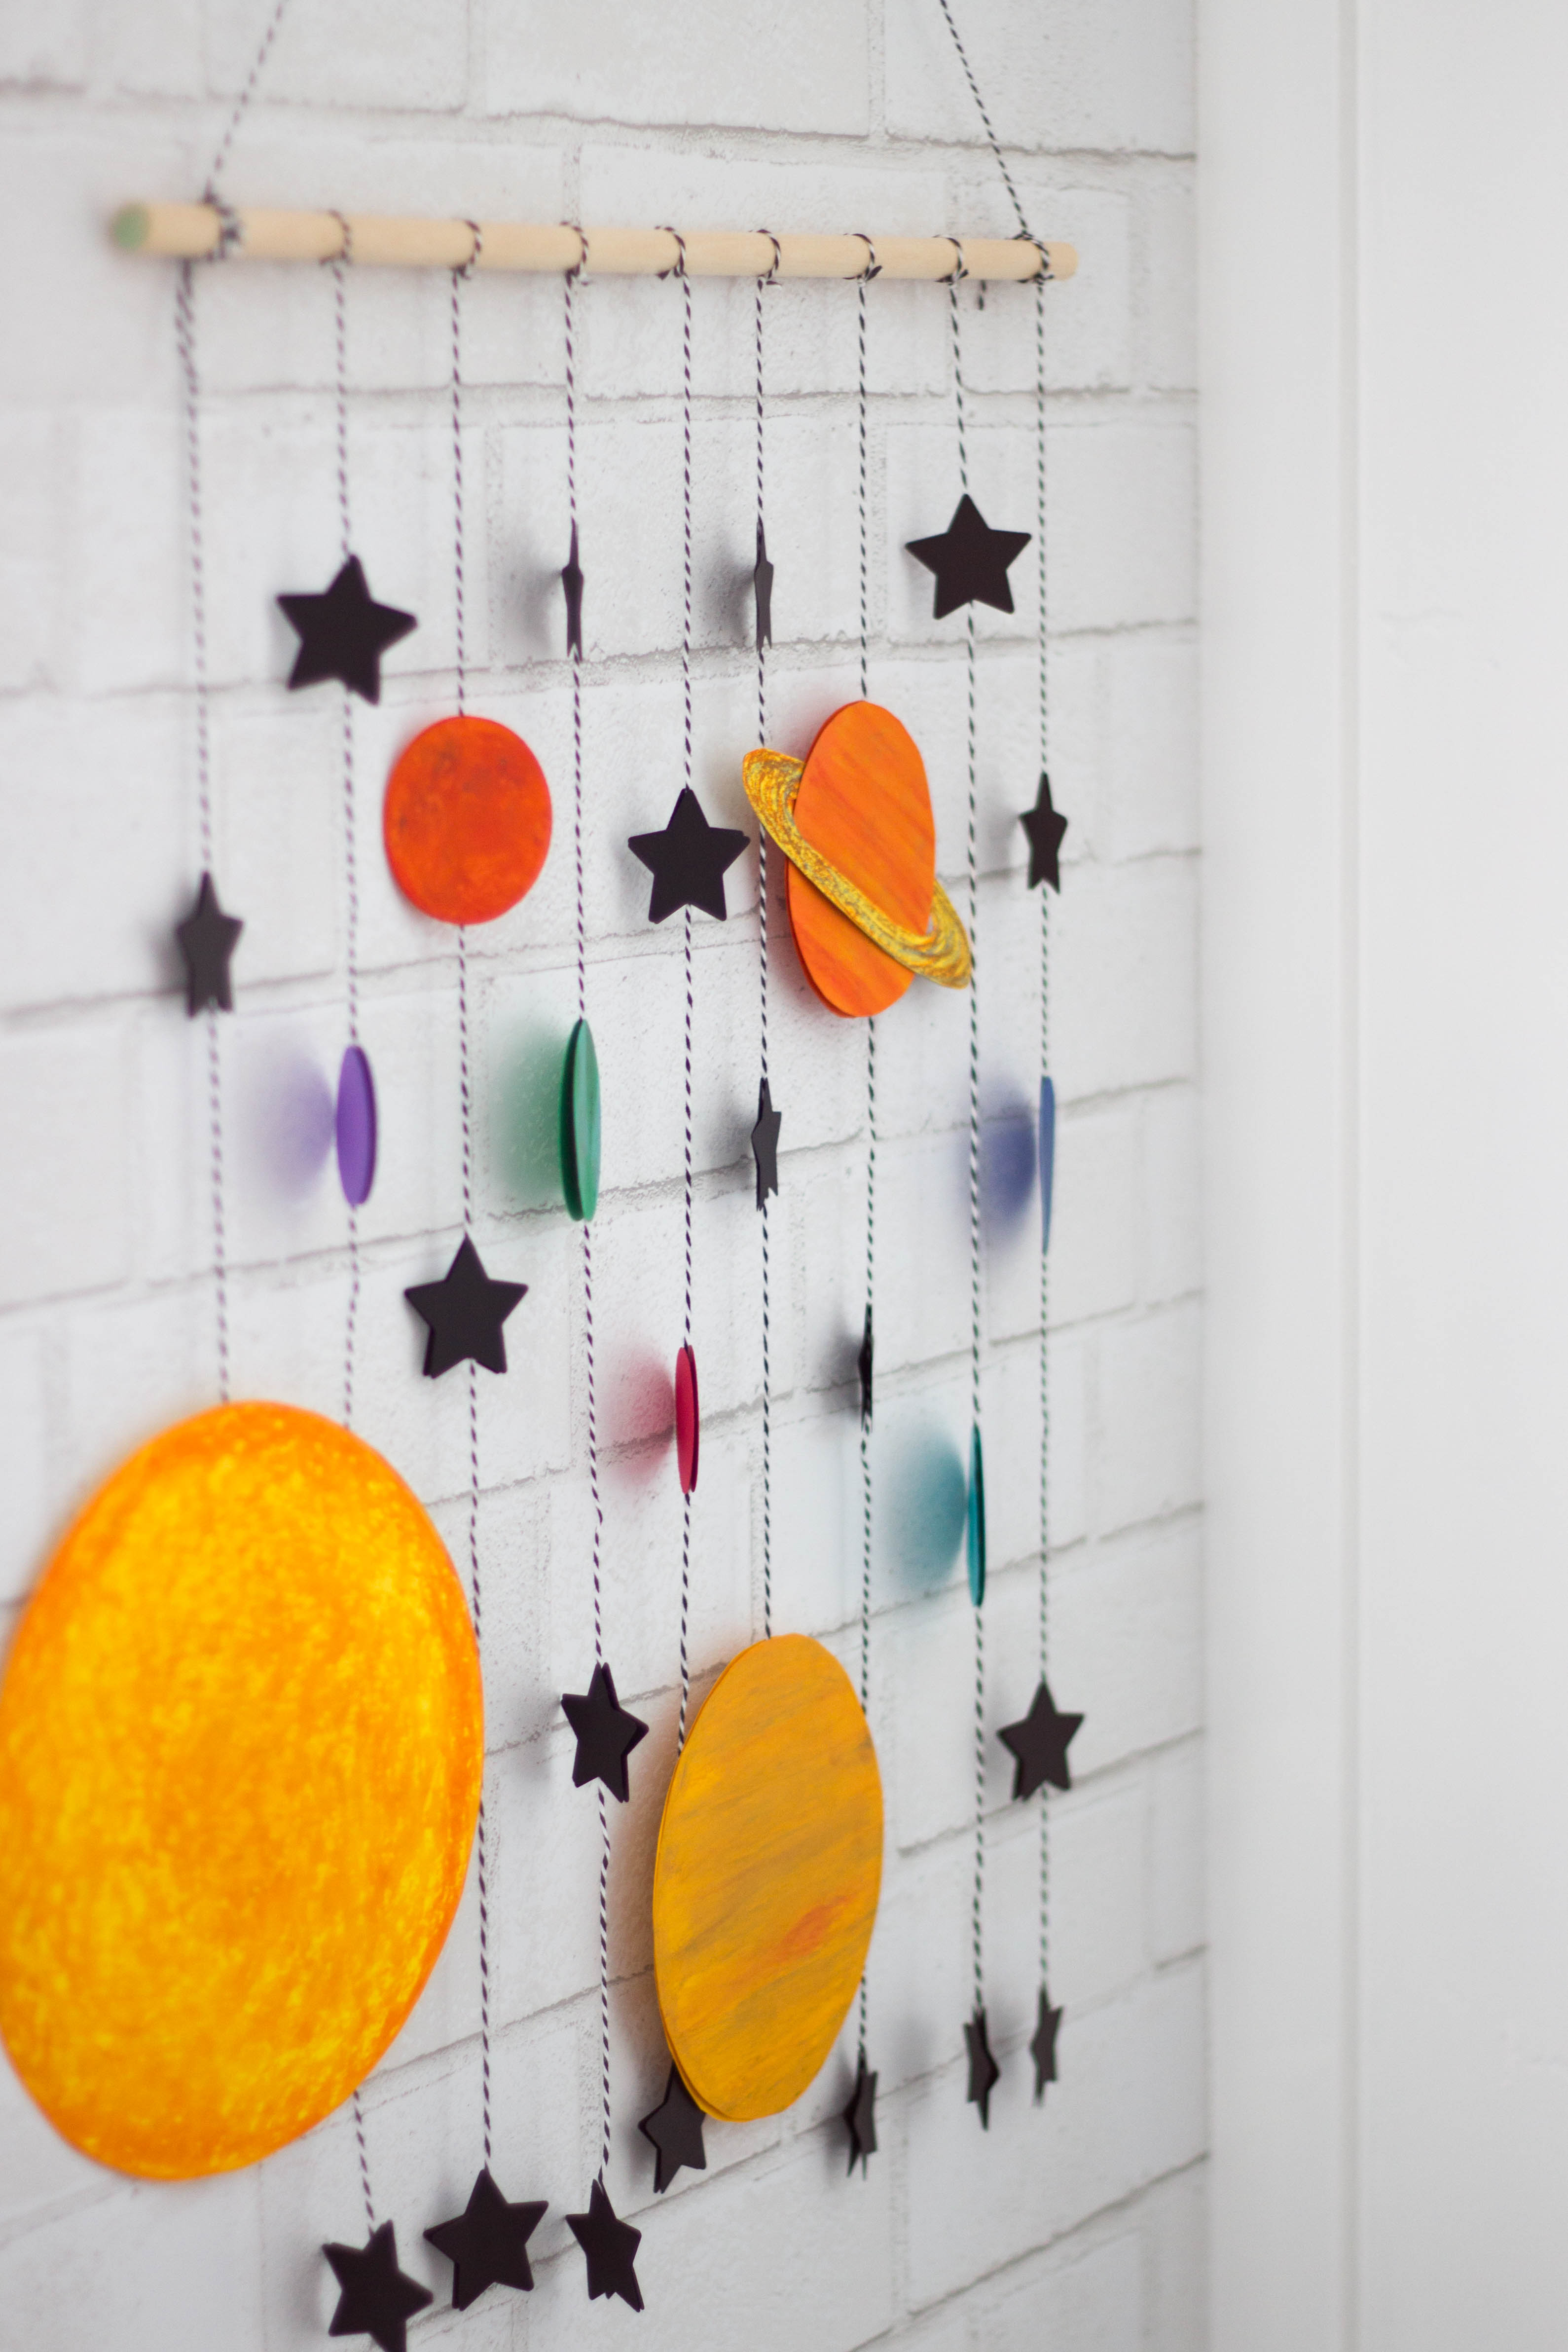
Use the glue dots to secure each planet to each string, sandwiching the string in between the planet and the other circle you cut. Do the same for the stars and space all the stars and planets out appropriately. Feel free to copy my layout as you see in the pictures. Just make sure each string ends with a star (except the sun since it’s so big.)
Once you have all the papers in place, trim the ends of the knots you tied so it looks neat and then make sure to tie the hanger onto the opposite ends of the dowel.
Big thanks to Astrobrights Papers for supplying the papers for this cute project!
This post was sponsored by Astrobrights Papers but all opinions are my own.
8 Comments