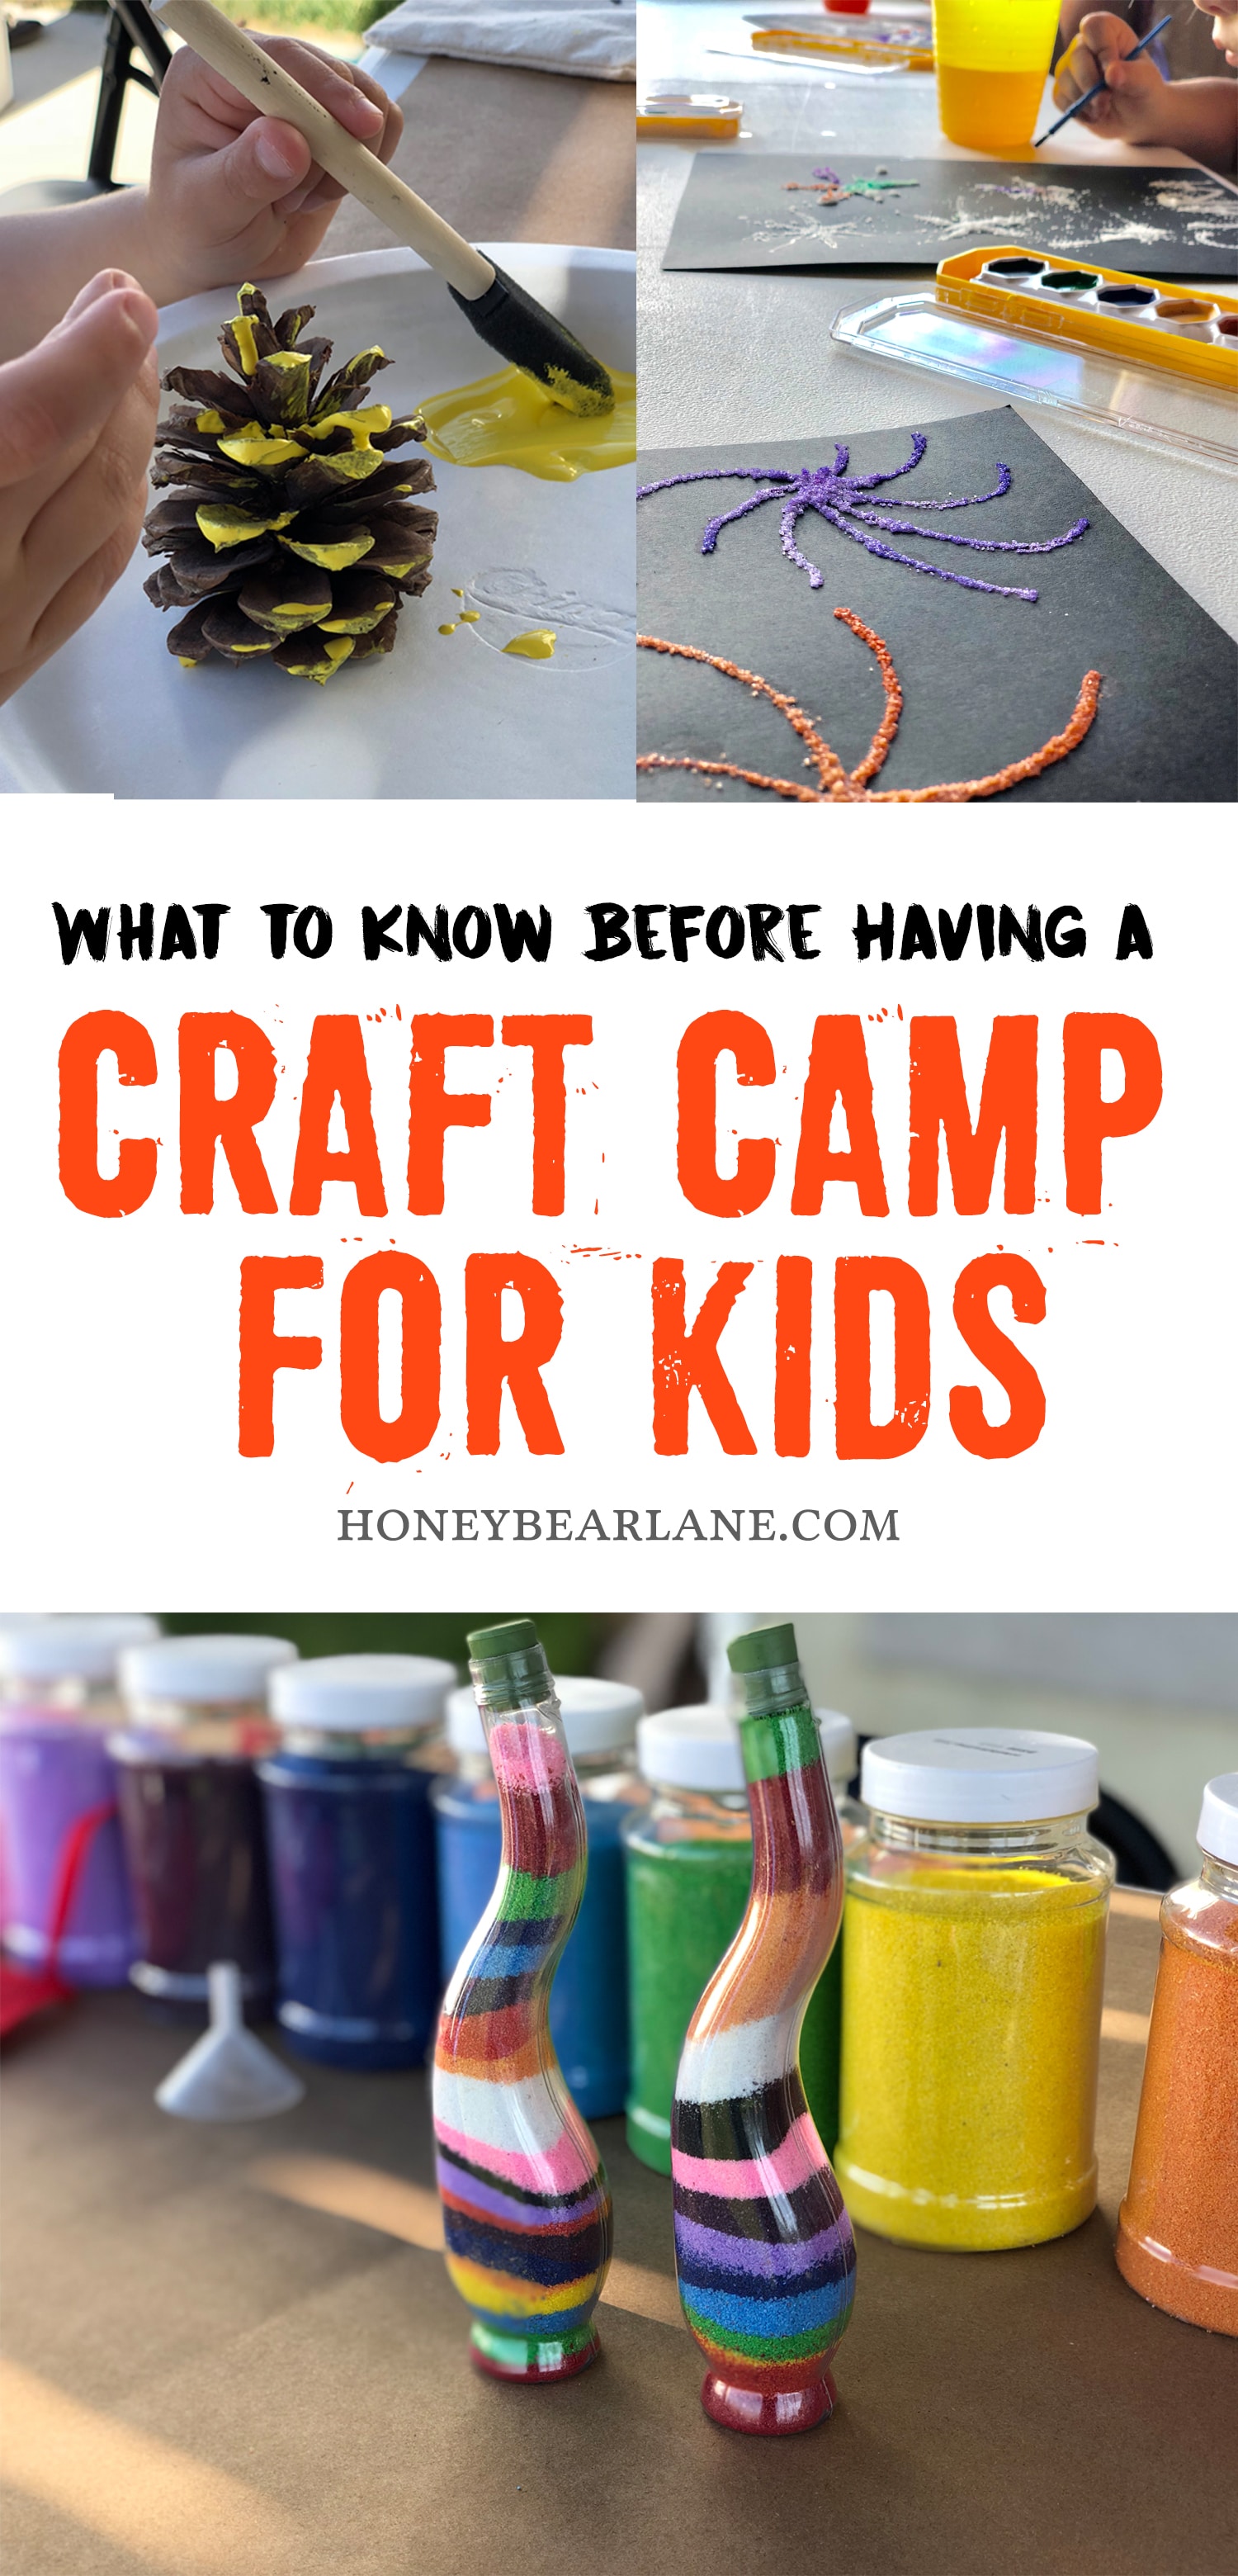
What I Learned from Hosting my First Craft Camp for Kids
I survived! Holding a craft camp for kids, especially when you’re 8 months pregnant, is not an easy task. Back in May, I got this idea that I could make a little money and pass some time by having an art and craft camp. In May, I was still in my second trimester and feeling good. But as the weeks drew closer and people had signed up their children, I was getting a little overwhelmed at the thought of doing it. But here are some good lessons I learned that I want to share with any of you thinking about doing it. And the first part is this–don’t be pregnant when you’re doing it!
Planning is essential. I thought I planned this out okay. I looked up a lot of different crafts and decided on a couple per day. I even did the crafts beforehand so we would have some examples. But what I didn’t plan for what the fact that most kids fly through the crafts and we ended up having a lot of extra time.
Plan more activities than you think. Like I said before, most of the kids flew right through the crafts and I ended up with a ton of extra time. I ended up having to look up some crafts I could do with stuff I had on hand and we made it work but I was surprised at how the kids could do a craft in 15 minutes and then saying “What’s next?” I would plan for at least one craft per half hour and have even more on hand. It would be great to have one craft that the early finishers could work on every time they finish quickly. Older kids usually finish crafts faster than younger kids.
Don’t have it for more than two weeks. I held it for three weeks and by the beginning of the third week I was pretty burned out. Depending on how much energy you have and how much you enjoy doing it, I would say two weeks max still. I actually only had it on Wednesday, Thursday, and Friday and I thought that was nice because then you had the weekend plus Monday and Tuesday to recover and get ready for the next week.
Plan different crafts for different age groups. At first I planned on only doing the same crafts for both age groups. But my first class was a 4-year-old boy who had a very short attention span and kept insisting that most of the crafts were too hard. Fortunately I came up with some other activities that he enjoyed and he took lots of play breaks. For younger kids, keep the crafts extremely basic and have lots of breaks. Some kids could even do play-dough or sidewalk chalk for quite a while. Prepare to be spontaneous. I definitely had planned crafts but sometimes I had to switch gears or have an extra break, especially for the smaller kids. Be flexible with your schedule so that the kids can pay attention and have a good time.

Crafts we did:
For the older kids I did crafts like
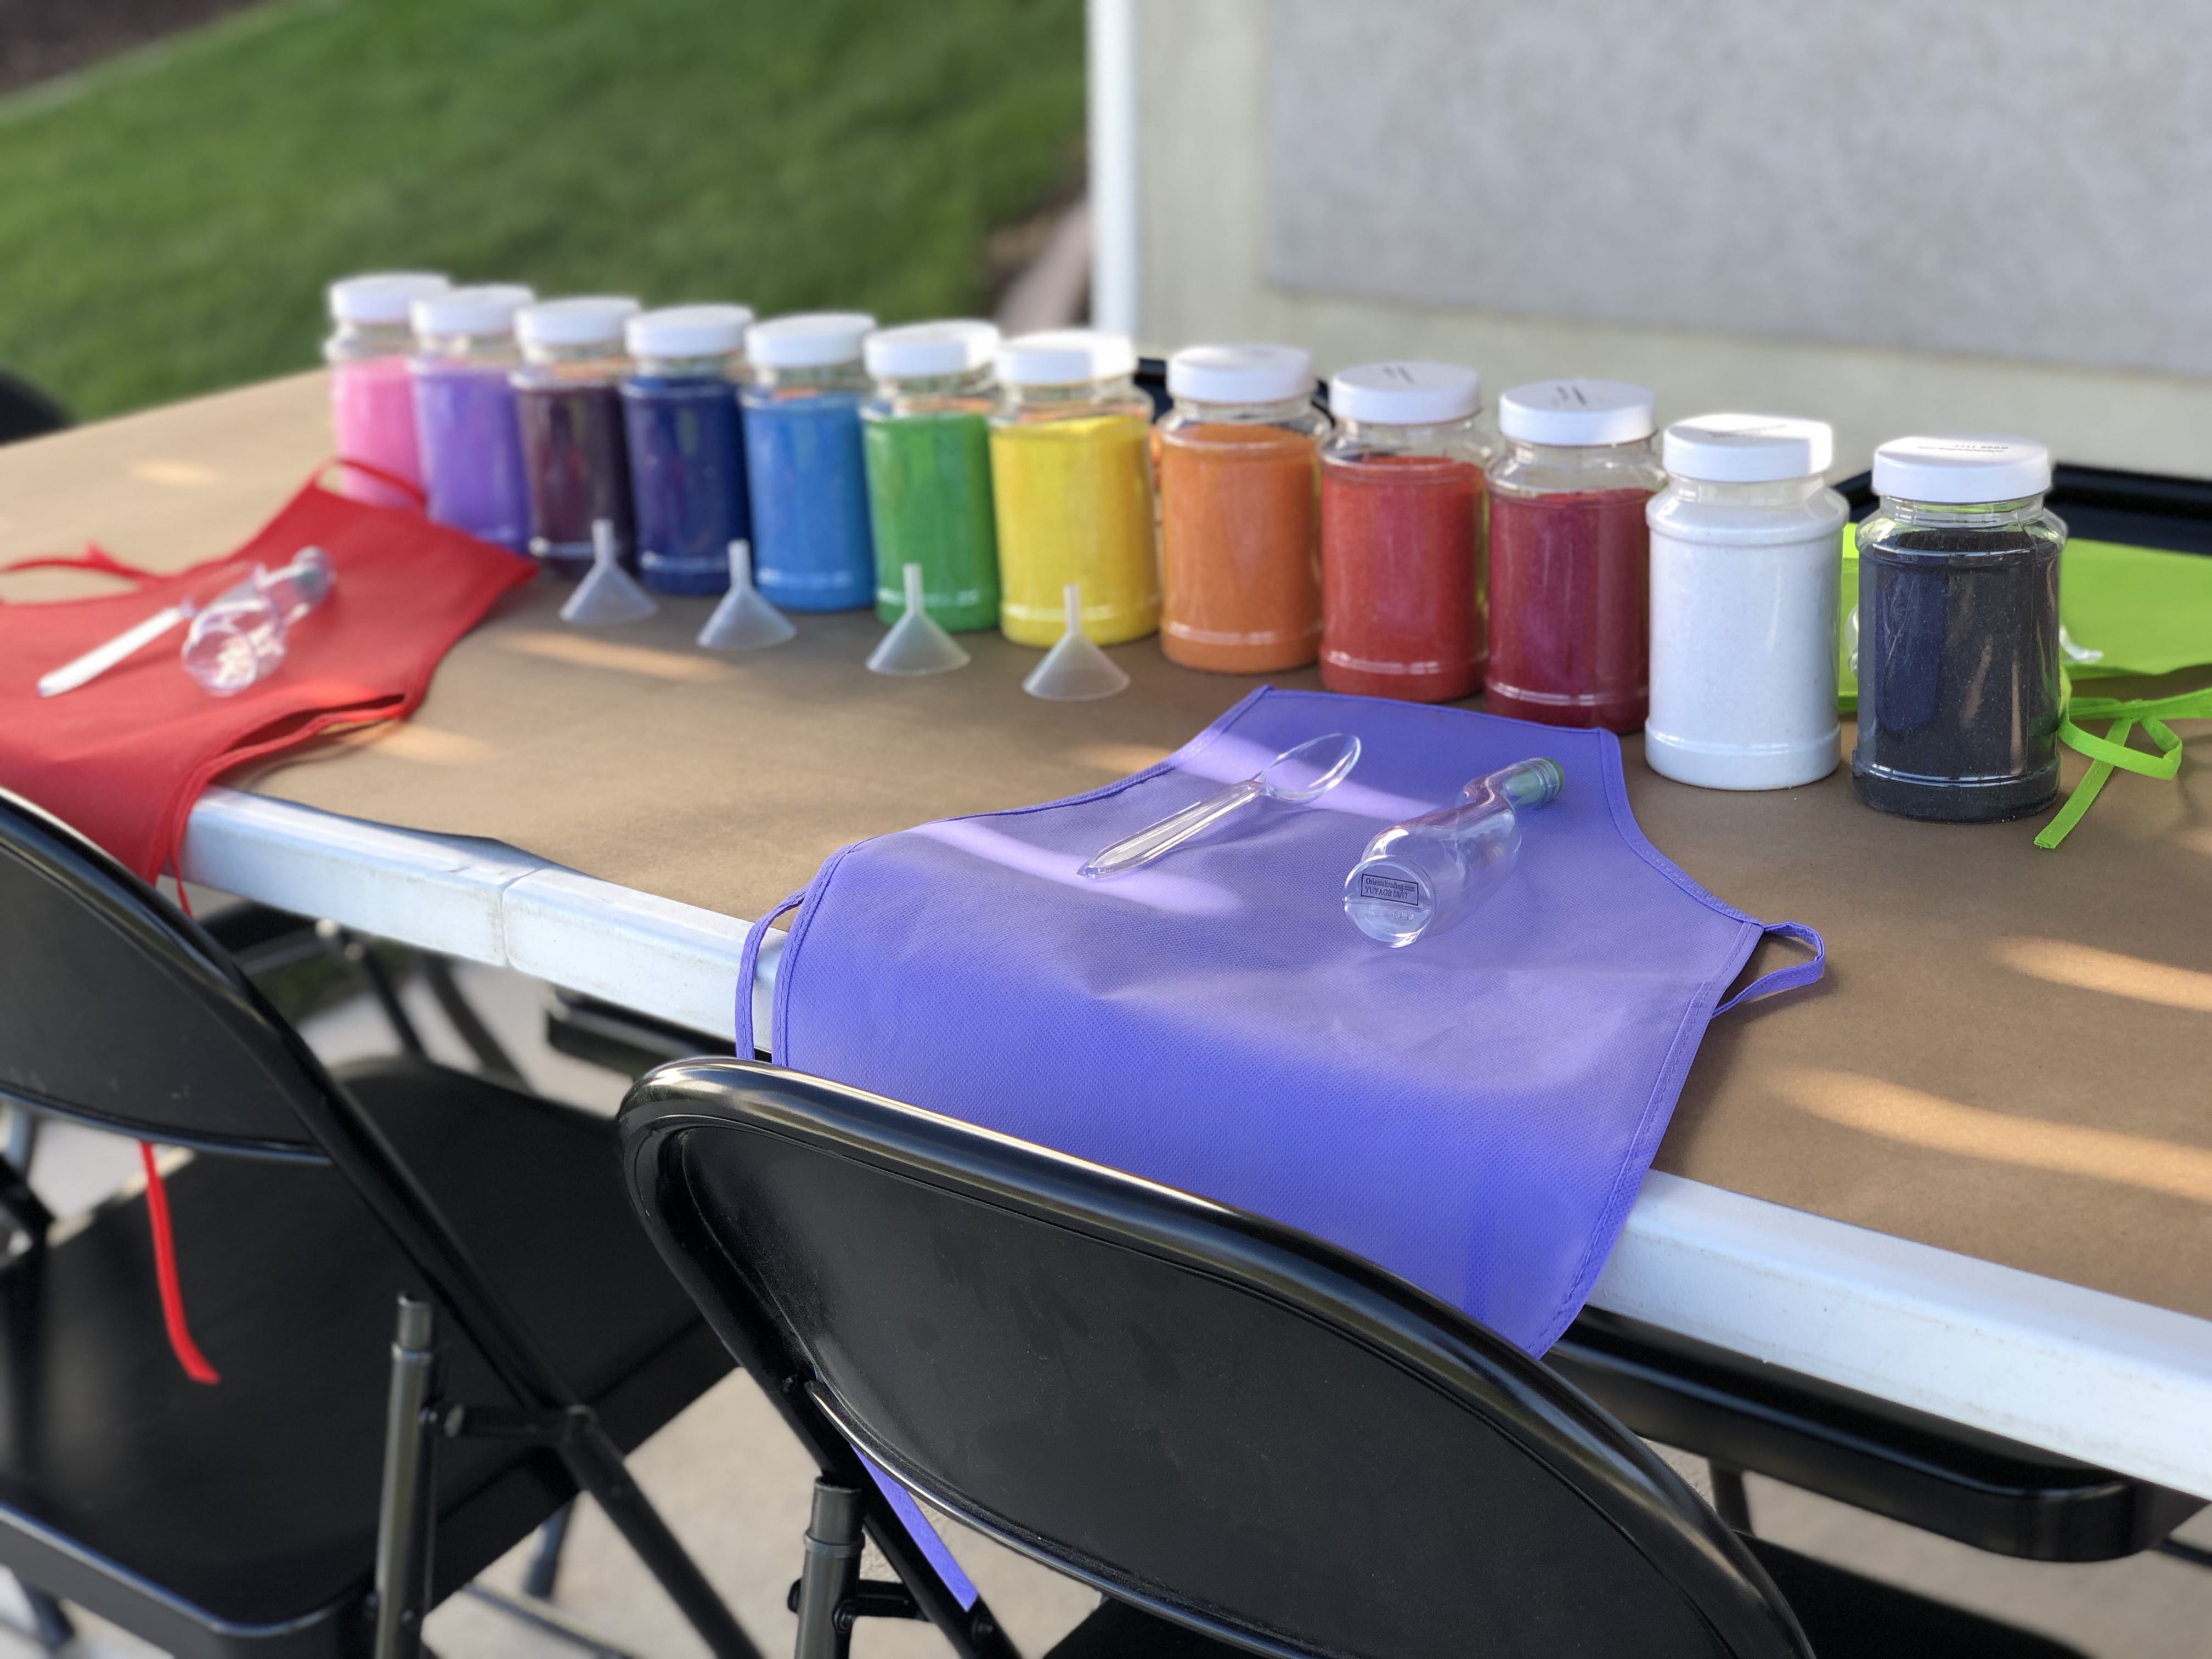
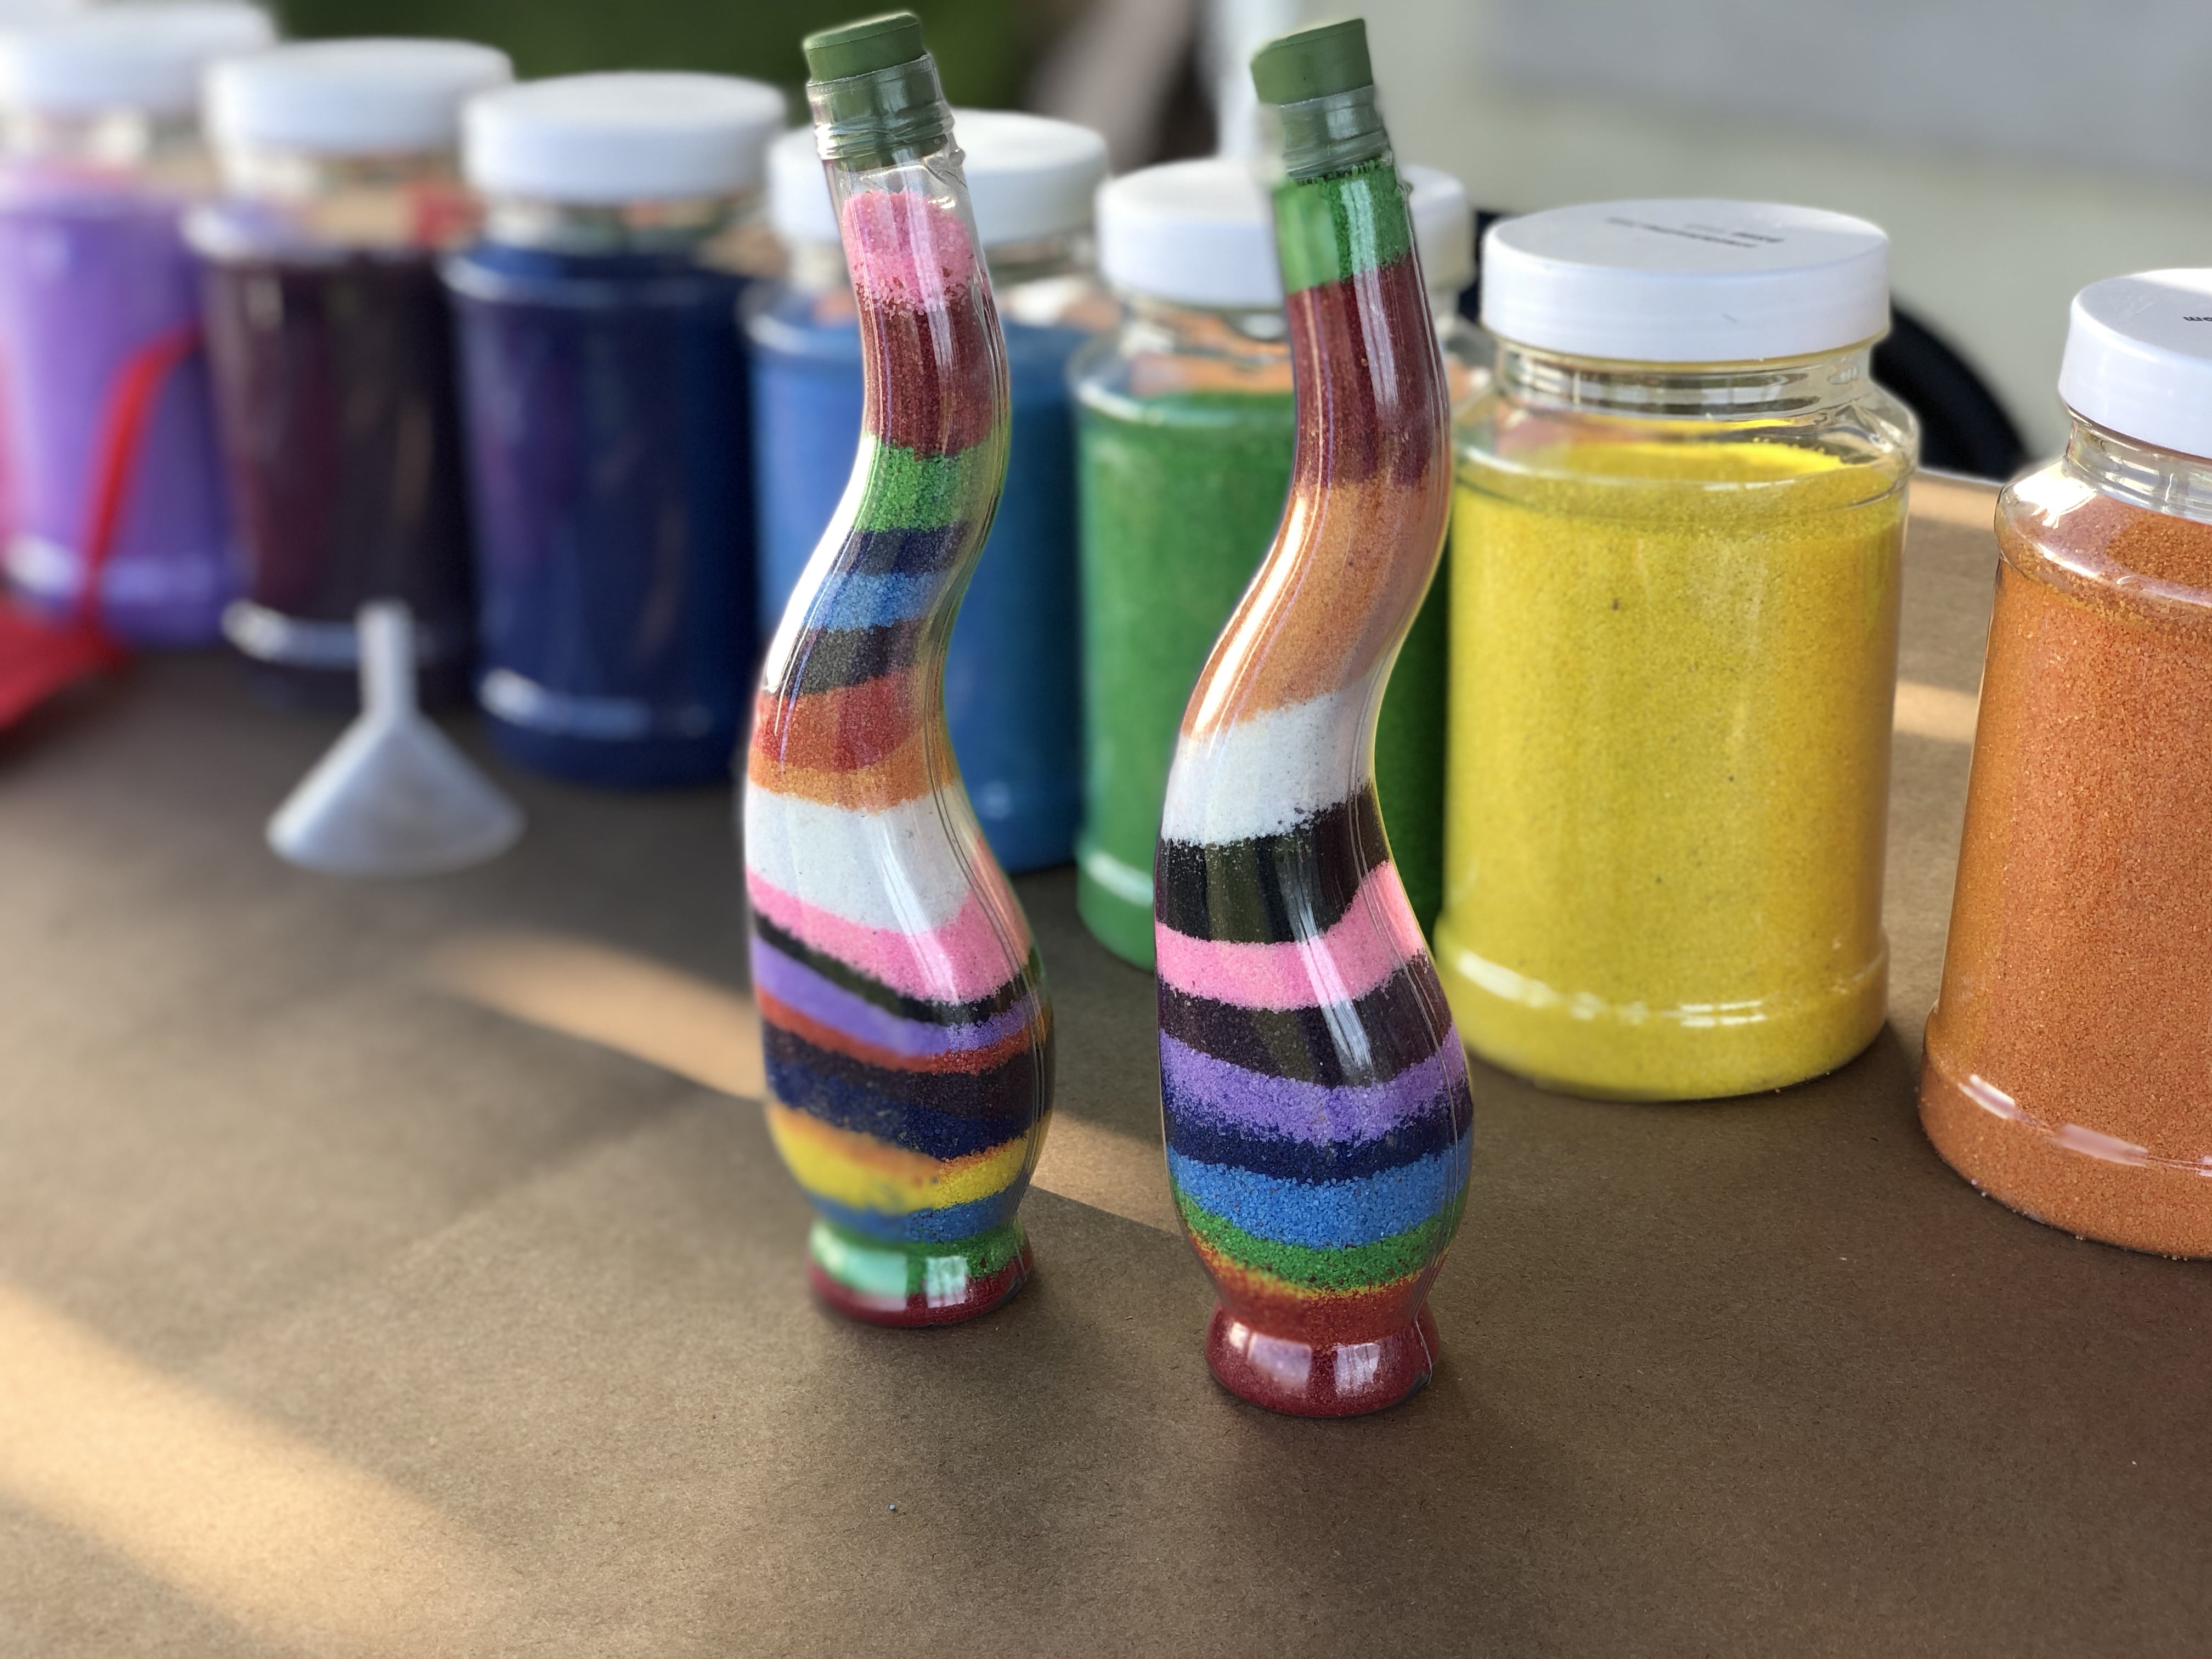
- Sand art
- Customized zipper bags (with Sharpie)
- Beaded necklaces/bracelets
- Feather and tape pens
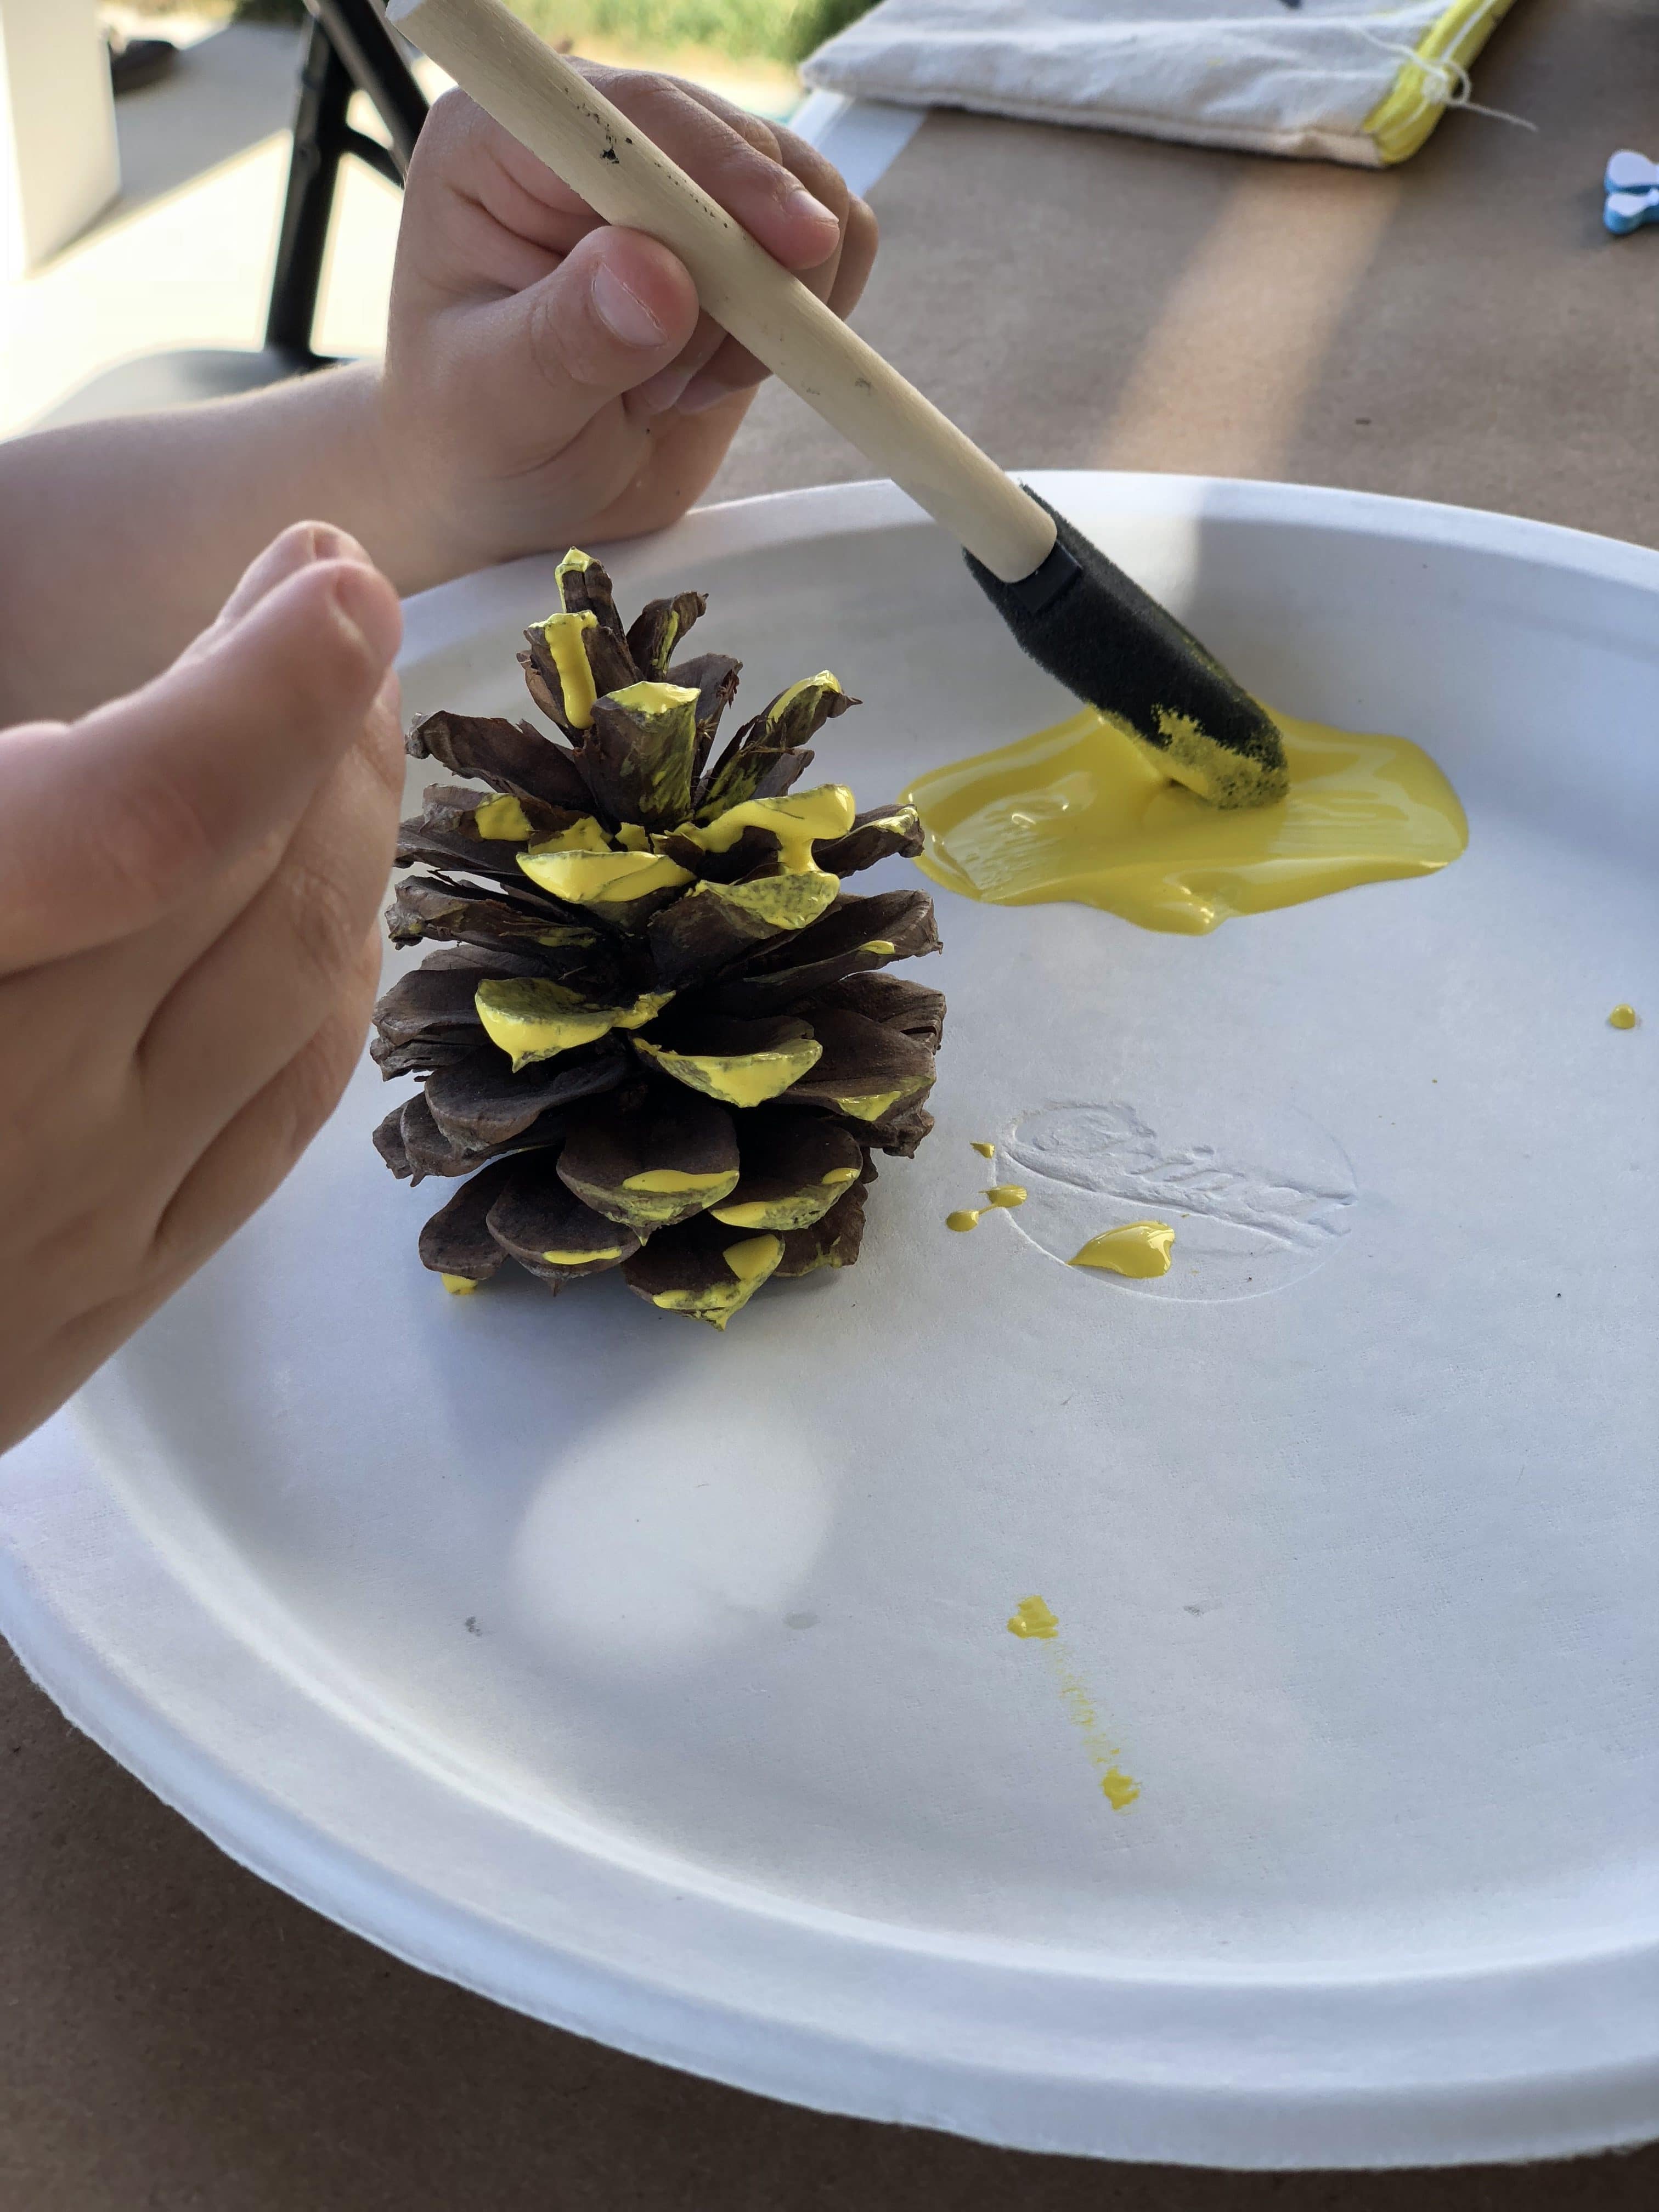
- Pineapple pine cone
- Marshmallow shooters
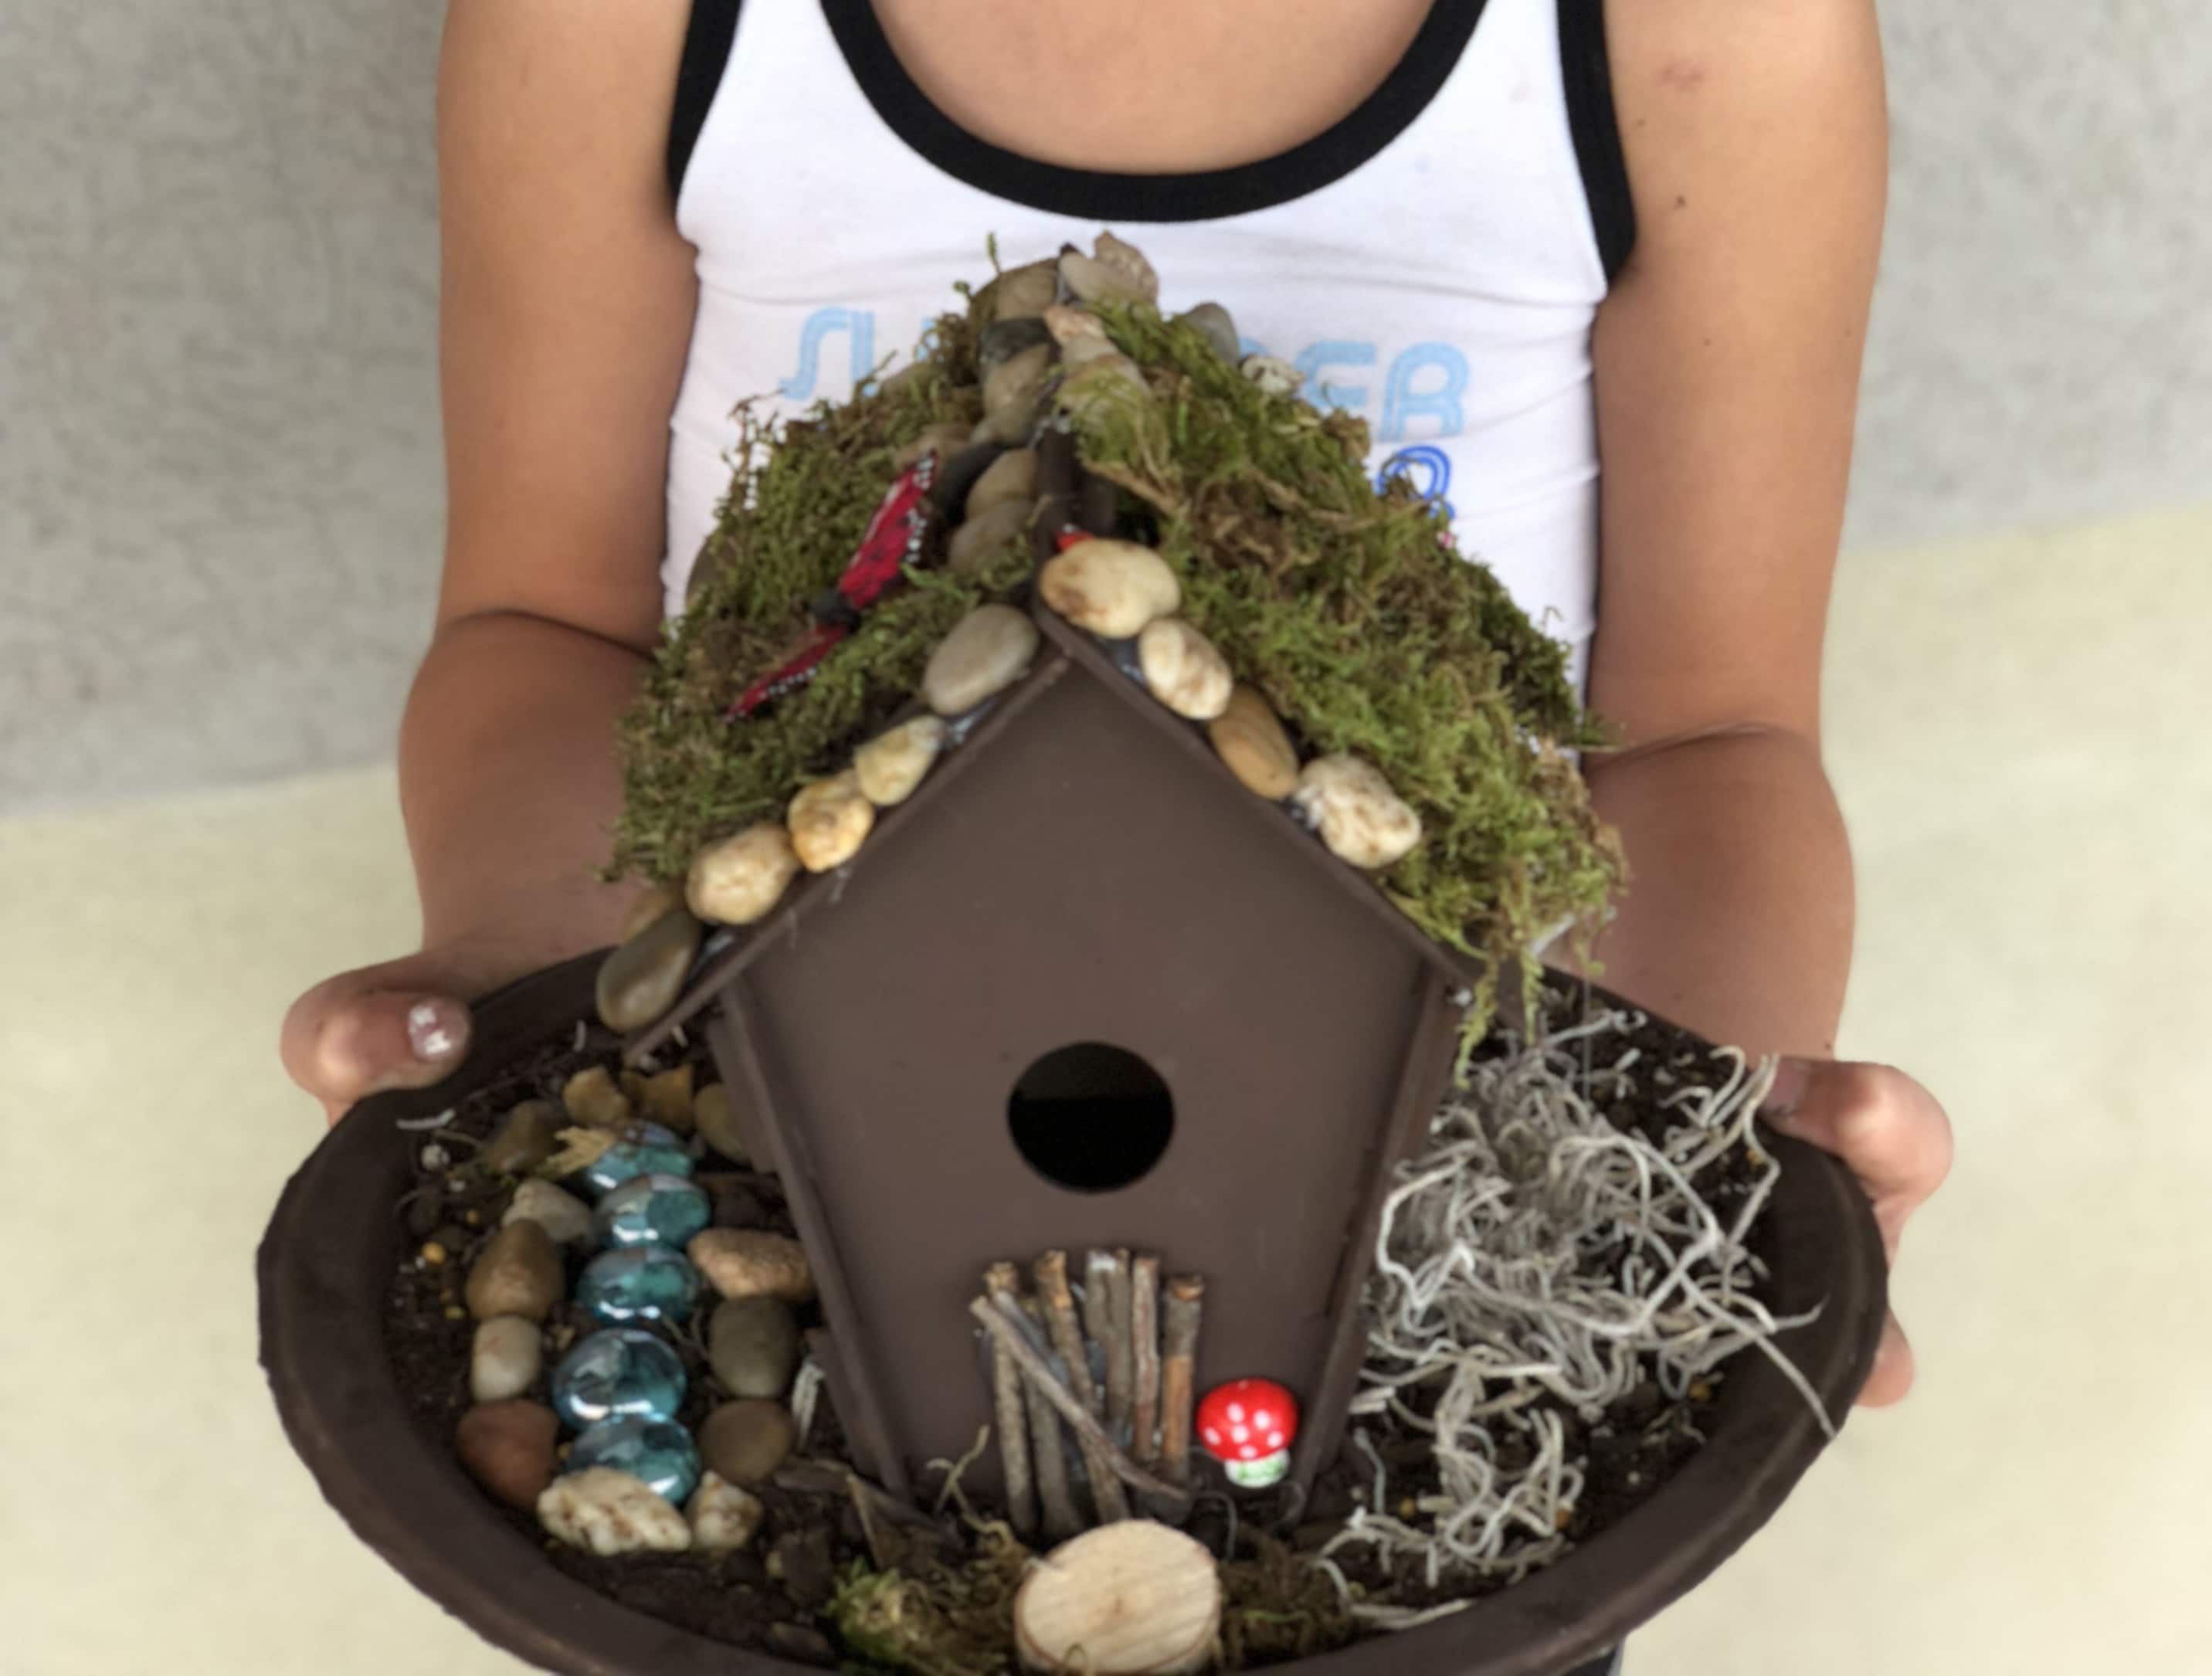
- Fairy garden– the fairy garden was a longer craft and was the main one we did on the last day.
The younger kids enjoyed things like
- Play dough and air-dry clay
- Beaded necklaces and Fruit Loop necklaces
- Pom pom flags
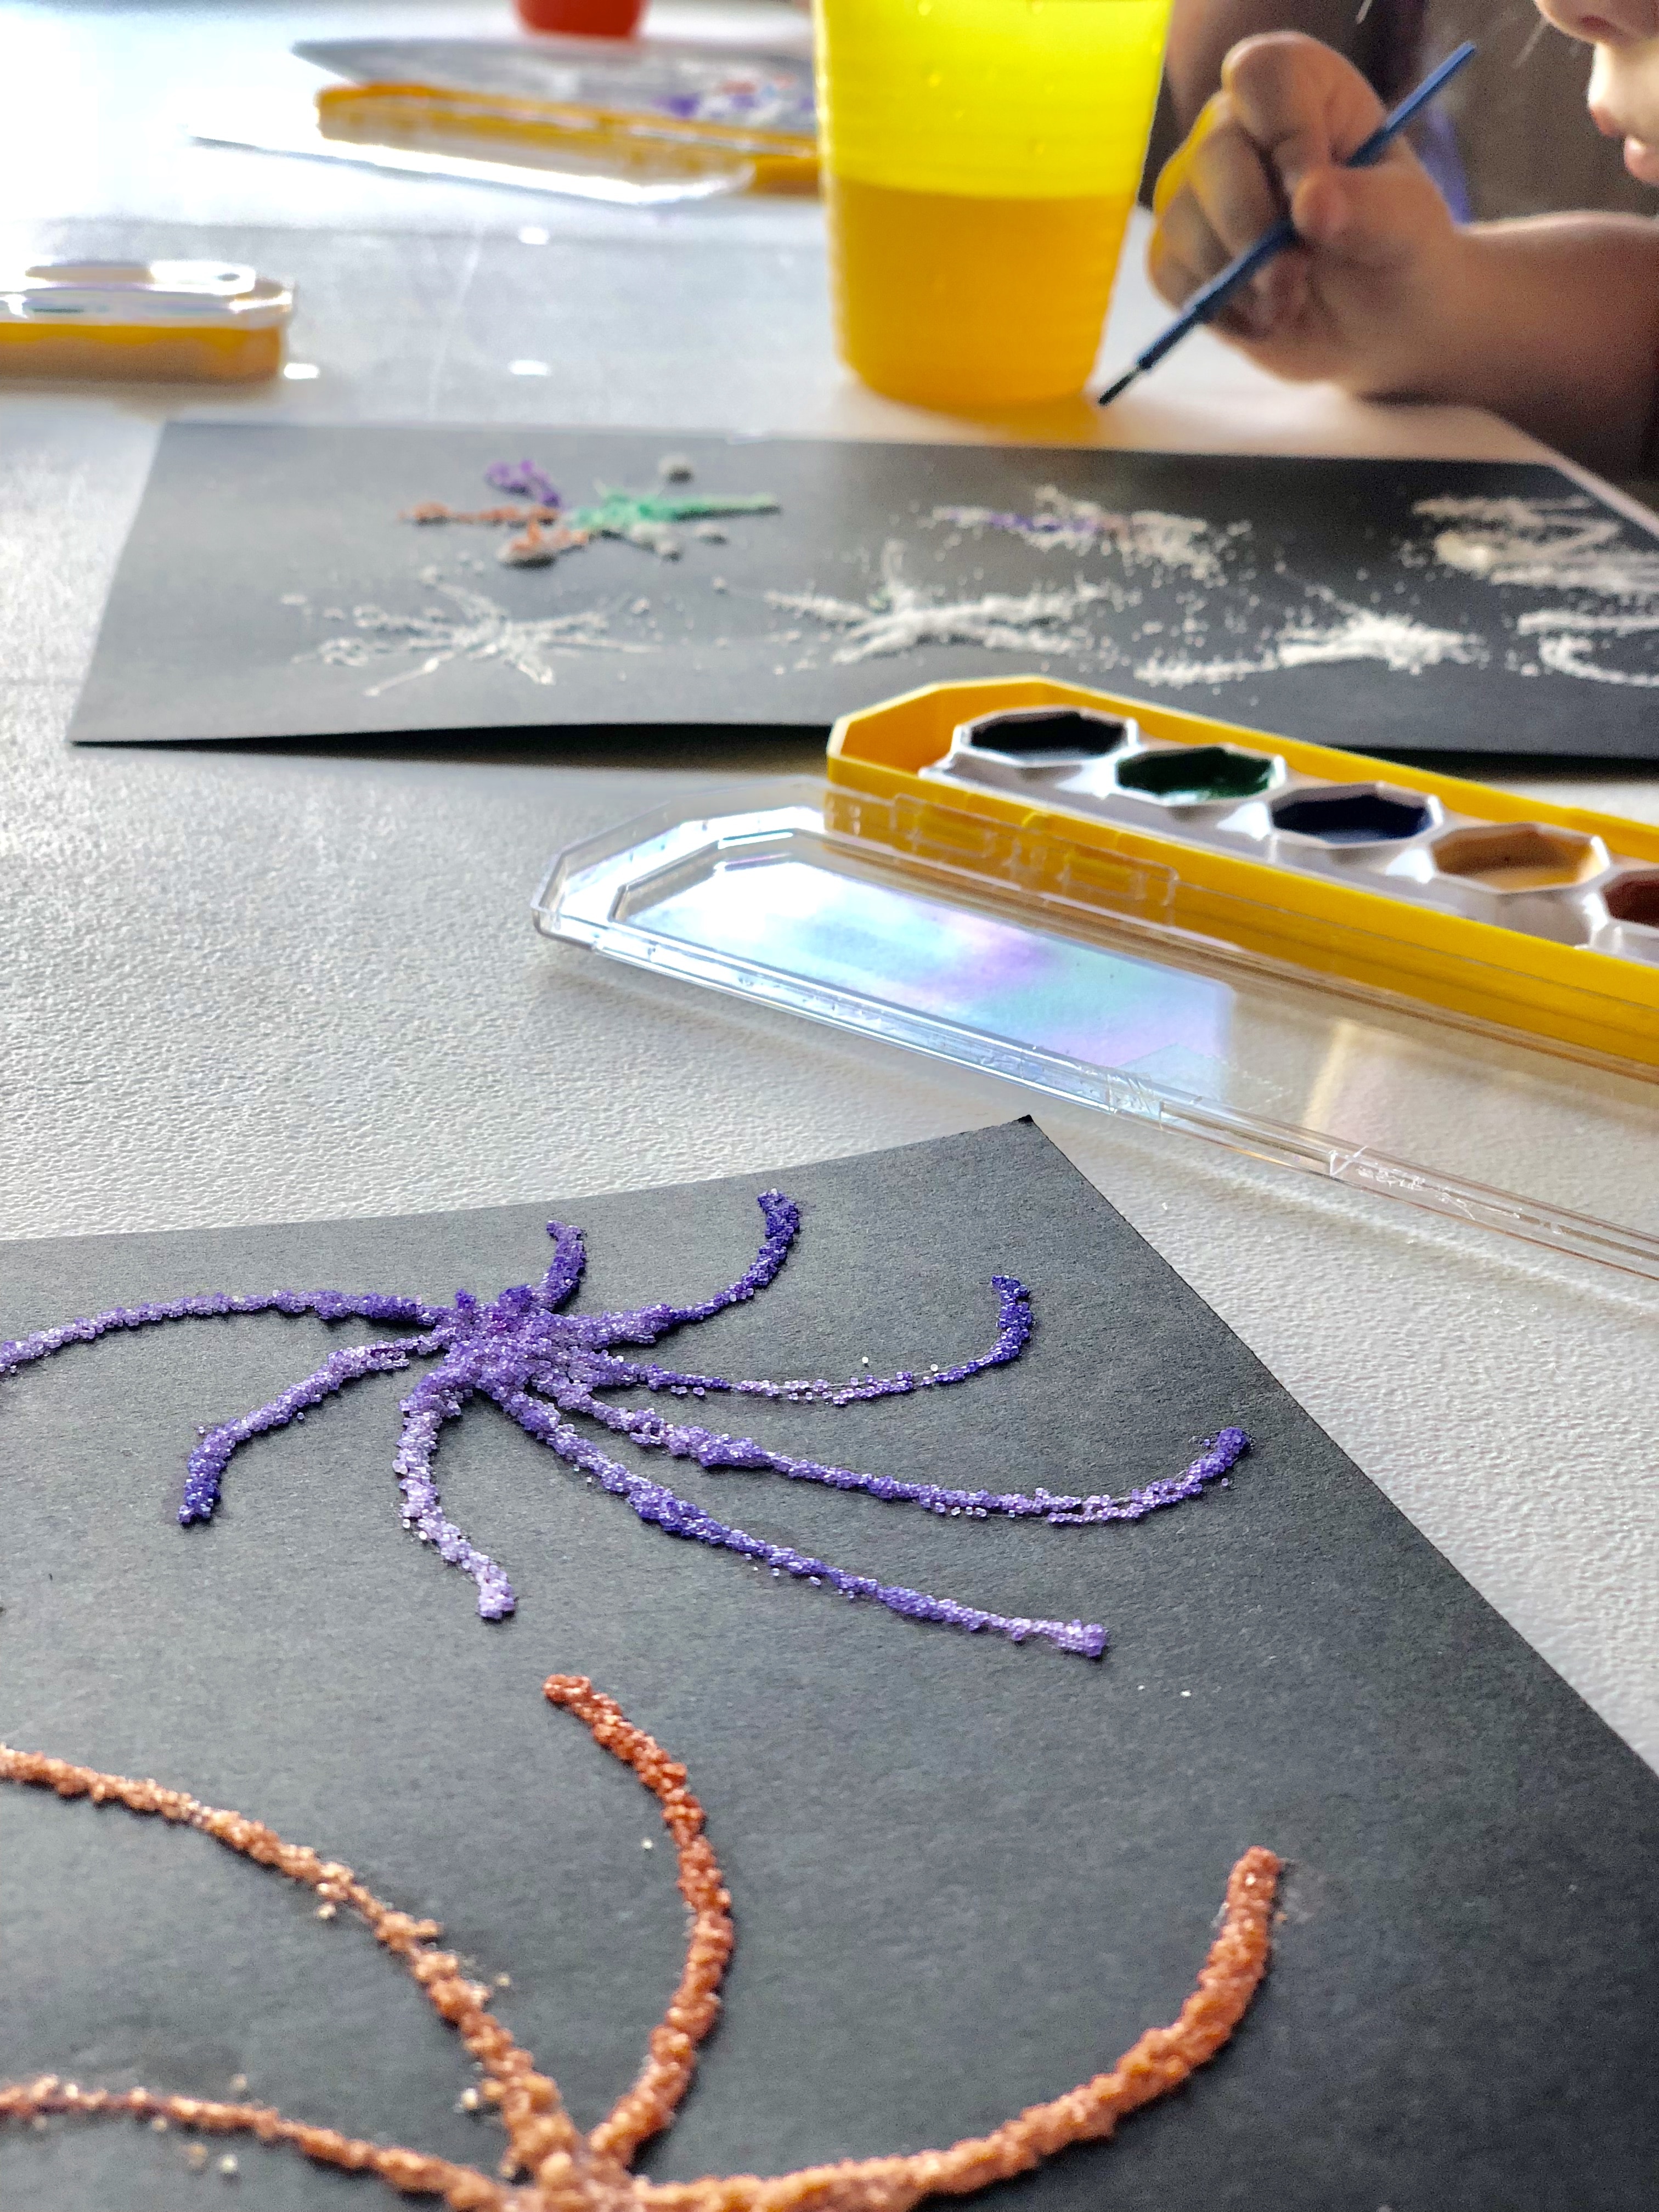
- Watercolor and salt fireworks
- Pipe cleaner snakes
- Pet Rocks
- Painting and decorating a bird house
The most popular ones were the sand art, marshmallow shooters, and the fairy garden. I really liked fairy garden day because they turned out so cute and kids could be so creative. And surprisingly, both age groups loved making fruit loop necklaces and eating them.
Plan breaks and have snacks. I planned a break for the last half hour since that seemed to be a good time. They went outside and played and ate juice pops or ice cream sandwiches and it lasted about ten minutes. It was a little harder for some kids who didn’t want to play outside and to be honest I wasn’t sure what to do with them. The little kids wanted to take a break after every single craft. This was really nice because while they played outside for a few minutes, we could clean up the craft and get ready for the next one.
Have an outdoor play area. I held my craft camp in my unfinished basement which is also a walkout and led straight to the backyard. This worked out really well because they just came in for camp through the side gate, walked through the backyard and into the basement for camp. I loved that I didn’t have a bunch of kids tromping through my house. And since the basement is unfinished, I didn’t care if it got messy, which it most definitely did. And then it was super easy for the kids to go outside and play in a secure location (completely fenced in) and have a good break. I have a trampoline but I also have a little water table for the younger kids. And the access to the outside was wonderful for the kids to wash out their paint brushes with the hose. I wanted to hold the actual class outside which I tried the first day but every day after that was too hot and too windy so we moved indoors. That was better anyway because then I didn’t have to bring stuff inside at night.
Hire kids to help. I ‘hired’ my older kids to help with the craft camp. This was actually one of the reasons I help the camps, was to help them earn and save some money. I set a certain rate for them each day and when they didn’t want to help, they didn’t earn money. One of my kids jobs was to watch and babysit my 2-year-old upstairs and the others helped kids with crafts and did clean-up and running around for me. This was extremely helpful and if you don’t have your own kids to hire, definitely get some neighbor kids who want to earn a few bucks. It makes it so much easier and you’re not spread so thin.
Plan for paint-drying time. We did several crafts that required painting and therefore the paint needed time to dry. I tried to organize it so they did the painting at the beginning and then they could finish the craft either the next day or at the end of camp that day. I had a bunch of paper plates for painting bases (I used paper plates for everything!) and they washed their brushes out with the hose in the back. I had my kids wash brushes out for the little kids and tried to keep paint color options to a minimum so they could take turns with the brushes dipped in a certain color paint.
That’s a ton of information, I realize. But I learned a lot about hosting a craft camp for kids and I feel like overall, it was executed pretty well. I’m not sure it’s something I’m going to be doing in the years to come, but it was a great experience. I really loved how much all the kids loved it. It’s very satisfying to know that all your hard work creates a lot of fun and happiness for kids and you get to inspire creativity in them. Many of kids didn’t seem to ever do crafts and they had a blast trying out new skills.
General Business Info
Lastly, I just wanted to quickly talk about my advertising and the general setup of the camp. I made a flyer in Photoshop which I just posted on local Facebook groups a few times. Once about a month before, then a couple weeks later, then the weekend before the first camp started. If I wanted to advertise more, I probably would have taken some physical flyers to public places like the library and rec centers.
I ended up cancelling a couple of the camps which didn’t get fuller than about 1 person and that ended up being a blessing. I had originally planned for two camps each week, one in the morning and one in the afternoon and having it both times was really, really exhausting!
My fee might have been a little on the pricey side but the crafts we did were good quality crafts that required some nice supplies and my fees included all the supplies. I also created a google doc form for a signup sheet which was great to keep the kids organized as to when people were coming but not everyone filled out the form. I had people pay me via Venmo or PayPal so it was easy to keep track of who had already paid. I’m sure there’s a more organized way to do it but I’m not sure what it would be.
That’s about all I can think of to share, but if you have had experience hosting your own craft camp for kids, please share in the comments! It’s a fun way to spend some time in the summer, make a little extra money, and entertain people’s kids (as well as your own!)
You are a brave woman. After many years of Vacation Bible School crafts, your suggestions are on the money for being age appropriate. Little ones attention span is always a challenge. Nice ideas for the crafts. Loved the sand art.
Haha thanks!