How to Make Ruffled Curtains
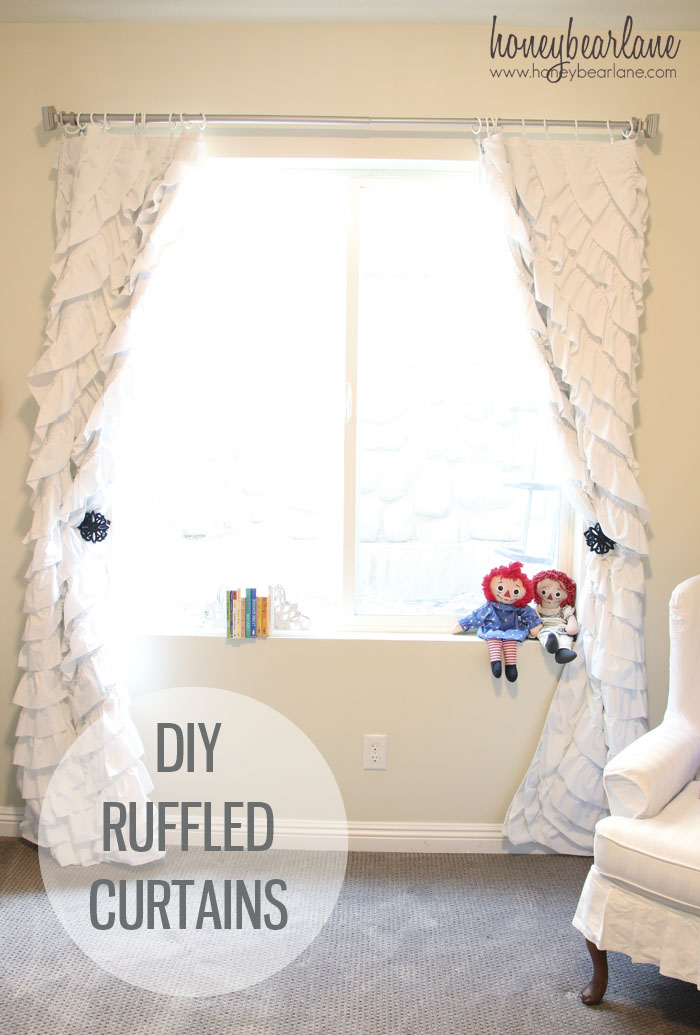
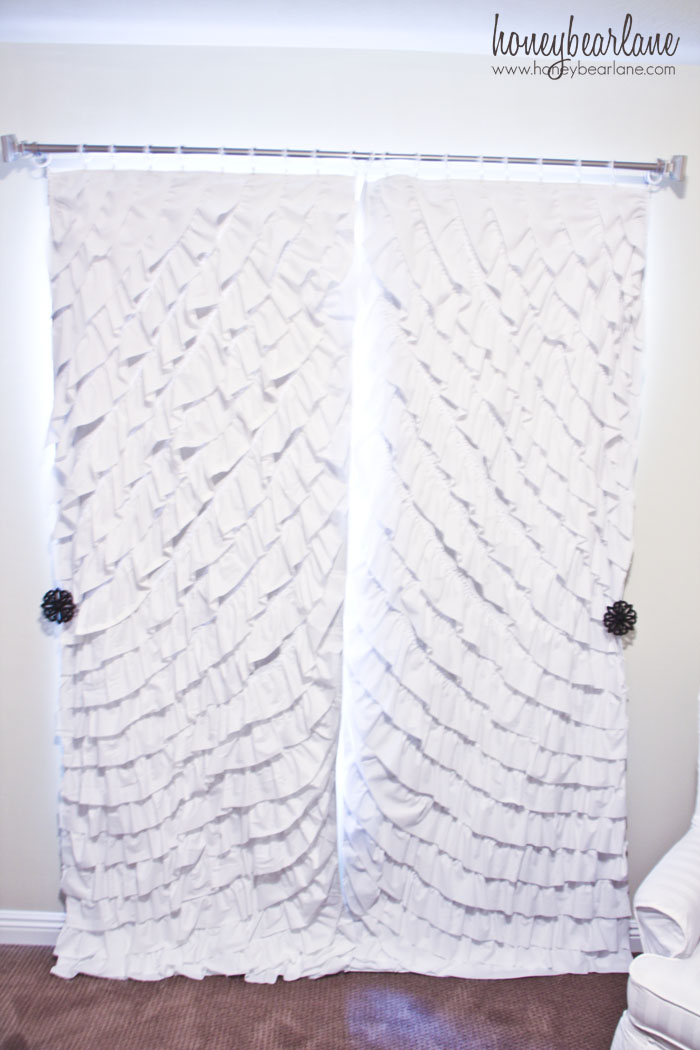
How to Make Ruffled Curtains…but not just any ruffled curtains. These are ruffled on an angle with a blackout lining.
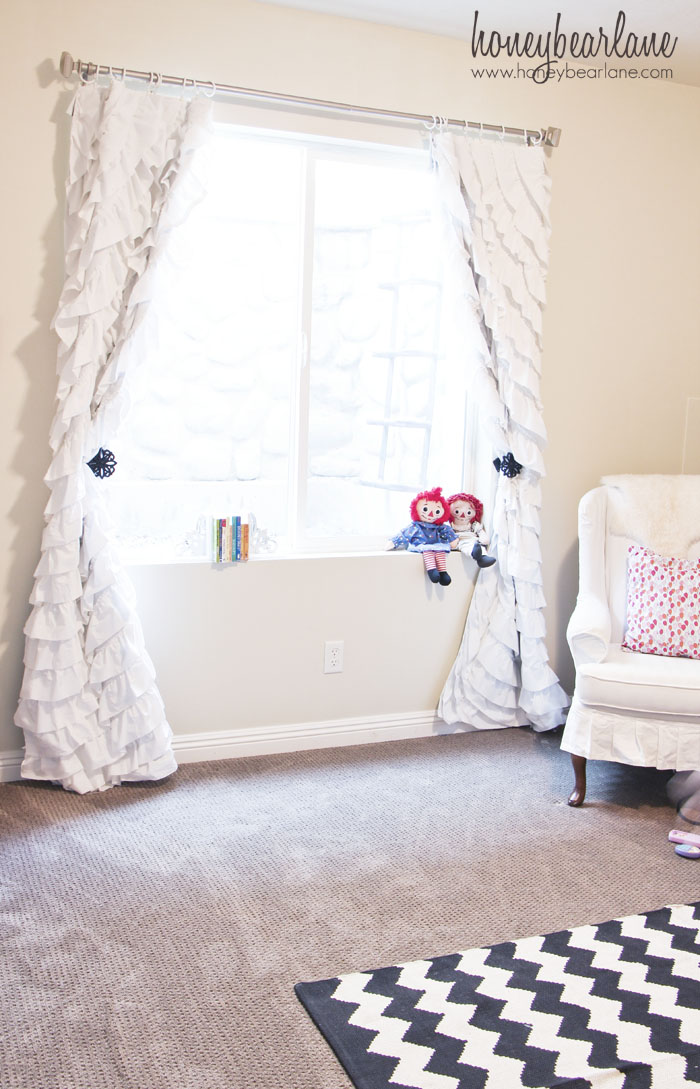
I made these curtains for my daughter’s nursery and here is what I have to say honestly: TONS of work! But well worth the effort. They are super cute and really add so much to her bedroom.
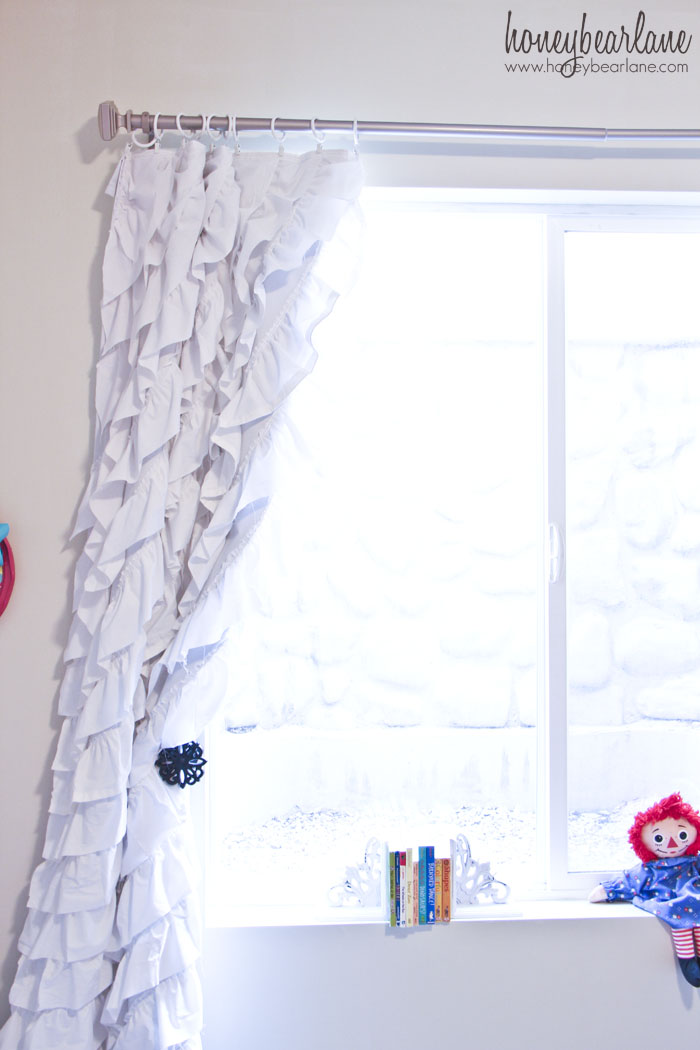
I thought long and hard about what to do for the curtains in her room. I kind of wanted to paint them but it wasn’t really working for my overall scheme. So I looked at lots of picture of ruffle curtains and really loved some I saw that were angled. I love the way the ruffles cascade down and when they are swagged open, ahhh! Love it.
I didn’t hem any of the ruffles because let’s face it, it took long enough to just ruffle the strips and sew them on. I don’t mind the shabby look either. But if you want to hem it, go for it!
I also made these panels so that they would be the exact same size as the window when they were closed, just a personal preference. But if you want to make it so it is still gathered even when closed, add about 6 inches at least to each panel. But you will have to have more fabric, and these two panels by themselves took two queen sheets! I also opted to hang them with curtain ring clips from IKEA which hold them up great. It makes it very easy to open and close. But if I ever change my mind, I can sew down the casing I folded down.
Do you want to learn how to make ruffled curtains?
Supplies
- 2 Queen size sheets in your color of choice. They sell them for pretty cheap at Walmart, and it’s much cheaper than buying yards of fabric.
- Backing fabric: I chose to use blackout fabric which comes at 60″ wide. This meant I only needed about 6 yards. But make sure you measure your window and decide accordingly. Remember that a yard of regular fabric is 36″x44″.
- Thread
- Sewing pins
- Ruffler foot
Here’s a little infographic for you to reference quickly. Below I will give more detailed instructions.
HOW TO MAKE RUFFLED CURTAINS:
Step 1: Choose your backing fabric. Like I mentioned, I chose blackout fabric to help darken the nursery for naptime. It’s a thick fabric though so the curtains won’t be light and breezy. I think if I chose to make these again I would consider just installing a roll down black out curtain and making the curtains with a light cotton backing. You will have to measure your window to decide how many panels you need and how wide and long to make them.
Step 2: Hem the sides and make a casing. Hem the sides of your backing fabric by folding over 1/4 inch and then over again by another 1/4th inch. Sew down the hem. Then make a casing if you want to hang your curtain by pushing the rod through the top casing. DONT sew the casing down though, just fold it, iron it (you don’t need to iron with blackout fabric though) and safety pin the corners down.
Step 3: Use a rotary cutter and mat to cut the sheets into 5″ strips.
Step 4: Use a ruffler foot to ruffle each strip. You can technically do this without a ruffler foot but I like using the foot because it makes the ruffle very even and secure, rather than when you gather with a long stitch, the ruffle can move around and look uneven. Ruffler foots cost about $25 on Amazon and here is a good tutorial for using them.
Step 5: To attach the ruffles to the backing fabric, start at the top corner and line up the end of the strip with the top of your curtain panel. Then pull the ruffle straight down at an angle to reach somewhere on the side, a little above the middle of the panel. The other ruffles will curve a little but this one will be mostly straight. Pin the ruffle down every few inches, that is important. Each ruffle needs to stay put while sewing. And since this is a large panel to drag back and forth between your sewing machine and the floor, I was able to pin about four or five ruffles at a time before sewing them down.
Step 6: Line up the next ruffle next to the first one, slightly overlapping the ruffle to hide the seams, but not too much because you will run out of fabric. This is why pinning is so important. As you pin down the ruffle, it will naturally start to curve and just let it. The fabric will kind of guide you where to go and don’t fight it. But do make sure they stay lined up.
Step 7: Continue pinning each ruffle down and then sew them down every four or so. I sewed them with a zigzag stitch just to decrease the amount of fraying. As you get closer and closer to the other edge, the ruffles will get shorter and shorter. Cut them off and save them for later because you can still use them, even if you have to sew them end to end. There were a couple of ruffles I had to sew another piece on to make it long enough. Just make sure that all the backing fabric is covered.
After the top row is done, you will start each ruffle down the side, tucking the end of each ruffle under the row above it so you can’t see the end. Just make sure to pin! If you don’t pin well enough, your ruffles will shift while you sew them and you will inevitably end up with gaps (I have a couple in here but there are not super noticeable.)
Step 8: Cover the whole panel with ruffles and sew down. Then cut your threads and trim your ruffle ends. I didn’t hem the ends either. Then sew down your casing (yes right over the ruffles) if you made one. And you’re finally done!
I used some large knob thingies I bought at Hobby Lobby as curtain tie backs. They are very easy to tuck the curtain behind for opening and closing. Another trick I used with the curtain rings is to put the end ring on the actual piece of hardware that holds the curtain rod up. This way the curtain stays put when pulled closed!
Would you ever make ruffled curtains or are they too much work? I’m not going go to lie, these were a labor of love, especially when other kinds of curtains take 10 minutes or so. But if you crave the ruffle, they are worth the effort! I hope you try it!
Linking up to Tatertots and Jello


Gorgeous, Heidi!! Definitely worth your time and effort. They really stand out!
i need a ruffler foot first. that makes things go way fast!
Get one! They are great!
they look awesome Heidi!! I can’t image the time they took, but wowza, they are great!
Those curtains are beautiful. I am sure they were a labor of love, but they turned out lovely and feminine without being pink. Love them.
Thank you! Her room does have pink but there is so many other elements that you barely even notice!
They are so beautiful! I want to see her whole room!
I just had to comment and tell you how much I LOVE the curtains. They are beautiful. I’ve been thinking of making them for my daughters room forever, but, I’m so glad I waited. The angle makes them so much better. Love love love it!
Love the ruffled curtains. Love that they go diagonal instead of straight across-more fun!
Way to go finishing! I did ruffled curtains for my daughters room and they took FOREVER and EVER. They turned out cute but I way underestimated how long it would take!
Yes–you know the pain of making ruffled curtains! But it’s well worth it!
I love how the ruffles are on a diagonal!
Beautiful curtains!!
Thanks Kari!
Your curtains turned out awesome. I love them. Wish I had the patience and knew how to sew.
Haha! Sewing is a great thing to learn–put it on your list!
Still waiting to see the whole nursery!! SO excited! 🙂 These look beautiful!
How much would you say you spent on these?
The black out fabric was the most expensive part at about $10/yard. But the other fabrics were cheap.
Love these! I have a cotton bedspread that is white with tiny blue flowers. Over a white background, perfect! Thanks for the tutorial.
Which way did you cut the queen sheets into the 5″ strips and what is the final length of each panel? I live the diagonal approach!!! Also – is this something a novice can do in a day or so? I hardly know how to sew but my mom will be showing me. 🙂
Thanks!!!
I just cut them across as normal, not on the bias. However this is not something you can do quickly. It was a rather difficult project so I hope you don’t get in over your head!
I love those curtains and will be attempting them soon! but I would also love to know where you got the curtain hold backs! I have been looking for some that I love but can’t seem to find any.
I found the hold backs at Hobby Lobby in their hardware/knobs section. Good luck!
Wondering since you used a ruffler foot if you used the 6 or 12 setting?
I don’t think mine has a setting…