How to Make a Slipcover Part 2: Slipcover Reveal!
To read Part 1 of How to Make a Couch Slipcover click here
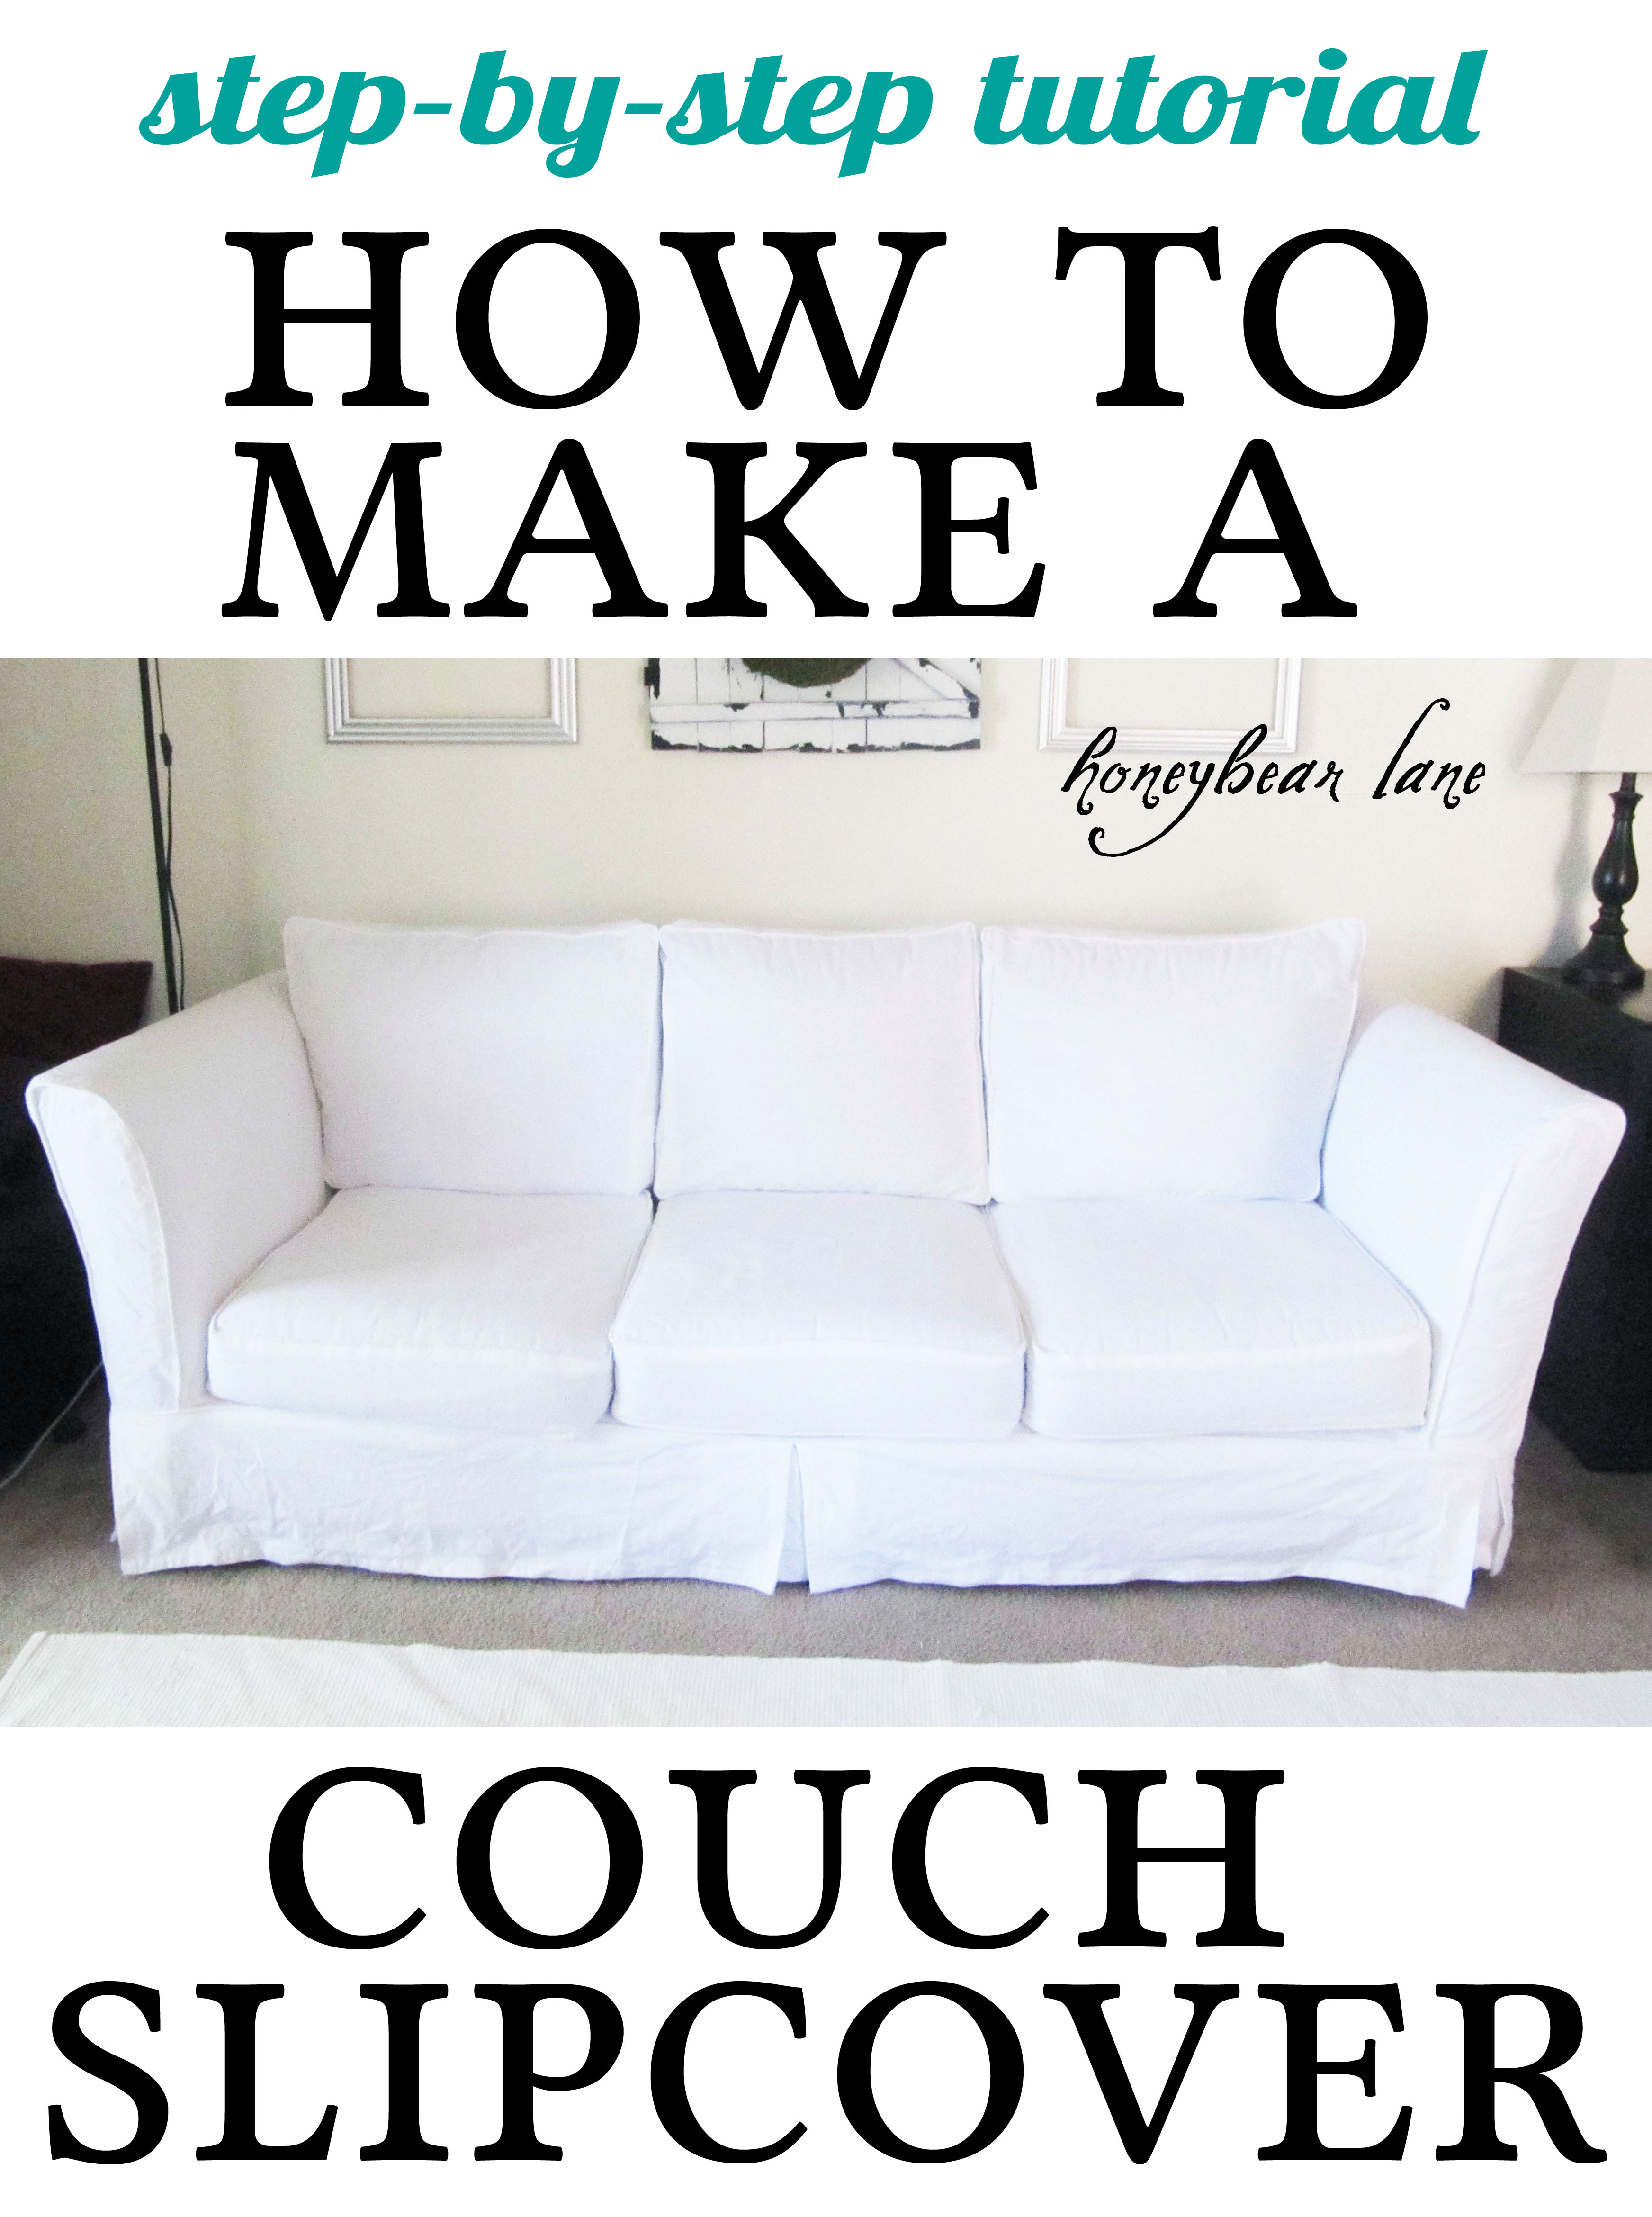
Here it is! What do you think?


PS I am aware of the crookedness of the stuff on the wall. We just ran out of time but we’ll fix it later. 🙂 I have washed it again so it’s still a little wrinkled but seriously, am I going to spend hours ironing my slipcover? No!
And here it is with the quilt. I plan on doing some more pillows and stuff but I need a little sewing break. Whew!

Here’s the Vasoline Distressed “Gate” art

It’s definitely not perfect. The hardest part ended up being the next couple of steps:
Adding the skirt (the part that hangs down with the box pleat)

The first thing you need to do is make the skirt separately. I drew this diagram to help you figure it out. First, measure the length and height of the sides and front of the couch. My couch front was 80″ and the sides were 40″. The height was about 9″. (The height is the drop from where you want your skirt to start to the floor.) So I cut four long rectangle strips that were about 45″ x 12″. Then I cut three small rectangles that were about 10″ x 12.” (I’m guessing a lot here, I didn’t do a lot of exact measuring. I always leave myself a bunch of extra fabric because it’s easier to just cut it off.)
To sew them, I first hemmed the sides of all the pieces.

These are the three small rectangles. See how jagged and unprecise the bottoms are? I cut that off later. Then I layered them like the diagram shows, all right sides down, with the long rectangles touching and the small rectangles covering the ‘breaks’.

This is the front so you can see what it looks like. Then I sewed all the fabrics together. After I did that, I sewed piping across the entire top. Afterwards, I pinned it onto my inside-out slipcover like this:

Pinning the front was fairly easy since I didn’t really have to measure. Make sure that the box pleats are on the corners and front middle, respectively. Mine were a tiny bit off, due to my lack of perfect measuring. That’s what I get I guess.
The sides were harder because I had to make sure the drop was about the same. I didn’t do this very precisely though and ended up with some mistakes. If I were to do it again, I would trim the slipcover to be exactly the length I needed it and then pin on the skirt. So do it that way.
Then I sewed it on, slipped it back on the couch right side out and saw a couple of issues where the arms met the skirt so I unpicked and repinned, then sewed it again.


See it’s a tiny bit off right there…I wanted the box pleated corner to match up exactly with the piping on the arm, like the other side did, but just an inch short of fabric. Seriously though, you really don’t notice unless you are constantly comparing your slipcover to the one in the PB magazine (which I was.)
I choked and didn’t take any pictures of the next part, hemming the skirt. What helped me was to draw little dots at the spot where the skirt hit the floor. I drew dots all around the whole skirt, then it was easy to figure out where the hem needed to be. I folded it twice to hem. And it was rough, I tell you, sewing those hems in my machine. My poor machine really took a beating making this slipcover.
For the back, if you’ve left yourself enough length, you can easily just hem it the same as the rest. I was dumb and didn’t so I had to add a little skirt (sans piping and box pleats.)

The last step is to do the velcro closures. I put these at the back corners of the couch. I put the slipcover on inside out and pinned it shut on top and a little around the sides, but left most of the back corner open. Then I folded the excess fabric back and pinned. The key here is to pull it tight to the couch and meet up the fabric, but then leave an inch or so on the arm side so that the velcro has a spot to overlap.
When you sew on the velcro, make sure the one part of it (the part on the back of the couch) is facing the couch, sewn to the wrong side of the fabric. Then make sure the other side is sewn to the right side of the fabric.

Then when you turn it right side out, it should look like this. Ignore all my unclipped threads.
And fit together like this:

Also ignore the fact that the skirts don’t match up. The other side is even worse. That is my punishment for not measuring exactly. But it is the back so as long as the couch is against the wall you really won’t notice. The best part is…now you are done!!!!!
To see how to make a cushion cover with a zipper, click here
Linking up to:
Tatertots and Jello Weekend Wrapup
Stories of A to Z Tutorials and Tips
Not Just a Housewife Show Me What Ya Got!
Heidi is a blogger, creator, and a mom of three. She loves sewing, quilting, cooking, crafting, painting, decorating, and designing. To make sure you don’t miss any of her latest creations, please sign up for Honeybearlane’s RSS feed.
A-MA-ZING! Doesn’t even look like the same couch. And, the quilt is gorgeous 😀
Wonderfully done!
WOW – great tutorial Heidi. Your couch is beautiful!! I shared it on my TT&J facebook page 🙂
xoxoxox
Jen
Thanks so much Jen!!! I loved your latest slipcover too!
Great job! You got it done just in the nic of time!
Not so hard right? Time consuming for sure though!! =) Looks fantastic.
Yahhhh! good job! I have been putting off slipcovering my couches (although they are hideous and are asking for it) I just don’t know if I should do white canvas or a dropcloth???? I too worry about the white getting really dirty and that’s why I thought to go with the dropcloth. But I love yours and an swooning over your quilt on top!!! If I finally got the nerve to finally slipcover I think I would have to do a quilt like you!!! hahaha! Oh the pressure! Again, love it!!
I love it, great job!
girls you are amazing.. i am jealous of your skilz
WOW! great job. I truly, really love it!
Great job! I also have a sofa that is slipcovered in white… what I really love is your Chevron quilt. Did you make it? I’m not a quilter…but I’d love to have one to put over my sofa.
Thank you! I did make the zig zag quilt also, you can see the post on it here: http://www.honeybearlane.com/2011/04/my-aqua-zig-zag-quilt.html
It sure does look amazing — you must be so pleased. Some early nesting going on huh?
Wow, you are quite a seamstress! Your slipcover looks so pristine and beautiful!
It looks fantastic. I’m incredibly proud of you.
You’ve inspired me. I’m going to do this! My couch is L-shaped. Wish me luck!
This is AMAZING!!!!! I LOVE how your living room redo is going:) Everything looks so nice!
I am in complete admiration! WOW! Great job. 🙂
WOW! I have been wanting to do this for awhile but my couch is HUGE and I don’t think I could ever get it to look as good as yours!
I think it looks amazing!! 🙂
Nicely done!
a.ma.zing. I love the velcro closure! It’s so beautifully done…you did a fantastic job!
Love your blog!! Its so cute!!! I am your newest follower!!! i would love to feature you on my blog. so let me know!! 🙂 So if you would like to go and check out my blog and follow me too! That would make my day!!! 🙂 I am so excited to start blogging and share my ideas on food, crafts, and mineral make-up. I will also be doing giveaways on stuff, like mineral make-up. So look out for it!
Thanks!
-Brooke
For-the-luv-of.blogspot.com
Hi! this is truly amazing. You did a great job – I am super impressed! Found you through Centsational Girl today! 🙂 And started following!
Wow! I feel inspired and it all looks great! I have made cushion covers before…and several times I have wondered if I could do my whole couch. What stopped me was that the back cushions are attached firmly to the frame. I see that it didn’t stop you and now I believe it can be done. I like it I like it!!!!!!!
It looks really great! I am curious to know how it is holding up. I know it hasn’t been that long since you finished, but one thing that makes me nervous about making my own is wondering how long it will hold up…and how it looks on a day-to-day basis?
Good work on yours! 😀
So far it’s held up great! I have my quilt over it almost all the time so that helps a lot of the dirt not get on the actual couch. Actually my son even got a little blood on the quilt and I’m happy it wasn’t the couch but I’m not sure how to get it out of the quilt. As for the fit, I made mine a snug fit so it really just looks great and not frumpy like some slipcovers do.
Hydrogen peroxide will take blood out of material. Blot it on full strength, then rinse. Or put all in washer with half cup in reg cycle. Works for me!
I know this is a couple of years late, but the saliva of the person who bled will take out the blood (old millinery trick). It really works.
LOVE the result- really, realy professional looking.!!
I think you did a great job! It looks great.
This. Is. Amazing!!
Hi Heidi, I am wondering how much fabric did you purchase for this slip cover? I’m terrible at guessing how much to buy before I start cutting things up. It’s beautiful and I can’t wait to try it!
I think I purchased like 22 yards which was way too much. There is a guide on Fabric.com but I added more because I was making slips for each cushion on the back. I would say 18 yards or so but find that guide on fabric.com.
This is the best tutorial ever! My sofa is a microfiber fabric and also red. And I have 3 girls under the age of 4, juice spills and everything else that you can imagine goes there. Im moving soon (I hope) so i want a fresh start. Thank you!
Good luck! My red microfiber couch just looked so dingy and I hated that I couldn’t wash it. Still love this slipcover.
i really really want to try and do this. but when i saw the cushions off the couch and a big hole in the couch it scared me. i am not afraid to say it did. you did a wonderful job. i just need to get more gutsy and do it.
It is scary, but once you start carefully deconstructing stuff, you learn so much about that item and how its made. It will boost your confidence and taking these risks are the only way you can get better! Good luck!
This is amazing! Final product looks great! Someone asked me to make them a slip cover, and I was soo nervous! But seeing this makes it seem a little less intimidating! Thanks 🙂
This looks great! The slip covers available online look all frumpy and non-fitted, but yours is so beautiful. How many hours did this take? I realllly want to do this but I feel like I might take forever. Or worse, I will get halfway and realize I made an unfixable mistake.
I’m not gonna lie, it does take awhile. If it’s a project you find yourself thinking about doing all the time then go for it!
Heidi, I’ve made slipcovers a number of times and it looks like you’ve done a fine job.
Hello. I’m loving your work and I really want to try to do this too. I have a super crappy looking but comfy couch I’d like to do this to. I bought clearance fabric and then realized I have no idea what kind/type of fabric I need. The stuff I bought was cheap thin $2/yd fabric from Walmart. I really love the color but I have a feeling I should get something else. I researched upholstery fabrics and they are all SUPER expensive. i could buy a whole new couch! Anyway, I’m wondering if you can help me find a super inexpensive fabric that will work for this project. I’d prefer not white. I’d also prefer a little color (The one I bought is mustard yellow and off-white). I’d so appreciate your help with this. Pleaseeeee!! Thanks:)
There are some really great home decor weight fabric on sites like fabric.com for a reasonable price. I wouldn’t waste money on a cheap fabric though. That being said, I made a slipcover from a couple of sheets that has been great!
Hey y’all! First off Heidi this is a great tutorial! I am in the process of following it and making my own! I was just going to say that I bought my 10 oz white duct fabric from bigduckcanvas.com. it was around $3 a yard…which was the best price I could find after a lot of searching and comparing! They were great to work with you also they sent me 2 blocks of fabric swatches for free before I decided for sure that I wanted white! I ordered 50 yards so I could do my couch(which is huge) and my oversized chair. I wanted extra fabric though to be on the safe side. I have been working on mine for over a week now…mainly due to ironing after washing my fabric! I wanted to share my own hiccup with anyone who is about to tackle this project though. I precut my fabric before washing and left plenty of extra room for shrinking…th problem I encountered though was the fact that my fabric edges unraveled a lot when I washed it. It was a night mare! All of my fabric pieces came out in clumps of mangled fabric! There for I recommend not precutting anything! Thank goodness I left plenty of room for the fabric to shrink or other wise I would be up a creek! Just a little advice for anyone starting this project! Happy sewing guys! 🙂
Heidi, your slipcover looks fabulous and professional! Hint: never point out any flaws, lol. You can’t even see them! I’ve sewn for thirty years, and this goes to show that I can still be impressed. Keep up the great work!
Love, love, love this! I think im going to attempt this myself and with that said, a quick question for you: did you cover over the origional fabric or take all the red off first? I will be covering an egg plant colored couch and just wondered how well the white canvas coceals the dark color underneth, if that’s how you did it?
I didn’t take the red off. I purposely chose a thick canvas fabric that wouldn’t let the red show through. That being said, I slipcovered a maroon wing chair with a 100% cotton sheet and it also didn’t show any of the maroon.
My husband and I received a wonderful used couch from our best friends, but the upholstery doesn’t match anything in the room right now and definitely doesn’t match the coral, navy blue, and white scheme I’m planning for the living room.
I have purchased 18 yards of white canvas from fabric.com to sew a slipcover based on your tutorial and I’m very excited to begin! But I have a couple of questions.
Did you prewash the canvas first? And if so, how did you do that?
For the actual sewing, did you use all-purpose thread or something more heavy duty?
What diameter of piping welt did you use?
I really appreciate your very detailed tutorial!
I did prewash so that it wouldn’t shrink a ton after I made them. I cut the fabric into about 10 yard increments and washed them normally. I used regular thread with an upholstery needle. The piping was…probably about 1/2 inch? Not exactly sure but it wasn’t tiny and it wasn’t big. Good luck!
Ms. Heidi, have you considered selling custom slipcovers? Your design is pin all over the internet. Honestly, the only design that even compares is Pottery Barn. What would you charge for a custom order?
Ha, thanks! No I don’t sell them…I don’t love making them enough to sell! But my friend Shelley does custom slipcovers, she is in Utah if you are in that area!
Love your slipcovers. I made my first couch cover 12 years ago on a Friday eve and sat morning, I made them out of several coordinating fabrics which I found made it easier to piece and sew. Last winter I made a new one out of drop cloths from the paint store. One large one will cover a couch and costs $30. Next time I will use your idea and put Velcro on back as I think that would make it easier to get on and off. I want to try your piping instructions also. Thank you for posting this.
Hi! I love this idea and I am fairly new to sewing but this looks doable! My only question is are you able to take it off and wash it at all? I have a microfiber couch that has had everything known to man spilled on it and I have been able to clean it out with our steam cleaner but I am tired of the green color. With dogs and everything I want to be able to take it off and wash it every now and then. I didn’t read the whole pattern so if you mentioned it somewhere I apologize! Thanks! It really is beautiful!
Yes–I can remove the entire slipcover and wash it!
Hi Heidi
Your couch slip is absolutely gorgeous!
I am very new to sewing and am wondering whether you can use any type of sewing machine especially for sewing the piping?
Also can one sew couch slip covers for leather couches?
Look forward to seeing more of your work.
Take care
Nyasha
You can use any quality machine, just use an upholstery needle. I think that you could do it to leather couches but piping might be tricky.
Your slipcover is beautiful and inspiring. You really did a good job! Am revving myself up to do something with my two couches. The form is good but the fabric is just too worn out.
So thanks for the tutorial!
Thanks! It’s a daunting task, so just take it one step at a time. Good luck!
do you know how to make sofa cushions softer? what can I put on them?
You can wrap them in batting from the fabric store…wrap as many layers as you need.
how do you make cushions softer on my sofa they are hard and unconformable? can any one help?
Thanks
Well, this is late, but I just found this and am trying to make a slip cover for a hideous (but free!) leather love seat we have. The problem is that all these slipcovers I see online are for couches with arms that DON’T have padding, and ours is pretty poofy, plus the arm cushions and back and seat cushions are all sewn on. I see you also had back cushions sewn on, and that you tore them off and made them removable cushions, though I can’t tell if you had to do that for your seat cushions, too. My couch is made of leather, though, so while I actually do have the tools to sew through leather, it’s VERY time consuming, and I’d rather made a slip cover that just goes over everything without removing the cushions or making separate covers for them. Will the cover stay in place, though? I wish I could post a picture, I’m sorry. I got some great fabric for super cheap from a closing upholstery store, and I want to save the money by making this myself, but ack! I’ve seen a few other sites suggesting using a PVC pipe at the back of the seat cushions to keep the fabric in place, which might work……thoughts?
My biggest concern is that the cover won’t stay in place if I make it to go over the entire couch instead of under the cushions.
Slipcovers like the style you are referring to won’t stay put as well as a custom one with individual cushions. But we bought one once from Surefit.com and it had this elastic band sewn into the part around the cushions and it was supposed to be pushed down inside the couch so it would stay snug—kind of like a fitted sheet if that makes sense. Good luck!
Thanks for sharing! I made (years ago) a white denim slipcover for my daughter’s sofa (more complex b/c it was a hide-a-bed) but came out nice. I purchased drop-cloths (on sale) to do my own since I’m very tired of the tapestry on mine, however, I didn’t like the way it looked against my cream colored paint, SO I purchased white twill to make mine. Although I washed my daughter’s, I made it REALLY tight and it continued to shrink a little. I plan on making mine looser. I bought extra fabric, because I want to make an extra set of seat cushion covers. (We have cats and I think they will get dirty faster!) I want to share a tip about pillows. I made the throw pillows with piping too, and put an invisible zipper beside the piping. They came out great and I had trouble finding the zipper, when I wanted to show someone how to do it, because it was so well hidden. Again, thanks for sharing!
This is awesome!! I’m buying my first home and have very kindly been given a sofa, I’m definitely going to have a go at doing this!! How much did it cost in total and how many hours did it take you? 🙂
Faye xx
Hi,
This slipcover is gorgeous! One question…are there any issues with the part under / behind the cushions slipping or moving around? My husband is a big guy and hard on sofas (which is why we need slipcovers) and I’m worried that it’ll rip underneath.
Thanks!
DJ
So far so good but we bought another couch two years ago that we use more often.
I am inspired! Thank you so much for sharing your ingenuity – what a brilliant resource. I’m definitely going to have a go at doing this 🙂
Ohhh I am SO gonna make my own slipcover!! My sofas are currently in a sorry state and I was this close to throwing them away. Ha ha. But thank goodness I found your blog! Thank you! Thank you! I do not have the skills in handling a sewing machine but I will not give up! LOL
Great attitude! I hope it works out well for you!
just found this page somehow and would love to see the beginning of the article. please consider posting a link to the beginning at the top or the end of the article or somewhere. please, Kitty
I either need to slip cover my current sofa, or just buy a new one… making a slipcover makes me really nervous, because I don’t want to end up spending as much as it would cost to buy new…. are you a really experienced seamstress? How long did it take you?
I would say that yes, I’m an experienced seamstress but not necessarily an expert. It did take me a long time and was a huge project. But if you just take it one small part at a time, it’s totally doable.
I can’t get your slipcover out of my mind! 🙂 I have a microfiber couch and love-seat that I want a washable slipcovers for. I HATE the fabric. I can’t keep it clean and the cushions slide out every day. I’ve tried velcro and the rubberized shelf liner under the cushions, and they still slide forward.
Did your seat cushions slide forward when you sat on the couch before the slipcover, and do they slide forward now?
Thank you so much!
Yes, they do, sadly. You could sew some really heavy duty velcro on them though, that might prevent it from happening. Sorry!
Do you remove the dark red cover of the original couch before you put on the white slip cover?
Does it show through?
No I didn’t. I used a heavy enough weight fabric that it wouldn’t show through.