• Home
  • About
  • Contact
  • Shop
    • Patterns

Honeybear Lane

DIY Decorating

  • DIY Tutorials
    • Projects
    • Building
    • Sewing
    • Quilting
    • Crafts
  • Home Decor
    • Home Decorating
    • Honeybear House
    • Organization
    • DIY home decor
  • My Home Tour
  • Recipes
  • Holiday
    • Valentines
    • St Patricks Day
    • Easter
    • Spring
    • Summer
    • July 4th
    • Fall
    • Halloween
    • Thanksgiving
    • Christmas
  • Entertaining
    • Printables
    • Parties
  • Wellness
    • Essential Oils
    • Health and Wellness
    • Weight loss
Catablog· Christmas· DIY home accessories· home decor· sewing

10 Minute Sweater Pillows

November 9, 2012

Sharing is caring!

501 shares
  • Share


I’ve always loved the idea of sweater pillows.  I went to DI (a Utah thrift store) and bought a bunch of sweaters and shirts for my Christmas projects this year.  I wanted to bring in some cozy and soft fabrics that are a little more ‘natural’ looking.  I love glimmer and glitz and you definitely will be seeing that in my decor but I also love natural and rustic.  And yes, my Christmas tree is already up.  It’s been up two weeks before Halloween.  Am I crazy?  No, I’m a blogger.

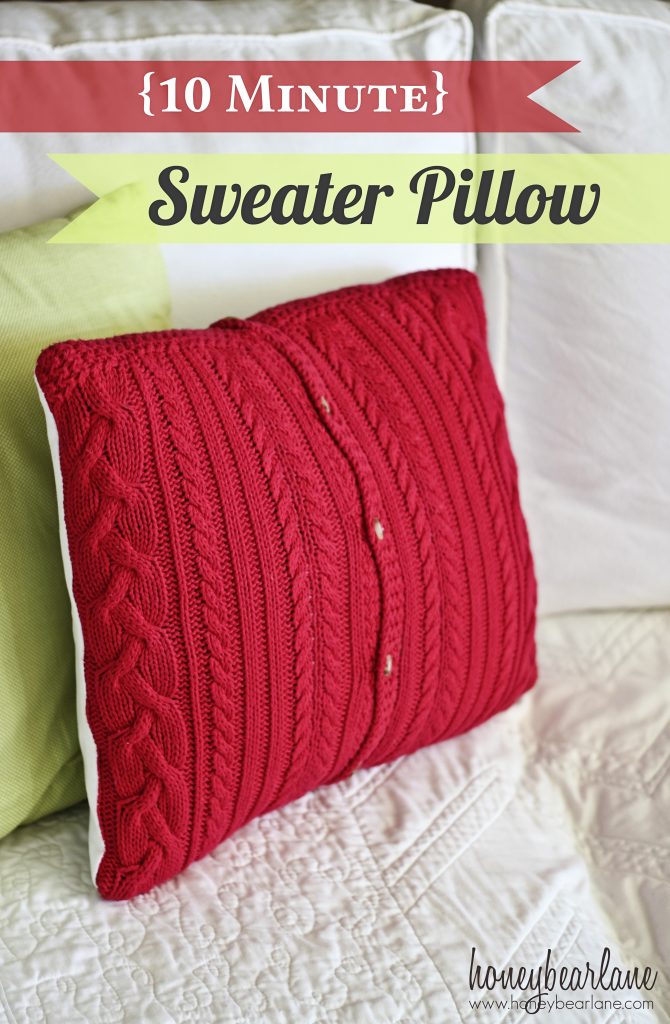
 So from one of the sweaters, I made a sweater pillow. I know this isn’t a groundbreaking idea, but it is a VERY simple one and one that anyone can whip up in minutes.  Ten minutes, to be exact.

List of Supplies:

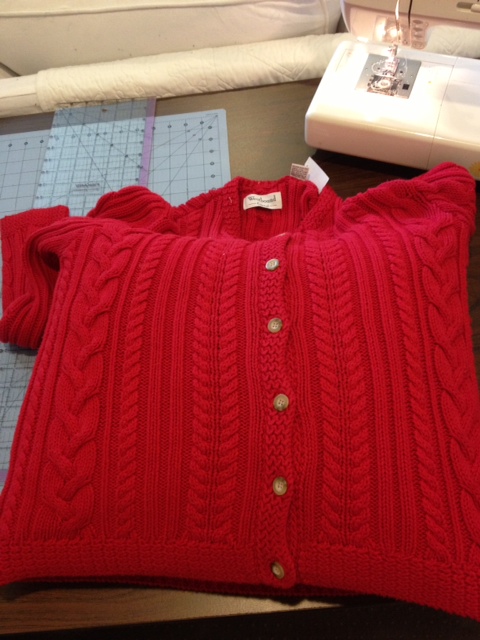
  • 1 old Sweater–I like the kind with buttons, like a cardigan.
  • 1 fat quarter of fabric for the backing (a fat quarter is 18×22)
  • 1 16×16 pillow form

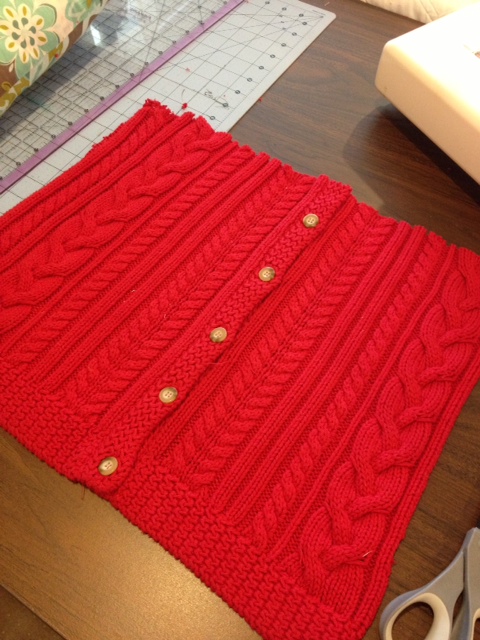
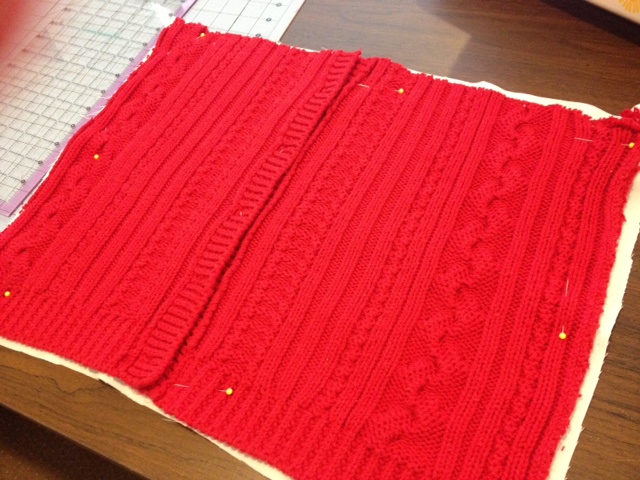
Step 1:  This tutorial is for a 16×16 pillow.  However if you want to cover a pillow you already have, just measure by putting the pillow inside the sweater and marking where to cut.  Cut the front of your pillow by laying your sweater flat.  Cut off the arms and a straight line across the top, below the neck.  Cut a 17×17 square for a 16×16 pillow.  Mine is a little more rectangular so it’s more like 17×20.

I liked the hem of the sweater so I incorporated it in.

Step 2: (I don’t have a picture of this but you can refer to the 10 Minute Pillow Case tutorial.)

IF YOU DO NOT HAVE BUTTONS ON THE FRONT –>Then cut your fat quarter in half so you have two pieces that are 17×11.  Hem two ends like in the 10 minute pillow cases tutorial.  Then overlap the two hemmed sides so it measures 17×17.  Pin in place and you can sew the overlap so it stays put.

IF YOU DO HAVE BUTTONS ON THE FRONT –> Cut your fat quarter to 17×17.

Step 3:  Put your back and front right sides together and pin all the sides.  Sew around the edge.  This might be tricky because sweater fabric is stretchy and thick.  I used a nice sturdy needle with a wider seam allowance.  I knew the sweater front would stretch to fit the pillow.

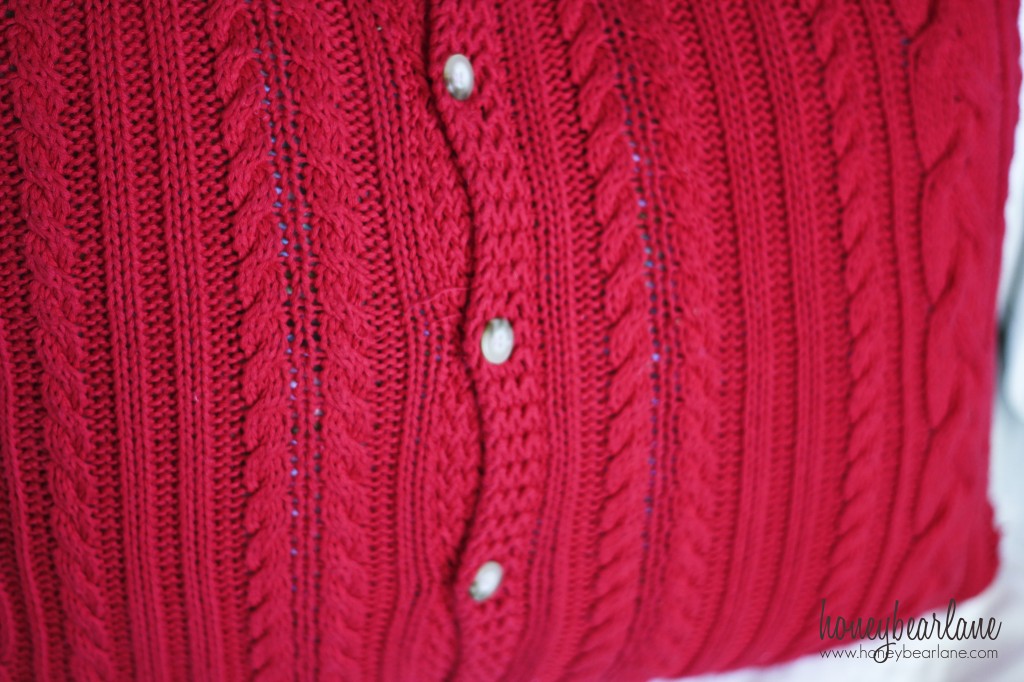
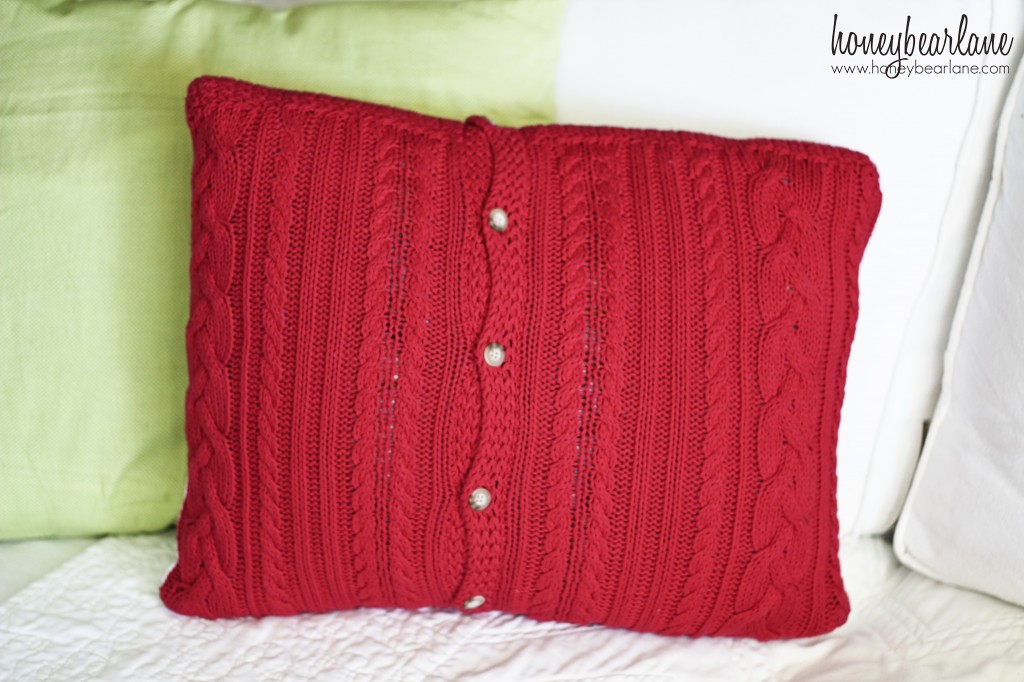
Clip the corners and flip right side out.  If you have buttons on your sweater, this will be achieved by unbuttoning them, flipping and inserting the pillow form, then buttoning back up.  If you don’t have buttons you can flip as normal with the envelope opening on the back.

All done!  Look how pretty and wintery and festive it is.  I love it.

Like this post?  Want to see it everyday in your RSS feed?  Sign up Here!

Filed Under: Catablog, Christmas, DIY home accessories, home decor, sewing 20 Comments

Comments

  1. Patty Virginia says

    November 10, 2012 at 12:21 am

    these are so cute. Think I’ll clean out my closet and see what sweaters I have that I don’t wear anymore. Would be great gifts for Christmas, too. Thanks for sharing. Pinned.

    Reply
  2. Shelly says

    November 10, 2012 at 12:24 am

    Too much fun -I love it!

    Reply
  3. Colleen says

    November 10, 2012 at 12:24 am

    What a great idea! I may have to try one of those. Thanks for sharing! 🙂

    Reply
  4. Lexi says

    November 10, 2012 at 4:20 am

    Cute idea!

    Reply
  5. Sandra Duffey says

    November 10, 2012 at 5:28 am

    Now I have to dig out my old sweaters that I was taking to donate. What a GREAT idea!

    Reply
  6. Diana says

    November 10, 2012 at 11:45 am

    Heidi, good idea! It will take me more than 10 minutes,but not hours which I don’t have………..Thanks!

    Reply
  7. Kay Siders says

    December 28, 2012 at 5:34 pm

    Why don’t you use the back of the sweater for the back of the pillow or the face of another pillow? What did you do with the back of the sweater?

    Reply
    • Heidi @ Honeybear Lane says

      January 6, 2013 at 8:04 pm

      I wanted to save the sweater for another project, and sewing through that much bulk would be pretty difficult and hard on my machine.

      Reply
  8. LuRae Fosland says

    January 27, 2014 at 8:40 pm

    I made three of these and they turned out well. I used the front and back of the sweater for the front and back of the pillow. I also found that if I turned the sweater inside out and marked my seam line (I used a narrow felt tip marker and ruler) stitched my seam line where marked AND THEN cut off the upper portion (sleeves and neckline, leaving some salvage of course) I had much less trouble with the sweater stretching out of shape when I sewed. Also using a rounded corner worked best for the weight of the sweaters I had. You can just stitch a rounded corner on your pillow form and trim for a better fit.

    Reply
    • Heidi @ Honeybear Lane says

      January 28, 2014 at 5:03 am

      Great idea! Thanks for your comment!

      Reply

Trackbacks

  1. Tutorial: 10-minute sweater pillow · Sewing | CraftGossip.com says:
    November 9, 2012 at 2:50 pm

    […] Every fall, I go through my sweater drawer and pull out the pieces that have seen better days or just don’t do it for me any more.  Heidi from Honeybear Lane shows how you can turn one of those unwanted sweaters into a cute new throw pillow.  It’s a quick project.  She was able to make hers in just 10 minutes.  Get the how-to. […]

    Reply
  2. Plaid Christmas Ornaments says:
    November 12, 2012 at 12:36 pm

    […] elements, so I used natural ‘winter’ fabrics, like sweater cable knits (like in my sweater pillow) and these flannel shirt Christmas balls.  Don’t you love them?  I can’t wait to show […]

    Reply
  3. Holiday Handmade: Santa Bottle Cozy from Honeybear Lane | Sweet Rose Studio says:
    November 15, 2012 at 7:54 pm

    […] will stop by and visit! Some of my favorite Christmas projects I’ve done this year are my sweater pillows and Plaid Christmas Ornaments! Happy […]

    Reply
  4. Creative Decorating Ideas That Will Make Your Room Cool and Chic | Official Web News says:
    February 10, 2015 at 6:47 am

    […] honeybearlane.comThese beautiful sweater pillows are made using an old sweater, fabric, and foam for the middle. […]

    Reply
  5. Creative Decorating Ideas That Will Make Your Room Cool and Chic | LifeTitude says:
    February 10, 2015 at 8:53 am

    […] via honeybearlane.com […]

    Reply
  6. Creative Decorating Ideas That Will Make Your Room Cool and Chic - Nishank Gupta says:
    February 10, 2015 at 9:47 am

    […] via honeybearlane.com […]

    Reply
  7. Creative Decorating Ideas That Will Make Your Room Cool and Chic | News & Stuff says:
    February 10, 2015 at 10:46 pm

    […] via honeybearlane.com […]

    Reply
  8. Creative Decorating Ideas That Will Make Your Room Cool and Chic says:
    February 11, 2015 at 4:10 am

    […] via honeybearlane.com […]

    Reply
  9. Stitch Blog says:
    June 15, 2016 at 10:20 pm

    This Sweater Is Great For Everyday

    […] e of course) I had much less trouble with the sweater stretching out of shape wh […]

    Reply
  10. 10 Creative Ideas That Add A Chic Look To Your Room – IKITO.ORG says:
    December 7, 2018 at 4:13 pm

    […] 2. Sweater Pillow […]

    Reply

Leave a Reply Cancel reply

Your email address will not be published. Required fields are marked *

Popular Posts

  • DIY Farmhouse Table and Bench
  • 20 Handmade Christmas Presents to Start Sewing Now
  • IKEA Hack: Expedit into Long Storage Unit
  • My Gorgeous DIY Office Built ins Reveal
  • 8 Steps to an Epic Halloween Party
  • DIY Mudroom Bench
  • Build Your Own DIY Outdoor Furniture
  • Tips for Painting Stair Balusters
Welcome

Hey there--I'm Heidi! I teach women how to decorate, DIY, and design so that they can love the home they live in.

  • Facebook
  • Google+
  • Instagram
  • Pinterest
  • Twitter

Creative Commons License
This work is licensed under a Creative Commons Attribution-NonCommercial-ShareAlike 3.0 Unported License

Privacy Policy

Copyright © 2022 Honey Bear Lane. Custom site by Moonsteam Design.
501 shares