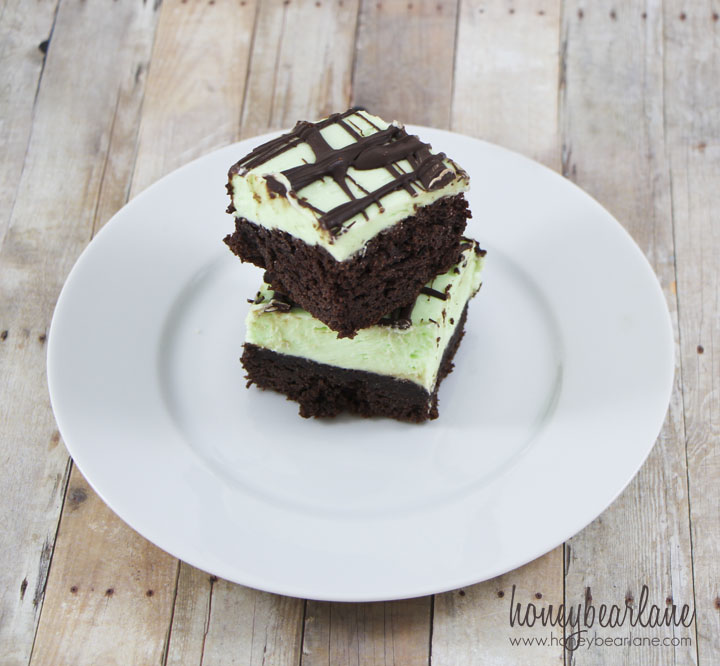
Mint Chocolate Butter Bars
I have to say, doctored cake mixes make some su-weet desserts–and easy too! And it was no different with Mint Chocolate Butter Bars. This is such a fun and easy St. Patrick’s Day Dessert (or really any day!) and even my mint-and-cake-hating husband loved them! We had them topped with some vanilla ice cream and as they say, that was the ice cream on the cake. Just really made the dessert that much better. If you love mint chocolate, mint and/OR chocolate, you really will love this. It doesn’t taste like toothpaste. Not even a little.
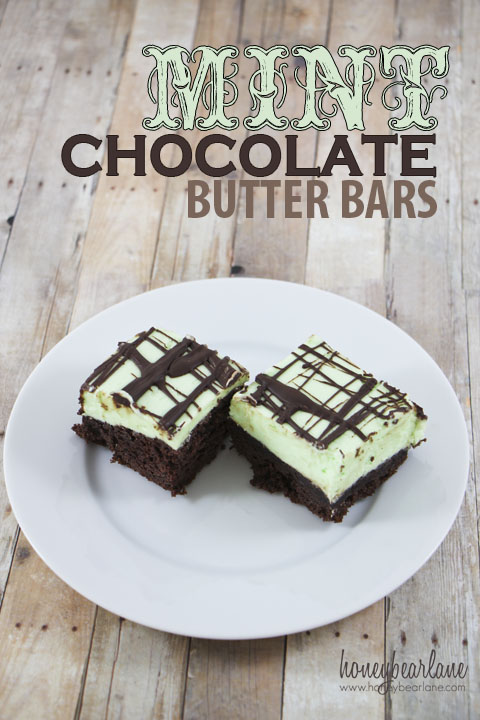
You might remember from the Red Velvet Butter Bars that this cake needs to be refrigerated before eating because if you don’t, it’s just kind of meh. But if you refrigerate it it’s WOW. I’ve also learned that if you take the hot cake out of the oven and immediately put it in the freezer, if will stay moister. Cut it with a hot knife to make nice clean lines when you serve.
Here’s the recipe:
- 1 Devil's Food Cake Mix (Use a good brand like Duncan Hines)
- 1 Cup Melted Butter
- 3-4 eggs
- 1 Cup Milk (use whole milk for best results!)
- 1 Tsp Vanilla
- Mint Buttercream
- 1 Cup Butter, room temperature
- 3-4 cups of powdered sugar
- 1 tsp. mint extract
- Green food coloring
- Chocolate Drizzle
- 1-2 cups of milk chocolate chips
- 2 Tbsp oil
- Combine the ingredients of the cake and bake at 325 for 18-20 minutes. Refrigerate (or freeze) the cake immediately after removing from the oven. Once it's cool, add your mint buttercream on top, refrigerate. For chocolate drizzle, melt chocolate chips in a double boiler or in the microwave, in 30 second increments until melted. Add oil and stir, then drizzle over the bars. Refrigerate until served. Best served with ice cream!
Do you make anything special for St. Patrick’s Day? This year it’s on Sunday so it will be so fun to make an Irish dinner and a fun green dessert (like mint chocolate butter bars!) What do you make?
Linking up to Honeybear Lane’s St. Patrick’s Day Linkup, Carolyn’s Homework
Oh yum! I would like some now, please!
i like chocolate 🙂
These sound amazing, I can’t wait to give them a try!
I set out to bake these but then I realized there is no pan size listed and it also doen’t say if it should be greased or not. I’m going to try it with a lightly sprayed 9 x 12 pan and hope it works.
Thats the size I used!