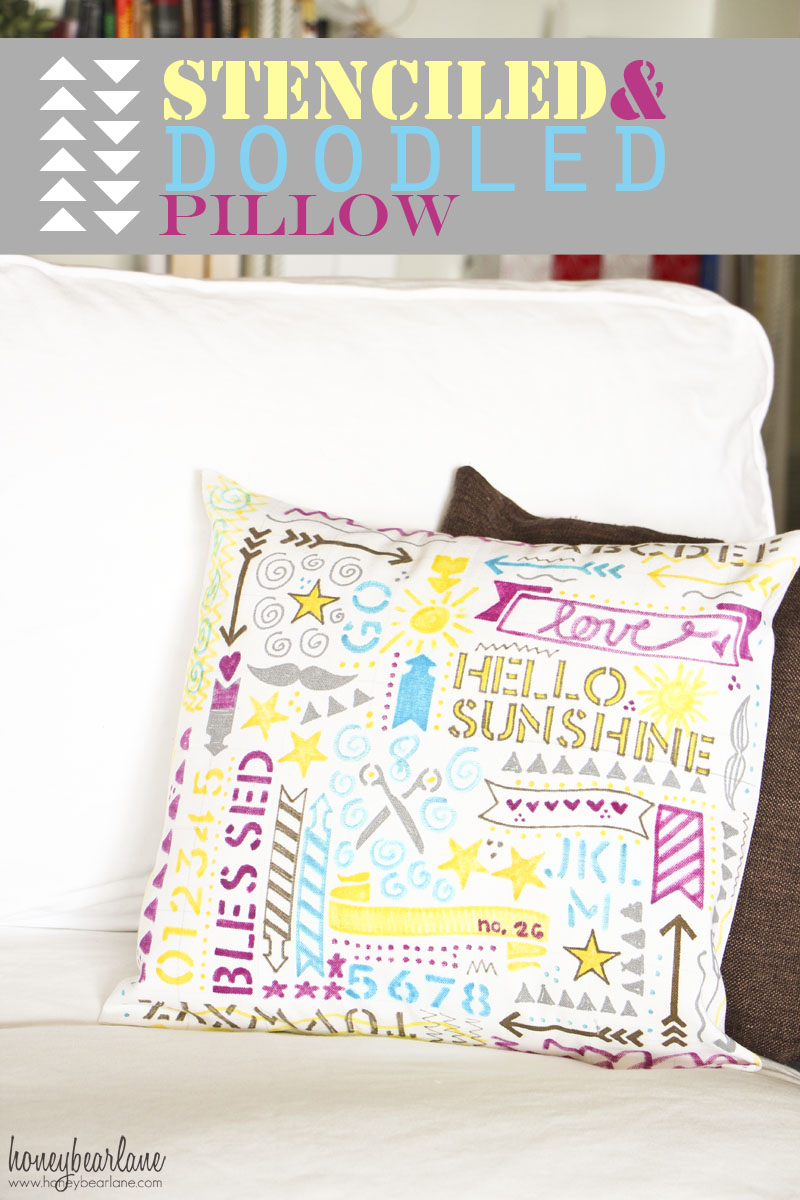
Doodled Stenciled Pillow
I like making pillowcases…and this stenciled pillow turned out so much better than I imagined!
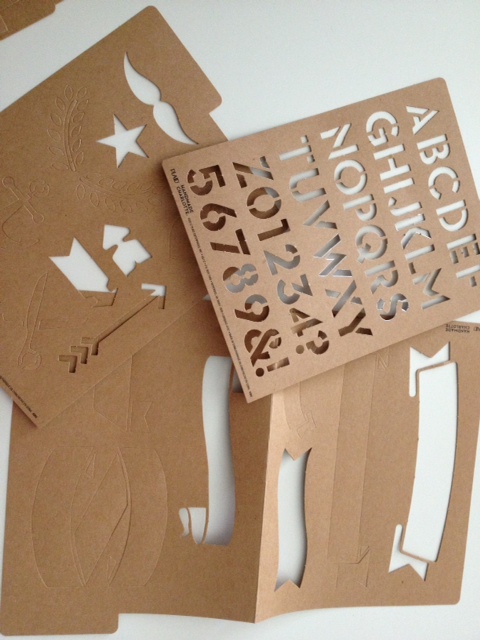
I was sent a stencil pack from Handmade Charlotte stencils with so many fun designs. So many possibilities for these stencils came to mind, but remembering these fun doodled bowls I did for Valentine’s Day, I wanted to try it again.
This project isn’t as fast as making a pillow with a plain piece of fabric, obviously, but the time is worth the effort. Really, it only took about an hour start to finish. And now I have a cute and totally custom pillow that is one of a kind!
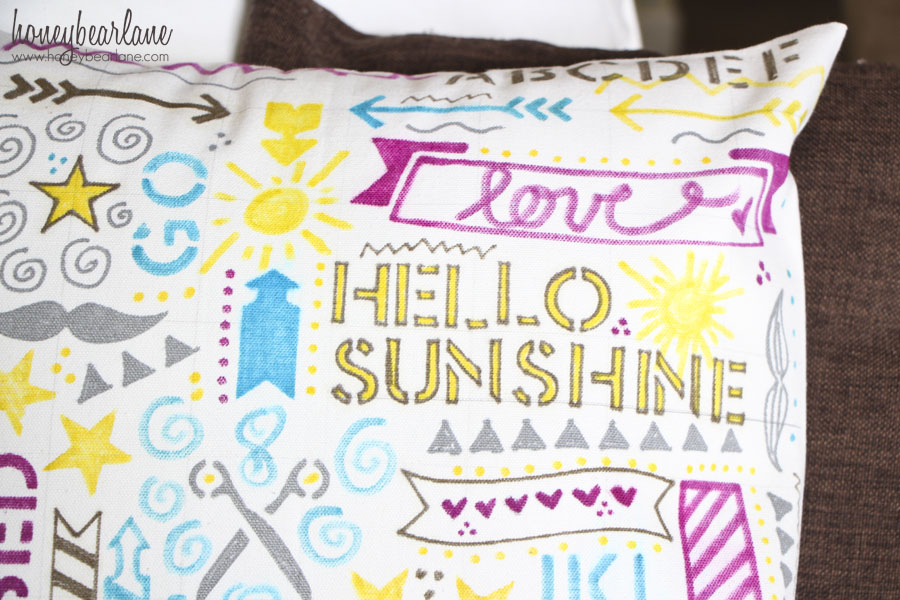
These stencils are so fun and come in such a wide variety of designs. I love the miscellaneous page with arrows and stars and mustaches. There is an entire alphabet in a military-style font and tons of fun shapes…even speech bubbles. The possibilities are endless!
Here’s how to make a stenciled pillow:
Supplies:
- Handmade Charlotte stencils
- Permanent markers
- 1/2 yard plain fabric
- Ruler & pencil
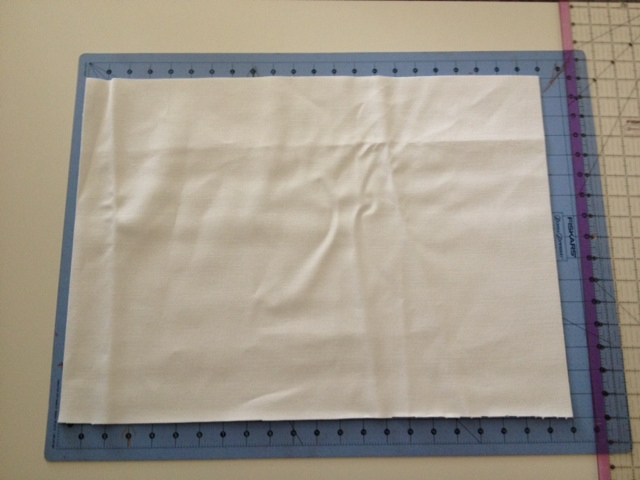
First cut your fabric to size. If you already have a 1/2 yard of typical quilting fabric, it will be around 44×18. You can follow my 10-Minute Pillowcase tutorial to make the actual pillowcase. (But don’t sew anything until the end)
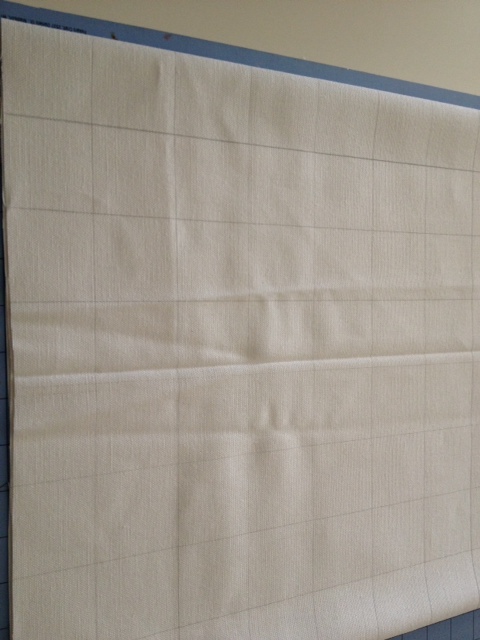
Find the center of the fabric. If you are fitting to a 16×16 pillow, you will want your center to be around 16×16 with about 14 inches on either side. Mark a line down the sides of the center so you know where your stenciling area will be. Then make a graph with light pencil marks that will rub away. This will help keep your doodles and stencils straight and level. You can skip this step if you want…I just felt more comfortable with the lines.
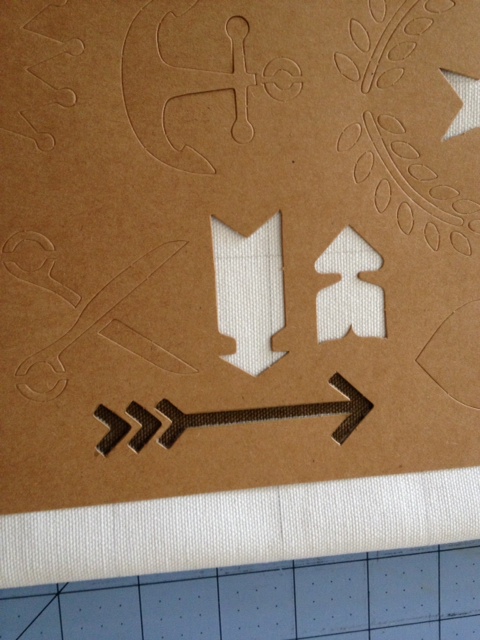
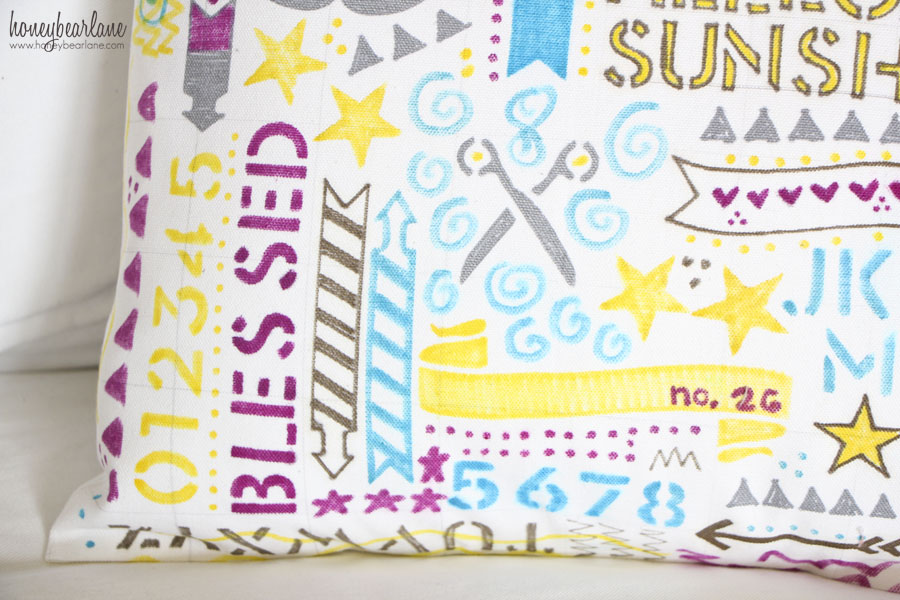
Now the fun part–start stenciling! I started in the corners and then just placed random designs. I tried to make a large variety of designs but not too wide so there was still some cohesiveness. I also chose five colors: gold, silver, yellow, magenta, and turquoise. The gold didn’t look gold at all, more brown. I tried to evenly spread the colors as well. I filled in the small spaces with little designs: dots, triangles, swirls, squiggles, etc.
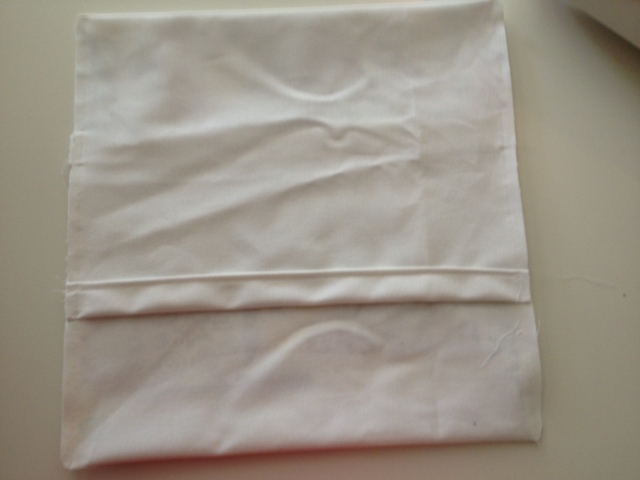
When you’re satisfied with your design, it’s time to finish up your pillow! Hem the raw lengthwise ends by folding over twice and sewing. Then fold with your design on the inside so the two ends overlap. Pin and sew. For detailed instructions, see my 10 Minute Pillows tutorial.
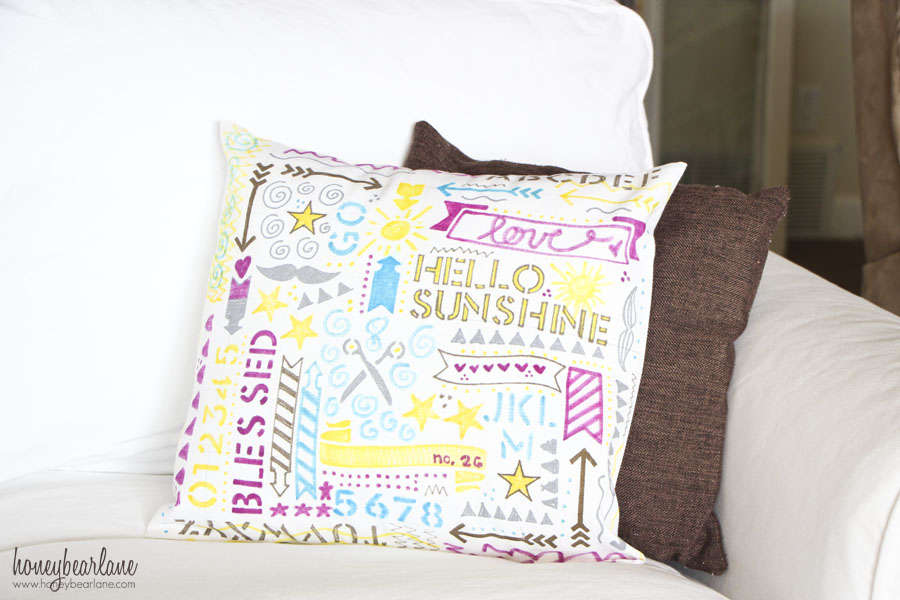
It turned out cute, right? I know what you’re wondering…how does this hold up to washing? Well truthfully I haven’t machine washed it yet. But after ironing it and hoping the heat would seal the marker, I ran it under water to see if it would smudge. It didn’t smudge much at all actually! The blue and magenta were the biggest culprits and smudged a teensy bit. The rest stayed put. So just to be safe, I would probably recommend hand washing or better yet, just putting the pillow in a place where sticky hands won’t get it dirty quickly.
Make sure to follow Plaid!!

I wrote this post as part of a sponsored campaign with Plaid and The Blueprint Social. All opinions in this post are my own.
Check out these other awesome projects made with Plaid stencils!
i love this! It’s so bright and cheery
How Awesome to have such a unique pillow, let alone be able to say, “yeah, I made that”! Love all those colors also!
Love your doodled pillow!
Thanks Katie!
Love this pillow! The colors are perfect.
Love how this pillow turned out, it’s fabulous! Thank’s for sharing the creative inspiration.
This is awesome Heidi! I love the colors.
Thanks Amy! This did turn out great and I love it!