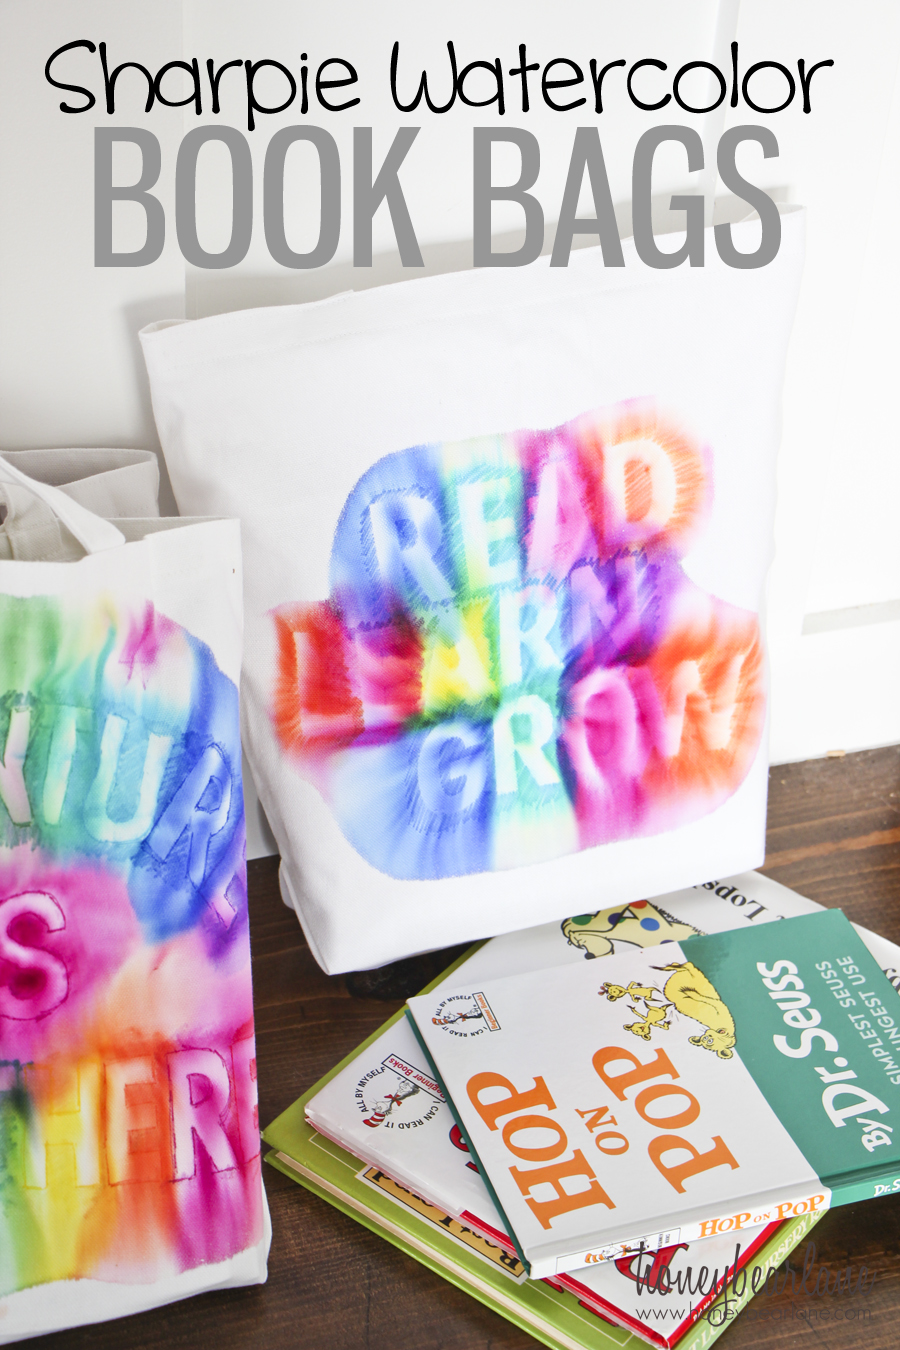
Sharpie Watercolor Book Bags
It’s back to school after the holidays and I want to encourage my kids to start reading more. I have always enjoyed reading and my own mom always heavily encourage it as well. In this world of screens, it’s so great to see your kid choosing to read a book. But my kids have been reluctant, mostly because I think they don’t know what to read.
So it’s off to the library! I like the idea of going to the library, but in reality it hasn’t been successful with us so far. Mostly because I feel like the books get lost quickly, mixed up with our own books, and quickly forgotten about until it’s time to turn them in. So I needed to fix that problem, and the solution I came up with was individual book bags.
I love decorating bags with Sharpies and stickers (school supplies art), it’s such an easy and fun way to decorate them, like I did with these school pencil bags. This time I decided to add a little ‘water color’ effect.
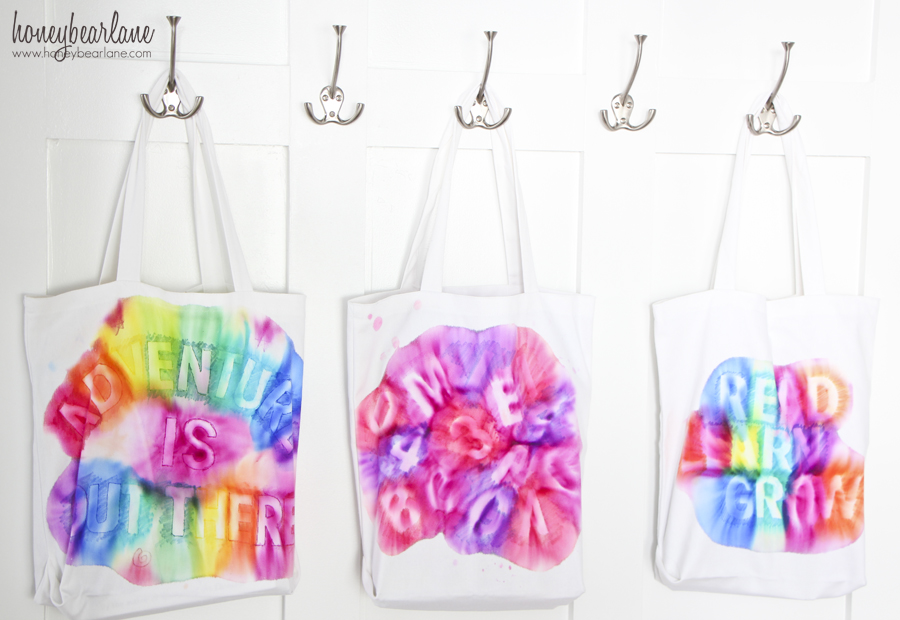
Sharpie Watercolor Book Bags DIY
Supplies:
- Sharpies
- Eye dropper
- Rubbing alcohol
- Large letter stickers
- Blank canvas bags
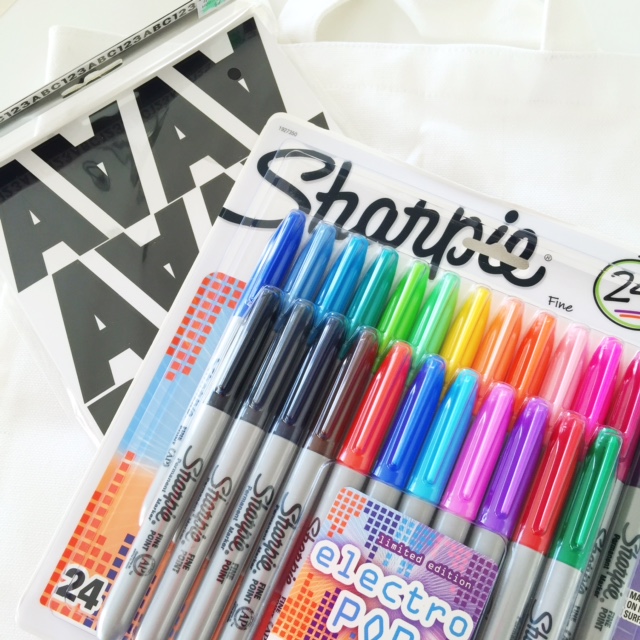
I found the Sharpies at Staples, the rubbing alcohol at a grocery store, and everything else at a craft store. PS–the entire week of January 24th you can save 35% on all Sharpie products at Staples (while supplies last)
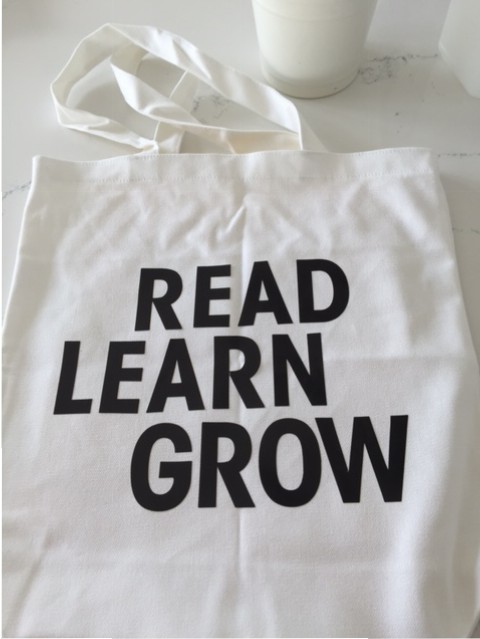
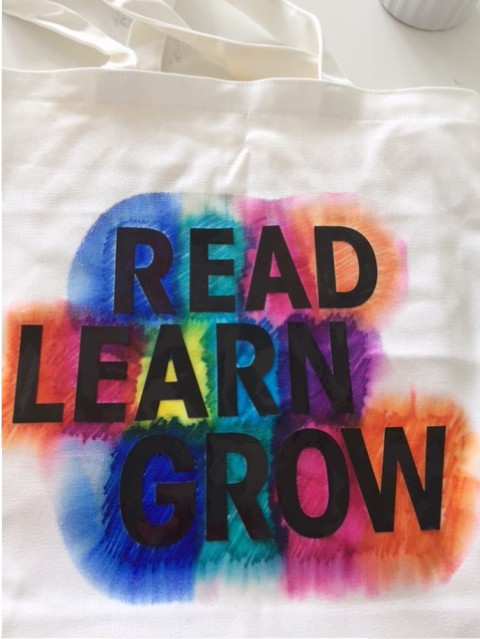
Step 1: Place something plastic inside the canvas bag so the Sharpie won’t bleed through to the other side. I used grocery bags. Then put stickers on the front of the bag in whatever saying or design you want. You could do your kids names or a fun saying or whatever. I decided to do a couple sayings so the bags could be used for other kids when my kids outgrow them.
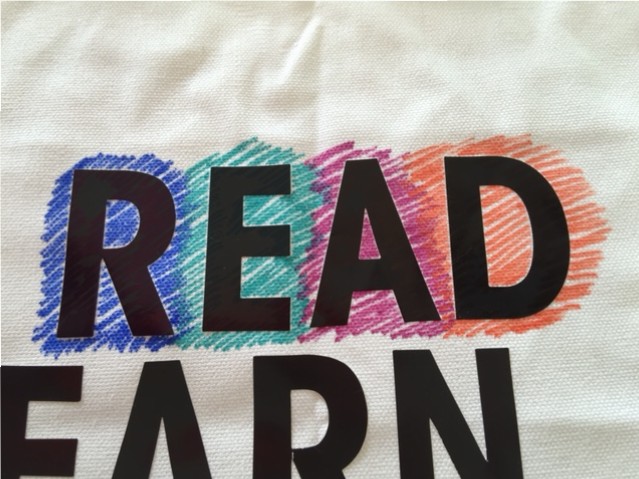
Step 2: Use the Sharpies to color across the letters so the color is around the letters, making a negative image of the letter. I found that slanting the marker as I colored helped it go on easier and smoother.
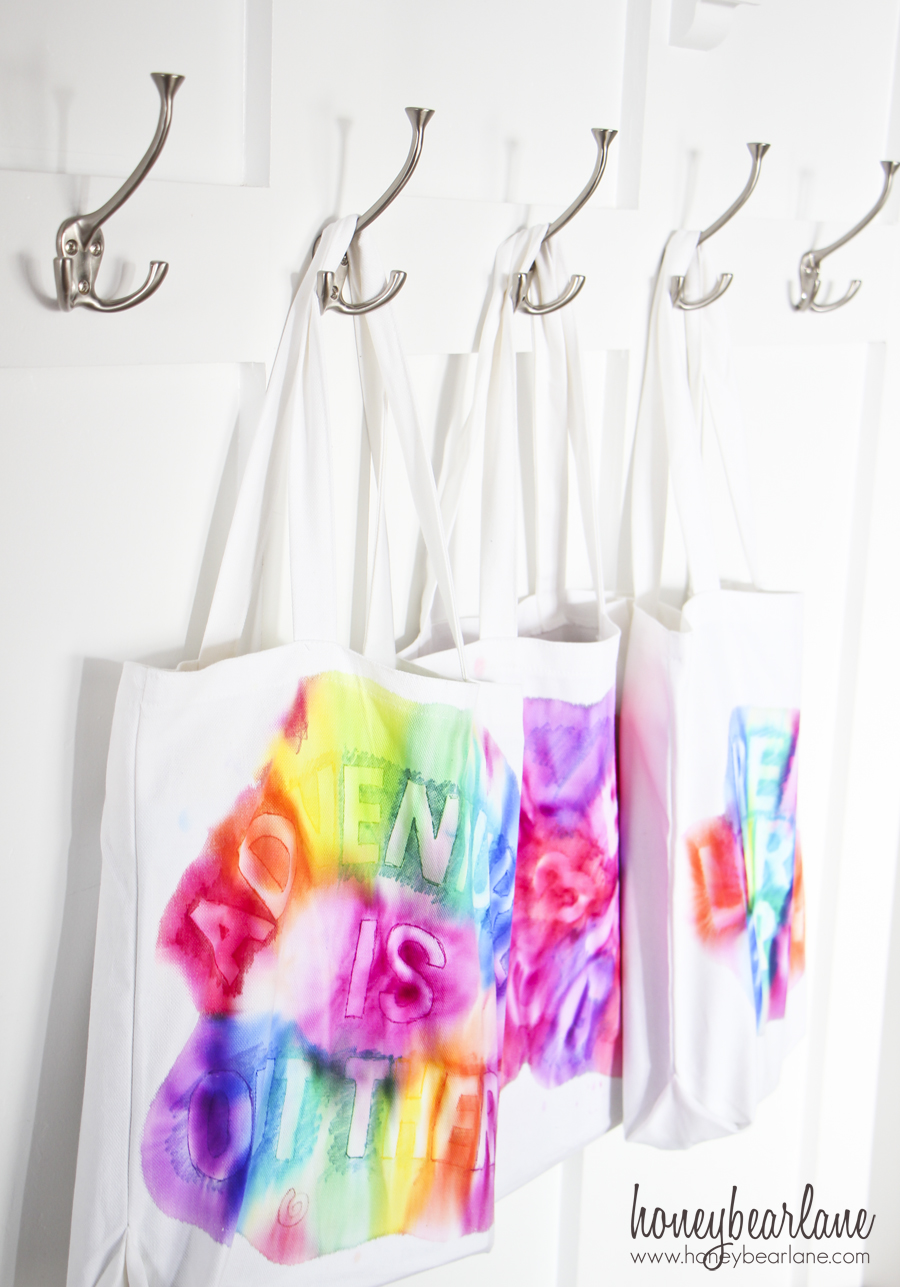
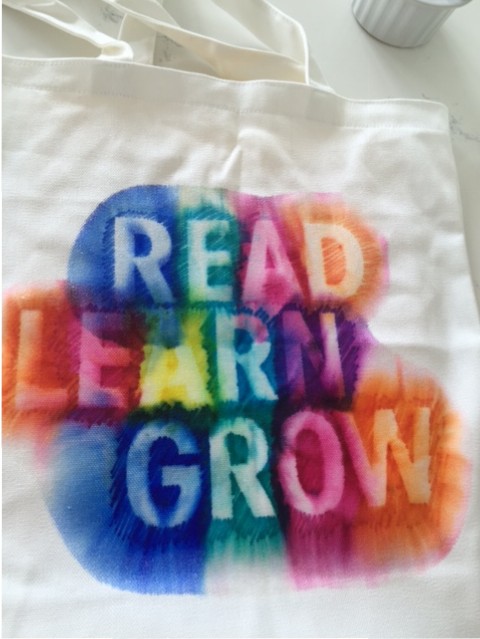
Step 3: Take the eye dropper with some rubbing alcohol and squeeze drops onto where you colored the Sharpie. It will start to smudge the color, the more you drop on, the more it will smudge. Remove the stickers and then let it dry.
Step 4 (optional): If the color has faded or smudged too much, you can take some fine tipped Sharpies of the same color and outline your letters so you can see them a little better.
Step 5: Tumble dry in the dryer for at least 20 minutes to set the color.
**I haven’t washed these yet and when I do I would probably wash them one at a time first to see how much color runs off. It is permanent marker so it should stay but you never know, and I don’t want to promise it won’t bleed! So wash at your own risk.
This post is part of a social shopper marketing insight campaign with Pollinate Media Group® and Newell Rubbermaid , but all my opinions are my own. #pmedia #stockup4schools http://my-disclosur.es/OBsstV