Christmas Decorations in My Home
I’ve decided to go on Christmas vacation on the blog next week, so this week I want to finally show you my Christmas decorations this year! I’m really happy with how they all turned out, although I wanted to do more things that I just didn’t have time (or energy for.) Maybe next year!
Please feel free to Pin any of these images!
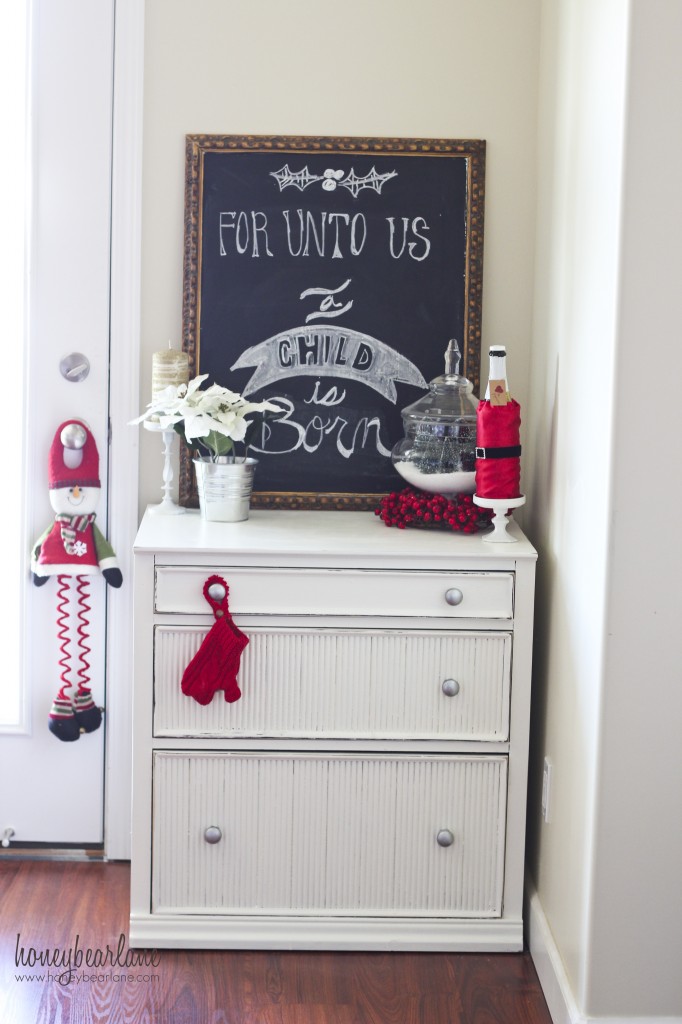
The first thing I want to show you is a recent change. Before, this was a black dresser and the chalkboard was a mirror. The dresser was in desperate need of a coat of paint and I was planning on painting it silver. But when I did a few coats in white, I really liked the way it looked with the chalkboard mirror. For the chalkboard mirror, I sanded down the mirror surface to be more rough, then painted it with Decorart’s Chalkboard paint that I had on hand. I did lots of coats because it was starting to scratch off. I also had to use a softer chalk.
CHALKBOARD TIPS
Here are a few tips I learned when doing a chalkboard (it’s harder than it looks!)
- Get the chalkboard wet. This helps in so many ways but the finished result looks amazing.
- Dip your chalk in water. This also helped to keep things wet. It looks really light at first but it dries much darker.
- Use a wet rag as an eraser. This will help with ‘ghosting’ -the leftover chalkings from using a dry eraser. Don’t use a paper towel since it leaves little particles behind.
- Practice, practice practice. I’m still not 100% happy with how this turned out but it was good enough and it was 1 am so I was ready for bed.
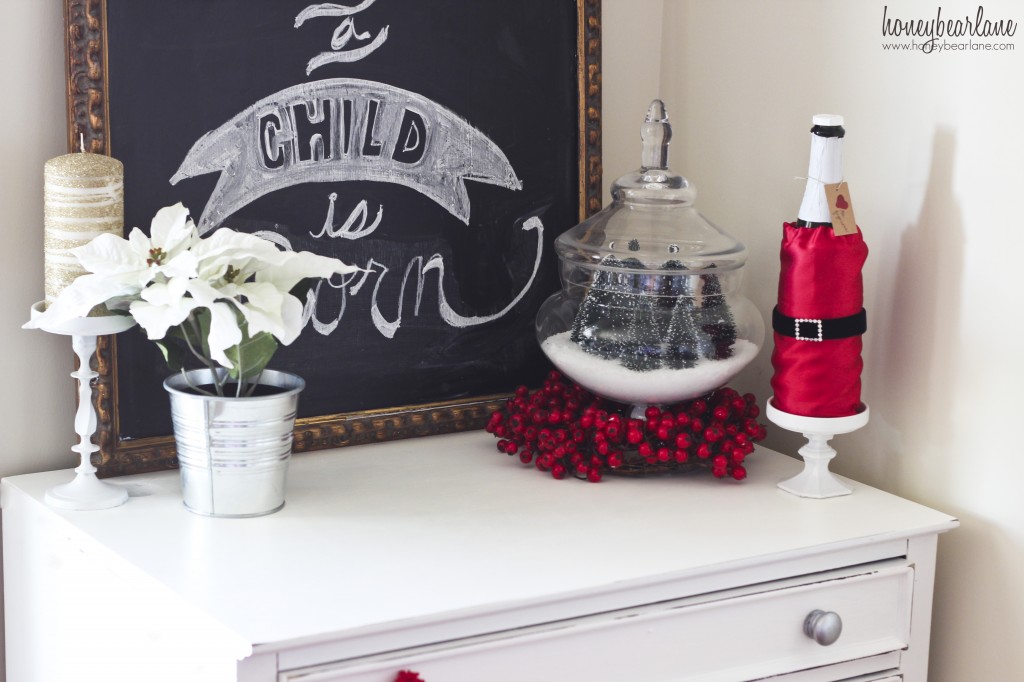
The other things in this vignette are a glitter striped candle, a faux poinsetta from IKEA, a glass snow scene, and a Santa Bottle Cozy.
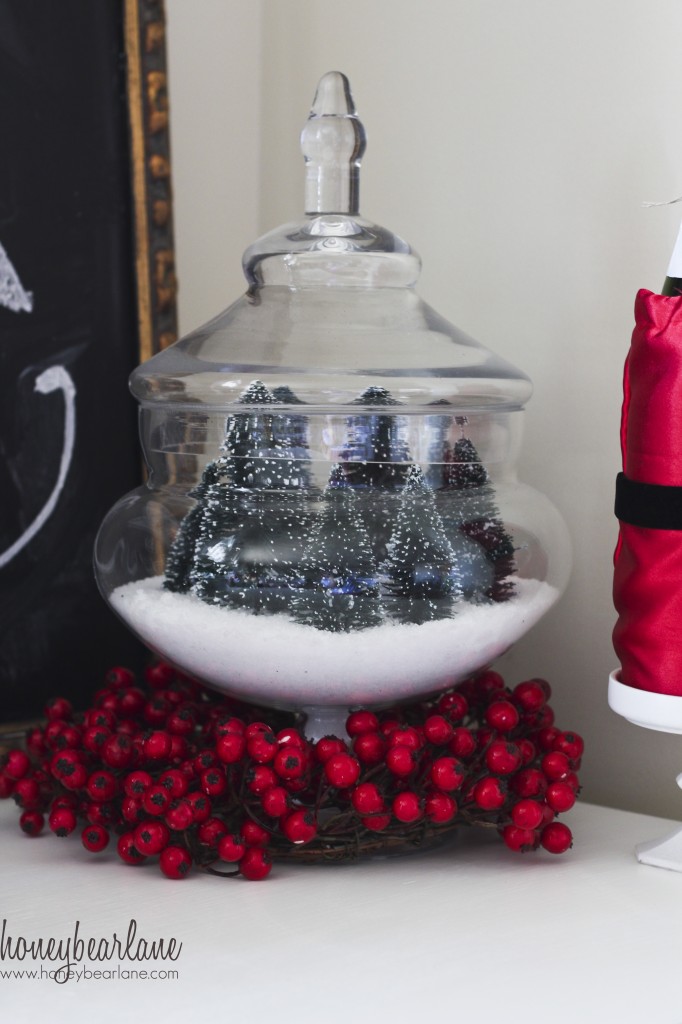
The glass snow scene is one of my favorite additions this year. I saw this somewhere I don’t even remember now and thought it was such a brilliant and simple idea. Just take an apothecary jar (mine’s from World Market) and fill the bottom with Epsom salts. Then add in whatever you want in your scene. I bought a bunch of bottle brush trees from Walmart and wiggled them in, so it’s just a little snowy forest scene. But you could add in other stuff too.
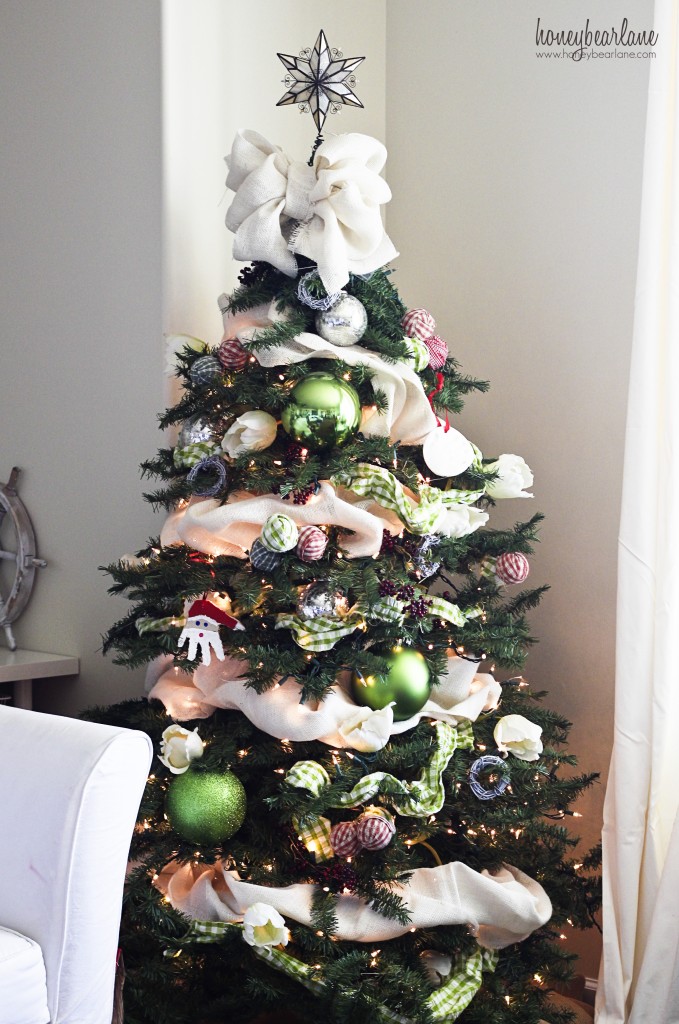
My Christmas tree is also pretty different this year (actually all my decorations are different.) To put it together, I actually strung the lights on vertically, rather than wrapping them around and around. This way is MUCH quicker and easier. Just mentally divide your tree into three or four vertical sections, then starting from the bottom, weave the lights in the section to the top. Try to coordinate it so your plug ends up at the bottom. And do the front first and back last.
For the decorations, I used lots of white burlap and just shoved it in there. I made a white burlap bow for the top. I did the same thing with some green gingham fabric, the same fabric I used on my Plaid Christmas balls. I had three giant green ornament balls that I put on first, then added in some other elements, like white tulips, the Plaid Christmas balls, some dark red berry branches, and a few other things. I also had some pretty silver crackle balls that I bought just for my husband who loves crackle glass. I put those at the top so they wouldn’t get destroyed by any mischievious kids. Actually my kids have been great with my decorations–they don’t touch them at all! I think that they are used to so many decorations that that aren’t interesting anymore. Although you can tell that the burlap and ribbon at the bottom is starting to come loose from their rough housing.
I wanted to add a few more elements to my tree, but there just wasn’t time this year. I would love to get a new Christmas tree next year…this one is a huge pain to assemble. It’s one of those ones where you have to put in each individual branch and they always come loose. But it was our first Christmas tree as a family, so there’s sentimental value.
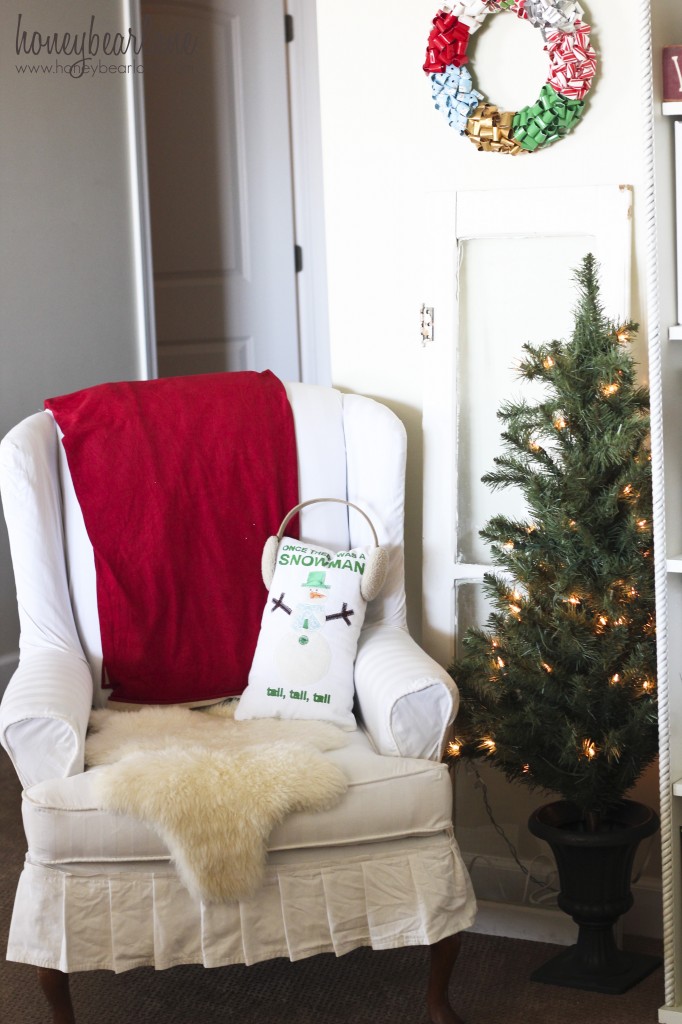
My house has a gigantic living area that has been a challenge for me to arrange with furniture. But I’m finally starting to figure it out. I made this cute little reading area with the wing chair next to some bookcases I re-did (which I have yet to show you!). I think it’s got a cute little vibe, with the Christmas colors, the little tree, and the old window. And above the window is my Duck Tape wreath which has a vintage feel. I also love that “Once there was a Snowman” pillow I made with an Accuquilt Go! cutter.
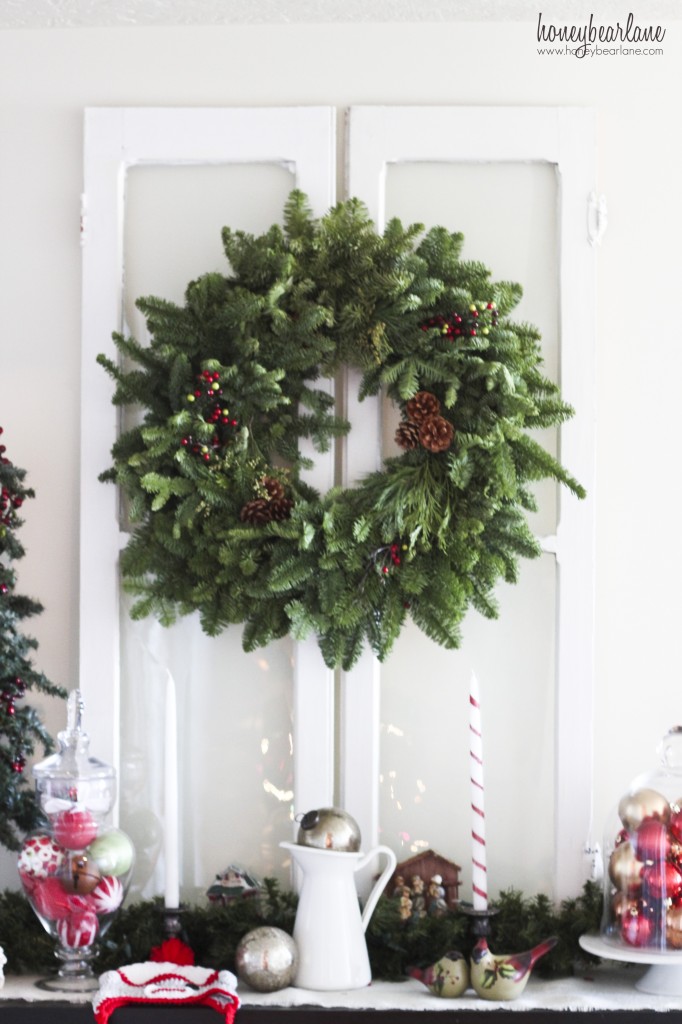
The lens on my camera is great and I highly recommend it, but it has a large focal length so I have to be really far away to capture room pictures (which isn’t really possible in a house.) So this picture is pretty close up. But it’s one of my favorite vignettes this year. I put a piece of white burlap as a runner first. Then I put some old windows on top, with a real pine wreath on them. That is SO wonderful…smells so great. I really would love to get a real Christmas tree next year, but my husband is convinced he’s allergic to them.
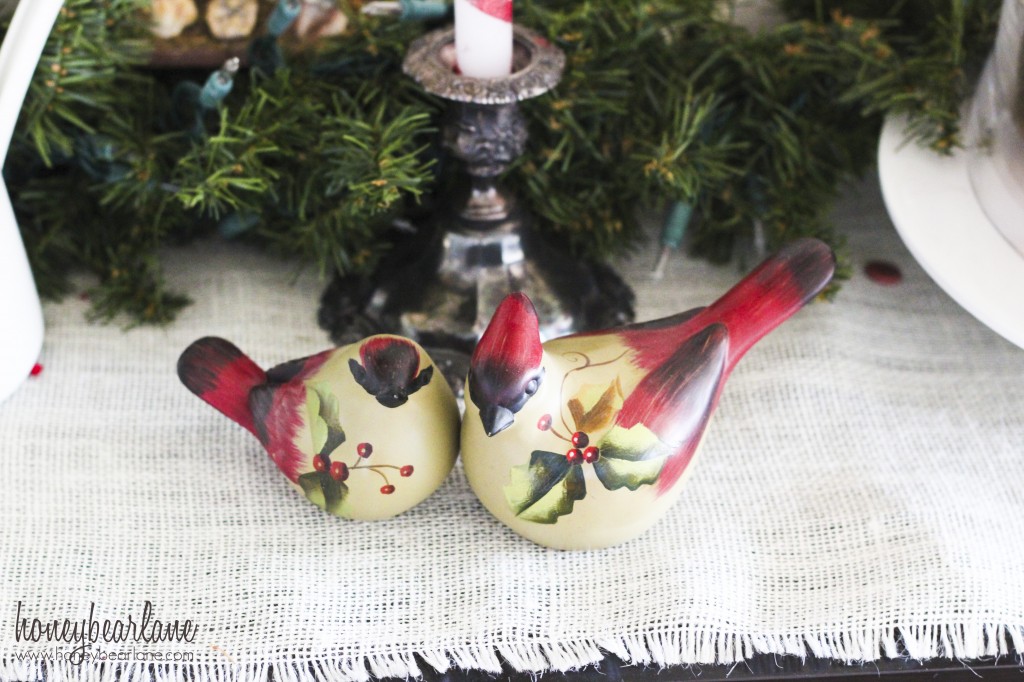
I have a bunch of decorations on the buffet table, like these cute little Christmas birds. I also have a bunch of ornaments I made last year in the apothecary jar as well as some other glass balls under a cloche.
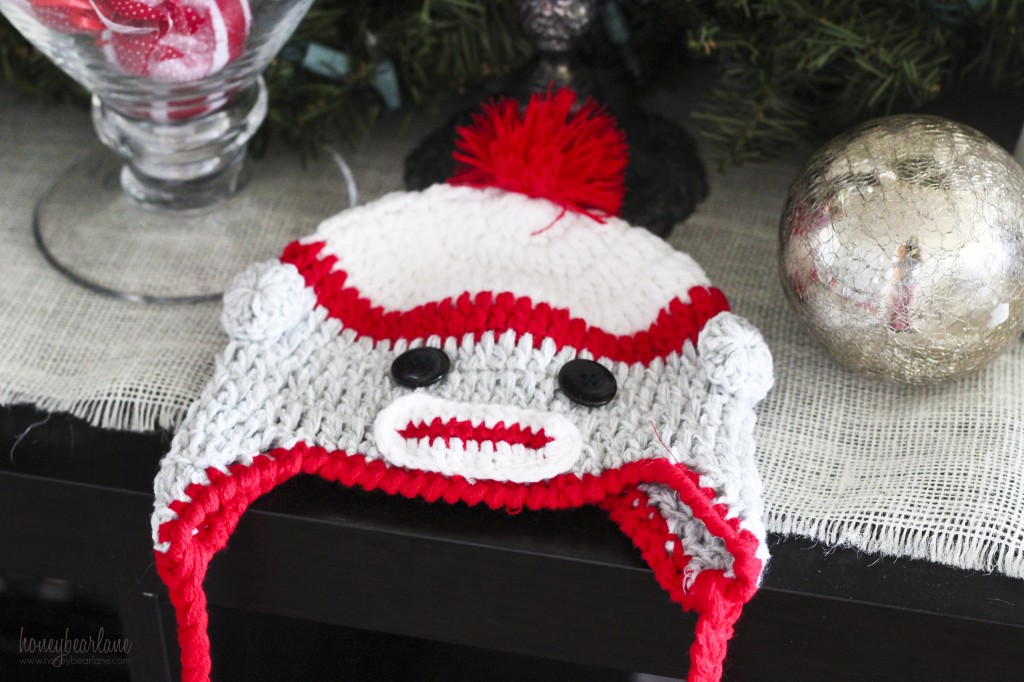
And I also included this cute sock monkey hat that I bought from Pick Your Plum. I got it for my kids but no one wants to wear it (isn’t that always how it is?) so I thought it would make a cute addition to my Christmas display!
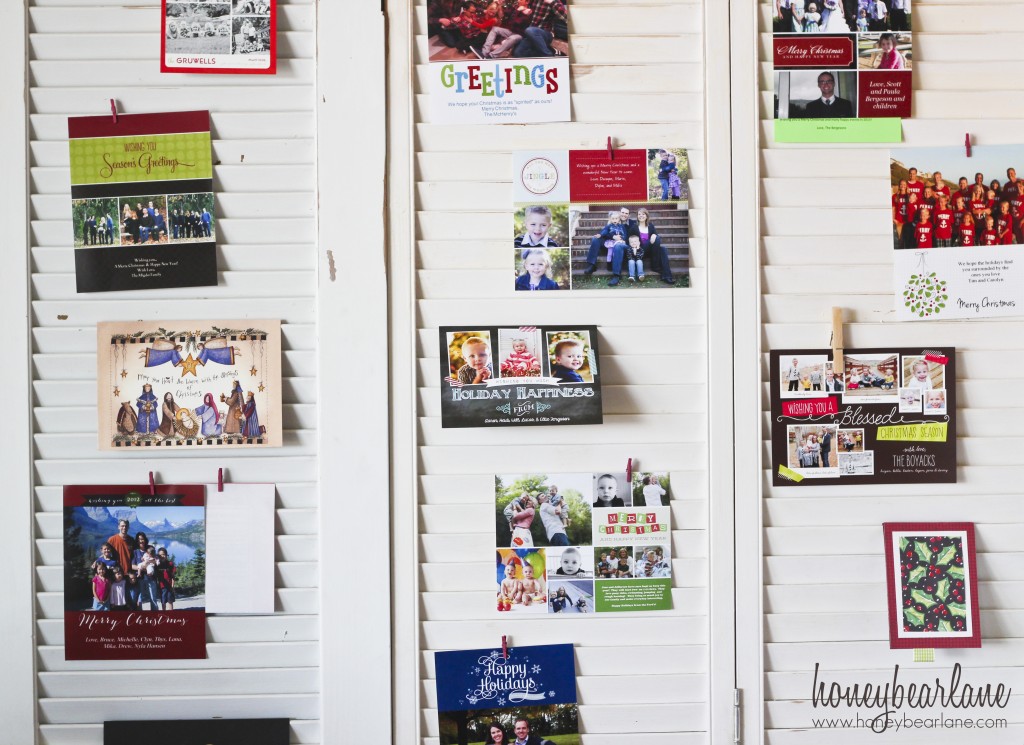
The last thing I want to share is this: my Christmas card display on my shutters. This is such an easy way to hang them up…the folded ones I can just slide in and the other ones are clipped on with mini clothes line clips. I love seeing all the cards from friends and family–it’s so much fun. After the holidays are over, you can save them by making a Christmas card book.
I hope you all have a wonderful holiday! xoxo–Heidi

Gorgeous decor, Heidi! Your looks magazine worthy. 🙂 Merry Christmas, my friend!
Love these ideas! Definitely pin-worthy. Mine pale in comparison but I’m a fellow chalkboard lover so I have to share. http://laughingabi.wordpress.com/2012/12/20/christmas-decorations/
I checked them out–very cute! Your chalkboard is lovely.
Heidi you are AMAZING! What a beautiful way to display your pretties, you sure have a wonderful talent!
Best wishes this holiday season to you and yours.
This is all so cute thanks Heidi! Have a Very Merry Christmas……..
Your tree is simply gorgeous! All of your Christmas decorations are beautiful but that tree is so unusual I love it!!
Thank you so much! I didn’t think it was that unusual myself but I appreciate your comment.