IKEA Hack: Expedit into Long Storage Unit

Check out my latest IKEA hack–in my Farmhouse Loft.
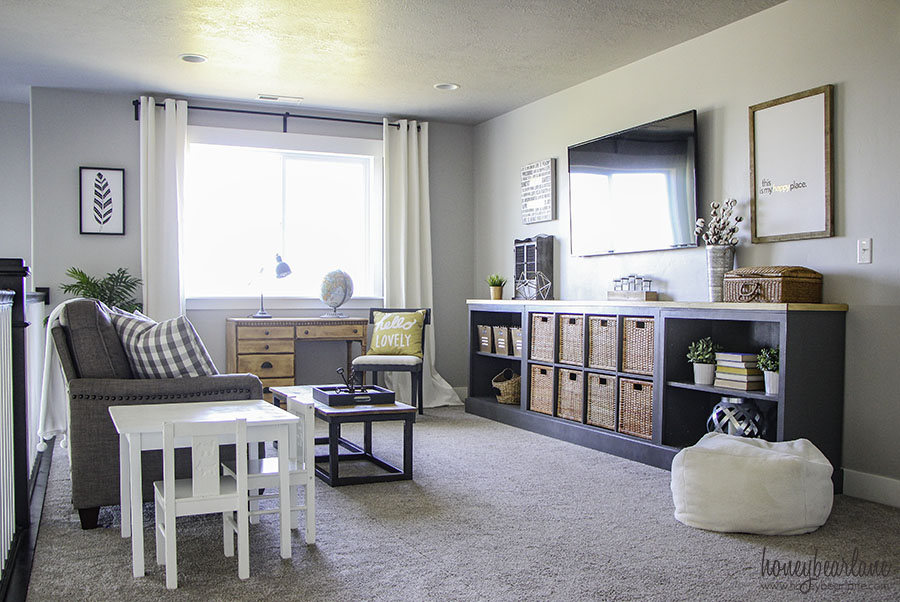
I’m always pretty proud of my latest builds and this one is no different. Though technically I didn’t really build much. But I took one tall bookcase and an IKEA Expedit and turned it into this:

I love it! It turned out exactly as I pictured it in my head…don’t you love it when that happens? It was one of those things where no one thought it would work and I kept saying, “Don’t worry–it’ll look good.” and eventually it did. But it was a long time getting there!
They first started out like this. Sorry for the crazy picture with a zillion kids…it was the only one I could find of everything still in its original form.
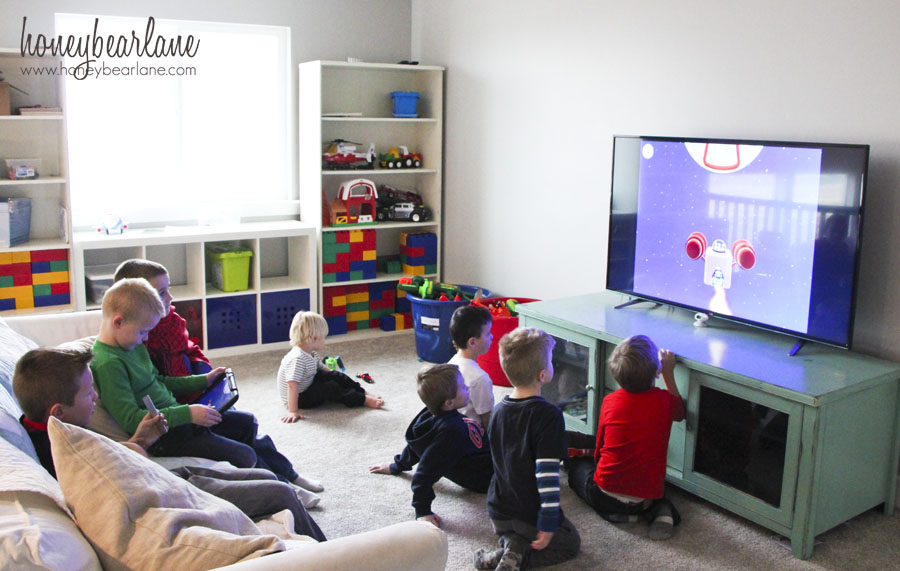
I hated this setup. We had these two bookcases for the last four years, given to us. They were laminate to begin with and I had painted them white when we moved to Utah. But the white paint I had was such an ugly white…it turned this ugly yellowish cream over time and looked terrible. So one day, I was sick of looking at the two bookcases flanking the Expedit and started moving furniture around. I took one bookcase downstairs to our empty laundry room and left one upstairs. I moved it around from wall to wall, but never really liked it anywhere. So I decided to DIY this stuff and IKEA hack my own long storage unit.
Here’s a list of supplies I used for this project:
(affiliate links-see my disclosure here)
- 1 Tall bookcase to cut in half or 2 short bookcases about 30″ high
- IKEA Expedit, Kallax or similar cube storage about 30″ high
- Circular Saw
- Nail Gun
- 1×2 select wood for face frame
- Zinsser Shellac Based Primer
- Benjamin Moore Kendall Charcoal Gray
- Drywall Screws
- 2x4s for the base
- 2″ Spax self-driving wood screws
- 2 1×8
- 2 1×10
- Kreg Jig
- 1 1/4″ Pocket Screws
- Minwax Weathered Oak Stain
- Minwax Polyurethane
The Process of Building my IKEA Hack
First came the circular saw. I’m not really sure what inspired this move, but before I knew it, I was literally sawing the bookcase in half. I wish I had taken more pictures of this but it was so spontaneous and also a very long time ago. Basically I had one piece that had a top (former middle fixed shelf) and a bottom (bottom of the bookcase) and one that had a top (top of the bookcase) and no bottom. I flipped it over and attached a shelf to the other side to be the other bottom. They were the exact height of the Expedit.
***Update: I’ve gotten lots of questions about where to find bookcases this size. These ones were free and just happened to be the exact perfect size. But I looked around and found that these bookcases are the same height as the Kallax (The IKEA Expedit replacement) turned on its side so you can buy them together and recreate this! The depth doesn’t matter that much except for the sides. I would just cover the entire visible sides with a panel of 1/4″ plywood or MDF before installing a face frame.
It sat like that on either side of the Expedit for awhile. I was planning on putting them together and having them be like a built-in on the window wall of the loft. But before I could do that, I knew I needed to paint the balusters. So we did that, and that project took so long that we put off the loft again.
At one point I started working on it again. I took some 1×2 pieces of wood and gave the bookcase cabinets a face frame. If I were to go back and do this again, I would have used a Kreg Jig to make the frame first and then attach it to the cabinet carcasses. But I was a newbie so I didn’t do that. They still look okay though because I filled in the holes and such with wood filler.
How to Paint IKEA Furniture
Then I primed the units. I used a shellac primer (oil-based) which is really the only kind of primer you can use on laminate furniture, especially IKEA stuff. It’s super stinky though and you will want to wear gloves and paintbrushes you can throw away. It’s just easier.
And then it sat like that, again, for a long time. As you can see this project was not a priority. I even had the gray paint but I just didn’t have the energy to work on it, seeing as I was pregnant. Finally, with a Better Homes and Gardens post imminent, it gave me the motivation to finish it.
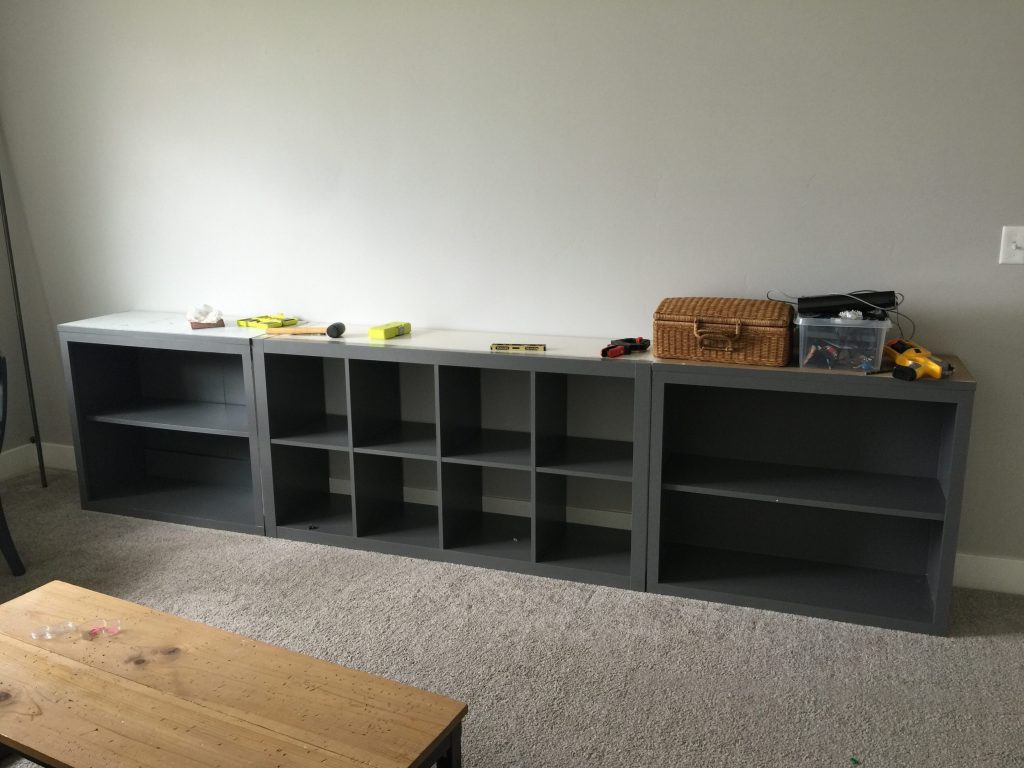
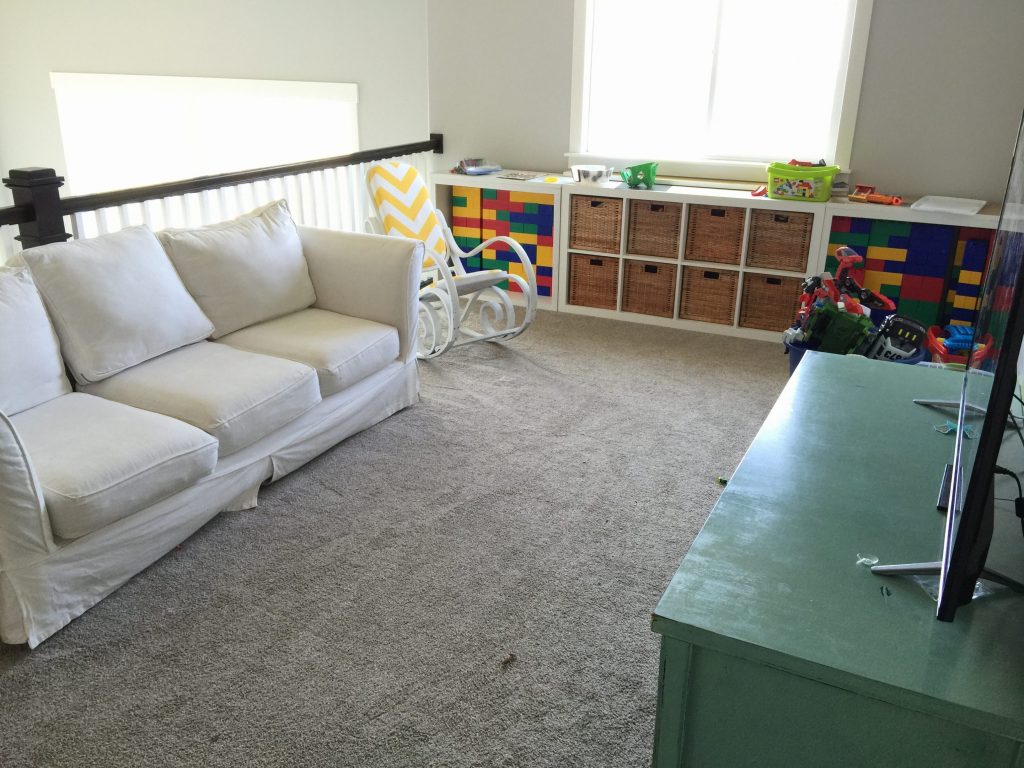
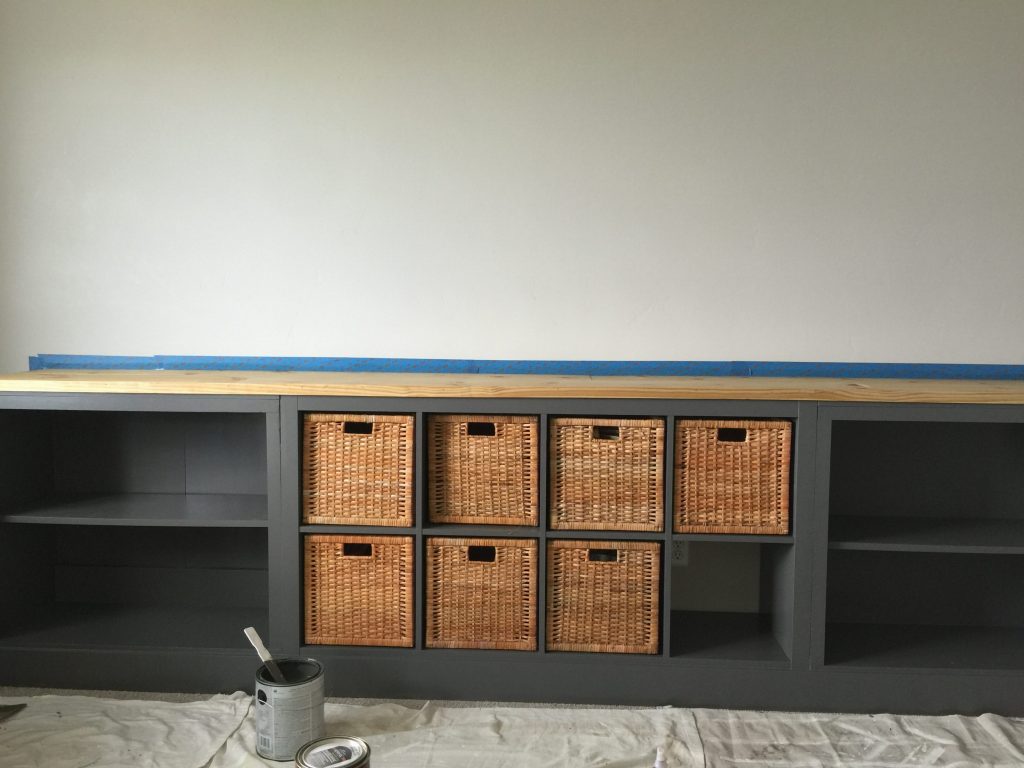
By this time, I had also changed my mind about how I wanted the loft to look. I wanted the unit to be on the opposite wall and replace our old TV hutch. We moved the hutch and I painted everything gray. Specifically it is Benjamin Moore Kendall-Charcoal. Once it had fully dried, I moved them into place.
Making it Look Built-In
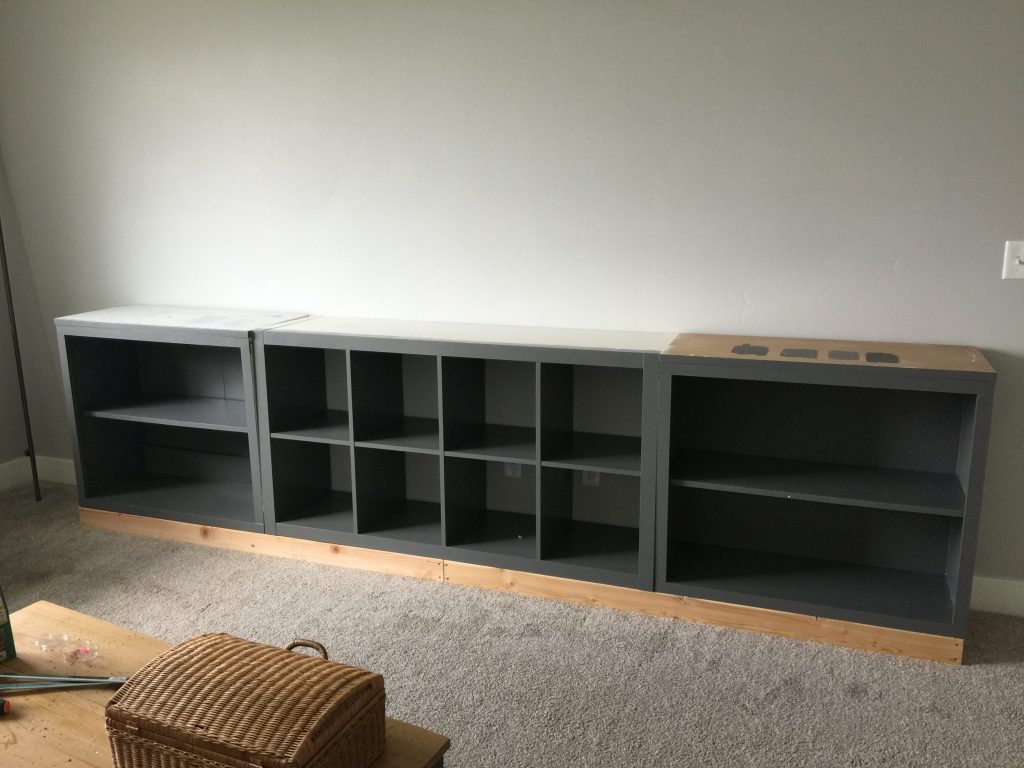
Next was to build a little base for them to sit on so they would be raised up off the ground. They sat low and I wanted a more build-in look with a baseboard on it. I took some 2x4s and built two simple frames. I learned by doing my hearth that it is super important to use very straight wood and make the frame as square as possible. I used Spax self-driving screws and clamps to get them as square as I could. Then I placed them against the wall and clamped them to each other. I screwed a few screws in the wall and then into each other. Then I put the cabinets on top of the frames.
They weren’t really level at this point so I leveled them out using shims. I just use a level and a shim and jam it into place as much as it needs. Then I use a Dremel saw to cut the rest of the shim off. It is going to be covered by a baseboard. I then attached the cabinets to the Expedit by using drywall screws. A lot of the cheaper IKEA furniture is hollow core so it would only hold with a drywall screw and anchor. I also used clamps to hold the pieces together which helped a lot.

I made the baseboards out of some old 1/2″ MDF I had and cut it to 4.5″ inches wide. I painted it white at first and attached it with a nail gun. But sadly, I decided it looked a lot better painted gray and so then I had to painstakingly paint it gray without getting the paint onto the carpet. I jammed some thin cardboard underneath and painted it. I touched up the rest of the paint.
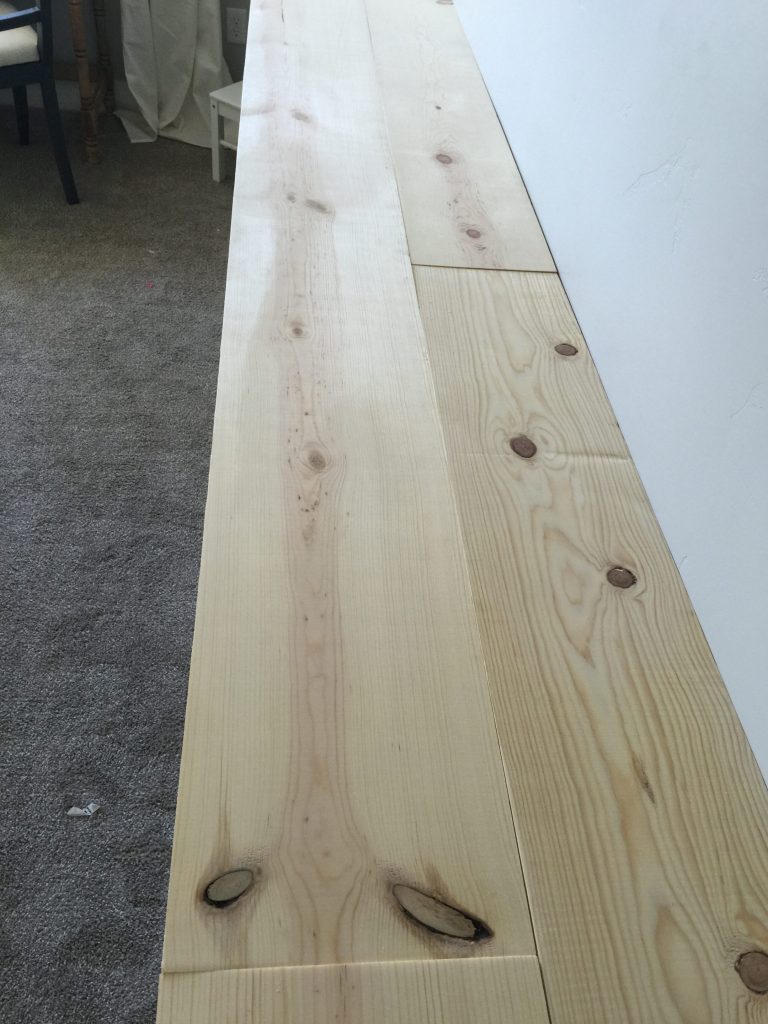
Adding The Top
The last step was the top. I bought two 1x8s and two 1x10s. I ripped the 1x10s to the right width (since the width was larger than two 1x8s would make) and then staggered the boards for a butcher block effect. I used a Kreg Jig to put them together. This is always tricky using cheap wood since it is really hard to get pieces with no crown and completely straight. (The crown is how much the wood bends around the circle of the tree. Only the center piece doesn’t have a crown.)
It’s better to use premium wood for tabletops but I wanted to keep the cost down and didn’t care since the whole thing was kind of rustic. I then trimmed out the edges with a very thin 1×2 piece of doorjamb trim, similar to lattice but a little thicker. It gives it the thicker look without having to have a thicker top.
I stained it with Minwax Weathered Oak wood stain. I sealed it with a couple coats of poly and I was done! It looked awesome!
So you can see I didn’t exactly build this unit but I did assemble quite a bit of it to be something completely different than what it was. I love that I was able to use existing pieces that I had and really only spent money on the paint and the wood for the face frames and top.
My husband hung a TV above this unit and was able to fish the cords through the drywall behind it so we don’t have cords hanging down. He made them come out right by the outlet and made the bottom right basket a basket that has all the video game stuff/apple TV in it. It’s pretty cool. And it took him forever so I’m sure he’ll love the shoutout I give him here, haha.
I might eventually make doors for the cabinets…that was the original plan. But cabinet doors is still something I need to practice and we’ll just have to see how that goes. In the meantime, this works great.

If you liked this post, check out my other popular DIY posts:
![]()
Build a Farmhouse Table for less than $100
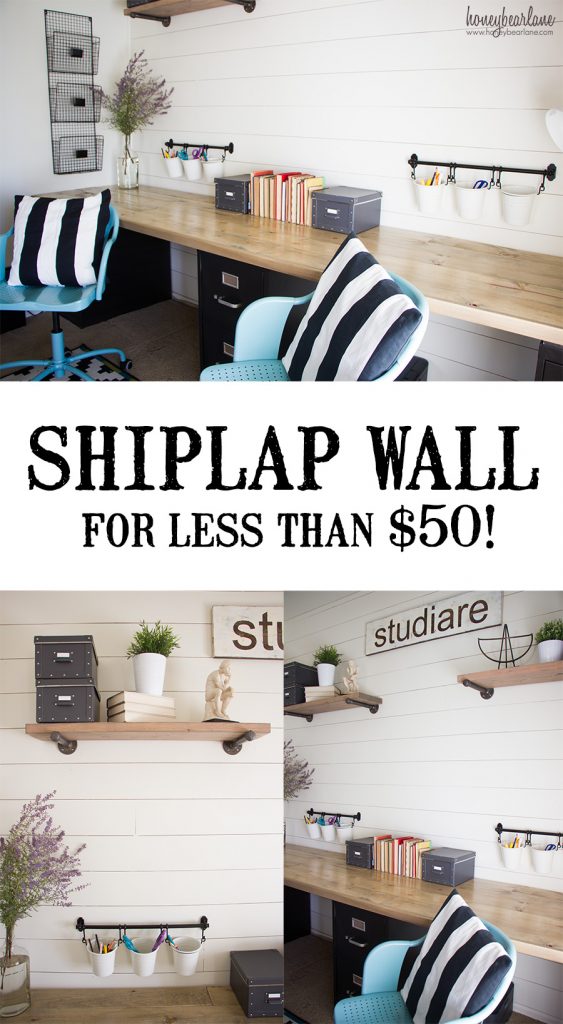
Create a Shiplap Wall for less than $50
Absolutely love this Heidi! Well done! I agree, it’s even better because you used what you had to hand, and just made the things look even better. Love that!
That is ingenious
I love projects like this. I’m in a new beach home and my head is spinning from all the ideas.
Your final design of the room is very classy but still family friendly
Thank you so much! It’s so fun to have a new home, isn’t it?
I really like this. Love the colour and gives so much storage. Did you get the storage baskets from Ikea too, as they are a perfect fit and look great.
Yes, the woven baskets are from IKEA. The gold ones are from Land of Nod which I sprayed gold. Thanks!
Looks amazing! Have a perfect space for something like this- just not the skills to do it!
Question: in some pictures, it looks very gray and in others almost a colonial blue. Is that just the light from the Windows?
It’s a dark gray. Photoshop made these pictures translate weird so I’m going to have to go back and fix these.
I absolutely love it! Nice grey color and beautiful decorations..
Very very beautiful !!!!
Thank you!
I made a cabinet for my TV and purchased ready made kitchen cabinet doors from the big do it yourself Store like Home Depot. Just get your measurements and see if they have one that fits. It was easier than making the doors myself and not too expensive. Purchase hinges that are suitable and door knobs that appeal to your decor.
I’m already on the hunt to replicate this unit. Is the bookcase from Ikea as well?
I saw this post on Friday and already got my hands on an Expedit unit to DIY. Next is a bookcase! Is your bookcase the same depth? Is that also IKEA? Could you share model name, if so?
Sorry, I don’t know the origin of the bookcases. I got them for free from a cousin and they started out pretty tall. Just try to find bookcases the same height as an expedit or one tall one cut in half to the same height.
Is your pieces the same depth? I’m looking to make this but I’m noticing the bookcases aren’t as wide as the cubby storage.
Did your use a primer on the expedit to get the paint to stick to it?
Yes, I used Zinzer 123 Shellac.
Did you have to sand it down first?
No, the shellac based primer will adhere to anything without sanding.
Love the unit! Just what I need for behind my sectional sofa. Where did you get the baskets?
The wood baskets are from IKEA also. The gold locker baskets I think are from Land of Nod. I spray painted them gold.
Trying to find a bookshelf that is the same width and, when cut in two, is around the same height. It is impossible to find. Did anyone find one that works with the Kallax that someone can recommend?
Hi! I absolutely love this and it would be perfect for our living room. Sorry if this has already been asked but can you tell me the overall finished dimensions. I think it might be a little too long for our space so I’m trying to figure out how I might adjust! Thanks so much!!
This looks great and I’m planning to do something similar. You mentioned you made a frame of 2x4s to go under the shelf units, what did that look like? Do you have a pic our could you describe? Thanks for this great idea!
It’s just a basic frame with some cross bars. Good luck!
Hi!
I LOVE this! What are the measurements of the finished product? I want to replicate this look and I don’t know if I can fit it! Thank you!
2 questions I hope you can answer/explain.
1. What did you do when the depth of the side bookcases didn’t match the IKEA units depth? I’m confused about how you made it all look flush.
2. Did you use both tall bookcases or just one that you cut into 2?
I need more specifics on that process if possible.
Thanks!
I think I was just lucky and the depth of the bookcases was the same as the IKEA unit. I only used one bookcase and cut it in half.
Simply Genius!
Beautiful!
I’m wanting to hack a KALLAX, but I’m wondering how to add the top.
Did you jus lay the wood on the furniture or are they glued / screwed?
I just shot some nails into it.
Where do you store your tv accessories?
Inside one of the baskets. We took the cords inside the drywall and pulled them out down below to plug them in.
Hi! What’s the total length of this unit!? Thinking of doing this really cool project but want to make sure I have space!
It’s 11 feet.