DIY Mudroom Lockers with Doors Reveal
I have been working super hard for many months now on my latest big build–my DIY mudroom lockers with doors! When we first renovated the laundry room, we specifically left the back wall blank because we wanted to build some large lockers with doors so we could have a fully functional drop zone.
We fully renovated this room in 2020, and you can read all about my plans for the renovation in this post. I recommend reading that post first if you haven’t because this post will be all the more satisfying if you can see how this space has evolved.
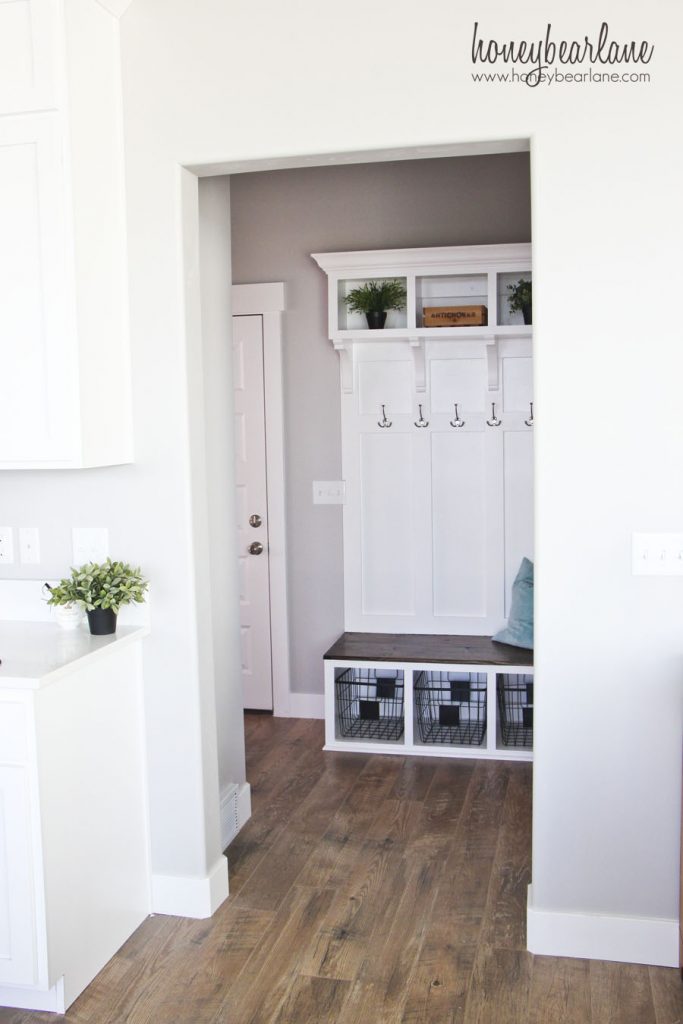
I loved my old mudroom bench, and felt a great fondness for it since it was one of my first major builds, but it was just way too small for our family. And the location of it made it super visible in my home and so everyone could see the mess (mudrooms are just messy–hence the name.) Fortunately, I was able to un-install it and then re-install it in my friend’s home, so now she has it and it didn’t go to waste.
It took me many different drafts to come up with the right design for this space. I had a few obstacles I had to design around.
- The Fuse Box: All the breakers to most of our electrical are in this one fuse box on the wall. The code is that you need 30″ of clearance around it. And obviously, I wanted us to still be able to access it easily. However, if I made the lockers end where the fuse box is, I would be leaving so much valuable space empty and then there would be this huge, skinny locker on one side making the entire wall unbalanced.
- The Number of Lockers: To build the traditional tall lockers, I would only be able to fit 3-4 lockers in the space before running into the fuse box. I wanted at least six lockers since we have 5 kids and considering resale, most families in Utah have around four.
- There was a weird uneven spot in the wall: Like, noticeably uneven. When the people who redid the room knocked down the coat closet and old laundry walls, they found that the size of the studs was different from the framing of the entrance to the actual wall. So they just build a weird little short wall. I wanted that to just disappear.
- The Return: We had an important return air vent in the floor that used to be in the coat closet wall. I didn’t really want it to stay on the floor, so I decided to incorporate it into the lockers.
With all those obstacles in mind, I finally came up with this design:
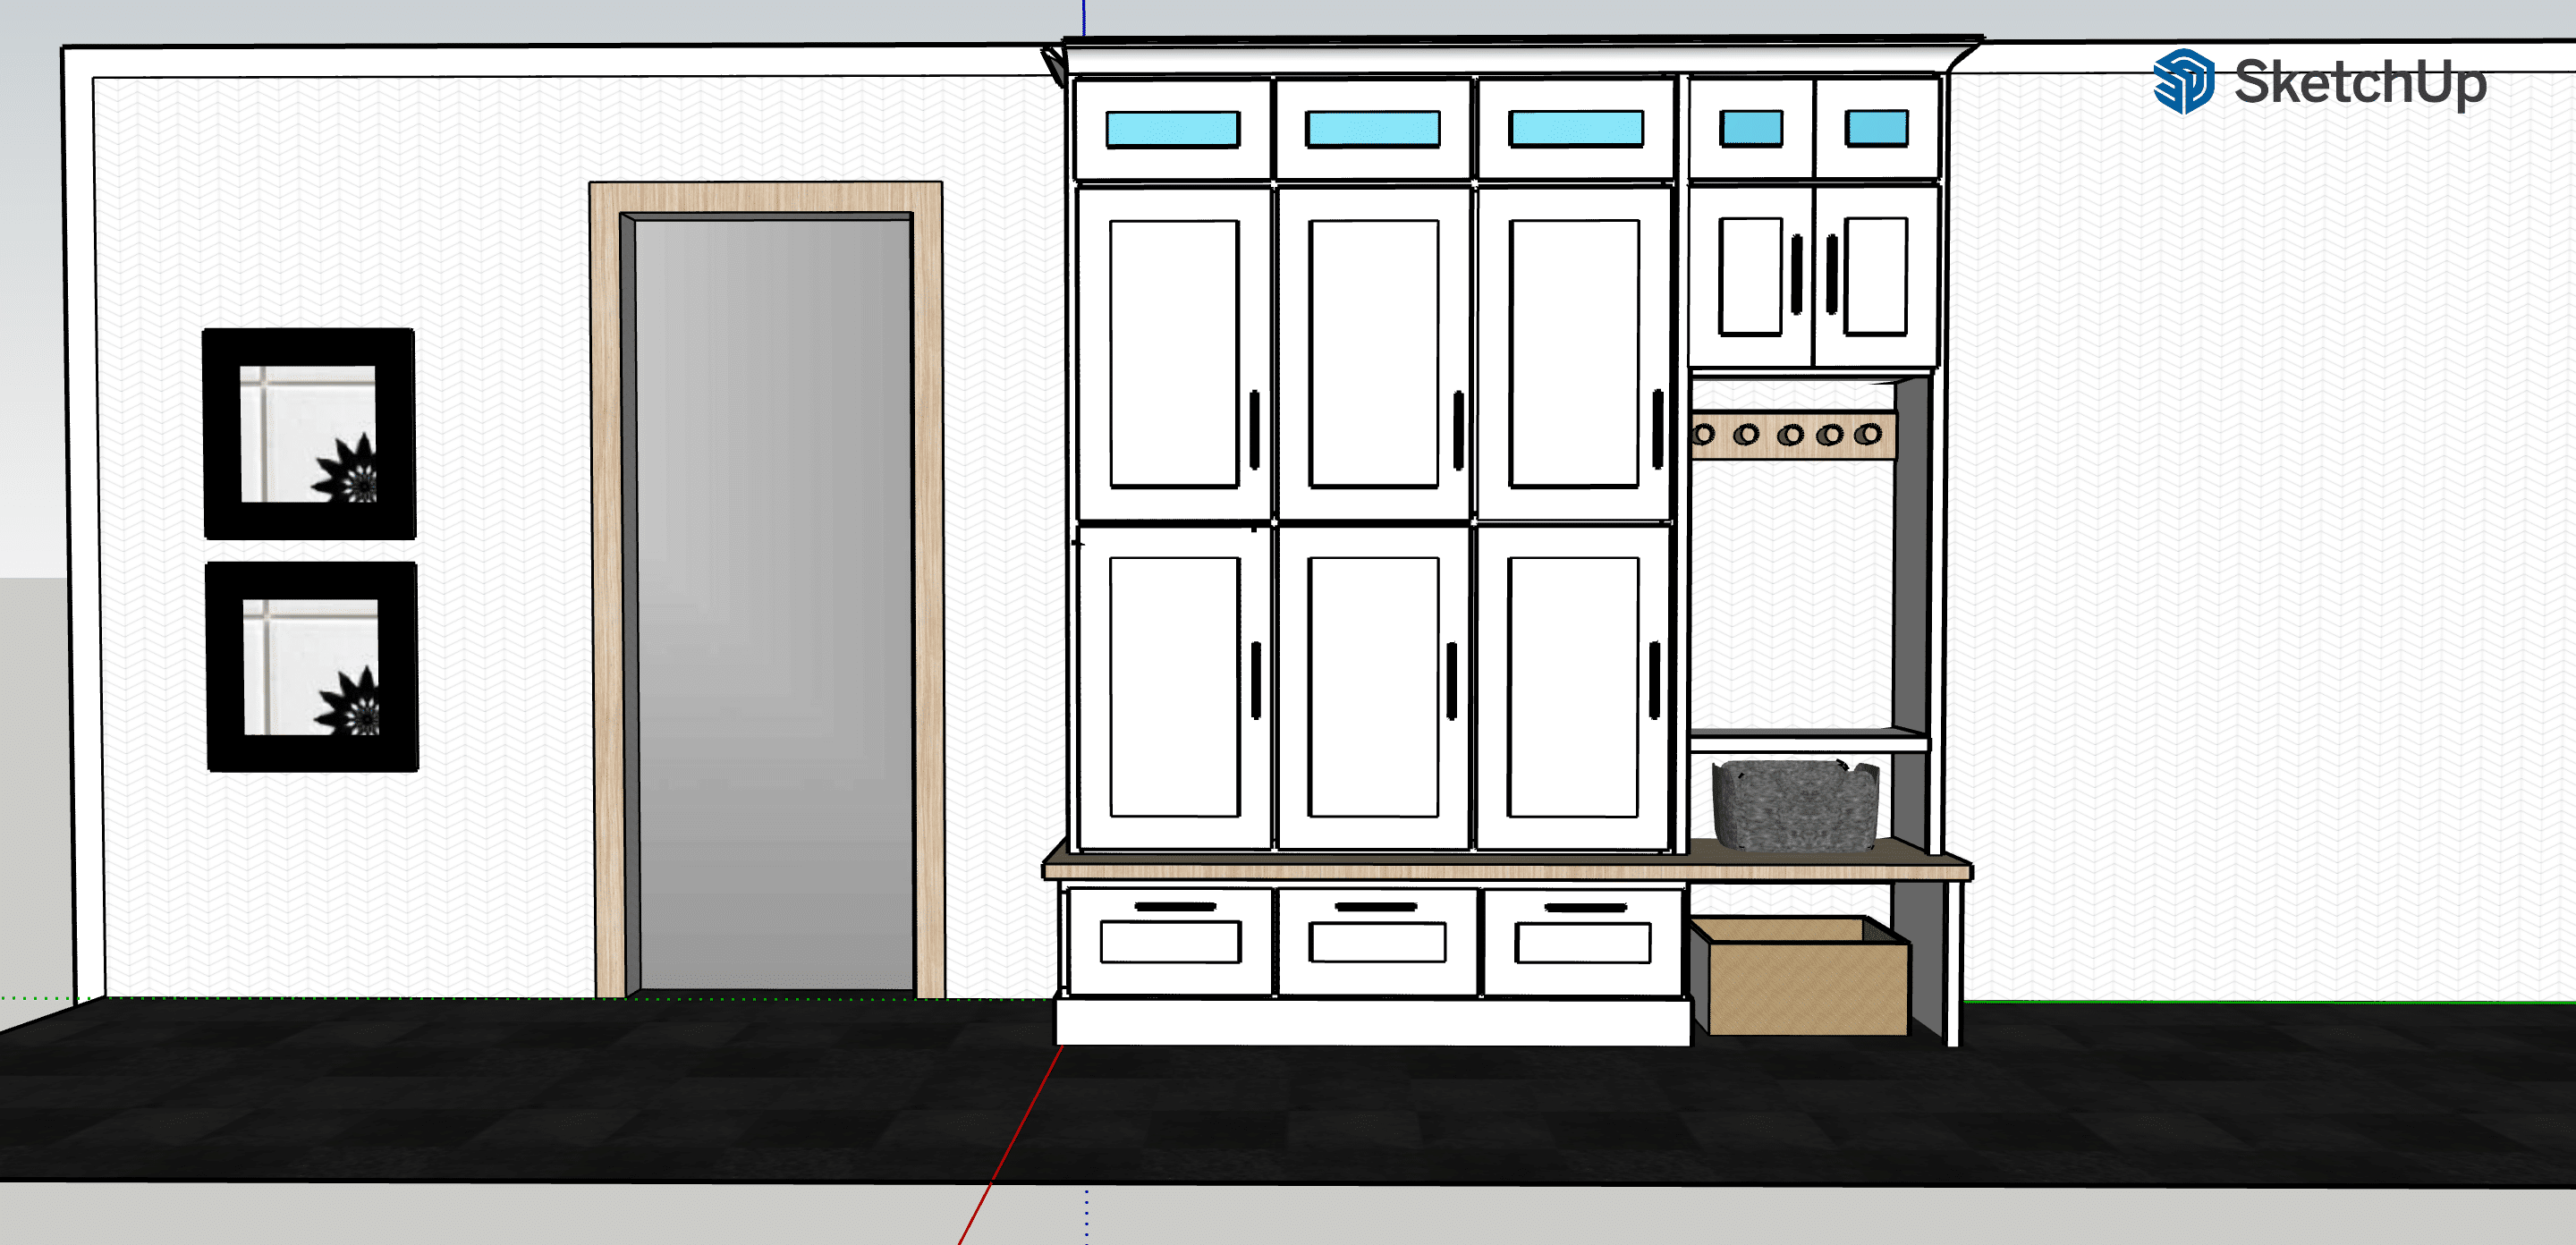
(Note that this is a generic picture and doesn’t include my personal obstacles like the fuse box.)
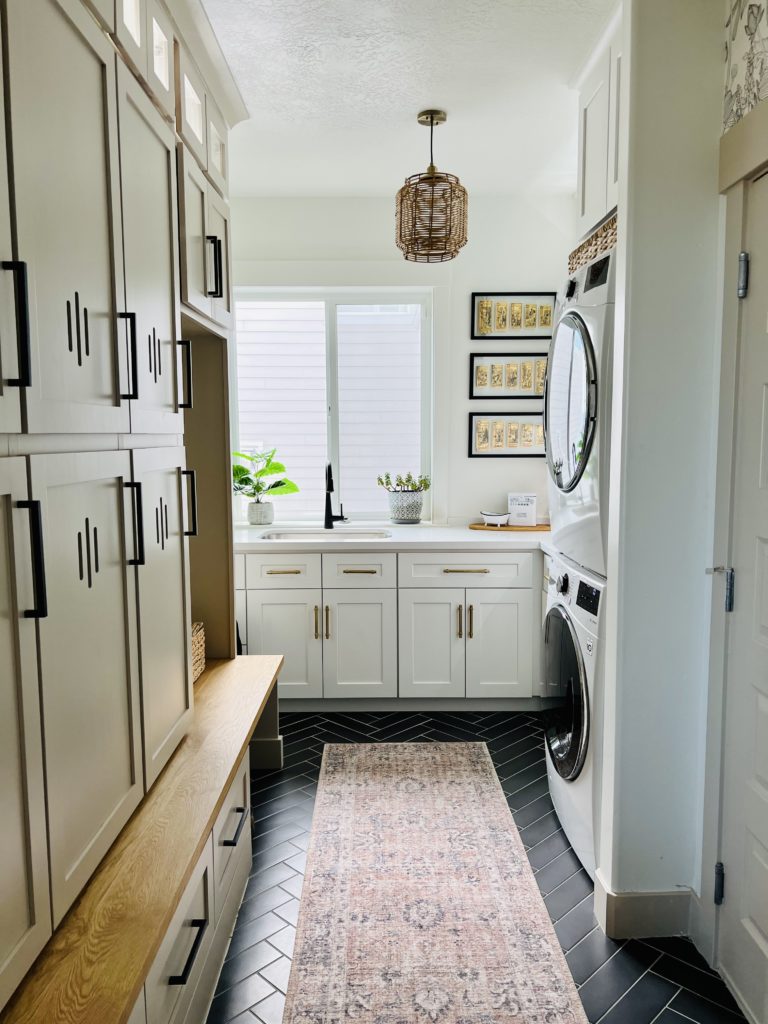
And here is the actual mudroom lockers (this is a narrow space and pretty tricky to photograph!):
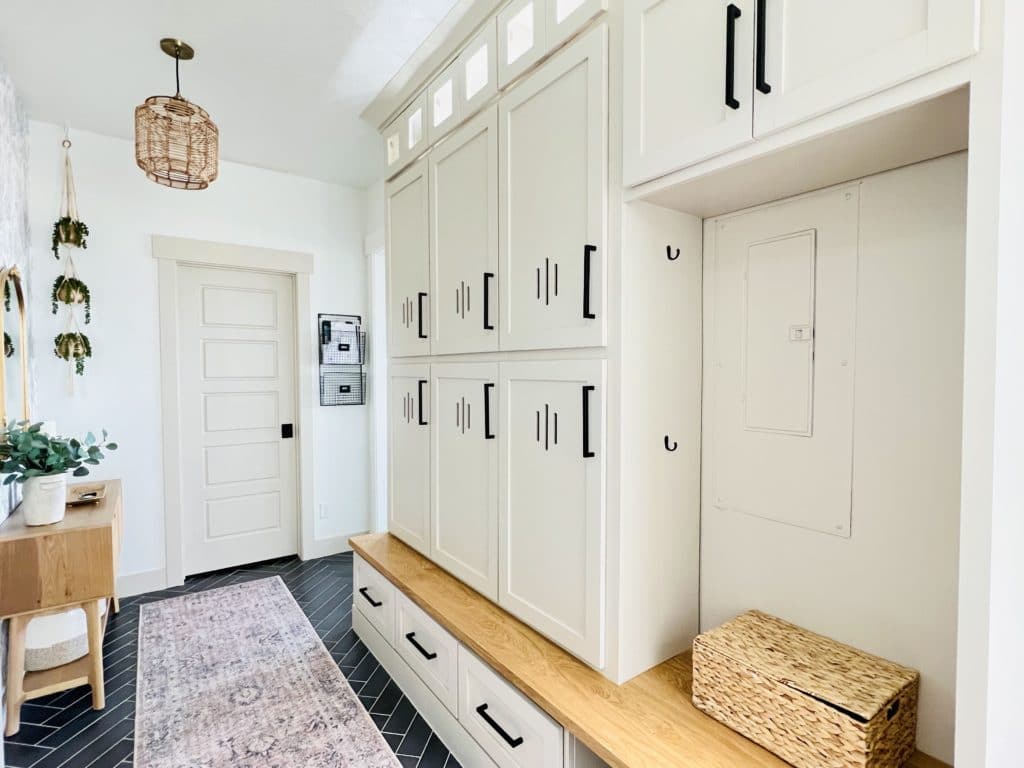
I’m thrilled with the final result! I made six lockers that sit on two levels because it was the best way to get six units (nearly enough for my family of seven!) that were still wide enough to be useful and store backpacks and such. As you can see the fuse box had to be exposed…
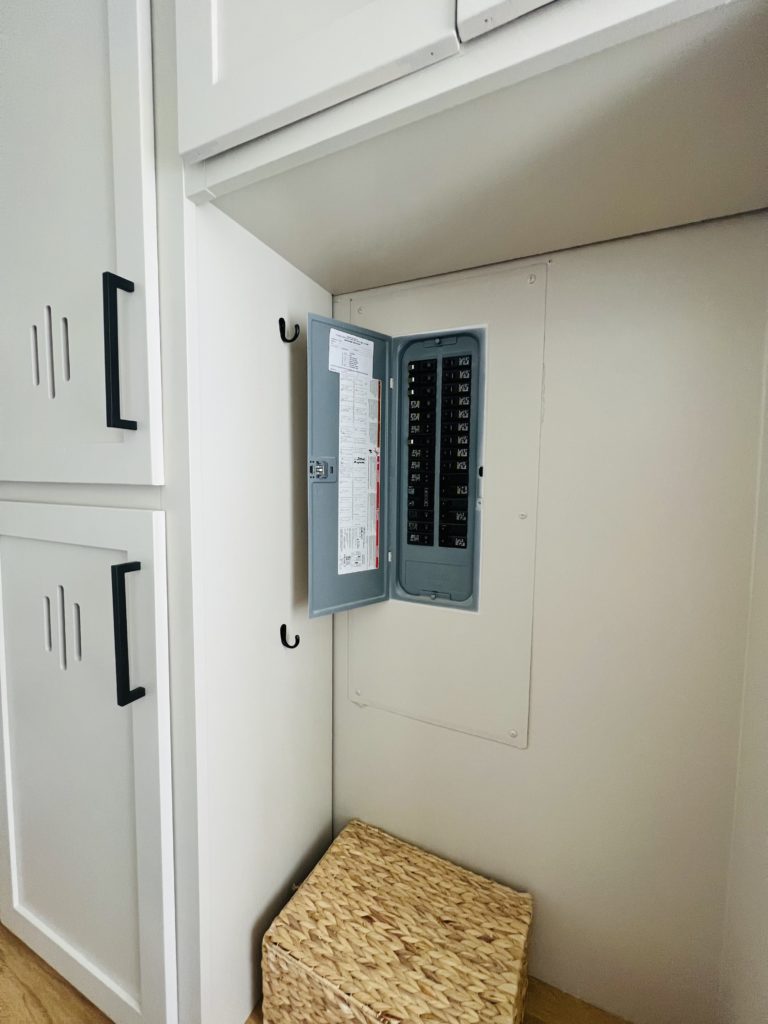
But the code states that there has to be a 30″ clearance to the box, and it doesn’t matter which side it’s on. This way the fuse box is easily accessible and can even be worked on in the future if that is necessary. I also placed more hooks on the sides so that longer coats can be hung here. I didn’t place any hooks on the wall due to how many wires are running back there, I just didn’t want to risk hitting one of them.
I also opted to leave off the little shelf in the open portion and I split the wider glass doors into two doors each. Overall, I stuck really close to the original plans! I decided to build it out of mostly melamine, which is not my favorite, but here’s why: These lockers are going to see a LOT of use and wear and tear. I needed something that had a hard shellac on top to keep it looking nice. Paint wears off with use but the hard shellac on melamine will not. Melamine was also a LOT cheaper at the time of purchase because I started this during the peak of the COVID construction-cost hike. That being said, I would probably opt for real plywood if I were to do this again because melamine is kind of a nightmare to work with. The base is solid oak plywood though.
I also contracted out the doors because as usual, this project took way longer than I wanted it to and I was sick of it by the time the door building was supposed to happen. I bought them from Alpine Cabinet Doors in Draper, Utah, and I love them. They also did the doors in my home office builtins and they do a fabulous job at a great price. They also can pre-bore the holes for the hinges I use so it is overall a huge time saver.
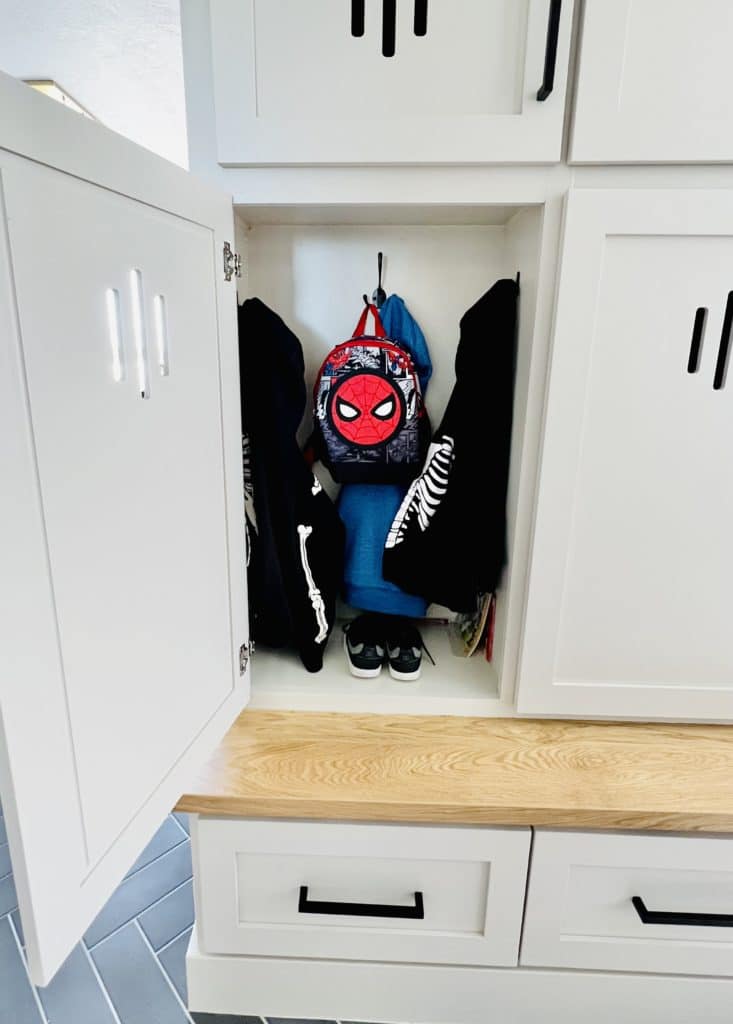
Inside each locker are just three hooks-one that is three-pronged and two that have one prong.
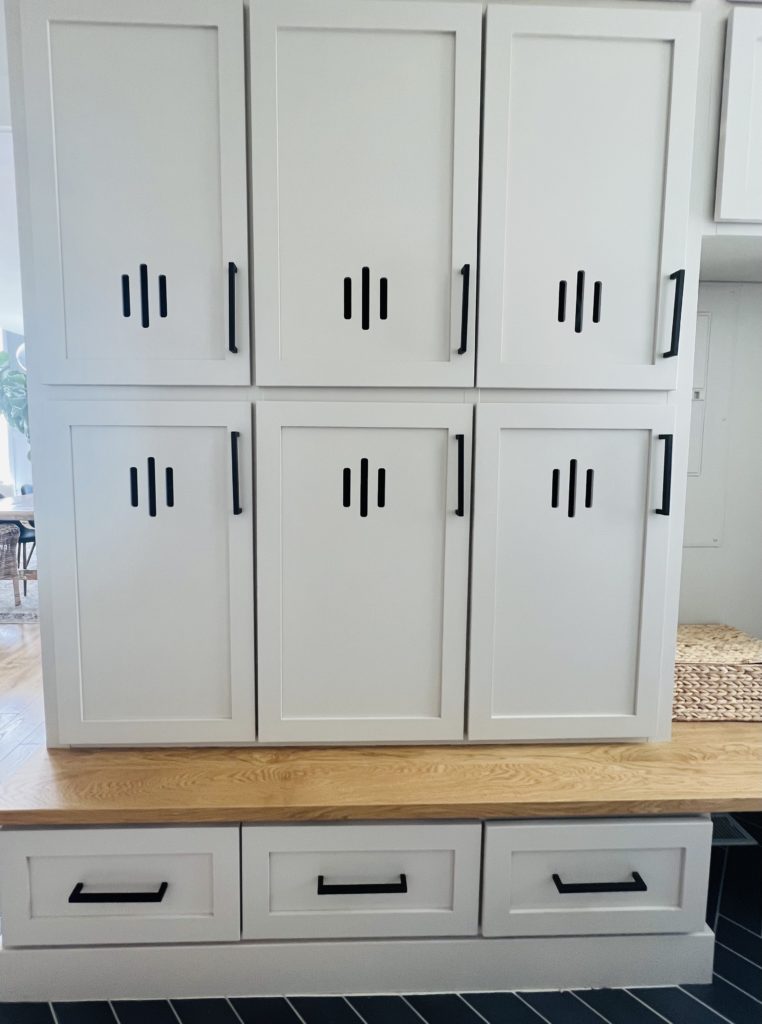
I’ve gotten a lot of comments on the little slits in each door–I requested this style from them after seeing different kinds of venting ideas on the internet. This just allows a little air to flow through the lockers to prevent odors and help with drying any damp jackets.
Painting
The paint color was something I totally agonized over. At first I was thinking of going green. I tried like five different green colors and after seeing the color on them for several days, I was over the green. Unfortunately, I get sick of color super quickly so I need color to be in little accents that are easily changed out. I tried a few different neutrals and ultimately decided to go with one of my favorite beiges, Sherwin Williams Accessible Beige.
I used it on my basement bathroom as well and I still love it. I was a bit concerned with painting this beige when the other laundry room cabinets are white, but I decided to tie in the color more by painting the trim and doors in this space the same color (SW Accessible Beige) and I actually freaking LOVE the way it looks. It makes me want to paint all my interior doors.
I used a primer called Behr Multi-Surface Stain-Blocking Primer & Sealer and a paint called Behr Urethane Alkyd paint (both water based) because it is a littler sturdier for cabinetry and would adhere to the slick surface of the melamine. I sprayed the entire thing plus trim and doors with my paint sprayer, the Graco Magnum X5 which still works just as great as ever. I think I finally got the hang of it this time and didn’t end up with hardly any drips. I had to spend SEVERAL days masking up the area though, that’s where the real time suck is. My favorite masking stuff is this plastic sheeting attached with blue tape in one. It’s super handy and sticks well to the walls.
For the cabinet doors, I used these handy little risers I bought from Amazon to rest my large locker doors on and paint them flat. I opted to paint most of them flat instead of hanging (I did several hanging though–the glass doors mainly) because they are so huge and ran a bigger risk of drips. I had some major dripping problems when I sprayed my hanging doors in my front office and I really didn’t want to repeat that. I fully recommend the horizontal painting, especially if you’re not super experienced with paint sprayers because the chance of dripping is basically zero. Just make sure to let the paint cure for several hours.
Below are links to some of the products I used from Amazon:
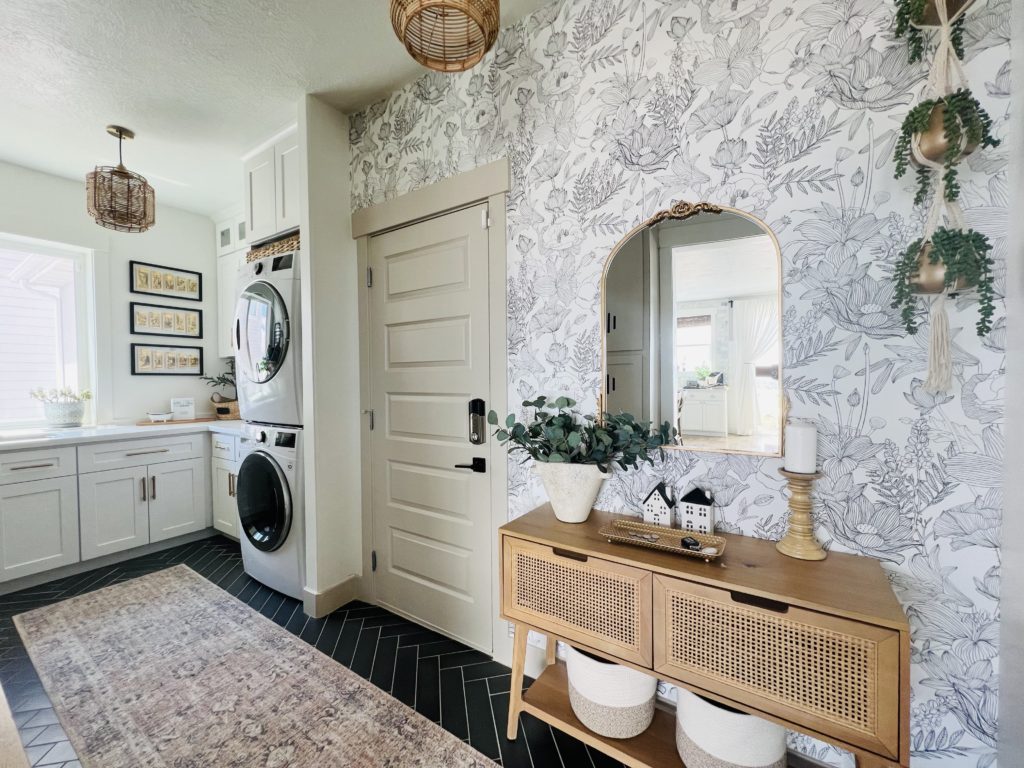
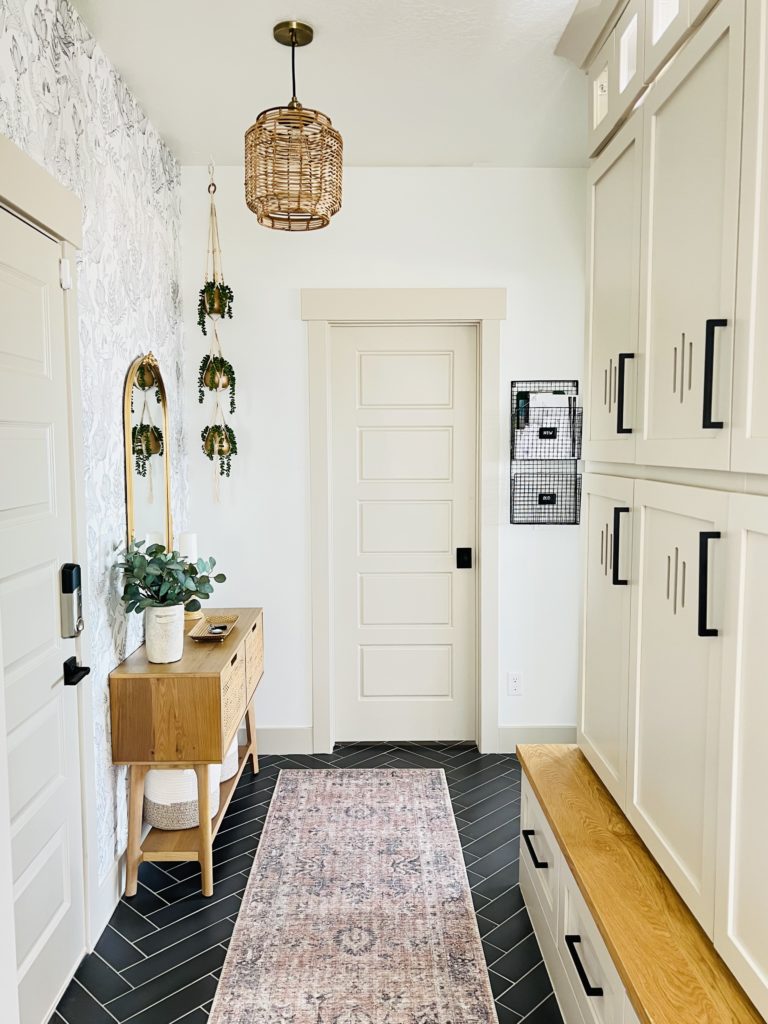
Across the space from the lockers are the details that really add something special to the room. I got this delightful wallpaper from an Etsy Shop called PaperBird and I love it. It wasn’t too tricky to hang, it’s just peel and stick. In a couple of spaces where I couldn’t get the patterns to align I actually took a pencil and drew a little on the paper to fill in the spots where the print is cut off. Seriously no one notices it! I have to really look to see where I did this.

The side table is adorable and is from the Magnolia line from Target. It wasn’t that hard to put together and my husband loves that he can stash his laptop and iPad here when he comes home from work. Before all of this would just live on the kitchen counter next to the fridge (the exploding counter–everyone’s got one right?) and I love that now that counter is cleared off most of the time now!
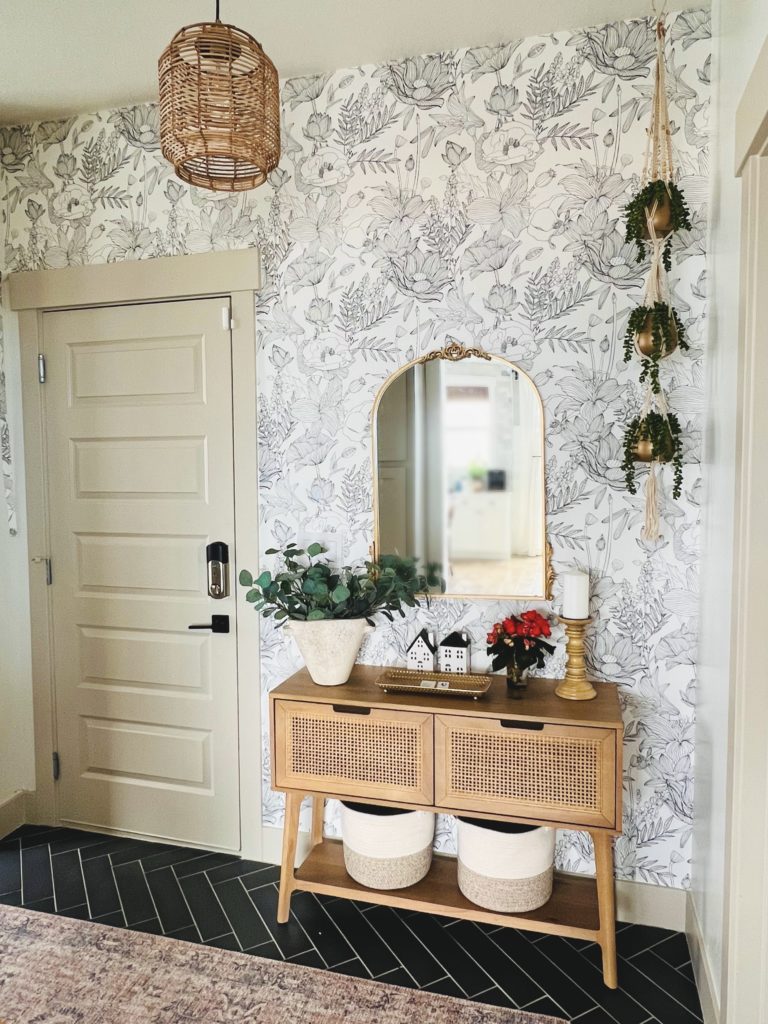
The mirror is a Hobby Lobby find, along the lines of those vintage gold mirrors you see everywhere now, but it was pretty cheap–I think maybe $60. I also found the rest of the accessories in this spot at Hobby Lobby and/or Target. Nothing fancy! The rug is a 12′ runner from Overstock, another one of those easy-care Loloi style rugs that are perfect for high traffic spots. The lights are a simple and cheap hack I did here.

Check out these videos of the full mudroom locker tour and my plans for the rest of the space!
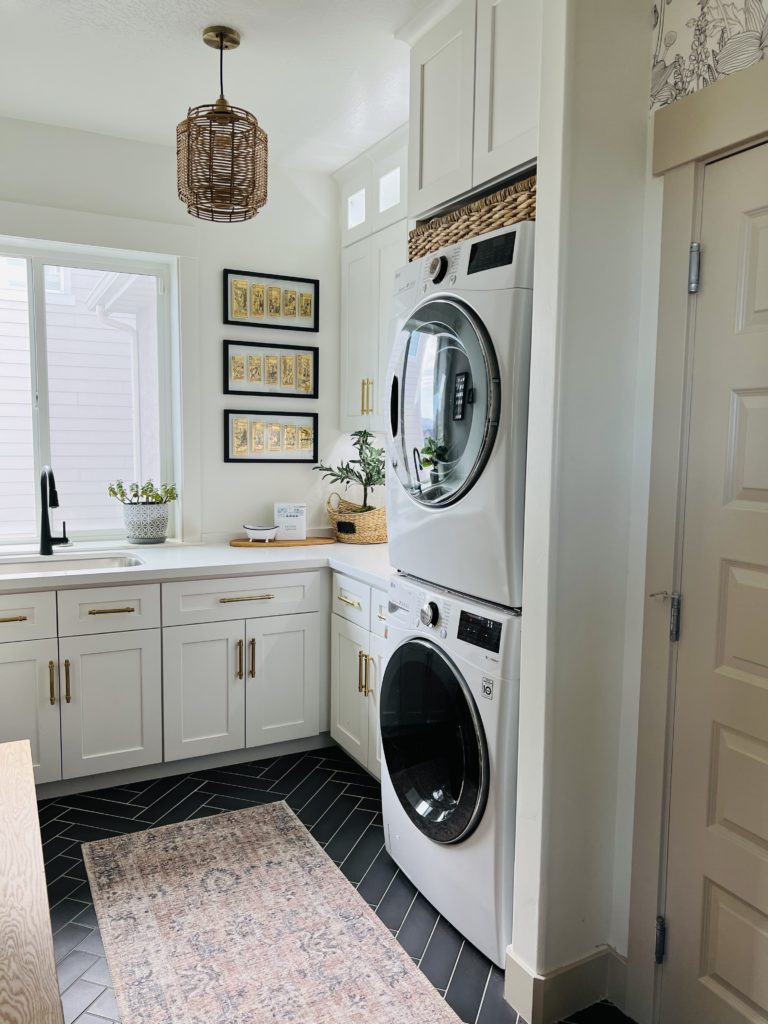
Finally, the part of the room by the window is all new cabinetry, pure white quartz countertop, and a large deep sink. This was all done with the big remodel in 2020. We also had them re-route the washer and dryer. They used to be under the window but having them stack right here was such a great decision. It saves a lot of space and looks much more streamlined.
That’s all for now–I’m going to post the building plans for these diy mudroom lockers with doors next so if you’re interested in making these for your own house, be sure to check back!
If you liked this post, check out these:
Hi! Did you ever share the plans for these? This is exactly what I am looking to build but wondering what the width and depth of each locker is!